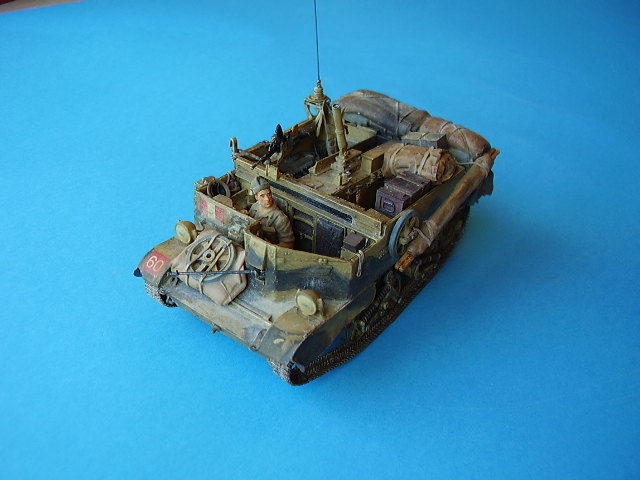
1⁄35Building the Resicast Universal Carrier Mk I
9
Comments
Introduction
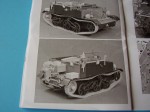
When I first got back into modelling about 3 years ago, I had already built the Tamiya Universal Carrier some 10/15 years earlier. It wasnít a very good build and then over a period of time, reading articles and posts on site I learned a fair bit about what was wrong with the original kit. The big issue was the tracks, they just werenít correct. I investigated various after marker sets but the cost just seemed to outweigh the value of the kit, so I put the kits aside and thought Iíll leave them until I can either afford to buy a set or an alternative comes out. Accurate Armour had developed a set of tracks for their Lloyd Carriers and it was advertised on their site that they would be released shortly. Alas I waited in vein and no tracks appeared. About 3 months ago I contacted Graham at Resicast to see if they might have sets of resin tracks, as I wanted to build the Deep Wading version for a project and also wanted some tracks for 2 very old kits. Well there must be a God because the timing couldnít have been better. He was just developing a new style of casting for the resin tracks for the carrier conversion sets he does and kindly sent me a stack of track, both old style and new to compare and try out. My journey into the word of the Universal Carrier had begun. Strangely enough, timing played a key part in this build. I had just completed the 2nd of my builds, for a small desert scene in N Africa, the M3 Grant. The 3rd vehicle was to be a Universal Carrier Mk II and this was to be an upgraded re-vamp of a 15 year old carrier kit I had. I had already started to disassemble the kit when the new conversion set for the Mk I appeared on the market. Given the time period I was working in, October 1942 I though this would be perfect to fit with the scene I had in mind and so using the old carrier as a donor kit I bought the upgrade set and started to build. The Universal carrier was loved by some and hated by others. It was widely issued thought out the British and Commonwealth Forces during WW2 with both the Canadians and Australians/New Zealanderís producing their on slightly different version.The Set
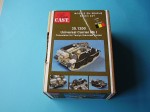
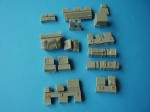
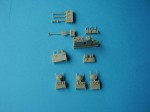
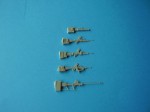
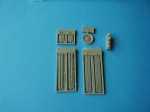
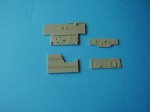
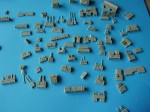
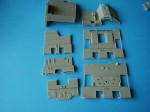
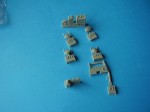
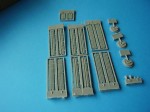
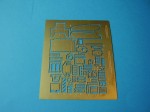
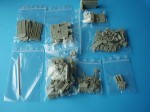
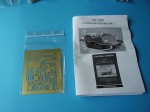
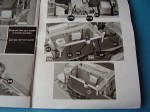
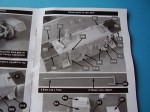
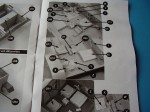
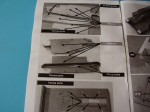
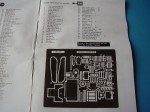
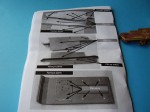
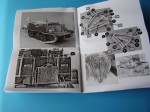
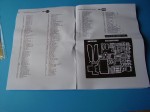
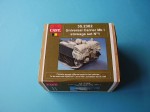
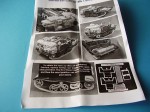
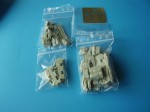
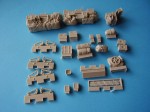
This model is based on the Resicast Universal Carrier Mk I Conversion for the Tamiya Universal Carrier. Resicast kit no 35.1200. Tamiya have marketed 3 Universal MK II Carriers and my 15 year old donor kit was the desert version Kit No 35089 This I believe is OOP but it wouldnít matter which version of their carriers you used, both kits 35924 (Force Reconnaissance) and 35175 (European Campaign) are the same kits with different Figures and you get a spur of the old desert infantry in each. The Resicast conversion replaces virtually all the kit parts with the exception of the lower hull and sides, plus the road wheels and the double suspension, as to build the MK I and correct the Tamiya kit parts requires a complete re-build and I reviewed this set on site a few weeks ago. Universal Carrier Mk I Iím not a rivet counter nor a technical expert on the Mk I carrier, so I cannot tell you if the Tamiya kit is 1mm to short or 2mm to wide. What I can say is that conversion set gives the first opportunity for modellers to make this particular vehicle in 1/35 that I am aware of. This is a resin conversion set and the detail is crisp and clear and the clean up minimal, the parts being reasonably easy to remove from the casting plugs where these existed. A sharp razor saw or X-acto blade and some sand paper being all that is required. Obviously care should be taken when cutting/filing resin and a mask should be worn. You can damp down the parts to help keep the dust down. To go with the conversion I also purchased Resicastís Universal Carrier Mk I Stowage No1 set. This provided individual and bulk stowage items for the kit plus a set of the rear suspension to add that hull up effect if I wanted. I also reviewed the set here on site. Mk 1 Carrier Stowage SetComments
As usual, Al does great things with a very old kit and some TLC.
Nice job Al !!!!
jjumbo
OCT 13, 2008 - 02:32 PM
Hi Darren,
Thanks for getting the article organised. - Nice Fern.
John,
Thanks, appreciated.
Al
OCT 13, 2008 - 07:20 PM
Great write-up and photos, Al, easy reading with a lot of great pointers. And the Carrier ain't too shabby either!
OCT 13, 2008 - 07:35 PM
Hi Al
Nice resurrection of Tamiya's dodgier moments from the past How long before you add a 9AB Sherman to it??
David
OCT 13, 2008 - 10:03 PM
Hi David,
Thanks, much appreciated. I though you have been very quiet during the build lol, lol - I took that as a 'sign' I was heading in the right direction lol, lol.
The Tasca Shermans are shipping as I write, well I hope, but in the mean time company will be in the form of an M3 Grant and a DIngo Scout Car - well when I get the troops complete and the base finished.
 You'll have noticed I'm very taken with Graham's new carrier sets, very impressive and fun to work with despite the silly glue.
I'm afraid the Sherman's are stacking up, this year seems to have been one of Boats, Carriers and Trucks, well with the odd ARV .
Cheers
Al
 You'll have noticed I'm very taken with Graham's new carrier sets, very impressive and fun to work with despite the silly glue.
I'm afraid the Sherman's are stacking up, this year seems to have been one of Boats, Carriers and Trucks, well with the odd ARV .
Cheers
Al
You'll have noticed I'm very taken with Graham's new carrier sets, very impressive and fun to work with despite the silly glue.
I'm afraid the Sherman's are stacking up, this year seems to have been one of Boats, Carriers and Trucks, well with the odd ARV .
Cheers
AlOCT 13, 2008 - 10:44 PM
Alan:
Even though I followed along on your build of this I still enjoyed your review this
morning.
Great review and model
Thanks for letting me watch
...Tony the Mutt...
OCT 14, 2008 - 04:04 AM
Hi Tony,
Glad you enjoyed the blog and the article. Thanks for the support and taking the time to post.
Al
OCT 14, 2008 - 05:57 AM
Copyright ©2021 by Alan McNeilly. Images and/or videos also by copyright holder unless otherwise noted. The views and opinions expressed herein are solely the views and opinions of the authors and/or contributors to this Web site and do not necessarily represent the views and/or opinions of Armorama, KitMaker Network, or Silver Star Enterrpises. All rights reserved. Originally published on: 2008-10-13 00:00:00. Unique Reads: 24195


