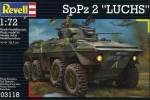
1⁄72SpPz 2 Luchs
6
Comments
The Build
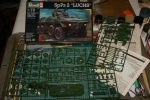
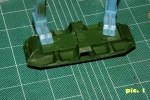
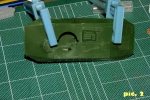
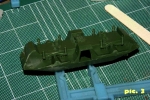
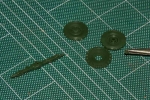
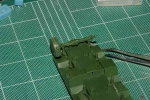
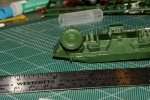
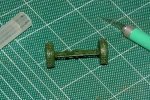
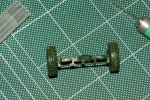
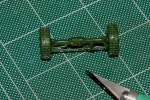
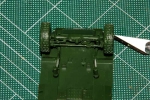
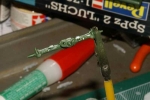
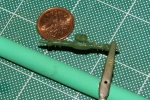
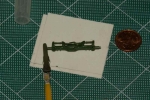
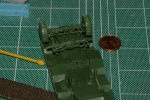
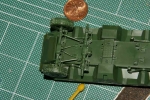
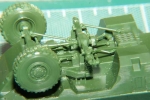
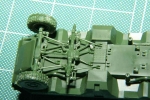
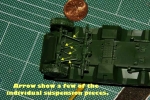
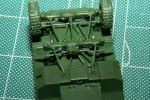
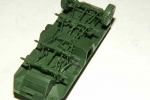
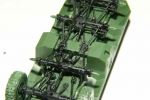
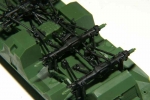
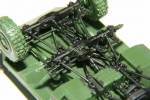
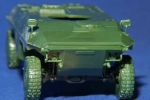
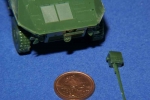
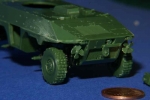
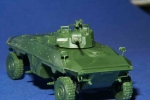
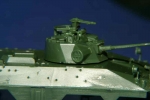
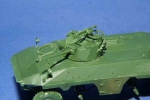
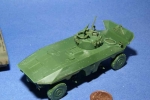
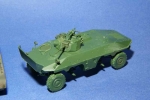
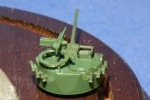
The instructions are divided into 43 construction steps. The number of parts per step can vary from 1 to almost a dozen. Some steps also include the further build up and attachment of subassemblies. The instruction illustrations can at times be extremely busy and I found it a must to re-reference steps before putting glue to plastic. Step 1 in the instructions was the assembly of the hull upper and lower pieces. This is followed by attaching the hull rear to the previously mated halves. Alignment of all the parts was fairly good but a bit of pre-assembly sanding was necessary to get a good fit. (pic 1-2) With Step 2 the start of the suspension assembly begins. I should note here that the overall suspension was to prove to be a trying and rather lengthy process. I cannot over emphasize the amount of care that will need to be taken during this process. A fair number of parts are not only side specific but also axle specific. This step only involves four parts (numbers 4-7) but it is crucial that you get all these aligned and oriented properly. Being slightly off at this early stage will only lead to greater problems later as each successive addition to the suspension magnifies any earlier error. The major thing to watch for with this stages parts is to have them sit as true and tight as possible in their respective locating holes and recesses. When complete, each of the bottom most pins on the eight spring ends should all touch equally on a flat level surface. (pic. 3) Steps 3, 4, 5, and 6 are the commencement of the assembly of the front most axle and its suspension elements. It may not be the best to follow the manufacturers assembly order for these steps. I had to review the instructions numerous times to determine what would be the most practical assembly order. It became quite obvious that following the suggested assembly order could lead to considerable difficulties when trying to place parts when others were placed prior to them. As a case in point, I left the attachment of the actual wheels to the axles until much later in the build process. These being glued on would have caused considerable interference when fitting other suspension components. The next item to tackle was the second forward axle and its pieces. Steps 7 through 12 are involved in this process. As with the first axle, care will need to be taken as parts orientation will be critical. With Steps 13 through 17 the third axle from the front of the vehicle is constructed. Again it was extremely necessary to double check that each component was correctly oriented. Steps 18 to 21 were the construction of the rear most axle and its components. By this point I felt that the worst might be over. With step 22 the final linkages for the suspension control arms are to be fitted. Also it is at this step that the instructions call for two shock absorbers to be fitted to each axle end. Having reviewed the instructions thoroughly prior to and during the build, I felt that waiting until this late stage in the build to place the shocks would have caused great locating difficulties. That is therefore why I chose to attach them much earlier. Various external details, including tools and external stowage, are the focus of Steps 26 through 37. Various lights, tow hooks grab rails and the like are attached to the external vehicle hull. Some of these items, in particular the grab rails, had rather thick and prominent sprue attachment points. It was while removing some of these pieces that I experienced that the Revell plastic was on the brittle side as a couple of pieces broke during their removal. Due to the miniscule size of some parts placement at times proved to be problematic. The turret construction was the subject of Steps 38 to 43. While seemingly simple enough it was not without difficulties. Several of the main turret pieces required careful filing of parts to achieve an equitable fit. The placement of the eight smoke dischargers was a study in frustration as their only locating feature was an extremely shallow dimple on the turret sides. There was also an issue with the brush guard over the right hand turret sight. It came as a two part affair (parts 83, 84) that almost defied being handled even by my smallest tweezers.Comments
Jan,
I hadn't noticed until just today that you had this well written build story! As I read through it I remembered your build log. I was glad to see the vehicle on your make-shift diorama setting again. I usually don't build modern stuff but I do have quite a few of them in the stash this being one of them. I really like your camouflage paint job . . . not easy to pull off in this tiny scale.
Happy you took the time to write this detailed build article, now I have it stored for future reference. Lots of excellent photos too!
Keep'em coming!
-Eddy
OCT 08, 2010 - 09:01 AM
Jan, me neither - I hadn't noticed this until today (have been hard at work, you see.) This reminded me of the Puma I built for the Matchbox Campaign, and your comment to me about the difficulty of keeping all eight wheels in contact with the ground; I didn't quite manage it and I have to say that despite the Puma suspension being far simpler than on this Luchs kit, I still managed to snap one of the suspension arms.
I have to agree with Eddy that the paint job is super, in that it is distinct enough to be very visible, yet subtle enough not to look like it would be ridiculous if you pumped it up to full size - in other words it has a very scale look about it.
Oh yeah, and I noticed how it had been on a little holiday out into the rockery. Nice for them to get a bit of sun and sand!
OCT 19, 2010 - 10:26 AM
@Braille - Eddy, I am happy that the article may be of use to you and others. I've had it in my stash for over ten years and was truly intimidated by the idea of building the suspension. I've seen a picture of one of these on the 'Net that had an accident and was tipped on its side. Great view of the suspension and a possible interesting vignette but you wouldn't see much of the rest of it.
The camo was the last paint job done with my old single action airbrush. I used brush painted lightened and thinned versions of the colours to outline the camo areas. When that was done I tried as best as possible to spray "between the lines."
@firstcircle - It was because of the Luchs and a previous build of the eight wheeled Stryker that I felt that I should caution those building eight wheeled vehicles during the Matchbox Campaign. Since then I have build another one (the BTR-80) so I must be somewhat masochistic with my choosing all these multi wheeled machines. Most frighteningly, I have another Luchs and an SdKfz 234/3 in the stash and waiting to torture me.
The painting was my first attempt to create the "scale effect" that I had just read about. All the base colours were initially lightened with white for their base application. With the base applied, I further lightened the colours to give more depth, variation or contrast.
Thanks for looking and especially commenting.
Cheers,
Jan
OCT 20, 2010 - 04:06 AM
Talk about strange, I obviously am another one who missed this article. I picked one of these up and have wondered about ever attempting to build it. I've saved the article for future reference for when I might get the courage to build mine. It's concise articles like this that are fantastic for a newer builder. And it's great when they are FREE!
Regards,
AJ
OCT 31, 2010 - 01:54 AM
Thanks for the comments, AJ. Late or not it keeps me inspired when people take the time to say that a review or article is helpful. If you try to build this beast, just take your time. Might be an interesting subject to build for the Braille Battlefield Campaign. (shameless plug)
Cheers,
Jan
NOV 01, 2010 - 03:28 AM
Copyright ©2021 by Jan Etal. Images and/or videos also by copyright holder unless otherwise noted. The views and opinions expressed herein are solely the views and opinions of the authors and/or contributors to this Web site and do not necessarily represent the views and/or opinions of Armorama, KitMaker Network, or Silver Star Enterrpises. All rights reserved. Originally published on: 2010-10-04 00:00:00. Unique Reads: 17240


