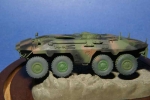
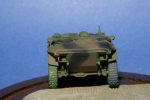
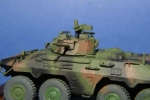
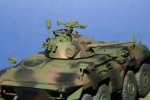
1⁄72SpPz 2 Luchs
6
Comments
Finishing and Weathering
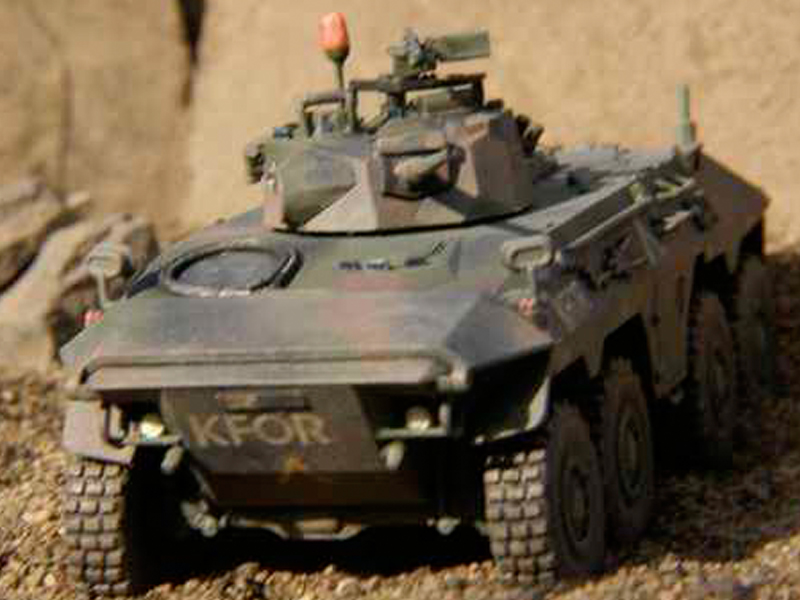
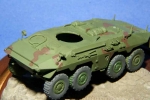
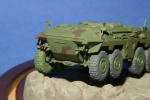
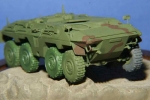
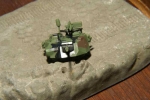
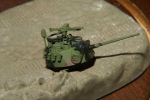
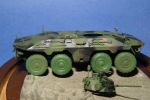
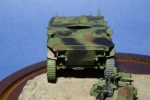
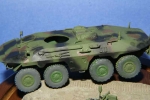
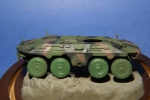
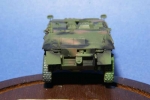
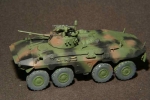
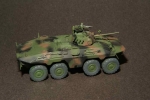
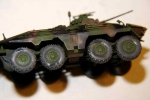
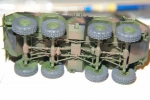
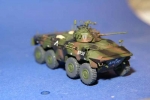
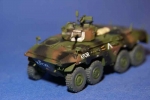
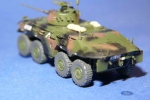
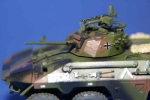
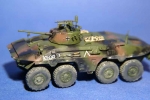
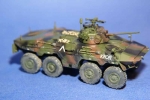
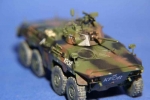
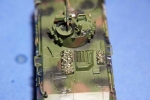
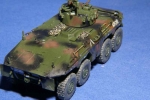
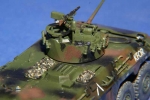
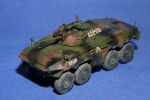
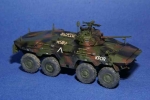
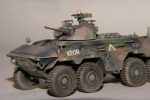
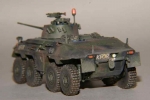
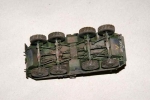
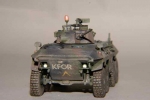
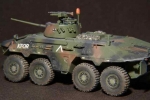
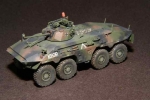
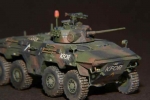
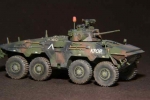
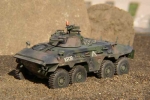
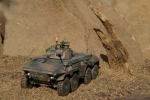
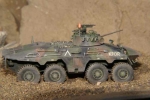
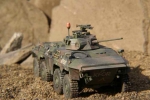
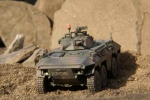
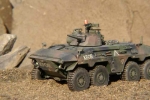
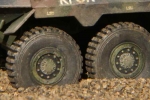
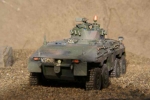
Painting was done primarily using Tamiya acrylics. Pre-shading was employed using XF-1 Flat Black and the suspension components were also coated with this colour. Being as intricate as the suspension pieces are, it was all but impossible to get good and thorough coverage using an airbrush. For them I used a brush and a partially diluted mixture of 60% paint and 40% Tamiya X-20A thinner. The latter has an added extender that assists in making the paint wetter so it applies smoothly and flows easily into all the nooks and crannies. The next part of the painting was to apply the camouflage to the vehicle. Tamiya NATO Green XF-67 was used as the overall base colour and airbrushed on. Being such a small subject, I initially tried my hand at brush painting the NATO Black XF-69 and Red Brown XF-64 colours onto the vehicle. Not being satisfied with the results I then practiced with my airbrush and was able to master it enough to apply the colours with it. It should be noted that to achieve a scale effect with the colours, I added varying amounts of white to each paint to lighten them. After spraying the vehicle with X-22 Gloss Clear I proceeded to apply the decals. I chose to use the decals for a unit operating in Velica Kusa, Kosovo in July 1999. Not all the decals for this unit were used as I based decal placement on numerous pictures of these vehicles that I found on the Internet. After applying a decal setting fluid and having it dry, I recoated the model with another layer of Gloss Clear to seal the decals. With the colours and shades pretty much to my liking I began my weathering process. The initial weathering was done on the gloss coated subject with lightened and thinned washes of Flat Earth XF-52 and Buff XF-57. The thinning was done in stages beginning at a ratio of 10% paint to 90% thinner. Following this I stared on the detail painting of the external vehicle stowage, lights and periscopes. For the periscopes I first applied a coat of Gunmetal XF-56 and after it was dry, a top coat of Clear Blue X-23. After all the detailing was complete I applied three successive coats of Model Master Acryl Flat Clear #4636. My final weathering consisted of more light applications of Dark Earth and Buff using pieces of a stencil sponge. The last step in this process involved various colours of Delta Ceram coat artist acrylics that were diluted and sponged on. A final coat of Flat Clear sealed all these efforts.Conclusions
I have had two of these vehicles in my stash for years and always procrastinated in constructing one. My inhibitions about building proved to be quite justified as the suspension alone proved to be as intimidating as I originally envisioned. The thought of getting all eight wheels of such a complex suspension to sit squarely on a flat surface seemed almost impossible. After successfully getting a few newer small scale kits built, I felt that I might have the necessary skills to tackle one of these beasts. Considering its age, the Revell Luchs proved to be a fine kit of this rather unique vehicle. My only wish was that all the hatches had not been moulded closed. The build was not without its own issues and I certainly would not recommend it to a novice builder. The skills that I learned have both boosted my confidence and allowed me to look forward to future challenges.Comments
Jan,
I hadn't noticed until just today that you had this well written build story! As I read through it I remembered your build log. I was glad to see the vehicle on your make-shift diorama setting again. I usually don't build modern stuff but I do have quite a few of them in the stash this being one of them. I really like your camouflage paint job . . . not easy to pull off in this tiny scale.
Happy you took the time to write this detailed build article, now I have it stored for future reference. Lots of excellent photos too!
Keep'em coming!
-Eddy
OCT 08, 2010 - 09:01 AM
Jan, me neither - I hadn't noticed this until today (have been hard at work, you see.) This reminded me of the Puma I built for the Matchbox Campaign, and your comment to me about the difficulty of keeping all eight wheels in contact with the ground; I didn't quite manage it and I have to say that despite the Puma suspension being far simpler than on this Luchs kit, I still managed to snap one of the suspension arms.
I have to agree with Eddy that the paint job is super, in that it is distinct enough to be very visible, yet subtle enough not to look like it would be ridiculous if you pumped it up to full size - in other words it has a very scale look about it.
Oh yeah, and I noticed how it had been on a little holiday out into the rockery. Nice for them to get a bit of sun and sand!
OCT 19, 2010 - 10:26 AM
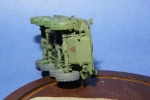
@Braille - Eddy, I am happy that the article may be of use to you and others. I've had it in my stash for over ten years and was truly intimidated by the idea of building the suspension. I've seen a picture of one of these on the 'Net that had an accident and was tipped on its side. Great view of the suspension and a possible interesting vignette but you wouldn't see much of the rest of it.
The camo was the last paint job done with my old single action airbrush. I used brush painted lightened and thinned versions of the colours to outline the camo areas. When that was done I tried as best as possible to spray "between the lines."
@firstcircle - It was because of the Luchs and a previous build of the eight wheeled Stryker that I felt that I should caution those building eight wheeled vehicles during the Matchbox Campaign. Since then I have build another one (the BTR-80) so I must be somewhat masochistic with my choosing all these multi wheeled machines. Most frighteningly, I have another Luchs and an SdKfz 234/3 in the stash and waiting to torture me.
The painting was my first attempt to create the "scale effect" that I had just read about. All the base colours were initially lightened with white for their base application. With the base applied, I further lightened the colours to give more depth, variation or contrast.
Thanks for looking and especially commenting.
Cheers,
Jan
OCT 20, 2010 - 04:06 AM
Talk about strange, I obviously am another one who missed this article. I picked one of these up and have wondered about ever attempting to build it. I've saved the article for future reference for when I might get the courage to build mine. It's concise articles like this that are fantastic for a newer builder. And it's great when they are FREE!
Regards,
AJ
OCT 31, 2010 - 01:54 AM
Thanks for the comments, AJ. Late or not it keeps me inspired when people take the time to say that a review or article is helpful. If you try to build this beast, just take your time. Might be an interesting subject to build for the Braille Battlefield Campaign. (shameless plug)
Cheers,
Jan
NOV 01, 2010 - 03:28 AM
Copyright ©2021 by Jan Etal. Images and/or videos also by copyright holder unless otherwise noted. The views and opinions expressed herein are solely the views and opinions of the authors and/or contributors to this Web site and do not necessarily represent the views and/or opinions of Armorama, KitMaker Network, or Silver Star Enterrpises. All rights reserved. Originally published on: 2010-10-04 00:00:00. Unique Reads: 17240


