_GOTOBOTTOM
Dioramas
Do you love dioramas & vignettes? We sure do.
Panzerjaeger Vignette
FAUST
#130
Visit this Community
Noord-Holland, Netherlands
Joined: June 07, 2002
KitMaker: 8,797 posts
Armorama: 4,190 posts
Posted: Tuesday, July 22, 2008 - 12:48 PM UTC
Ola guys

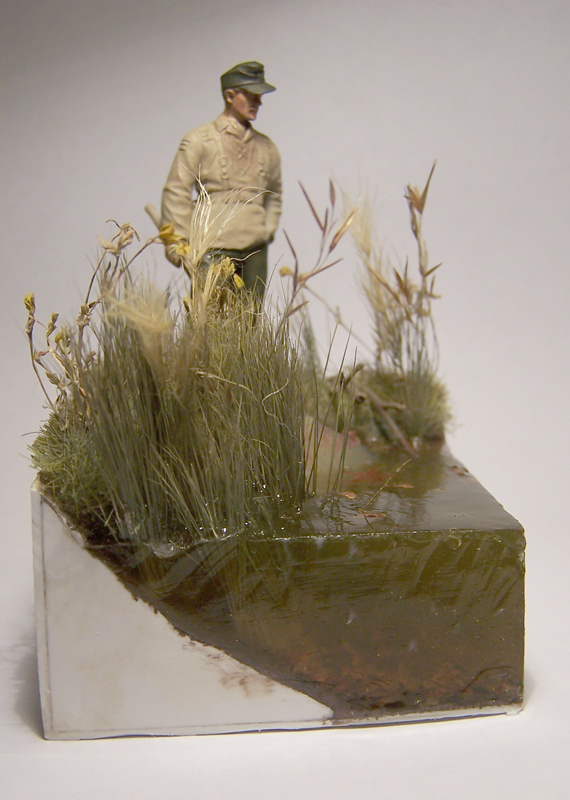
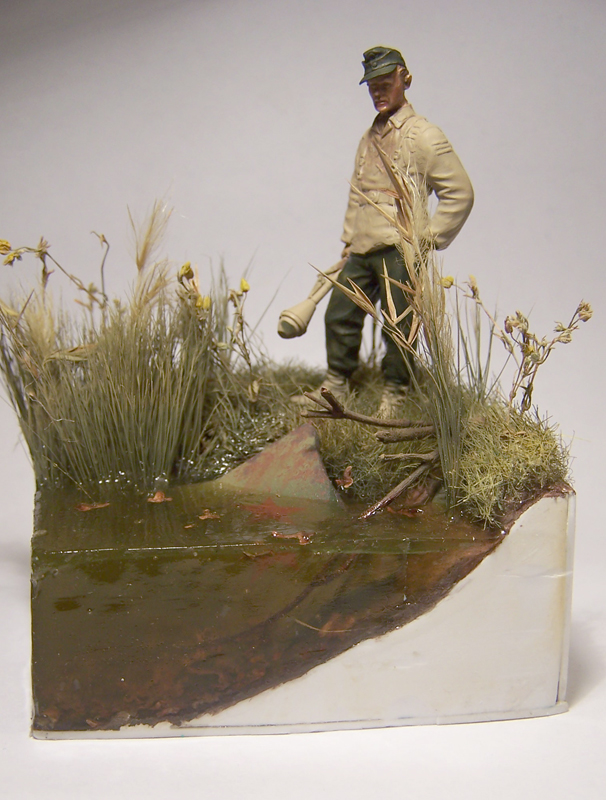
Well I started another vignette. Probably the gazillionth I´m currently having on the bench. However this is a vignette with a twist. This started out as a study object for my sFH18 dio and is a school example of how something `simple` turns out to become something elaborate. In my sFH18 dio I want a bit of water and I have an immense fear of water... in scale that is. A while ago I bought a water product from the company Faller and to become a bit familiar with the product and to see how it behaves I decided to make a `simple` vignette base... Originally only the ground and water. Some plants and a pole to see how the water product reacts with the stuff and if it looks convincing enough. While I was working on it more and more things got added. And with the figure I decided to skip the pole and go with a piece of exploded tank. There is still a lot of work left before I can pour the water. And I want to add some ideas I have to see if it works.
Ok here are the pics... not the best since the camera I usually use is with my parents in Germany... I had to take these with the phone.
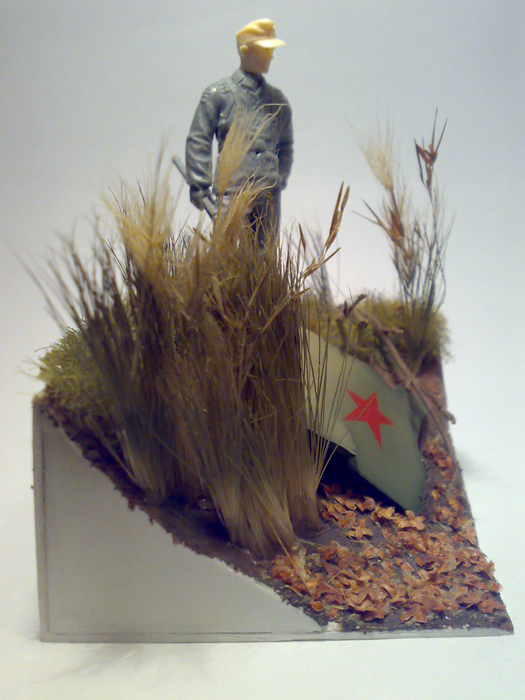
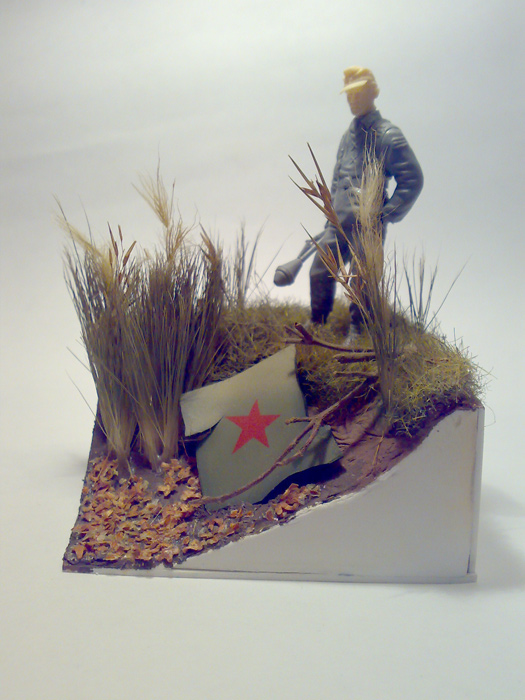
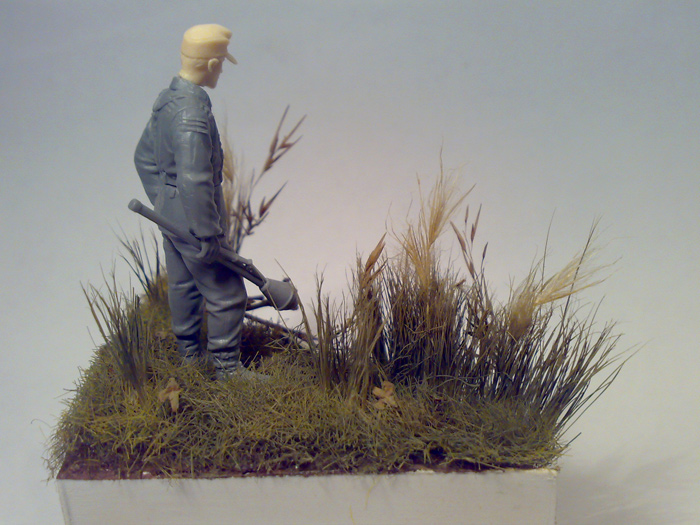
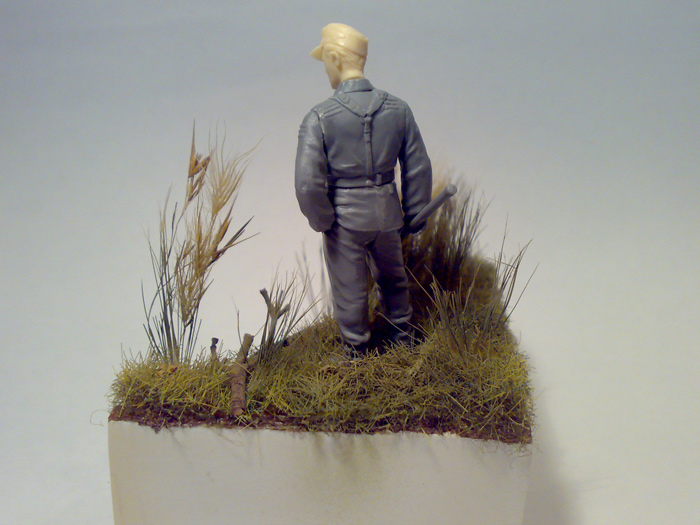
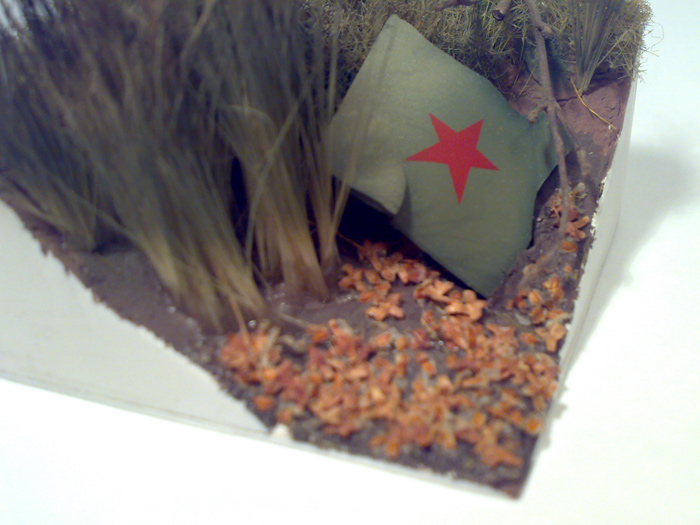
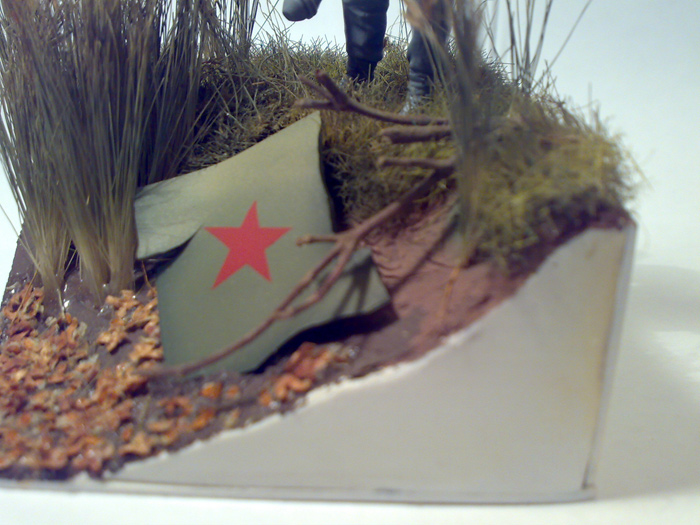
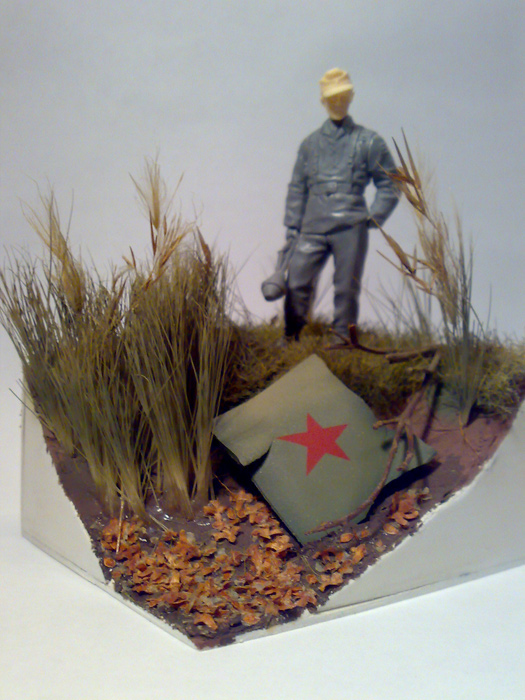

Before I pour the water I have to add some things that are below waterlevel. I start painting the figure when I am satisfied with how the water turns out. Because since this is a testpiece it is not really a shame when I screw it up... Well of course it is... but then for less time. I´m really looking forward to get rid of my fear of water... and I hope that the Faller Waterproduct is the way to make that.
I´m curious to your reactions
ZippZiggy
Visit this Community
Arizona, United States
Joined: July 12, 2007
KitMaker: 79 posts
Armorama: 56 posts
Posted: Tuesday, July 22, 2008 - 01:44 PM UTC
Cool

I've always been quite partial to vignettes. They are quick and easy to make but can still have allot of detail squeezed into them. And you have done just that. Cant wait to see it finished.

Good Luck
Belt_Fed
Visit this Community
New Jersey, United States
Joined: February 02, 2008
KitMaker: 1,388 posts
Armorama: 1,325 posts
Posted: Tuesday, July 22, 2008 - 03:43 PM UTC
perhaps you should muddy up the bottom of the panel??
Tarok
Visit this Community
Victoria, Australia
Joined: July 28, 2004
KitMaker: 10,889 posts
Armorama: 3,245 posts
Posted: Tuesday, July 22, 2008 - 05:36 PM UTC
Ola Robert

Very nice mijn vriend! Although I don't think this is technically a vignette if there's only the one figure I'll be following closely as I love these small little scenes - especially those with bits of vehicles in

You should post this on HF as well

Rudi
FAUST
#130
Visit this Community
Noord-Holland, Netherlands
Joined: June 07, 2002
KitMaker: 8,797 posts
Armorama: 4,190 posts
Posted: Tuesday, July 22, 2008 - 08:29 PM UTC
Ola Guys

Thanks a lot for your replies.

@ Jordan. You are absolutely right they are quick to make... Currently there is only like three and a half hour invested in making it as far as this. The coming additions will probably take up a little more time since there is some sculpting involved.

@ Jon
The bottom corner of the plate is actually embedded in the mud... However I like the idea of loose sediment that fell back on the panel. Will see what I can do with that.

@ Rudi
Bedankt bedankt voor de lovende woorden. I have posted it on HF as well... changed the title to Figure Display instead of Vignette... damn "purists" here
Tarok
Visit this Community
Victoria, Australia
Joined: July 28, 2004
KitMaker: 10,889 posts
Armorama: 3,245 posts
Posted: Tuesday, July 22, 2008 - 08:31 PM UTC

Quoted Text

@ Rudi
Bedankt bedankt voor de lovende woorden. I have posted it on HF as well... changed the title to Figure Display instead of Vignette... damn "purists" here


Bedankt
FAUST
#130
Visit this Community
Noord-Holland, Netherlands
Joined: June 07, 2002
KitMaker: 8,797 posts
Armorama: 4,190 posts
Posted: Wednesday, July 23, 2008 - 04:15 AM UTC
No problemo
210cav
Visit this Community
Virginia, United States
Joined: February 05, 2002
KitMaker: 6,149 posts
Armorama: 4,573 posts
Posted: Wednesday, July 23, 2008 - 08:28 AM UTC
Robert--quick question for you...how do you eliminate the seams in your figures? I have tried putty which is really messsy and leaves residue to Mr Surfacer 500 which destroys some surface details with no luck.
thanks
DJ
exer
Visit this Community
Dublin, Ireland
Joined: November 27, 2004
KitMaker: 6,048 posts
Armorama: 4,619 posts
Posted: Wednesday, July 23, 2008 - 12:44 PM UTC
Nice work Robert, I'll be interested in how the water product works- I too have put off having water in dios.
FAUST
#130
Visit this Community
Noord-Holland, Netherlands
Joined: June 07, 2002
KitMaker: 8,797 posts
Armorama: 4,190 posts
Posted: Wednesday, July 23, 2008 - 12:52 PM UTC
Ola Guys

Thanks for your replies.

@DJ
Easiest way for filling seams I learned years ago and never changed it. I use ordinary Tamiya putty. The stuff that comes in a tube. Be messy... make sure you fill the seams good. Invest some money in nailpolish remover but make sure it is the variant without Aceton in it. In holland this variant is always pink of color. Make a Q tip wet with the nailpolish remover and rub off the excess putty. You will find out this goes extremely easy and this way the seam gets filled and the excess is worked away... without damaging any detail.

@ Pat
You have no idea how curious I am to see if this water product works well. The instructions sound easy enough for a complete monkey like me. I'll keep you all updated on the waterfront
FAUST
#130
Visit this Community
Noord-Holland, Netherlands
Joined: June 07, 2002
KitMaker: 8,797 posts
Armorama: 4,190 posts
Posted: Friday, August 08, 2008 - 11:51 AM UTC
Ola Guys

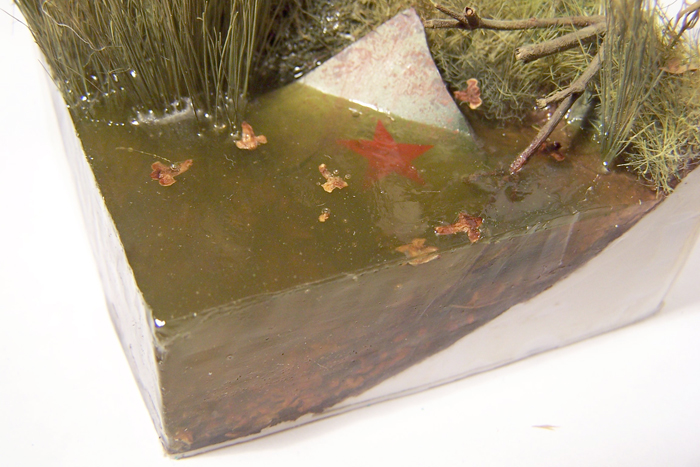
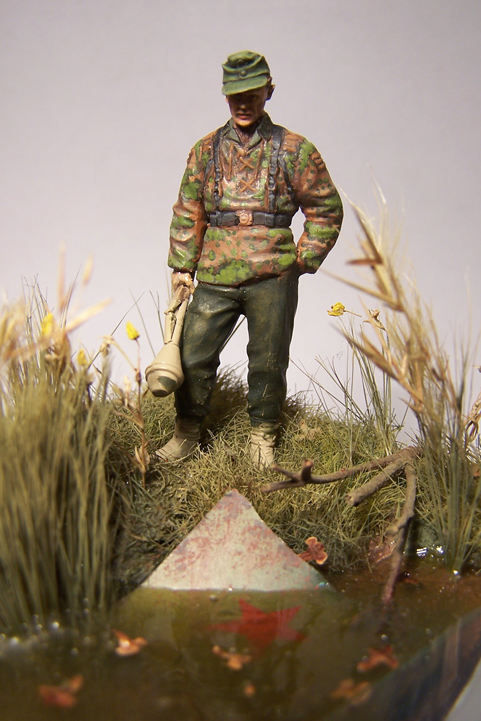
Time for another update. I want to start off with saying that I have learned a lot the last two days. And it was very close or the whole thing dissapeared into the garbage bin this morning. It was eventually saved by a bottle of Tamiya Clear.
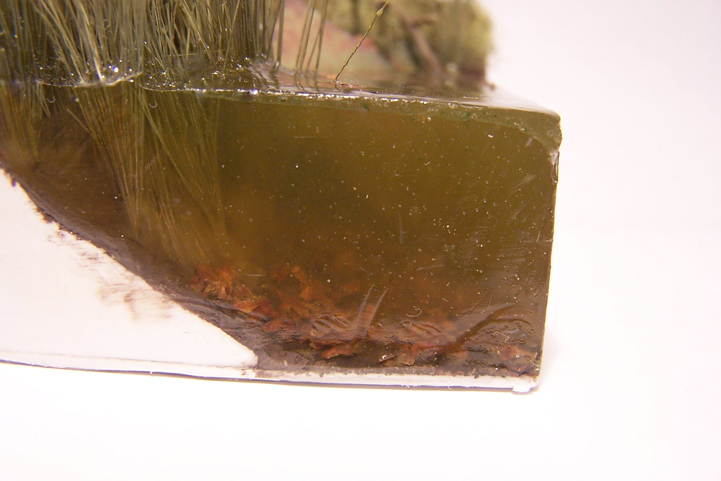
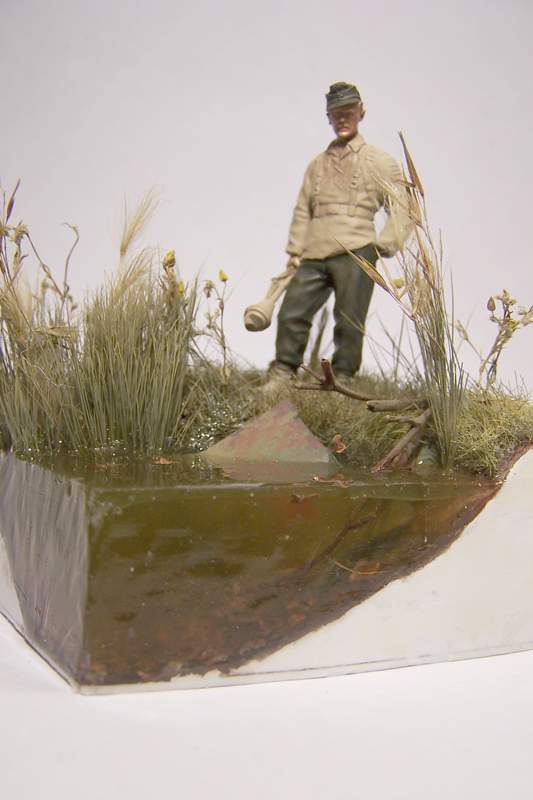
I have encountered pretty much everything with this resin. Most of the things happened by not really thinking things through. Made a cofferdam from styrene and taped it to the base. The cofferdam started leaking because I did not make much effort to make it watertight. Luckily the resin hardened before the base was empty but I had to pour another layer to fill up the resin I lost. This morning I found out that the resin sticked quite aggressively to my cofferdam and I had to chip it away with the hobbyknife to get it off. Needless to say that this did not do the resin much good. Lot of scratches and scrapes. Tried to polish it with the motortool but picked the wrong polishing pad and made the resin even less transparent on the sides. After that the right polishing pad could not save it anymore. It was around this moment that I thought... srew it... in the bin with you. However when i sat at breakfast an idea came up and I decided to try it because in my eyes I could not make it any worse then it was now. I noticed that when I made the resin wet it became transparant again. So I took some tamiya clear and brushed it on... Low and behold it did work and saved the whole project. Aside from all the problems listed above I have added some weed I found on the driveway and I started painting the figure.

Here are the pics


Wise lessons I learned the last two days.
- I will not be good friends in short term with the water product from faller. It dries weird, It remains a bit rubbery and flexible. It does not color easy and when paint is added it does not keep it's transparant appearance.
- pouring resin is not as hard as it looks.
- next project make sure the cofferdam is watertight
- Applying petroleum jelly on the inside of the cofferdam to prevent the resin sticking to it
- the moss I used at the waterside soaks up resin like a sponge and that looks odd.
- Enamel colors resin better then Acrylic paint (came out in some small scale tests)
- Clear laquer can make scratched and scraped resin transparant again. ( to my surprise this worked really well.)
- and of course the all time Cliché... never give up.

Only things left to do is painting the white sides of the base in a dark color (will make the water stand out even more) Painting the figure and thinking of a name for the project.

As usual I'm very curious to you guys feedback
krom1415
Visit this Community
England - South East, United Kingdom
Joined: August 09, 2008
KitMaker: 7 posts
Armorama: 3 posts
Posted: Friday, August 08, 2008 - 10:52 PM UTC
Wow, coming along a treat. The water does look very good, I like the colour and how you have made the river bottom, with all the debrie.
I see what you mean with the resin lifting up on the reeds, I would be interested in how this could be overcome to some degree. also what product did you use for the reeds, as they look super.

Looking forward to seeing that figure painted
marsiascout
Visit this Community
Noord-Brabant, Netherlands
Joined: March 24, 2008
KitMaker: 1,247 posts
Armorama: 913 posts
Posted: Saturday, August 09, 2008 - 06:01 AM UTC
Great idea placing leaves on the bottom.

Lars
martyncrowther
Visit this Community
England - West Midlands, United Kingdom
Joined: September 12, 2007
KitMaker: 1,548 posts
Armorama: 1,407 posts
Posted: Saturday, August 09, 2008 - 09:45 PM UTC
Rob cracking liitle vignette i love the water!
its cracking i might try the water ive read your tips .

is it ok for beginners?

i want to try it

martyn
whittman181
Visit this Community
Massachusetts, United States
Joined: December 30, 2006
KitMaker: 646 posts
Armorama: 473 posts
Posted: Sunday, August 10, 2008 - 07:37 AM UTC
The quality of work at Armorama is stunning , great job Bob
FAUST
#130
Visit this Community
Noord-Holland, Netherlands
Joined: June 07, 2002
KitMaker: 8,797 posts
Armorama: 4,190 posts
Posted: Monday, August 11, 2008 - 06:51 AM UTC
Ola Guys

Thanks a lot for you replies They are much appreciated.

@ Krom
Thanks a lot for the kind words. Well you can't really overcome that the resin crawls up a bit on the reed since it is one of the natural habits of fluids. and that I don't even think is the biggest problem since real water does the same. The problem is in the Moss which is just on the left of the Armored plate in the water. You see it shining. It is well visible in the 2nd and 3rd pic. I have to go over it with some matt laquer to get rid of that.
The reeds are made of several things. The longer stems are from cheap soft haired brushes that you can find in the DIY store (the tan colored version). The plumes are from a decorative reed found in a florist shop. The Long darker type of reed with the sharp leaves is ordinary grass found in the roadside and dried. All of the stuff received a coat of paint of sorts to help blend everything in with the rest of the scene.

@ Lars
Thanks for the nice words.

@ Martyn
You really should give it a go. It was a lot easier then I expected it to be. And it gives a nice extra dimension to your dio's. As to answer your question if it is easy enough for beginners. It wa smy first time pouring water... So I'm as beginner as you can get. Surely that is something other people can do too.

@ Bob
Thanks for the nice word. Indeed the quality on Armorama is getting better and better. I hope to get there too on that same level one day.
exer
Visit this Community
Dublin, Ireland
Joined: November 27, 2004
KitMaker: 6,048 posts
Armorama: 4,619 posts
Posted: Monday, August 11, 2008 - 06:57 AM UTC
It worked out really well so far Robert. Would you use the Faller water again or next time try something different?
FAUST
#130
Visit this Community
Noord-Holland, Netherlands
Joined: June 07, 2002
KitMaker: 8,797 posts
Armorama: 4,190 posts
Posted: Monday, August 11, 2008 - 08:23 AM UTC
Ola Pat

Well the thing with this test project was that it was initially to test the water product from Faller. But before I poured it into the test base I experimented with plastic cups and didn't like how it dried. Also I didn't like the way it colored when adding paint. So instead of using the Faller Product I went with a 2 part Epoxy resin from the Wilsor brand. Quite cheap but as you can see works pretty nice.
guygantic
Visit this Community
Antwerpen, Belgium
Joined: August 19, 2006
KitMaker: 7,084 posts
Armorama: 970 posts
Posted: Monday, August 11, 2008 - 09:05 AM UTC
Hi Robert, this looks so wet man ! I think you did it great ! G.
martyncrowther
Visit this Community
England - West Midlands, United Kingdom
Joined: September 12, 2007
KitMaker: 1,548 posts
Armorama: 1,407 posts
Posted: Monday, August 11, 2008 - 12:03 PM UTC
thanks mate i will try the water what waterproducts do you suggest and great vignette i love it keep up the great work

martyn
FAUST
#130
Visit this Community
Noord-Holland, Netherlands
Joined: June 07, 2002
KitMaker: 8,797 posts
Armorama: 4,190 posts
Posted: Tuesday, August 12, 2008 - 09:09 PM UTC
Ola Guys

Sorry for my late response

@ Guy. Thanks for the kind words. They are really appreciated.

@ Martyn. I would recommend you resin. it sounds intimidating at first but after doing some tests in plasticcups I already found out that the resin won hands down from the product from faller which is easier to work with but doesn't look very convincing at all.
05Sultan
#037
Visit this Community
California, United States
Joined: December 19, 2004
KitMaker: 2,870 posts
Armorama: 1,458 posts
Posted: Wednesday, August 13, 2008 - 06:07 AM UTC
That is a great little vignette,Robert! Casting clears is almost always an iffy thing,never a sure deal at all. What I found during my learning process was if you do want to color or tint the polyester resin,it's best to use the agents made for that purpose. However, one way to get tint into the water is to cast a clear block and then coat it with thin layers of Future tinted with either acrylics or water colors or even food coloring! The resin has to be fully cured to do this otherwise ti will be a mess.Using the Future trick,you can achieve clouding in the water,stirred up from the bottom so to speak. Keep the layers of Future thin or they won't dry fast or too glossy. Not sure if you can layer this way either,as in resin/Future/resi/etc. Might crackle the Future layer? Also might look odd from the side view but totally killer from the top!
Cheers for great Stuff!
Rick
FAUST
#130
Visit this Community
Noord-Holland, Netherlands
Joined: June 07, 2002
KitMaker: 8,797 posts
Armorama: 4,190 posts
Posted: Wednesday, August 13, 2008 - 09:48 AM UTC
@ Rick Thanks for the tips... I will keep them in mind when my next waterproject comes up... which should be pretty soon.

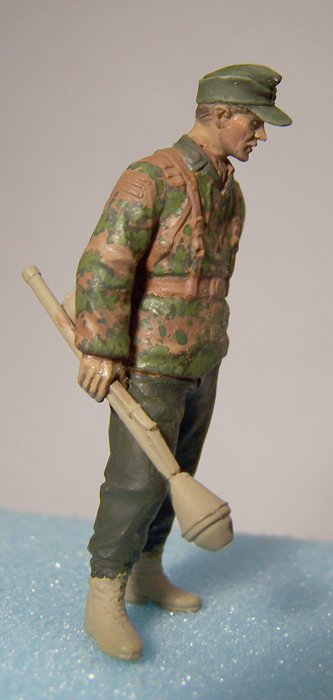
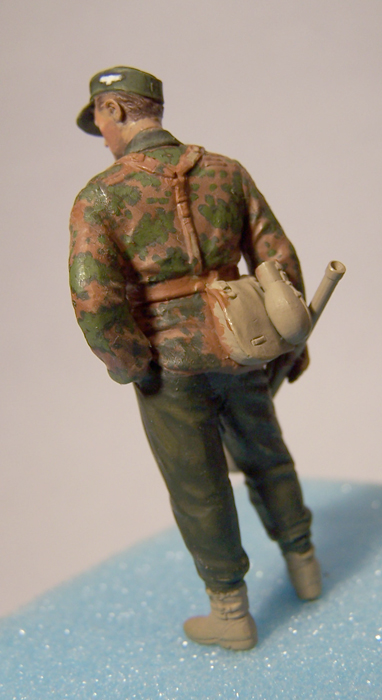
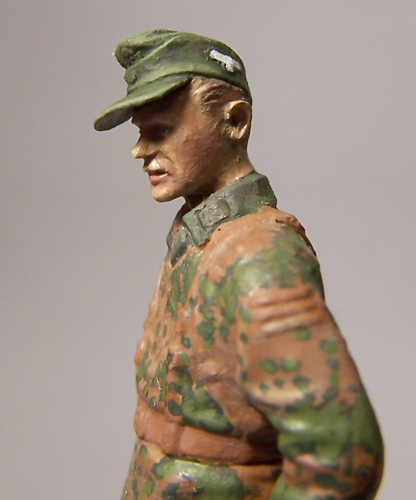
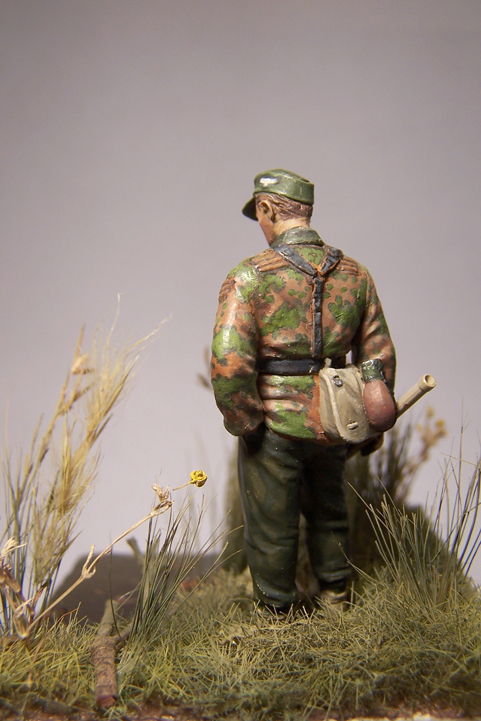
Well another update. Figurepainting still isn't completely my thing. Got a lot to learn and it must be fantasic to one day master it. But we keep going on and see where we will end up. Below are the fruits of some paintwork. Still a lot to do.


Looking forward to your feedback.
chefchris
Visit this Community
North Carolina, United States
Joined: February 06, 2006
KitMaker: 1,544 posts
Armorama: 1,464 posts
Posted: Wednesday, August 13, 2008 - 01:34 PM UTC
Robert, Excellent work! One thing - the end of the Panzer faust should not be hollow- there was a cap an the end so either sand the rasied portion flush, or "cap" the end.

Chris
FAUST
#130
Visit this Community
Noord-Holland, Netherlands
Joined: June 07, 2002
KitMaker: 8,797 posts
Armorama: 4,190 posts
Posted: Wednesday, August 20, 2008 - 11:51 AM UTC
Ola Chris

Thanks a lot for the Info on the Panzerfaust. In this update it is not yet changed but I have not yet started the Panzerfaust anyway so I have time and place to change it.

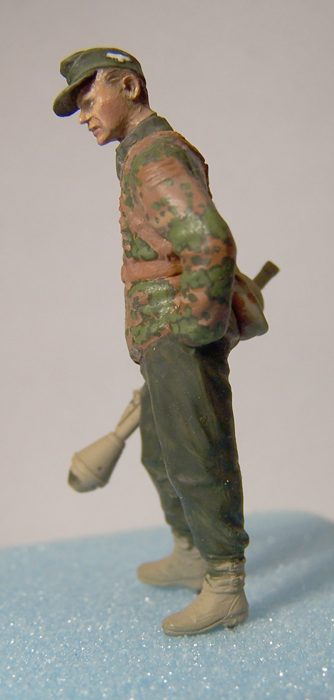
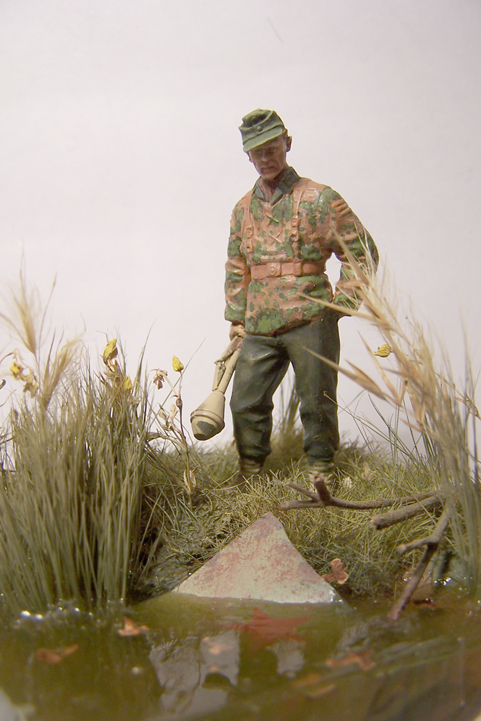
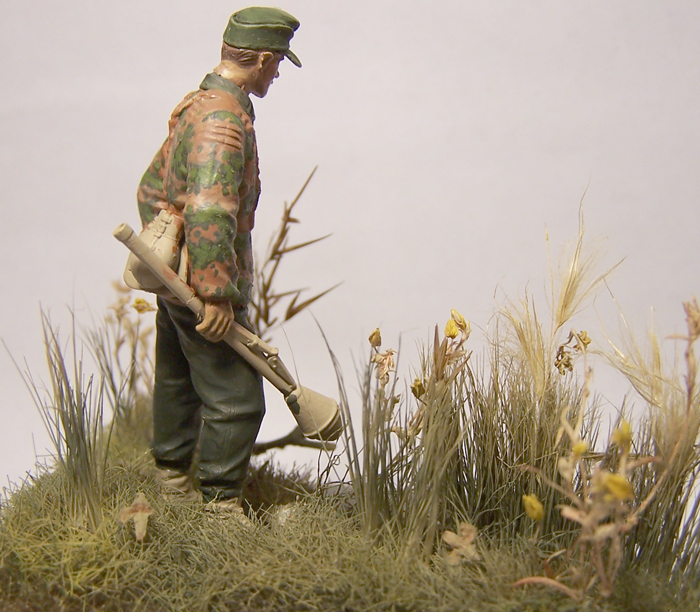
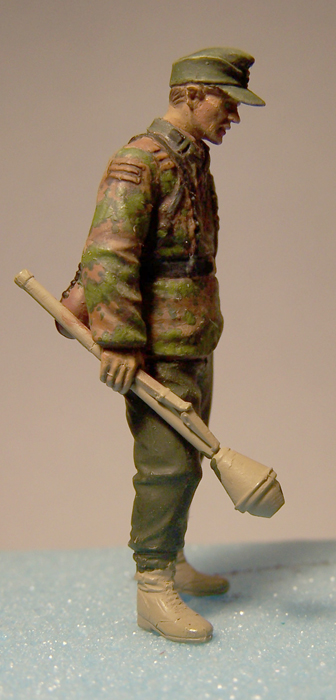
Well I did some more on the figure. Painted his camo a bit brighter ( I like colors) And did some shading and highlighting on the jacket... which I found out is very hard on camo.
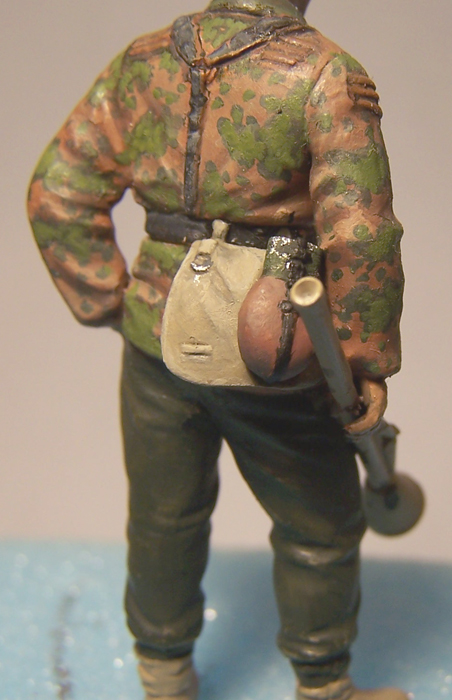
Painted the breadbag and the canteen. Did some outlining on the uniform jacket and painted the Y strap and belt. Have to do some touchups And then the uniform and the jacket get their Mat laquer threatment which makes the clothes well... matt and it hides some of the thick paint. Then on to the mans trousers


Looking forward to your opinions
 _GOTOTOP