_GOTOBOTTOM
Constructive Feedback
For in-progress or completed build photos. Give and get contructive feedback!
Italeri 1/9 Harley Davidson WLA
russamotto
Visit this Community
Utah, United States
Joined: December 14, 2007
KitMaker: 3,389 posts
Armorama: 2,054 posts
Posted: Sunday, May 15, 2016 - 11:22 PM UTC
I was recently sent the Italeri Harley Davidson WLA to build. While I haven't yet submitted the box review of the kit, I have been working on it as time permits and have made some progress. The box says "new tool" but I don't know what was newly done. The sprues appear to be the same as the original release, with heavy mold seams, flash, sink marks, and no parts numbering on the sprues themselves. Perhaps the vinyl parts are new, as the tires are very nice looking. The clear parts are very clear and do not appear to have any distortions.

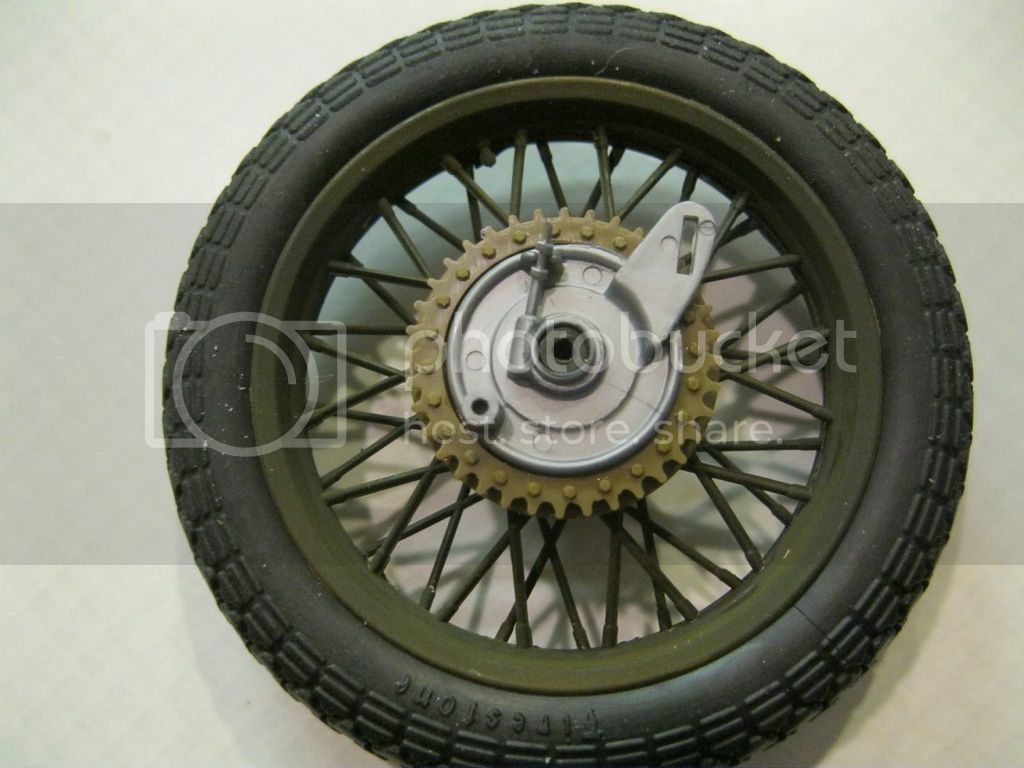
Assembly starts with the tires. I painted the rims beforehand hoping to save some hassle, but I will have to go over them again once things are complete. There is a silver colored sprue with parts for the engine, brakes and such, but many of these parts will be painted OD or black.
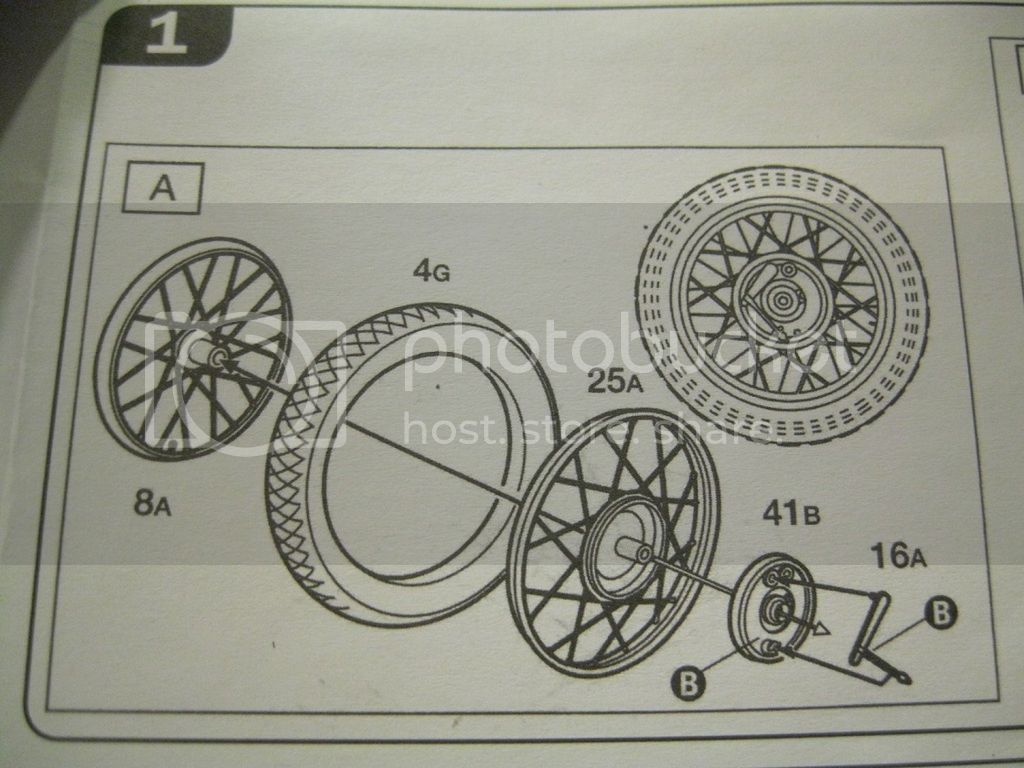
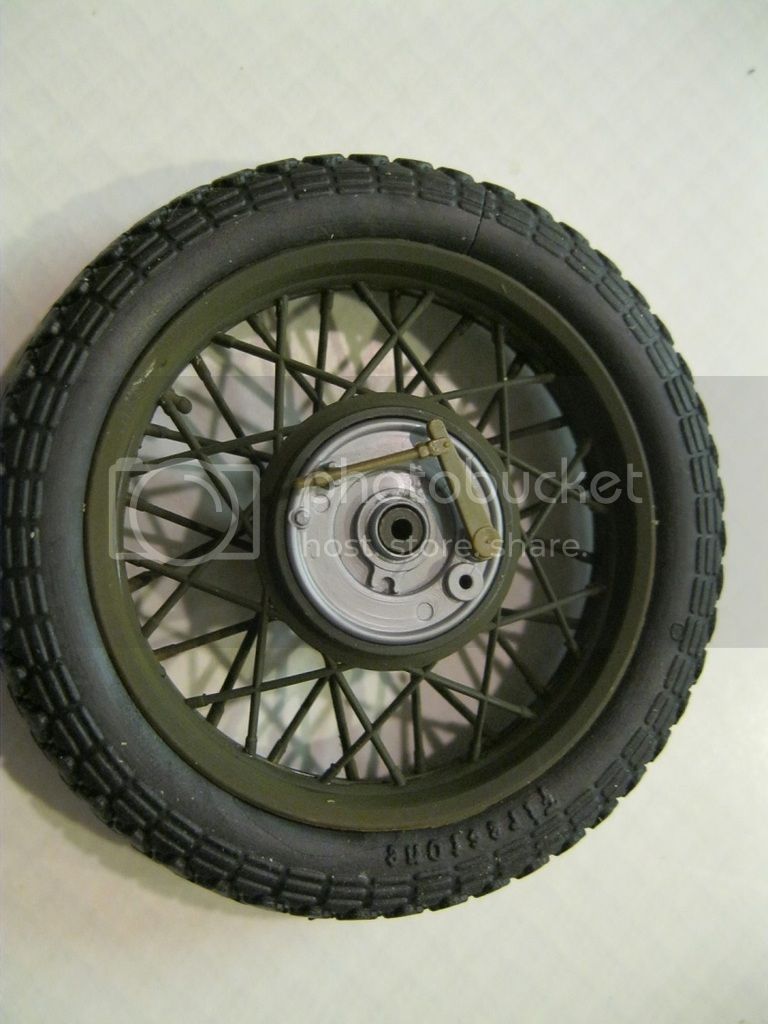



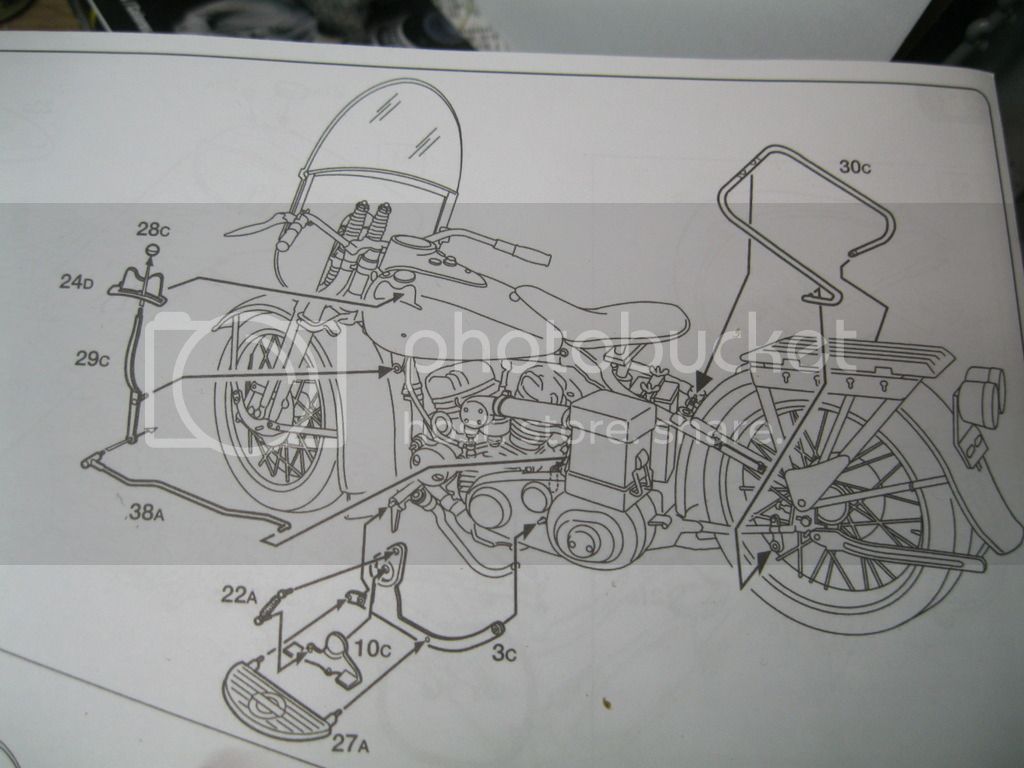
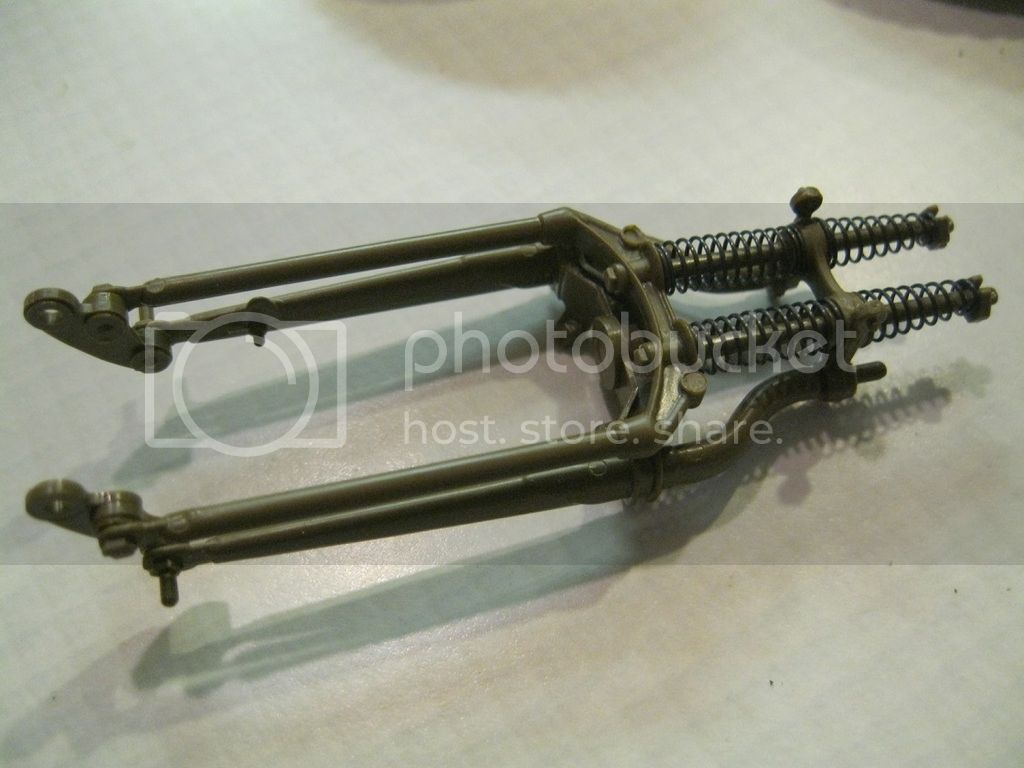
I have spent quite a bit of time examining the instructions to make sure I have things the right way. Sometimes it is hard to tell. Of course, I managed to get one of the more obvious parts backwards when I assembled the front forks. The parts may have been intended to be built moveable, but I fixed things in place as I didn't see a way to keep the parts together.



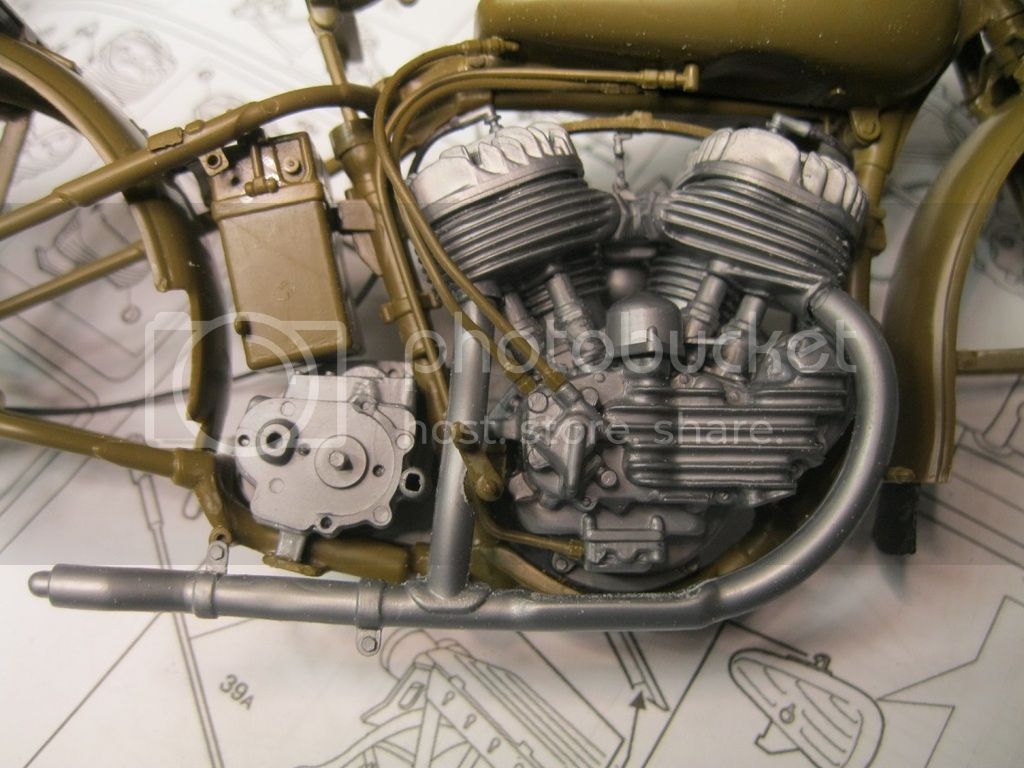
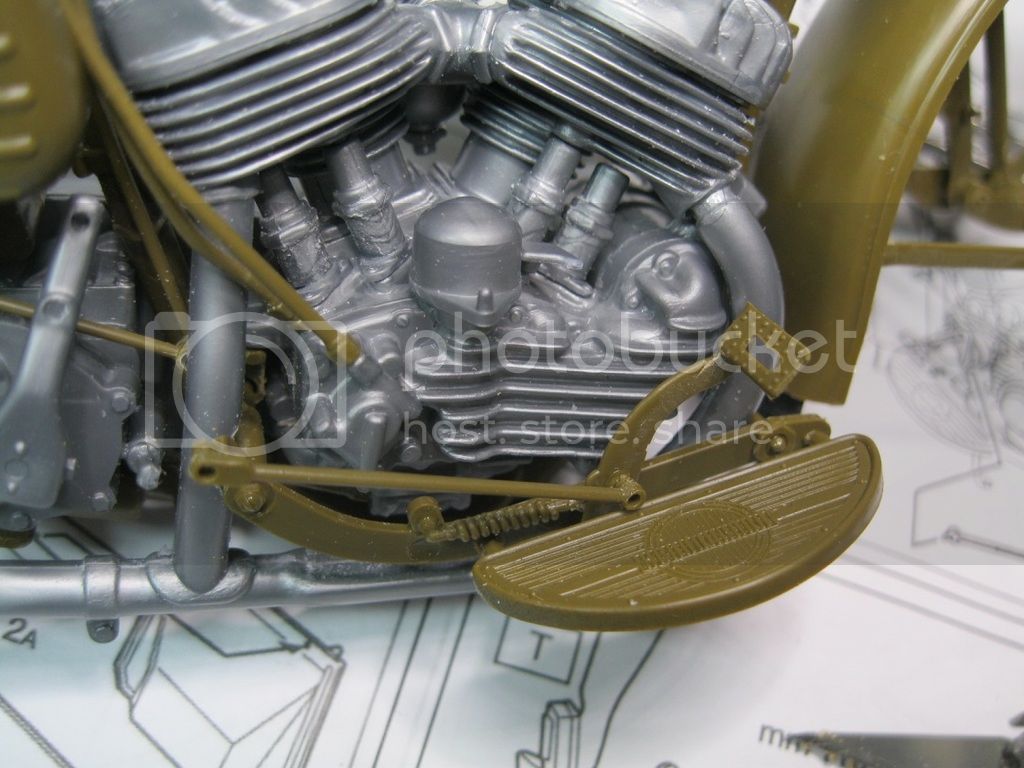
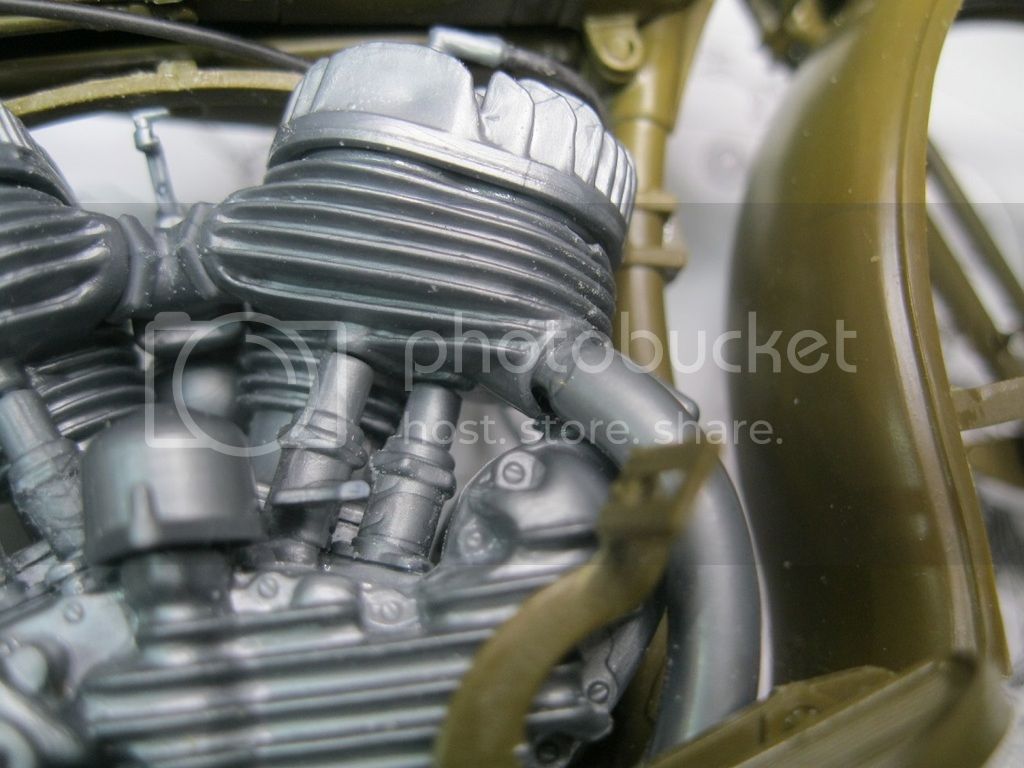
Next up is assembly of the engine. Details look generally good, and seam lines aren't as bad as other parts, but still there. Fit of the parts is not good. Vinyl tubing is included for fuel and electrical lines.


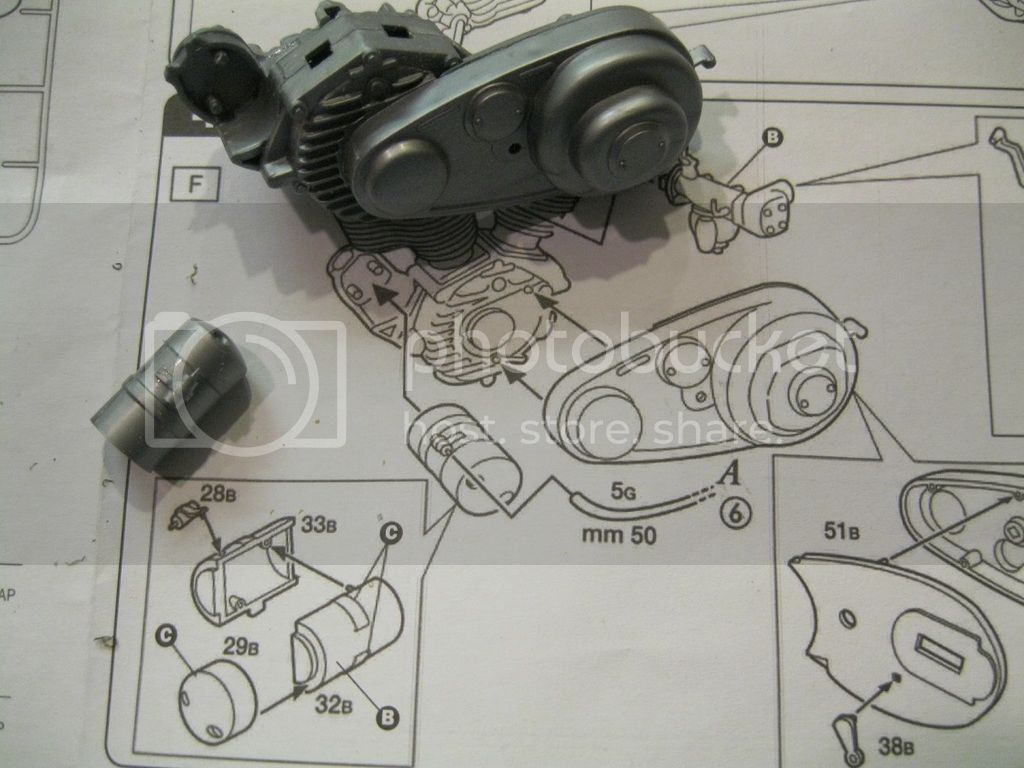


I put the engine parts together but had misplaced my camera, so I missed out in some of the explanation. The frame comes together in two halves but I could not get them to align perfectly. Somewhere on the frame there was an issue. Once it was assembled there was a lot of cleanup. It still looks rough in some areas. There are a couple of parts to watch for. The seat base and spring should move to allow the seat to go up and down. The vinyl chain goes through an opening in the frame that has a part to plug the gap.
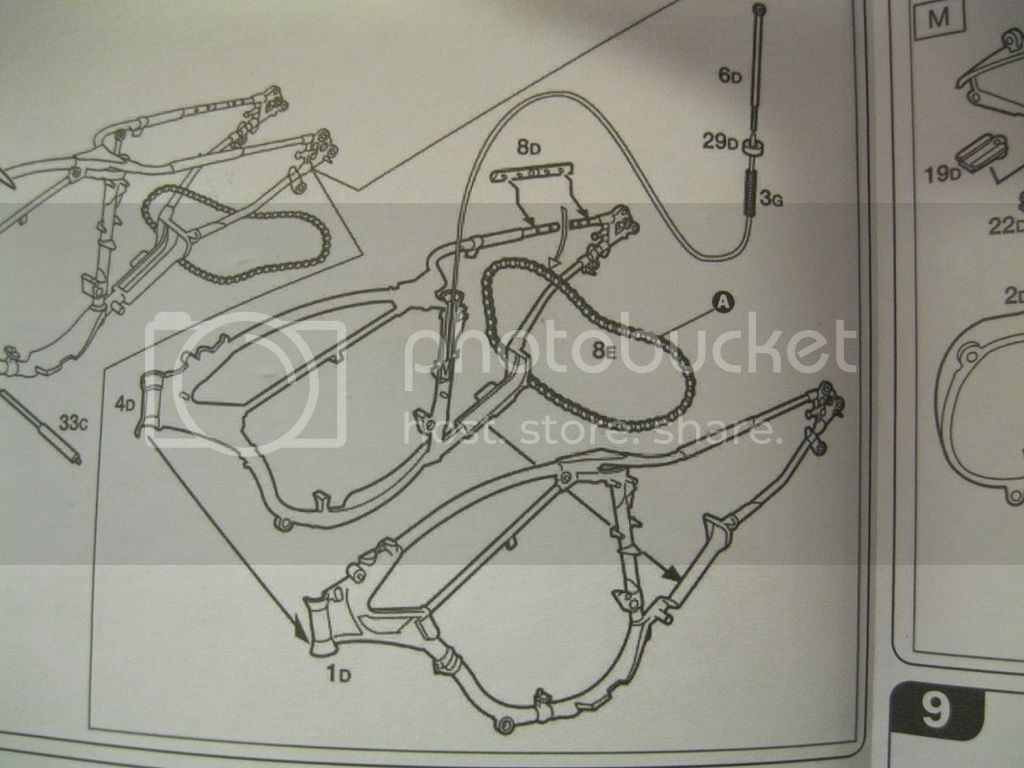
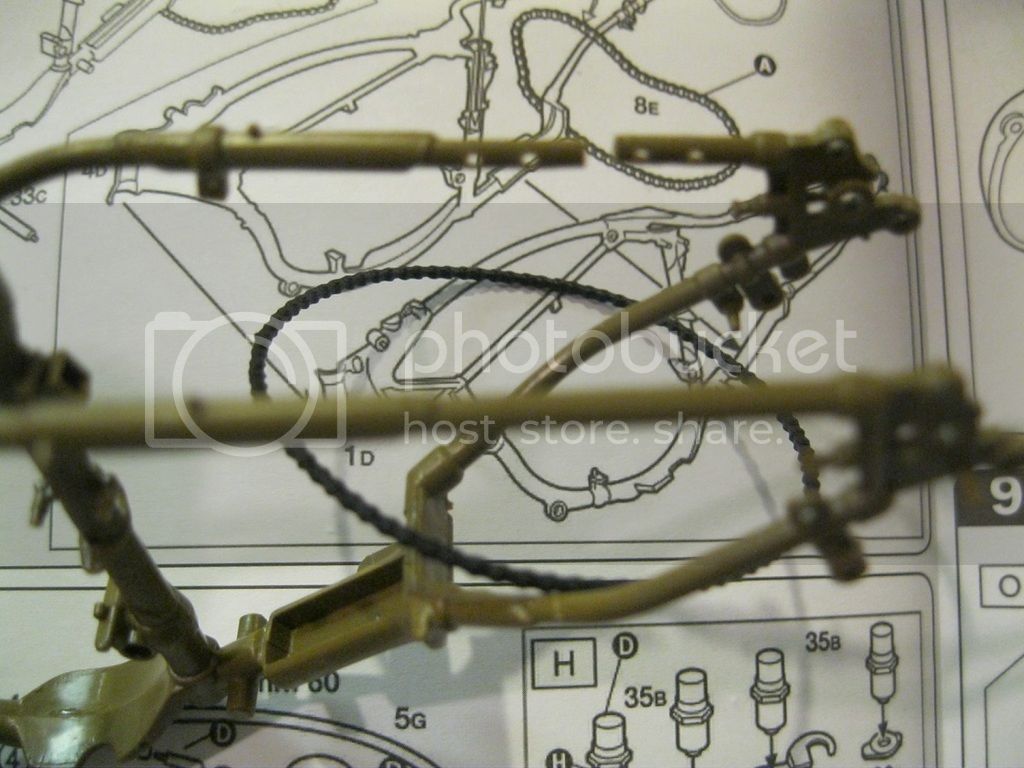


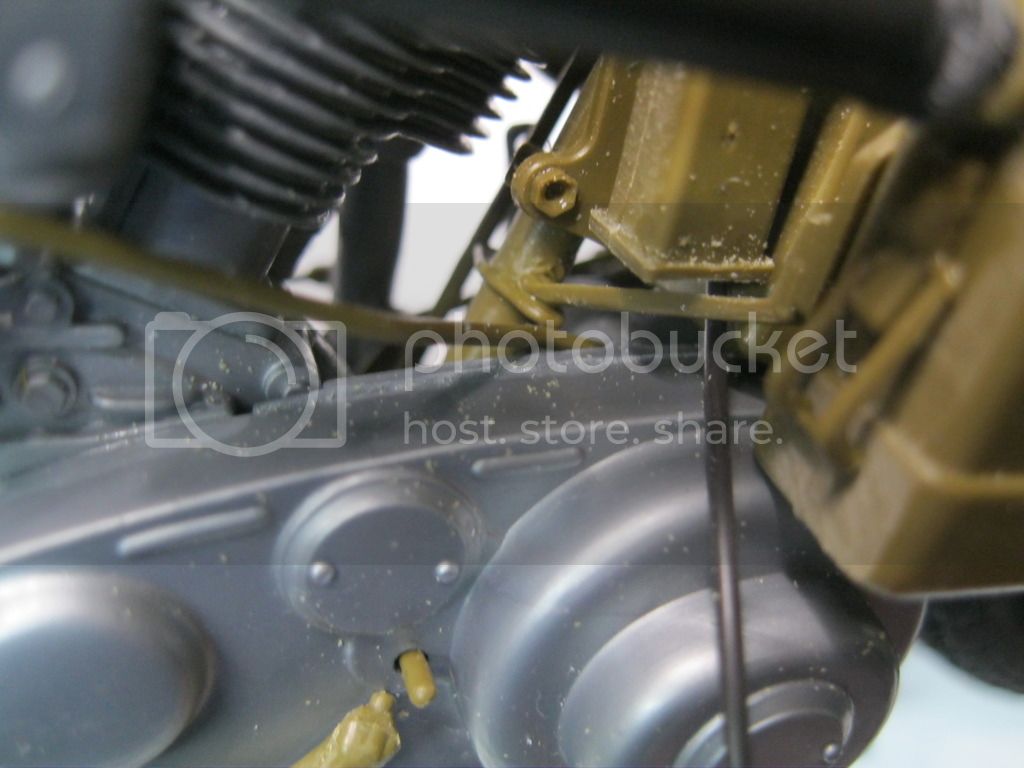
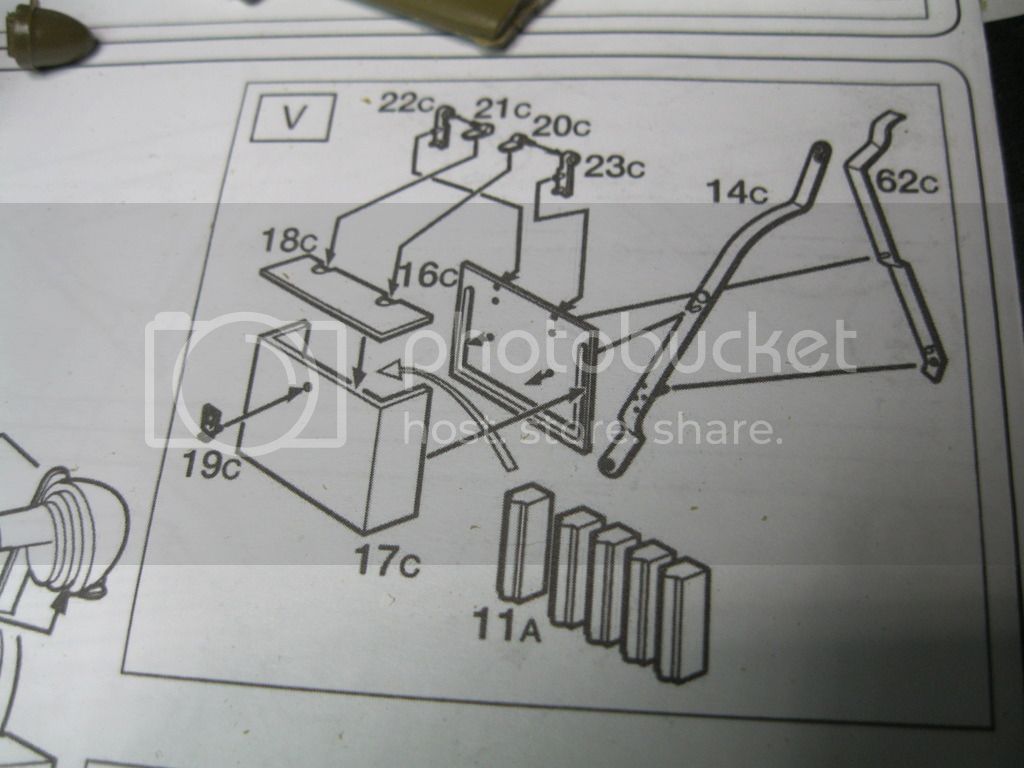
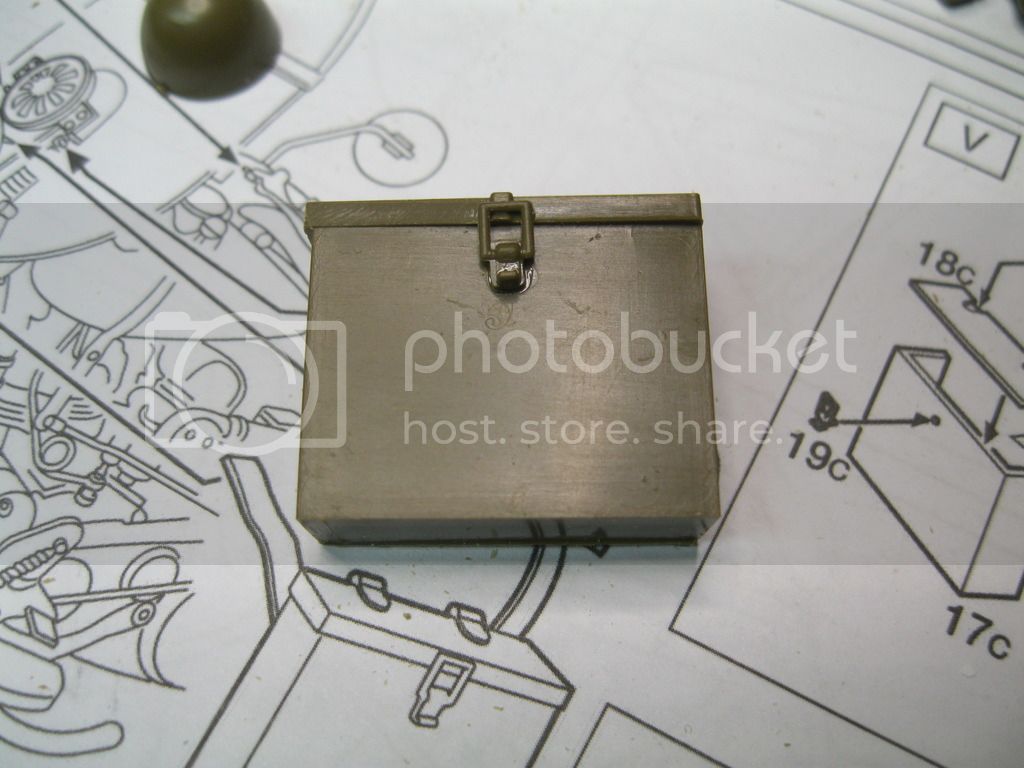
While the frame was setting, I went over the tire with a sanding sponge to remove the mold seam. Then I placed the engine into the frame and completed the assembly. The push rods are a little short. It was difficult to get the engine to sit straight, but it looks better now than in the photo. Also, the battery box took a lot of cleanup of the join. I have noticed with this build that many of the parts have excess plastic, either flash or molding issues, at glue joints.

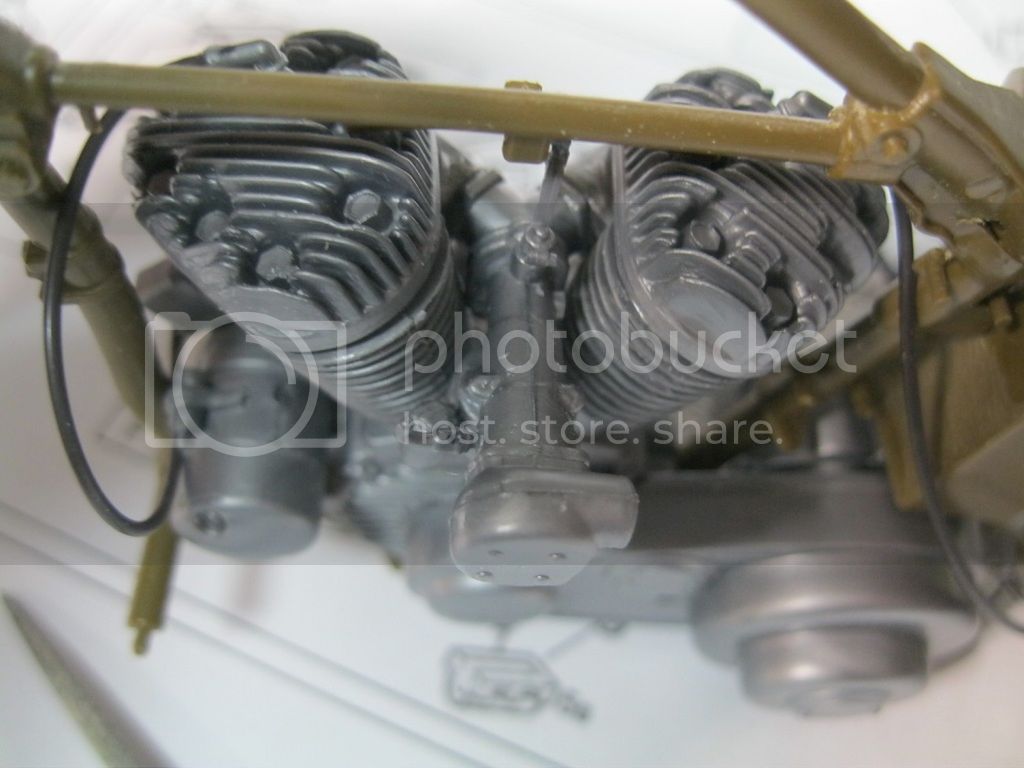

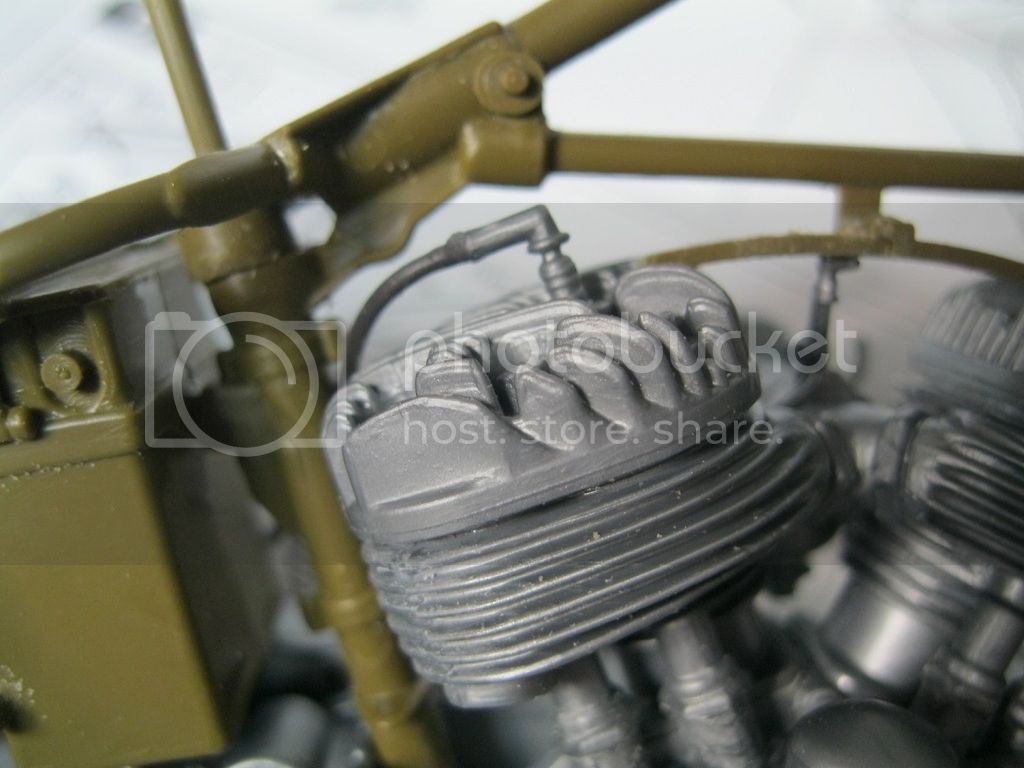


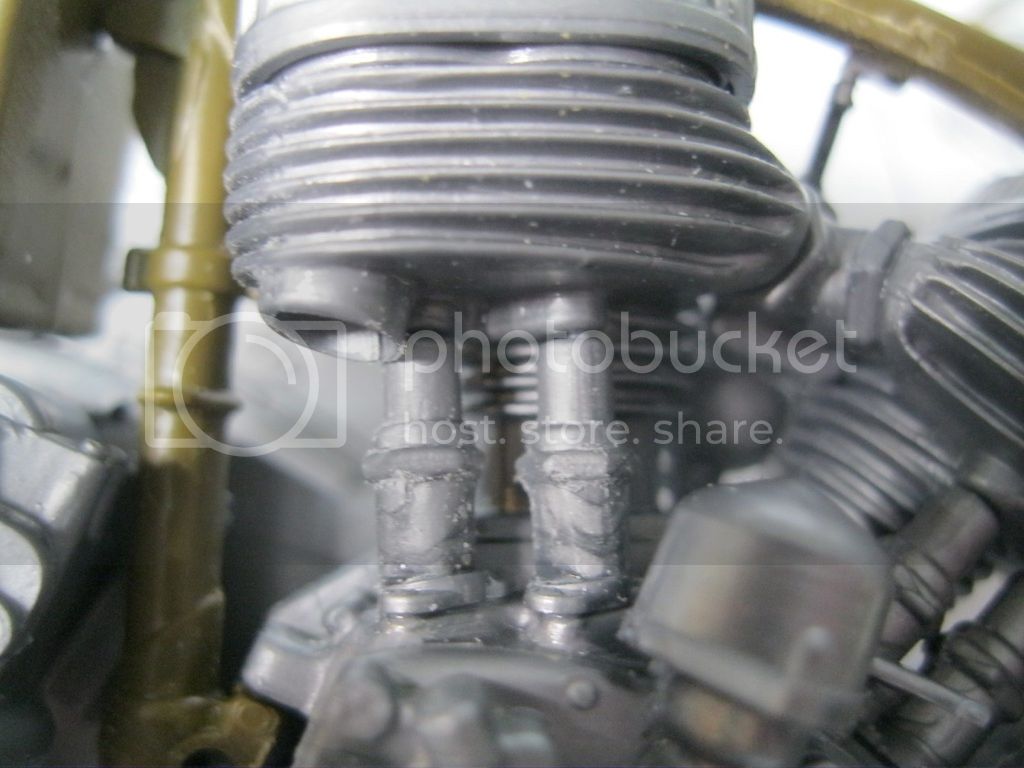

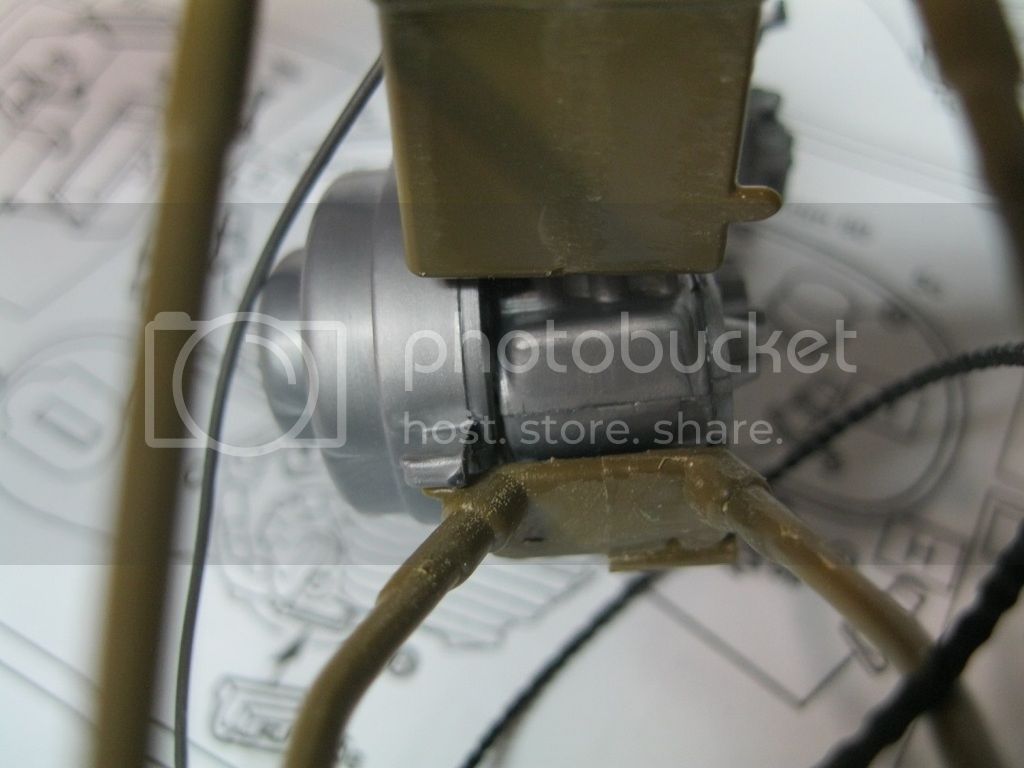
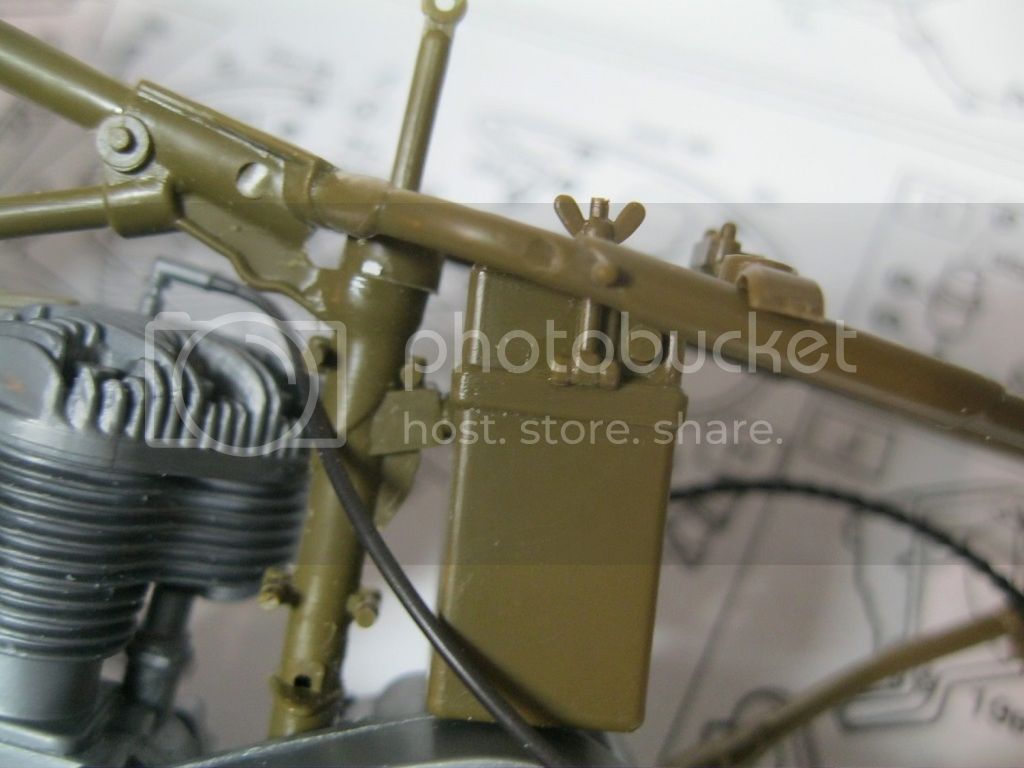


I attached the forks to the frame, making sure the parts could still be moved. There are some ugly ejector pin marks that I have tried to reach without damaging the parts.
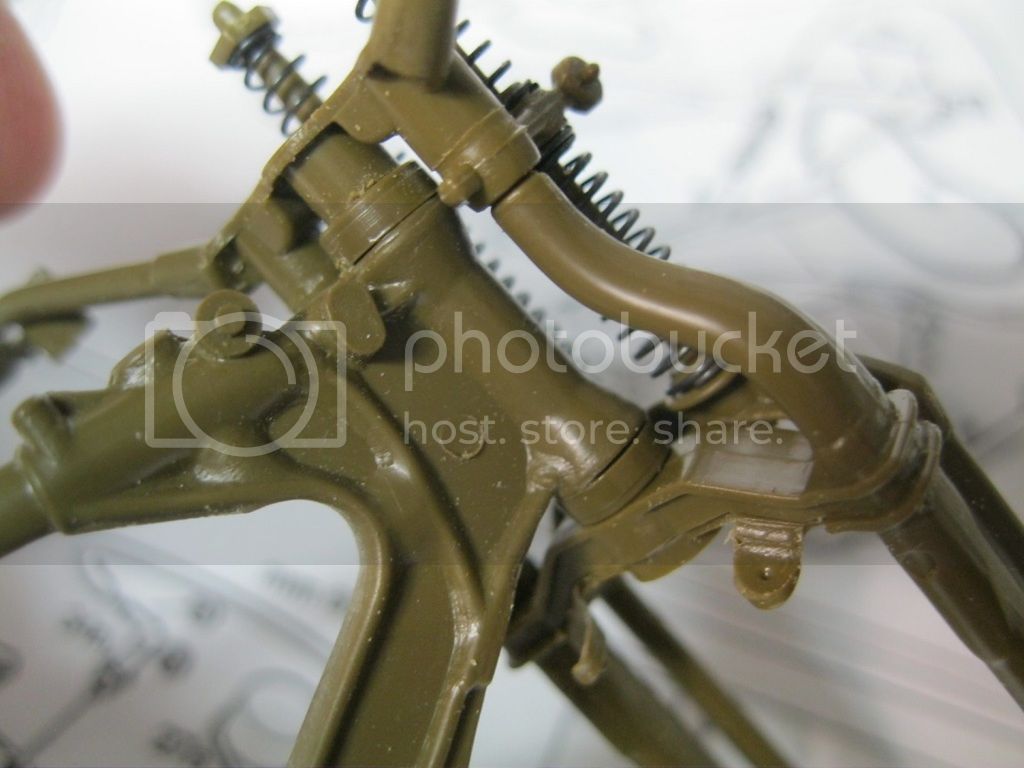


Next up will be the gas tank and fenders. The build moves along fairly quickly, and there are not too many parts. It is old, and could stand for a re-tooling. My daughter has taken interest in this kit as I informed her that Captain America rode one of these in his first movie. Unfortunately, there is no scale shield to go with it.

krow113
Visit this Community
British Columbia, Canada
Joined: March 16, 2010
KitMaker: 473 posts
Armorama: 56 posts
Posted: Monday, May 16, 2016 - 04:01 AM UTC
A few probs with that kit. Still a gem though.
russamotto
Visit this Community
Utah, United States
Joined: December 14, 2007
KitMaker: 3,389 posts
Armorama: 2,054 posts
Posted: Tuesday, May 17, 2016 - 11:04 PM UTC
Thanks, Steve. Yes, I have seen many excellent builds of this kit. At the size, it can be super detailed.

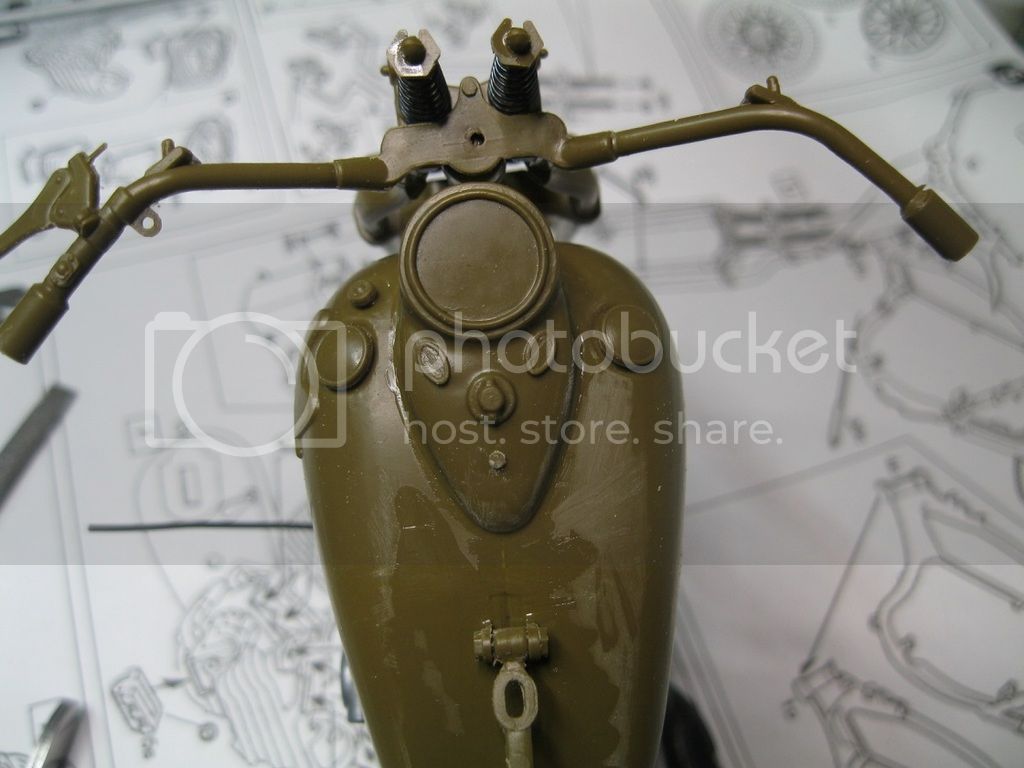
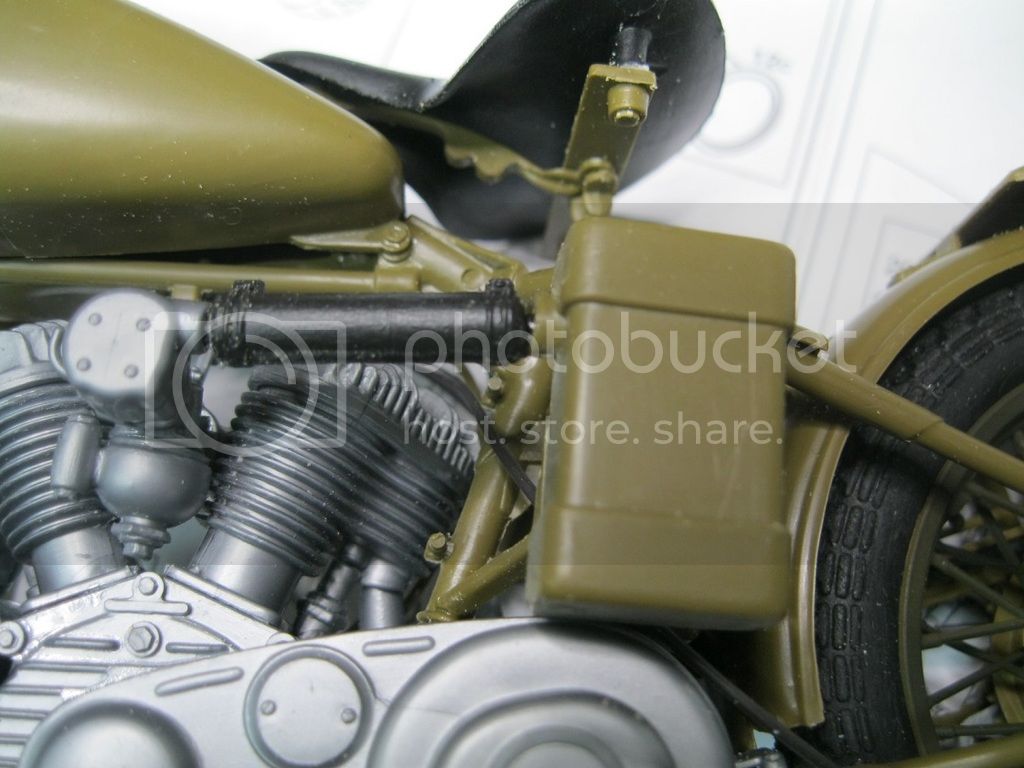
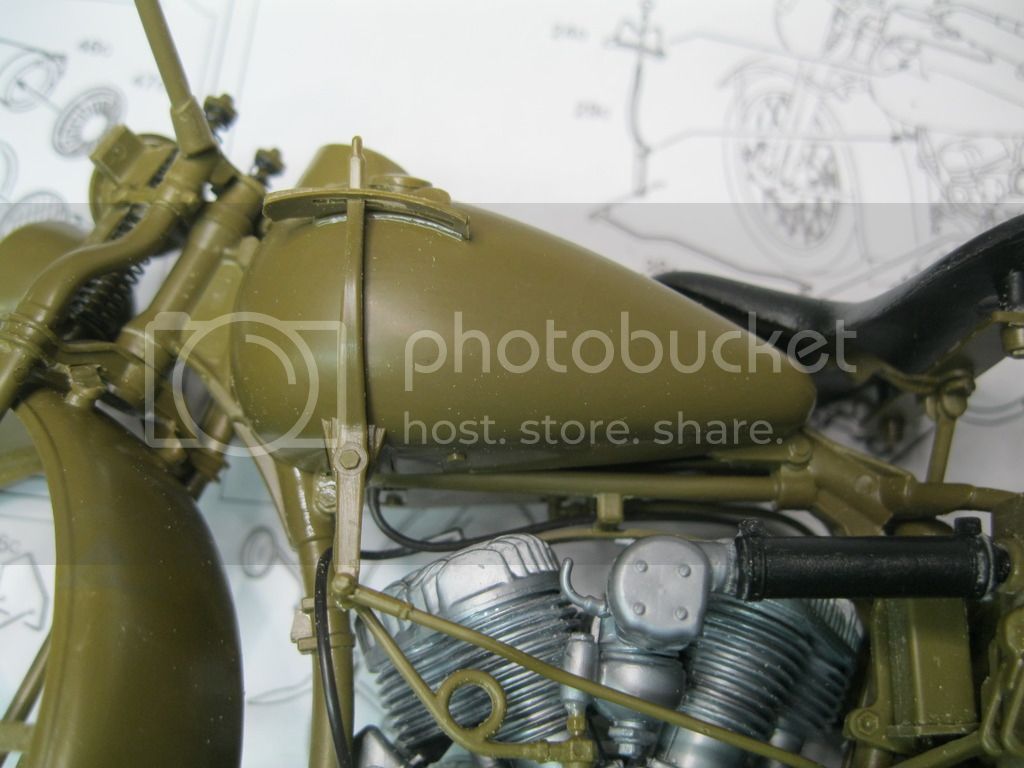
I have made some small progress with the build. Some careful attention is needed with the instructions. The gas tank is assembled and then installed on the frame. The instructions are not very clear on the direction of some of the parts, but the parts themselves are shaped so that the curved portion of the part fits a curved recess on the bottom of the tank. The join needs to be cleaned up, but the seat mount makes getting all the seams a little challenging.


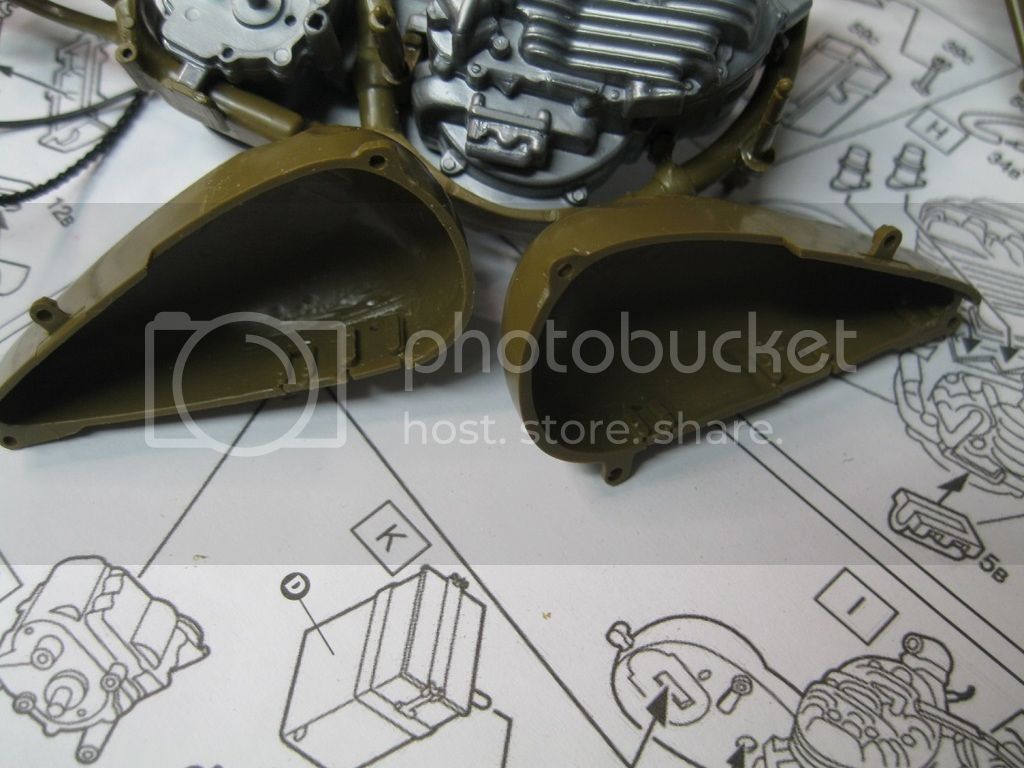
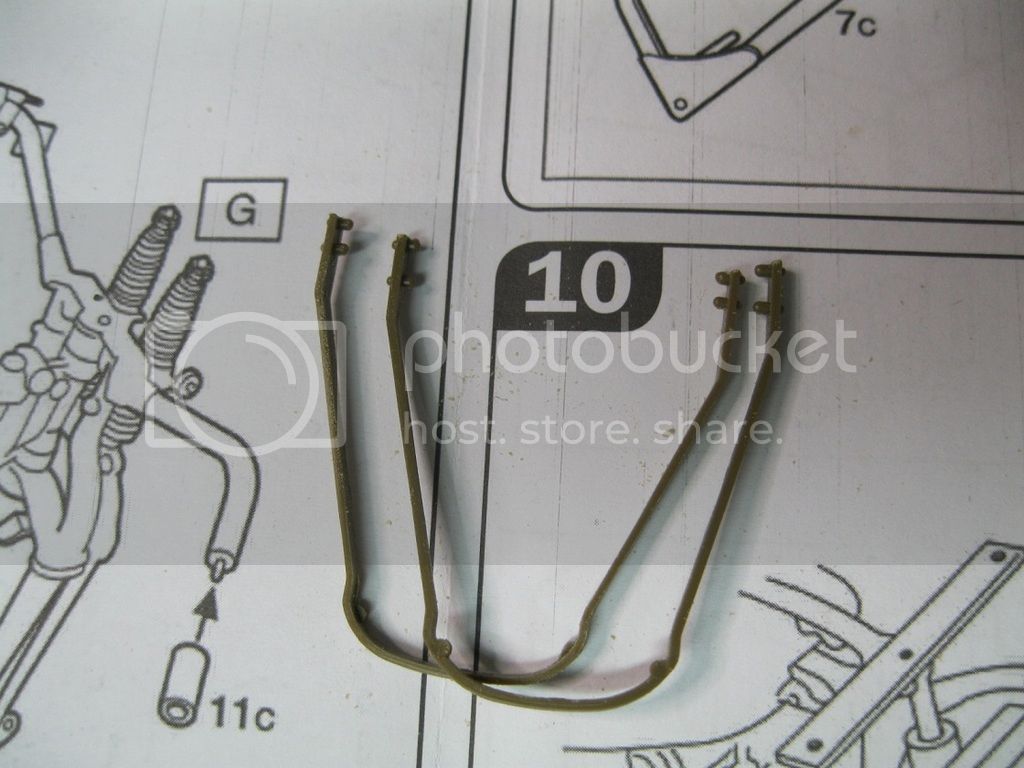
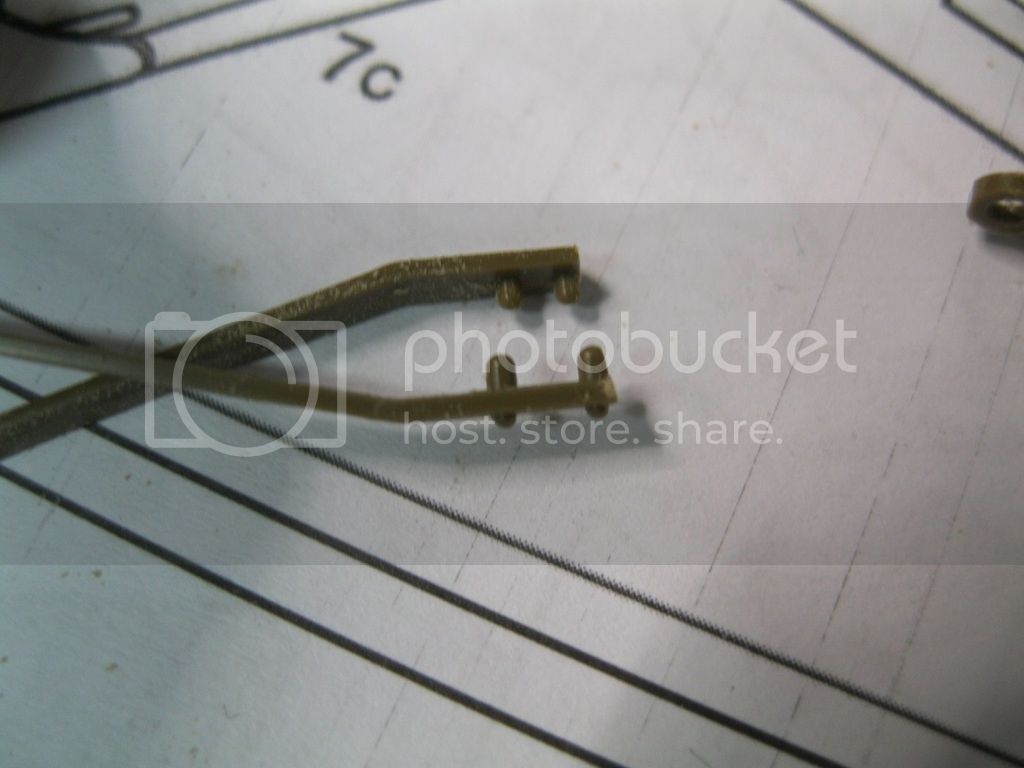
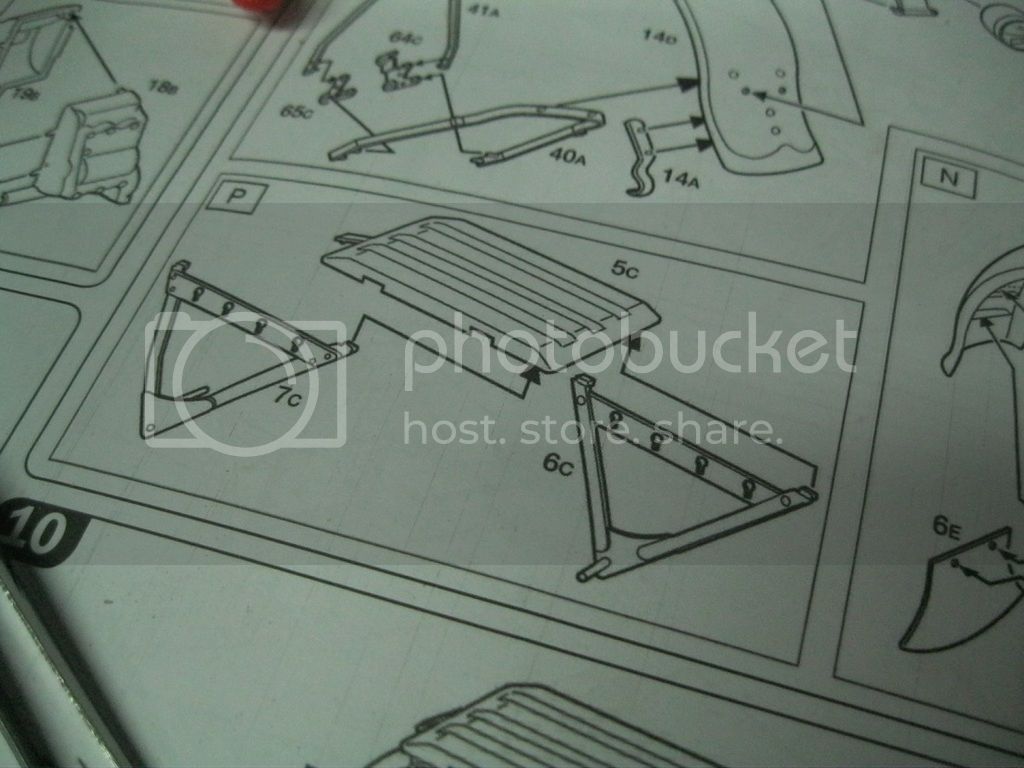
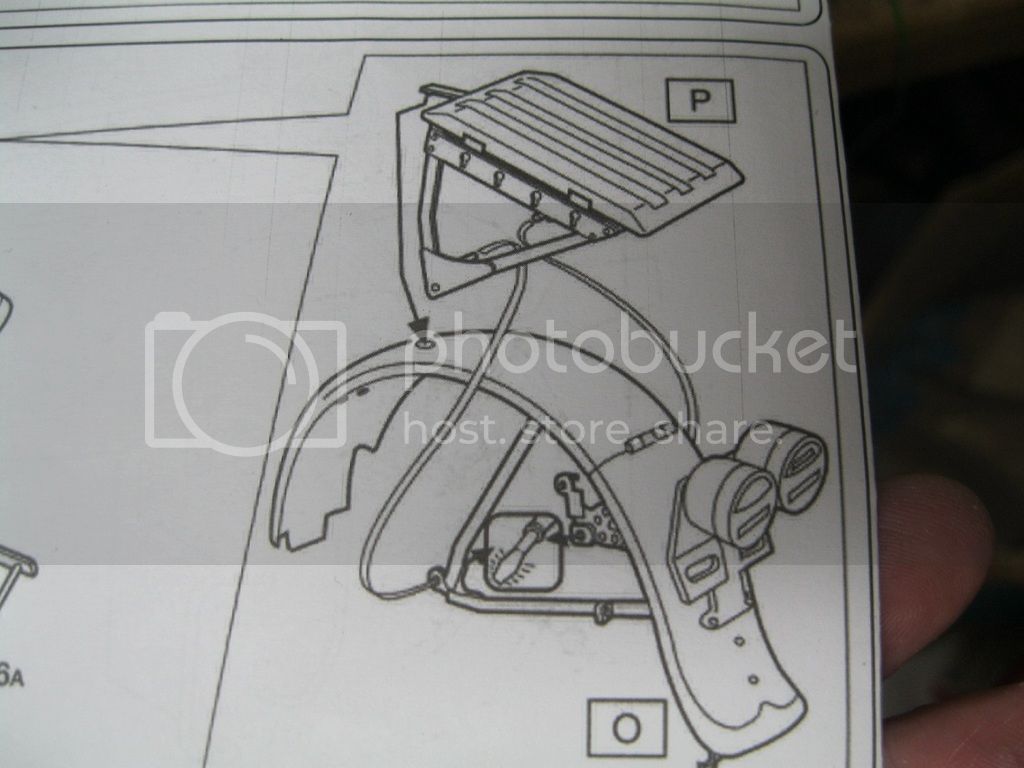
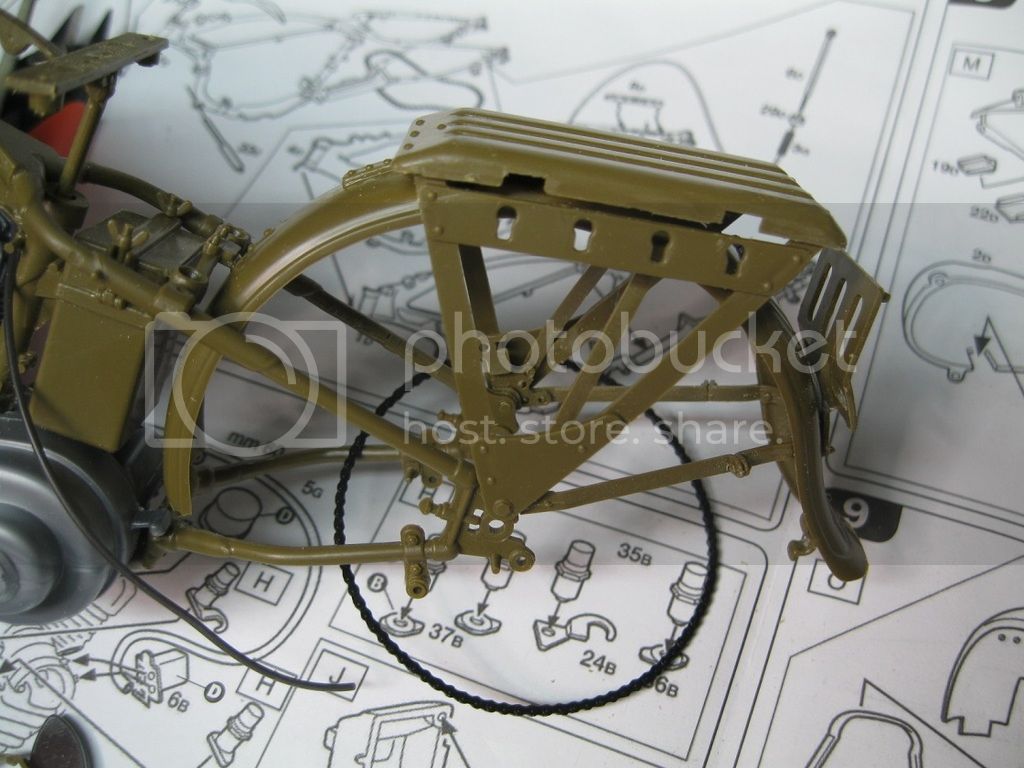
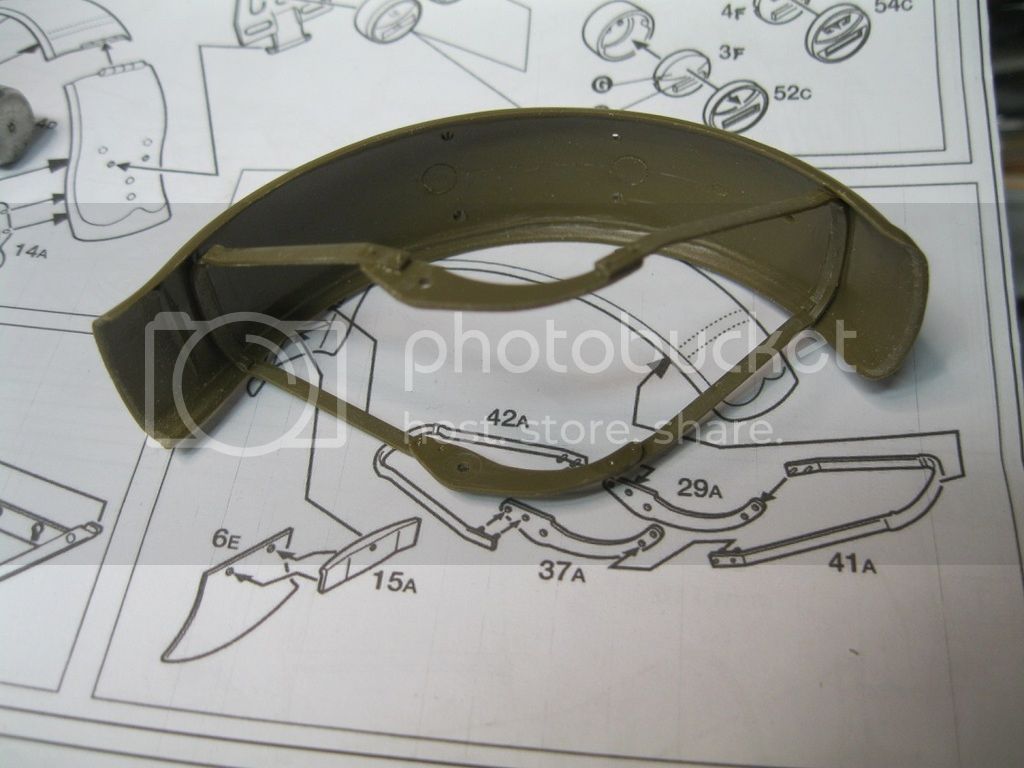
I realized I did not take a photo of the tank on the frame. I'll add one later. Next up is the rear fender and the bracket for the saddle bags. The fender supports are marked as parts 40 and 41, but there are two parts labeled 41. Check the spacing on the placement pins. The narrow pins are what is needed, which is the corner most piece marked in red (photo is a little blurry-sorry for that). Clean-up of the fenders is needed as there was a lot of flash and the join had excess plastic that prevented a flush fit.


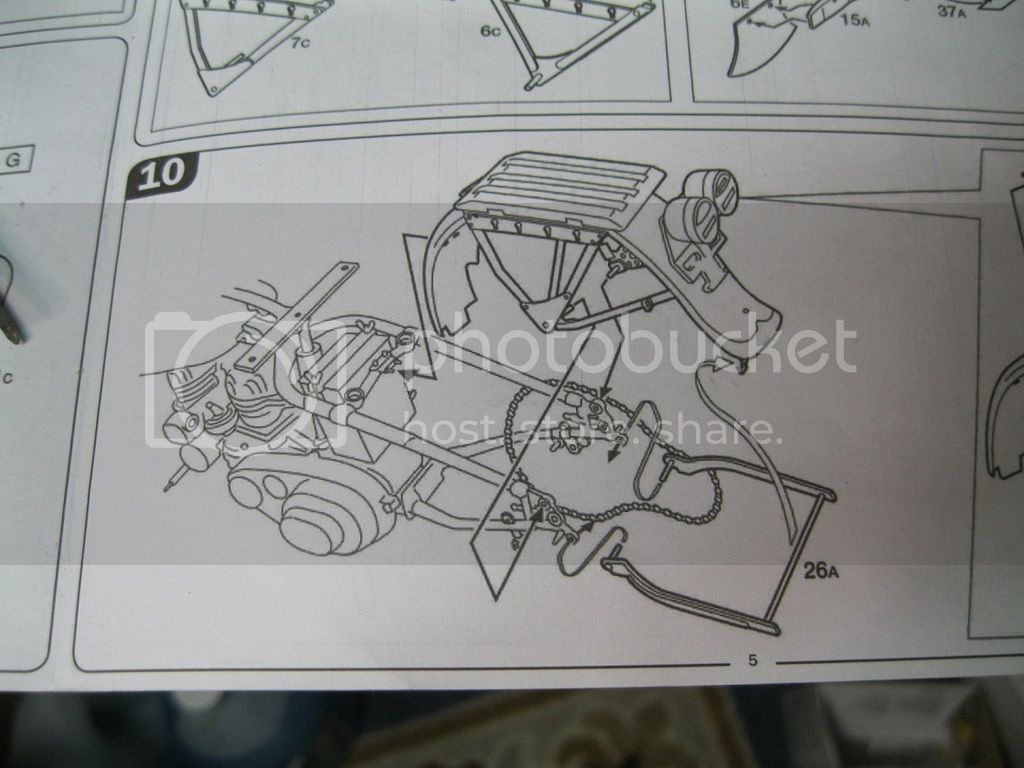
Placement of the saddle bag rack shows that the pins should be melted flat with a heated screw driver. If this is done as the instructions call out it cannot be installed on the fender assembly.


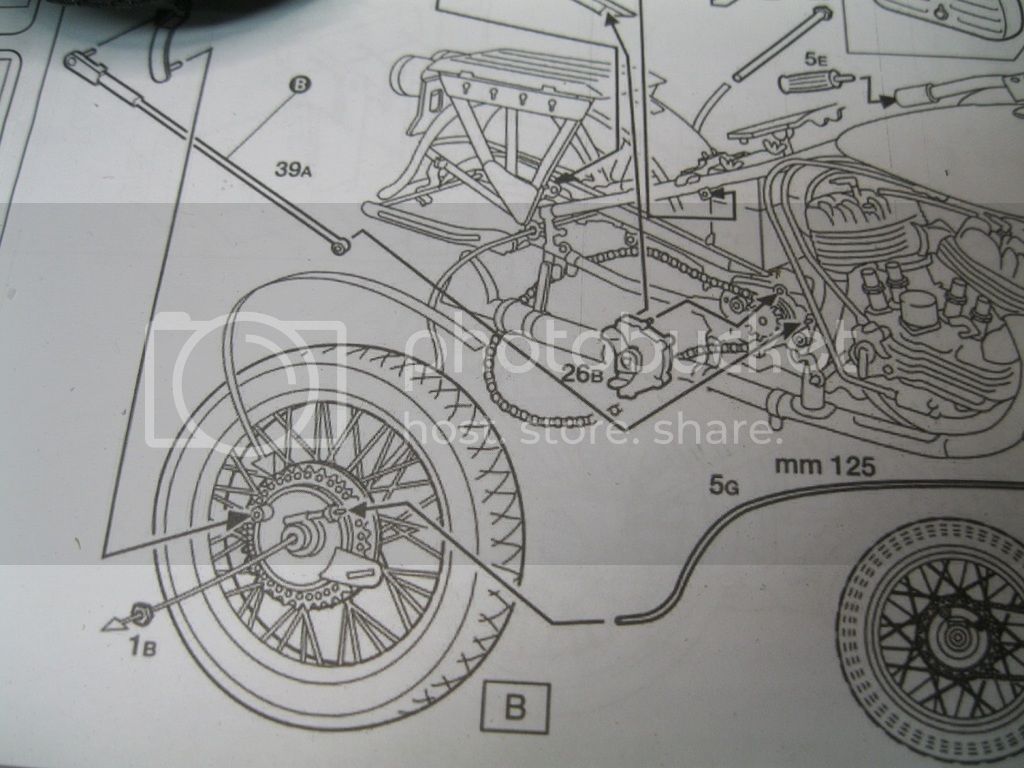
Part 26A should not be glued if you intend to use it as the bike stand. This is not indicated in the instructions. Perhaps that was the part that the instructions intended to indicate needed to be melted with the heated screwdriver to flatten the pins.

If I have anything backwards or there is room for improvement (always is) let me know.
krow113
Visit this Community
British Columbia, Canada
Joined: March 16, 2010
KitMaker: 473 posts
Armorama: 56 posts
Posted: Tuesday, May 17, 2016 - 11:52 PM UTC
Yes the pins should be heated after install, I dunno why...
I think you are right the pin melting is for the rear stand , and glue the rack , it has no need to be moveable.
Two technical issues:
1) The high voltage leads emanate from the coil assy on the left of the seat post, not the generator on the front of the engine.
2) The distributor on the top right of the engine case has to be rotated 90' counter clockwise (plan view) ,so that the vertical pin locates into the 'c' shaped part 24b directly in front of it. This is the manual advance mechanism ,operated by the left handlebar grip.Turned like the throttle grip.

Modelling issues;
The chain and sprockets are a real problem , I trashed the chain completely going with a 1/12 p/e set from Hiroboy. Nothing will glue the chain , nothing can take the circle shape out of the chain , I heated it to do so and it immediately broke.
The chain wont mesh with the sprockets at all, I removed all of the irrelevant teeth from the rear sprocket and laid my chain on the edge. You will hafta orient the sprocket in the frame first to see how many teeth to take off.

I went a different route building mine into a 'bobber' the genesis of custom m/c building in North America:

I highly recommend a WLA 45 parts manual , easily available to help sort out some of the parts and issues. Also a lifetime of bike building didn't hurt either.....!
russamotto
Visit this Community
Utah, United States
Joined: December 14, 2007
KitMaker: 3,389 posts
Armorama: 2,054 posts
Posted: Wednesday, May 25, 2016 - 02:25 AM UTC
Steve, thanks for the tips. I still have some work to do to fix what you pointed out. The "C" shape bracket attached to the push rod assembly came broken in my kit. Don't know where the broken bit wound up. There have been some fit issues, which I will show here, and the chain is just sad.

First, I installed the gas tank and seat mount base. The seam can't be cleaned up until the parts are on the frame, so there is still some work to be done.


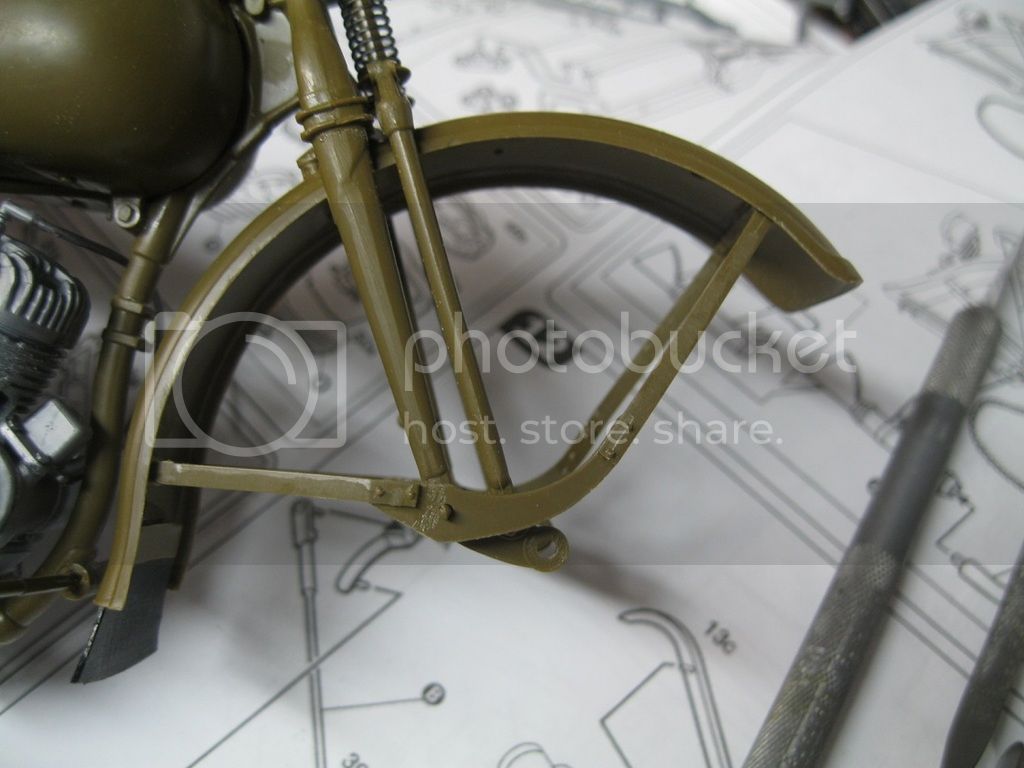
Then I went to work on the front fender. The vinyl or rubber included won't accept any known cement I can find. The mud flap here is sandwiched between two plastic parts, which is why it is still attached.


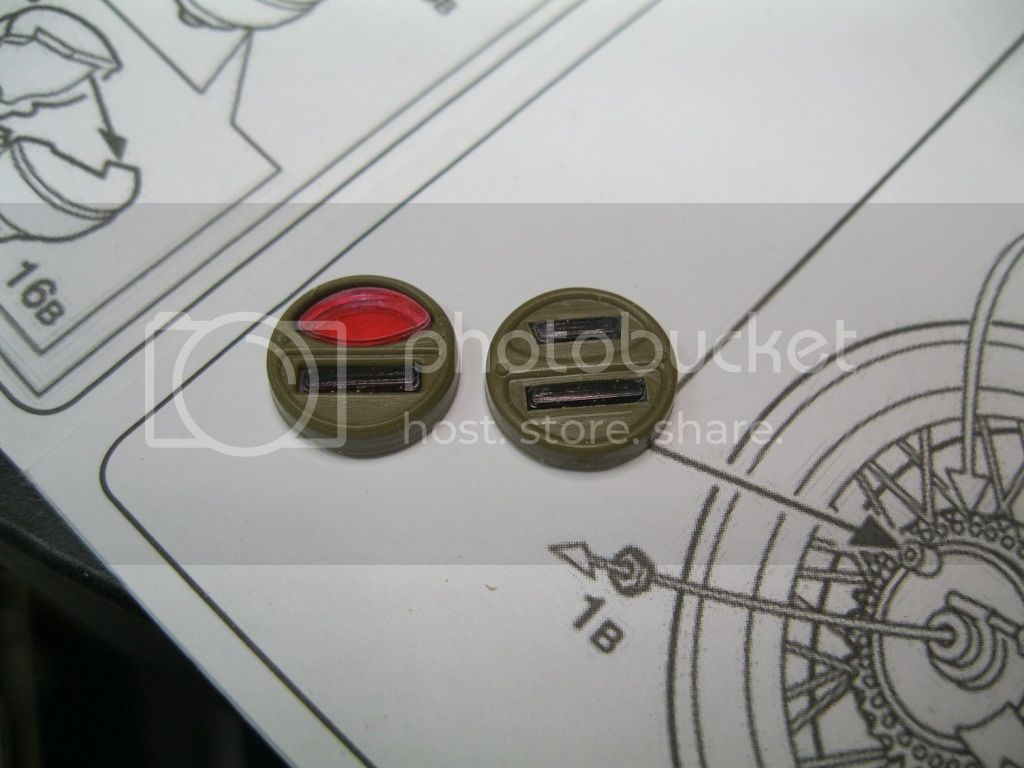
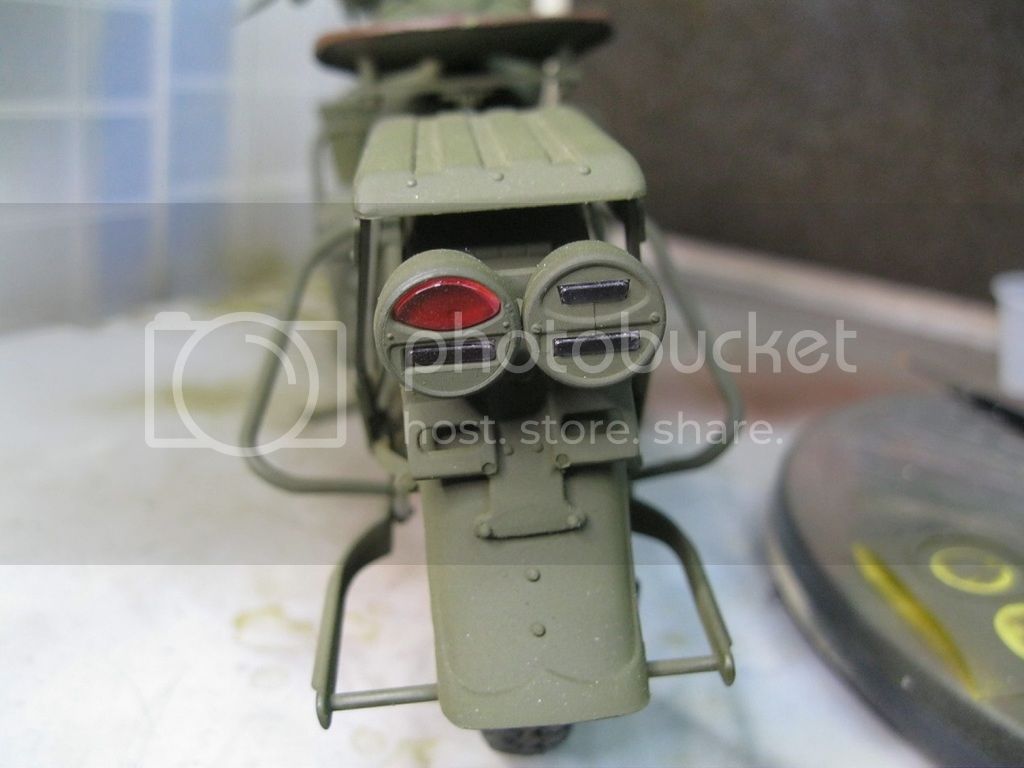
As an afterthought I grabbed the tail light assembly and colored the lenses to see how it would look. I opted with red and black Sharpie markers. The red will need some clear paint but the black looks ok to my eye when compared with tail lights I looked at in an image search. I haven't painted the covers.


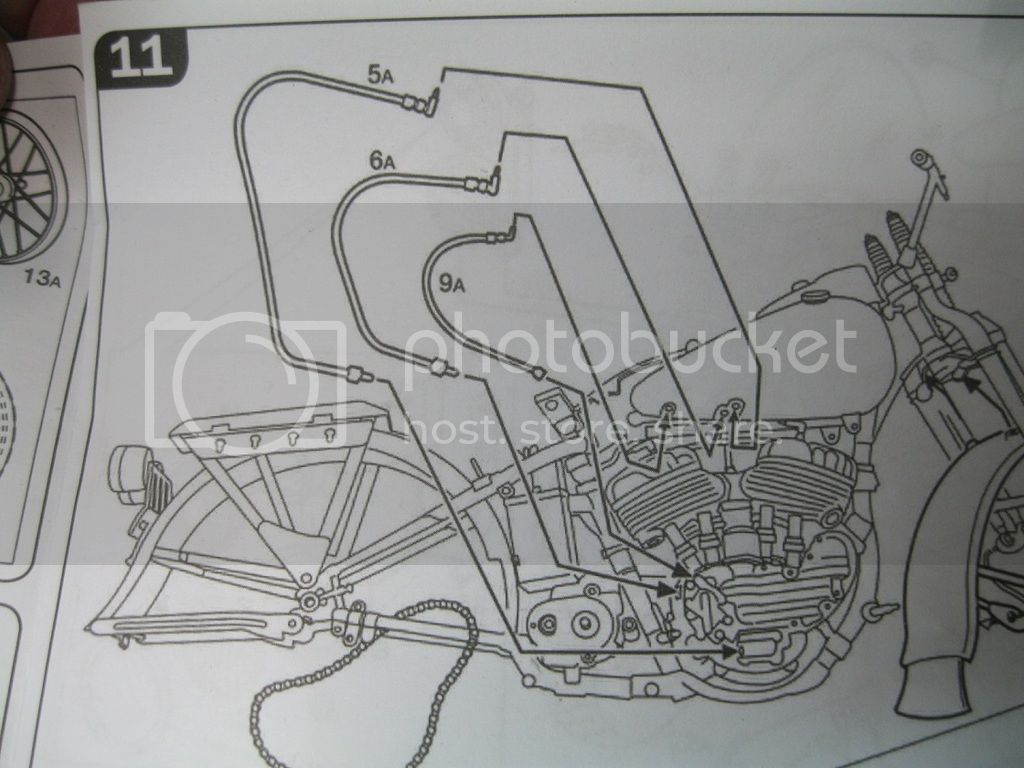
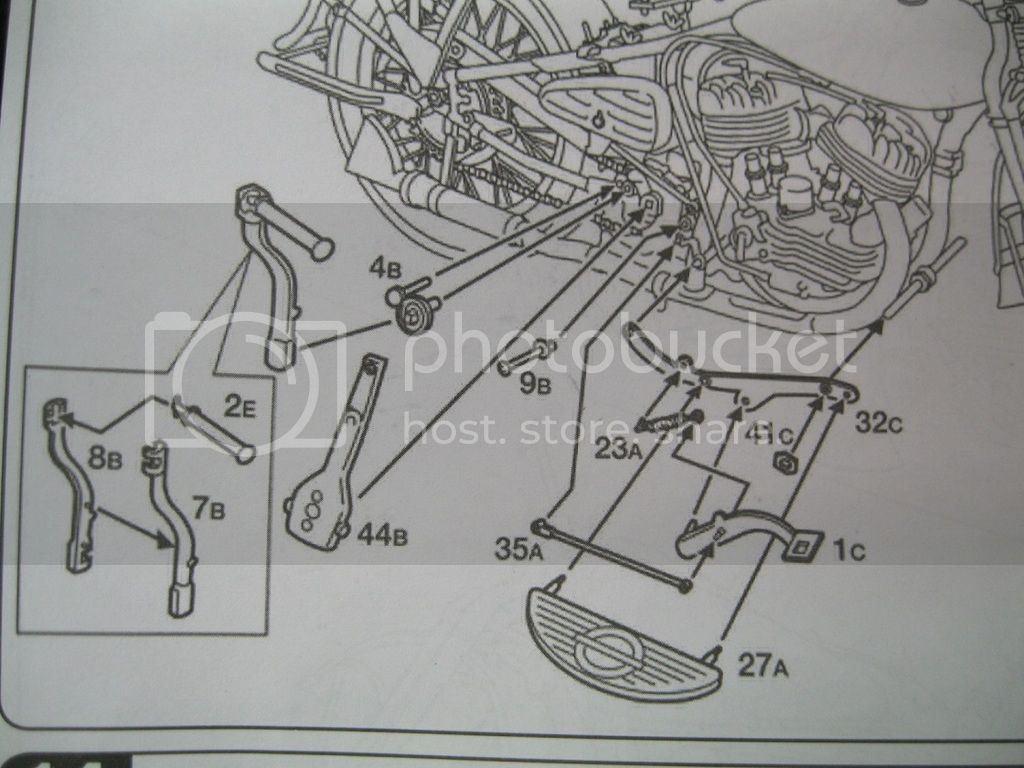
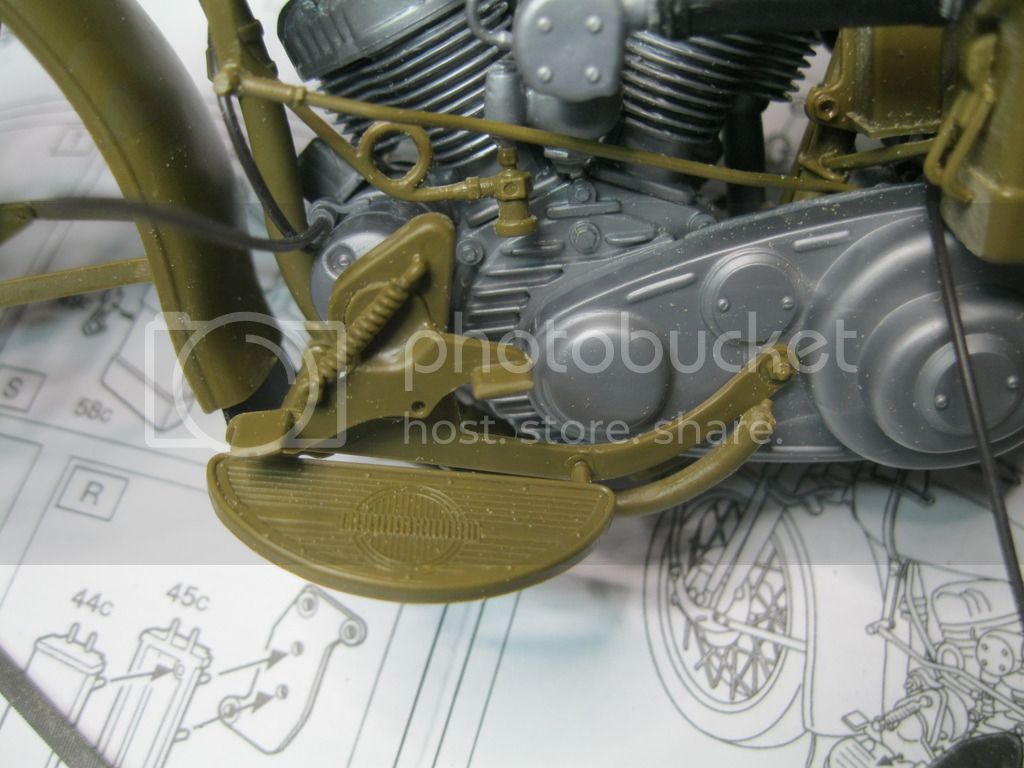
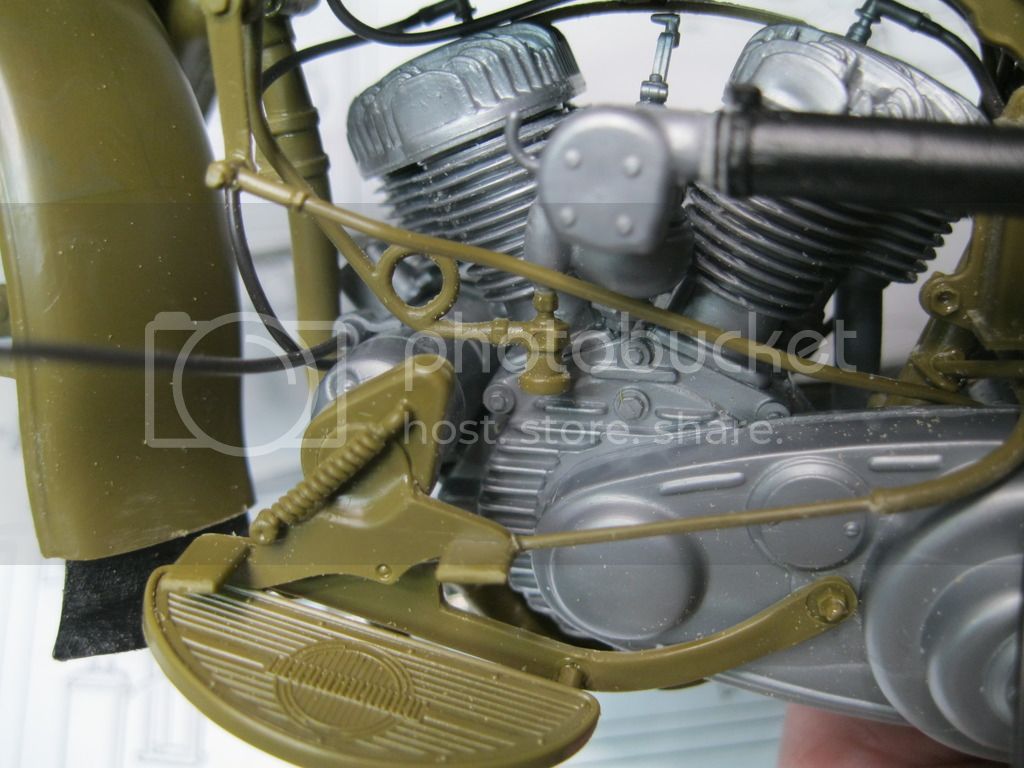
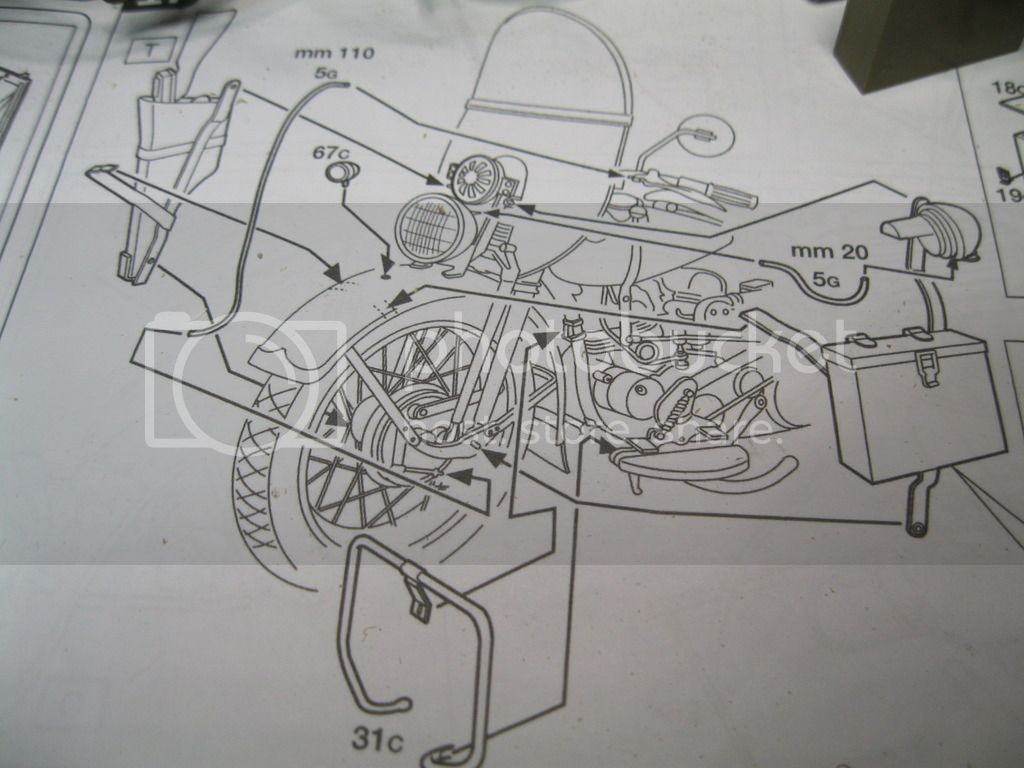
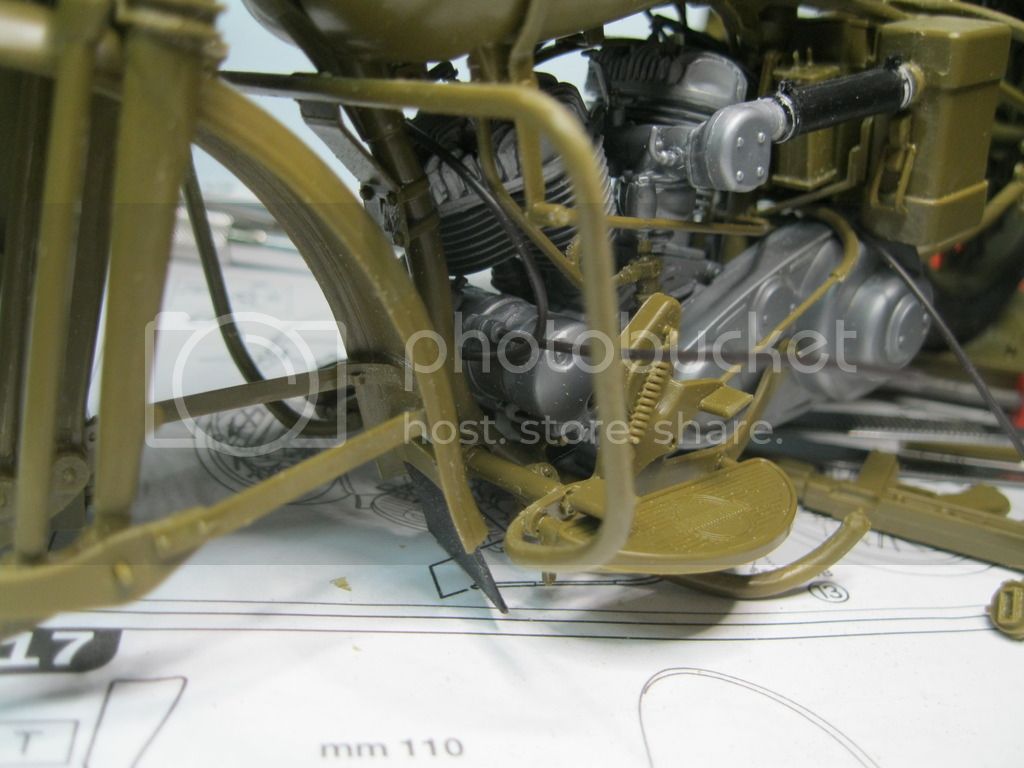
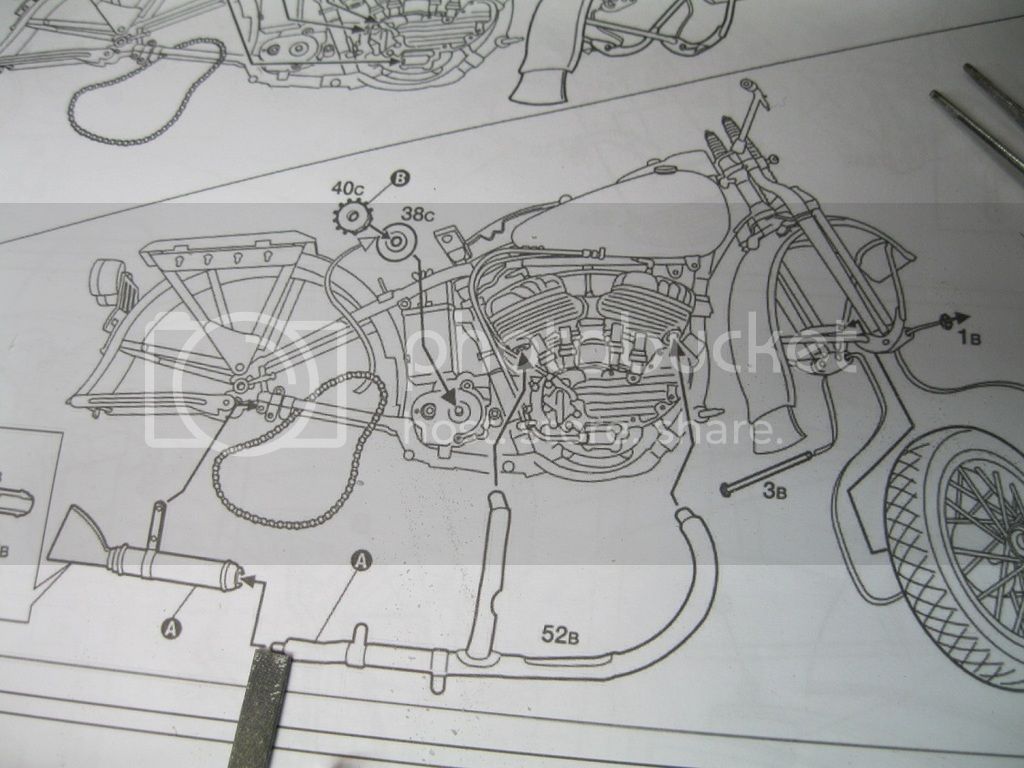
Next up are added fuel and other lines, exhaust, kick starter, lots of side detail. The instructions need careful study, but also a lot of time spend online to see where things were really supposed to be as some of the pieces were very hard to place.


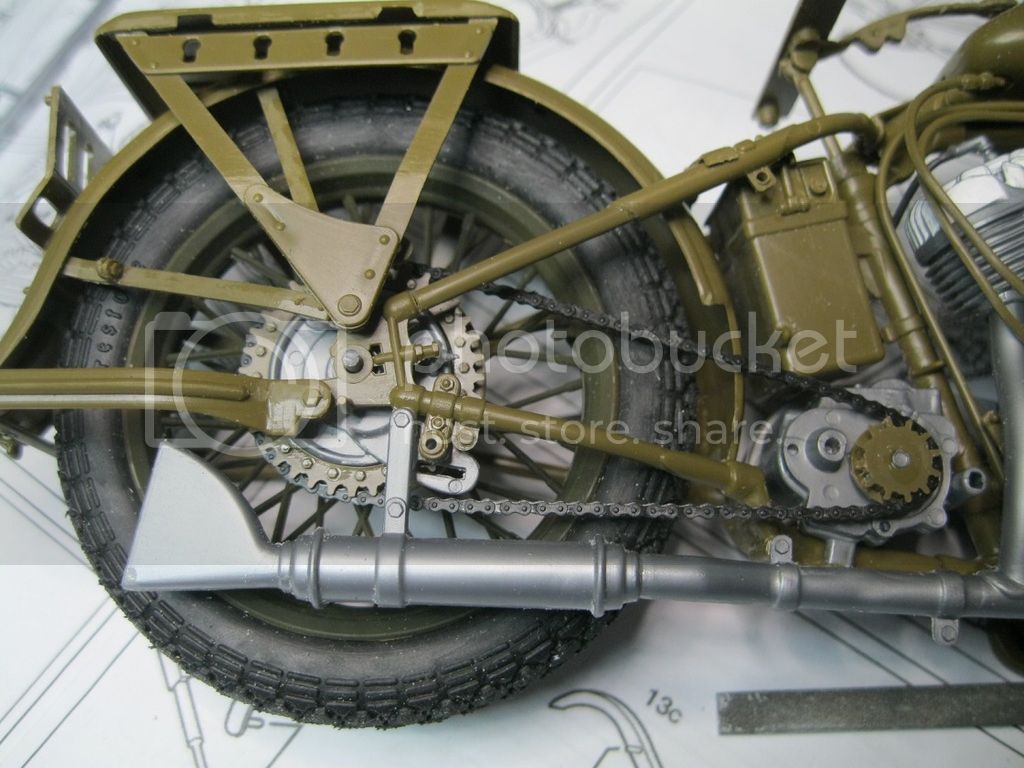
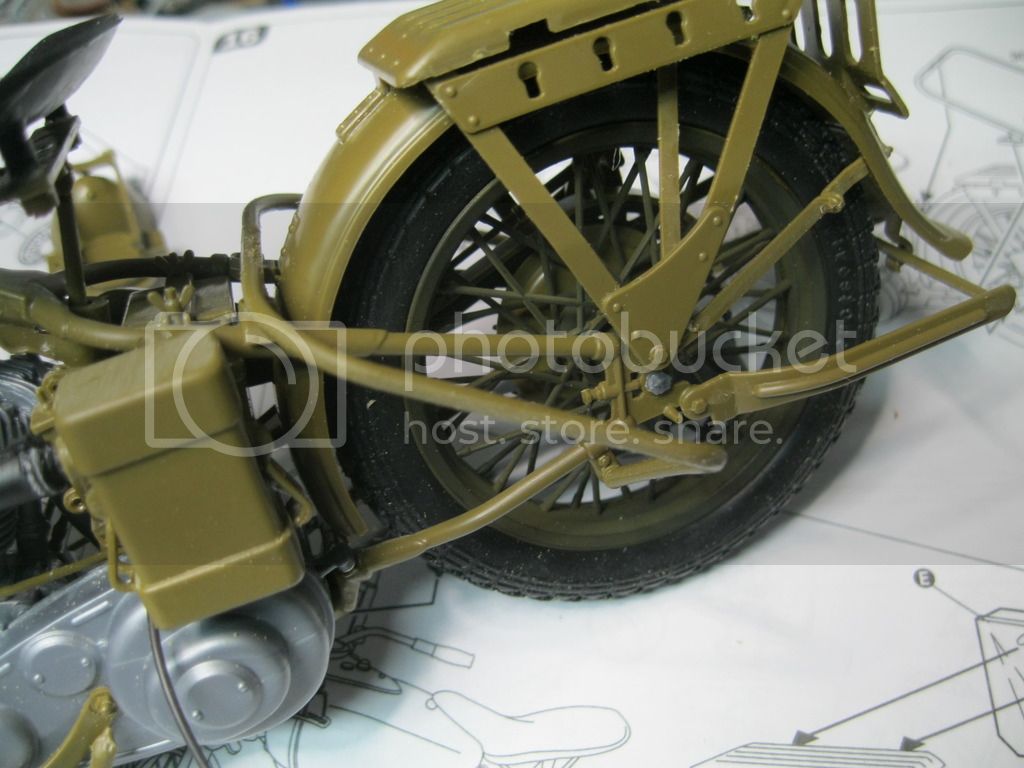
I am still not sure about the placement of the lines as they don't fit like I think they should. Fit of the exhaust was also very poor and will need some filler. I had hoped to leave the wheels off as long as possible, but there is so much that goes over the rear wheel that it has to be installed. I should have painted before this point but there will be some much to fix and fill that I didn't want to have to keep going back. Also, I want to show the kit parts as the are for assembly purposes. The teeth on the drive sprockets are for decoration only. The chain wraps around a textured "cog" just behind the tooth face. My hopes were high, as at least the chain seemed to go on well, where most of the other parts were a struggle.


I let things set overnight, and when I came back the following day, I found this.


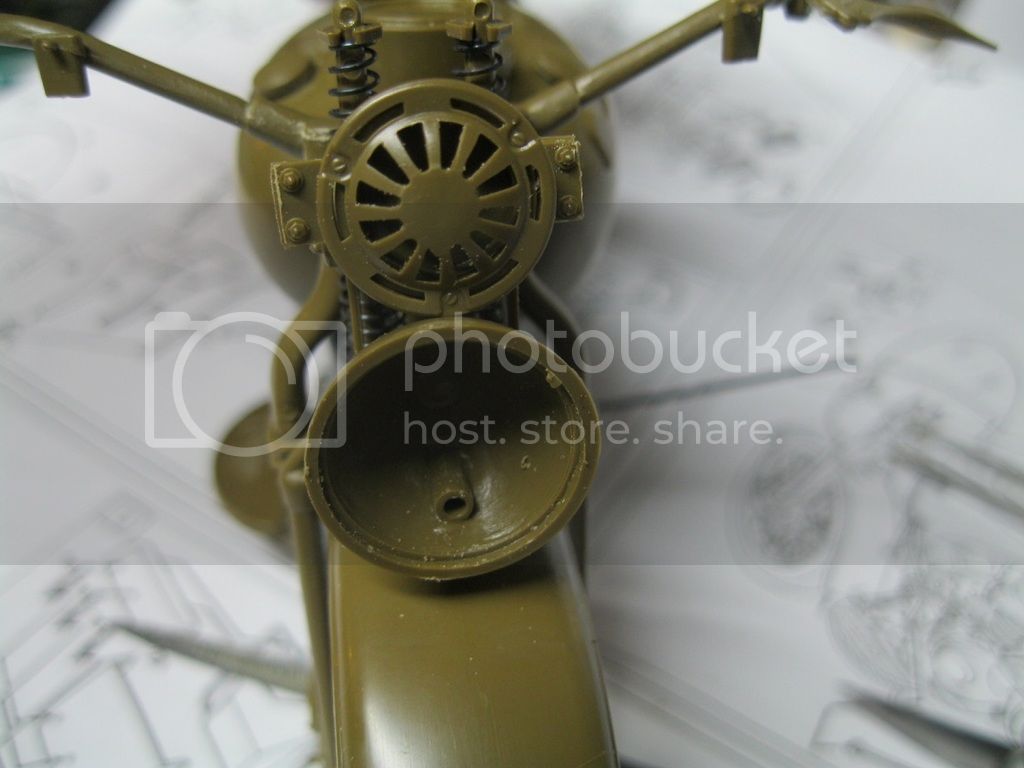
I don't know what to do about it now. There isn't anything that will hold it in place. None of these vinyl parts are anything that couldn't have been molded in plastic, with better detail and appearance. It will have to sit for now while I work on the rest of the build. I did finish the headlight base assembly, some of the smaller sub assemblies and moved on to the left side of the bike.


As you can see, the rubber tube doesn't fit, and won't stay in place. I'll have to make a replacement and figure out clamps. I left the kick stand moveable but when the build is finished I will most likely fix it down. I left off the wind screen as I like the look better without it and just didn't want to deal with it.
russamotto
Visit this Community
Utah, United States
Joined: December 14, 2007
KitMaker: 3,389 posts
Armorama: 2,054 posts
Posted: Sunday, May 29, 2016 - 10:42 PM UTC
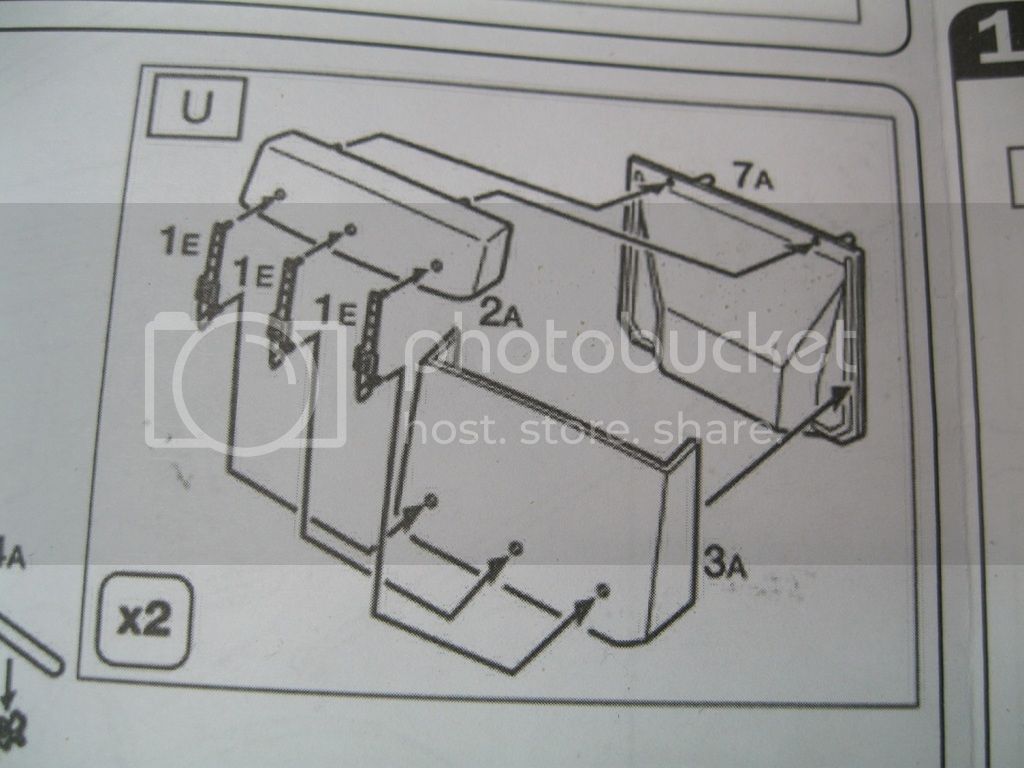
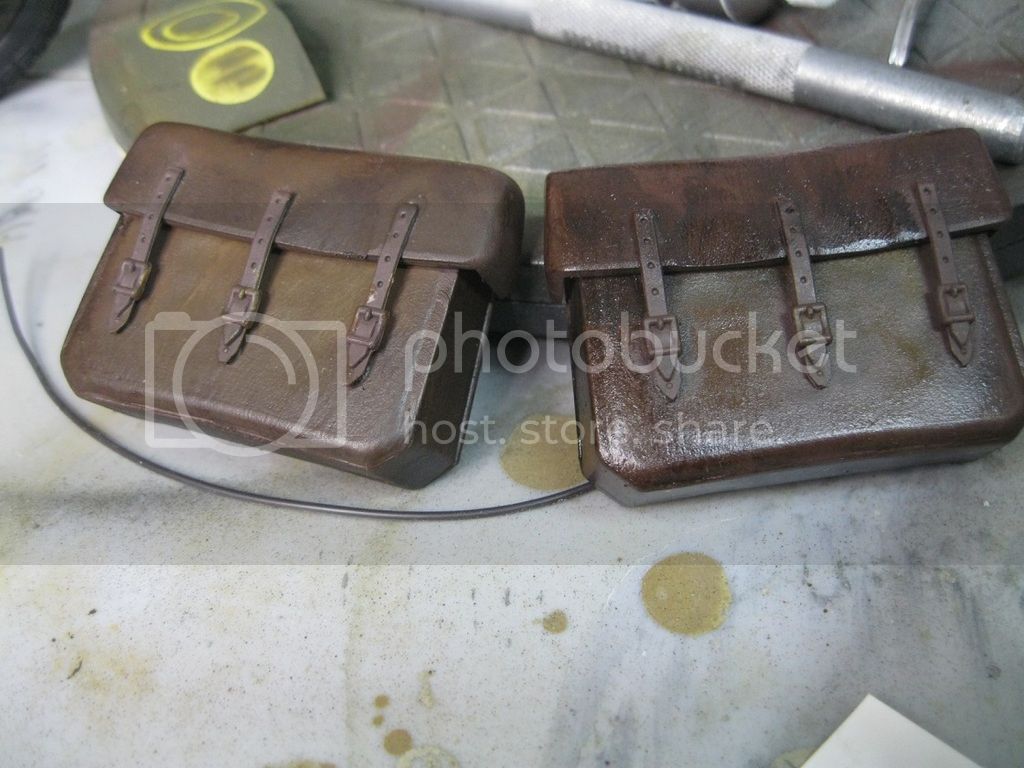
Here are the latest updates. I have now finished the build portion. First, I realized I forgot to add the images of the saddle bags. They are big and blocky.


All the leather items have this textured finish, that reminds me more of fabric or cement.

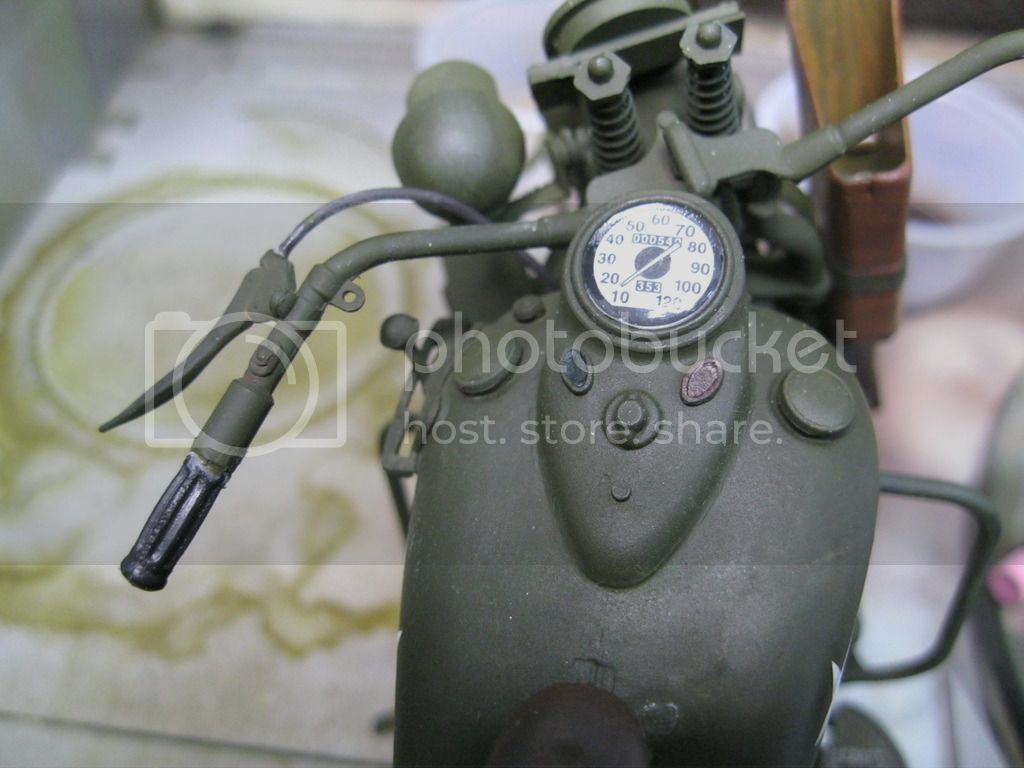
Details on the left hand side of the bike were added. Parts are a little fiddly but workable. Again, there is a lot of cleanup to remove the seam lines. The molds are slightly offset as well, so depending on where the part lies on the sprue the pieces can be off round. The knob on the shifter has a large lip around the middle, more like Saturn, that needs to be toned down.


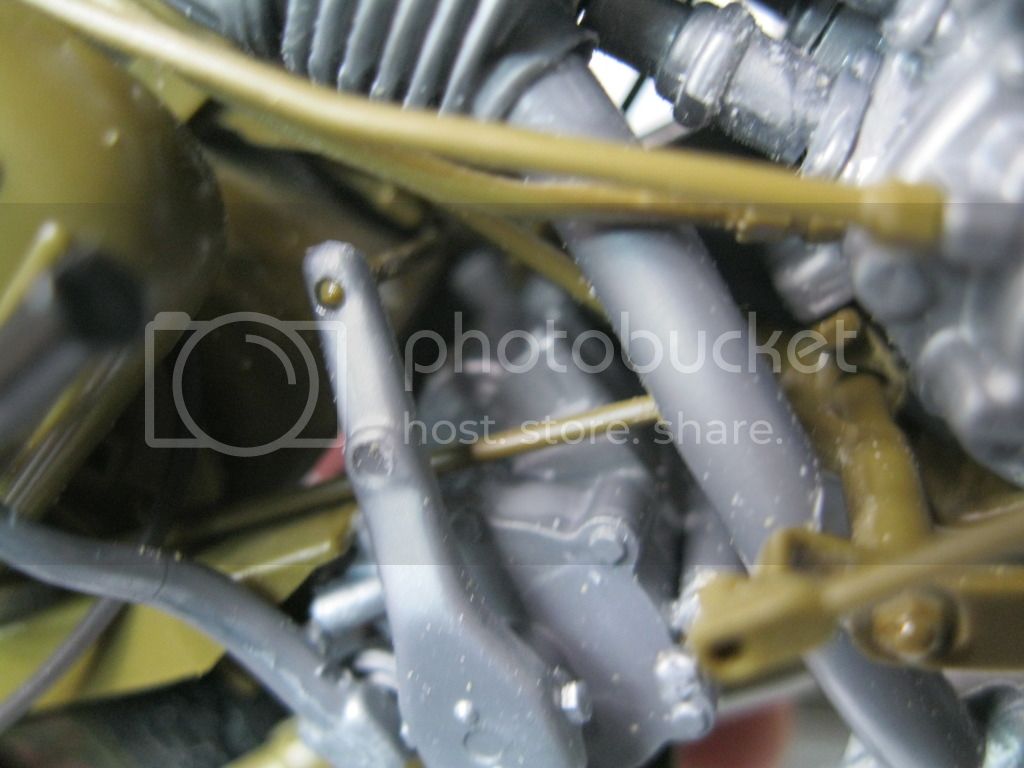
Some of the parts require some threading to get them through the engine.


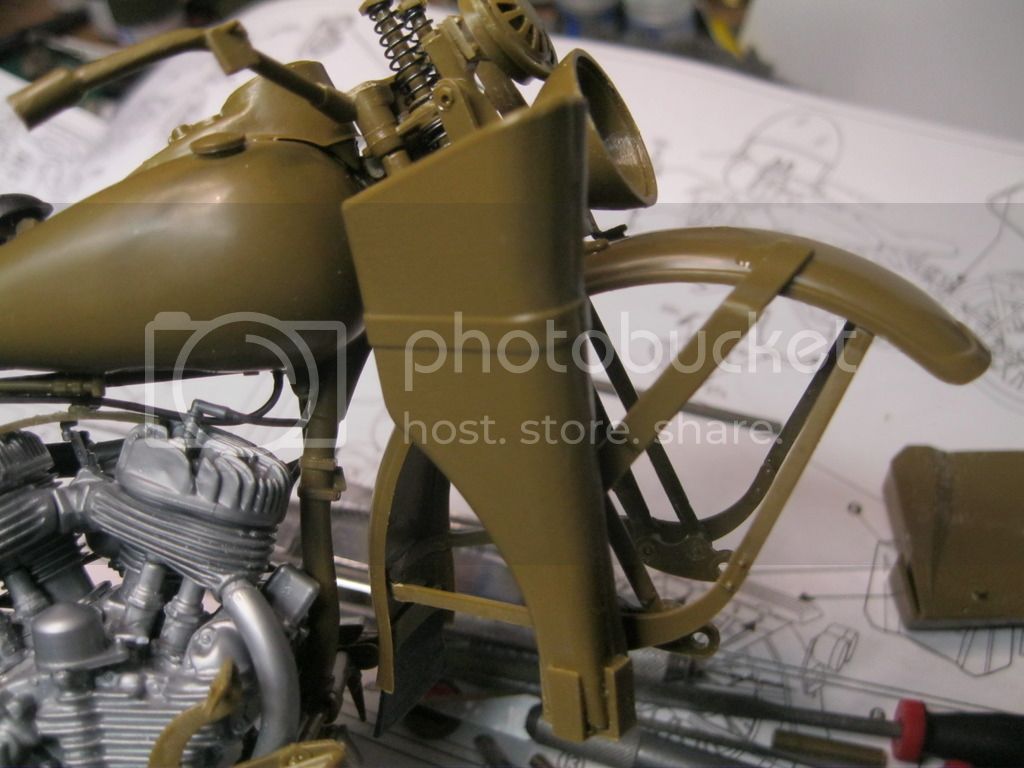
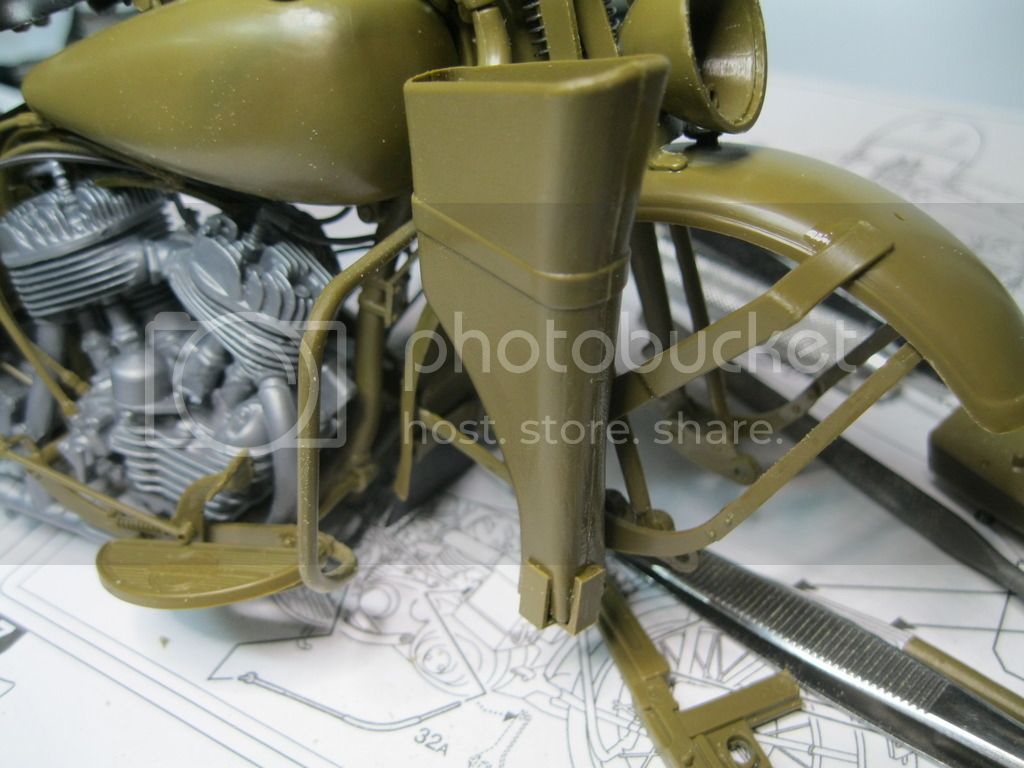
I finished off the build by adding the front details-scabbard, ammo box and such.


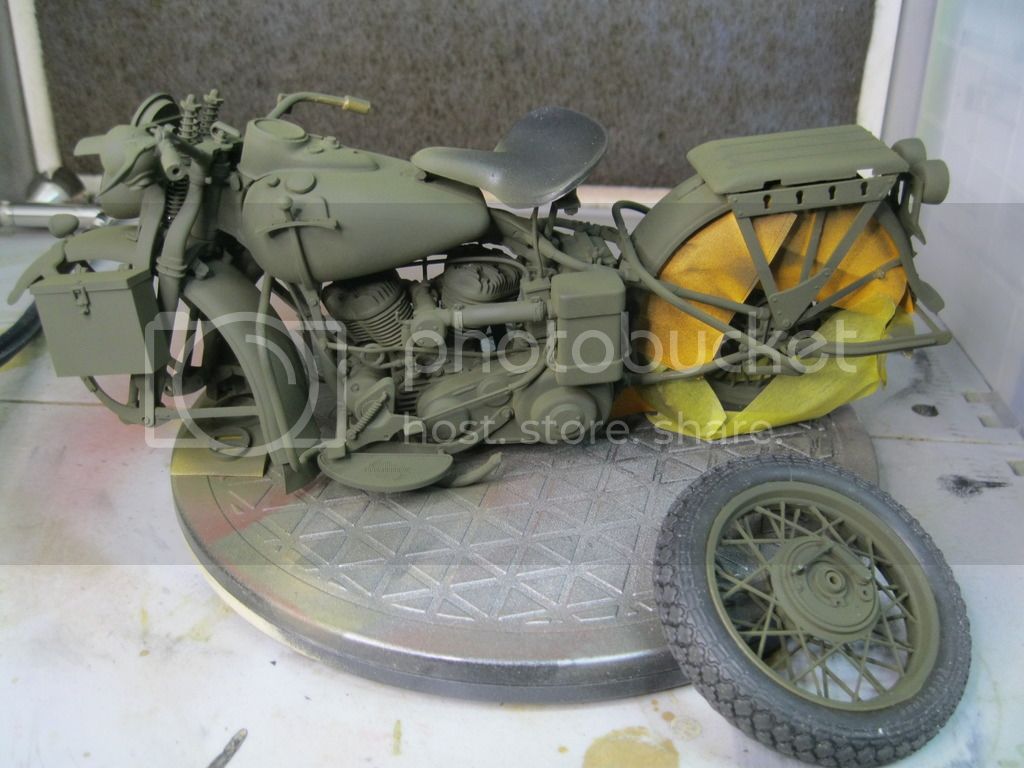
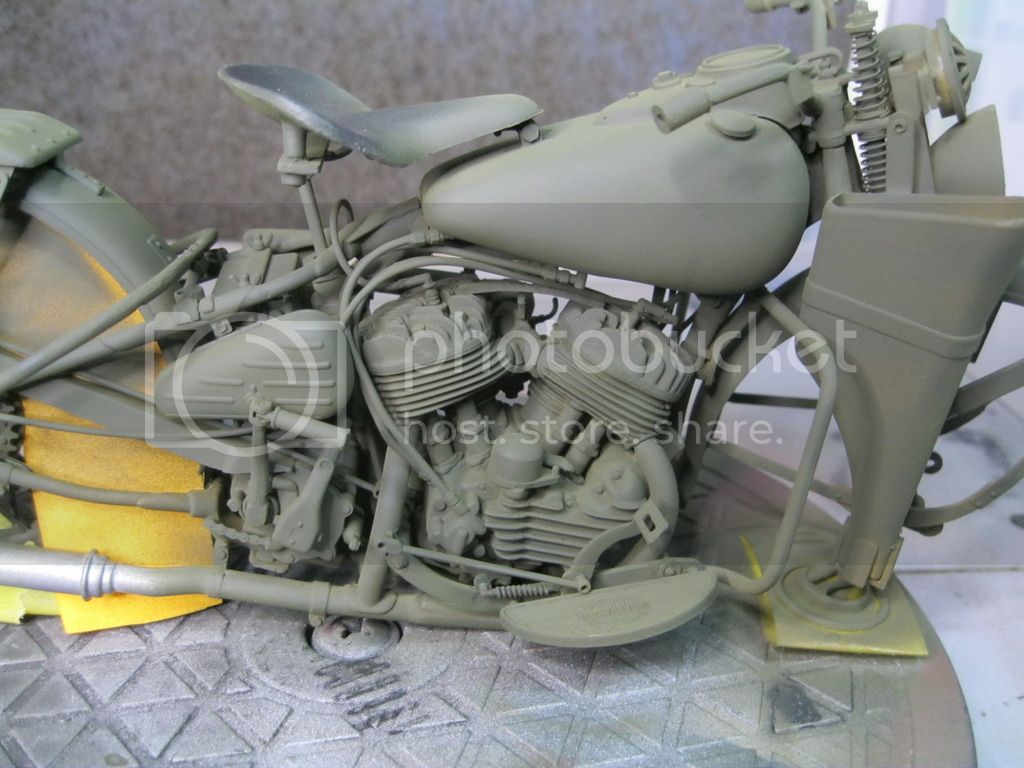
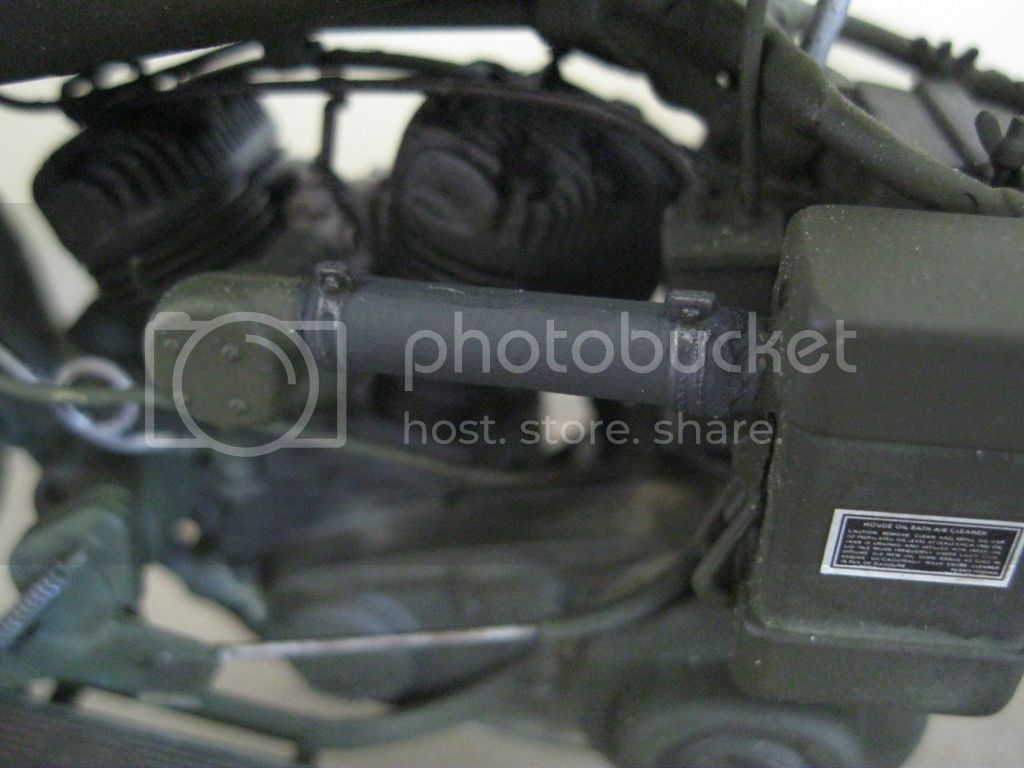
I went back and used the hose for the air filter. Gorilla glue made it stick. It will require some filler but I want to use the kit parts for this build. I moved the wires as well. The instructions really don't show where they end up, so you would need an actual bike manual, as was pointed out by Steve Croasdale, to actually get the engine wiring right. With the build done I have sprayed a coat of paint on to help identify where I need to file or fill.


That is all for now. I keep thinking how nice an updated new tooling of this kit would really stand out. At this scale it is about the same size as most 1/35 armor.
krow113
Visit this Community
British Columbia, Canada
Joined: March 16, 2010
KitMaker: 473 posts
Armorama: 56 posts
Posted: Tuesday, June 21, 2016 - 08:22 AM UTC
Smashed against the wall?
russamotto
Visit this Community
Utah, United States
Joined: December 14, 2007
KitMaker: 3,389 posts
Armorama: 2,054 posts
Posted: Wednesday, June 22, 2016 - 03:28 AM UTC
No. Had some family matters to attend to. I am working on painting the engine. Can't find two consistent photos that show the same details. I should have some images to post soon.
M4A1Sherman
Visit this Community
New York, United States
Joined: May 02, 2013
KitMaker: 4,403 posts
Armorama: 4,078 posts
Posted: Wednesday, June 22, 2016 - 05:10 AM UTC

Quoted Text

Yes the pins should be heated after install, I dunno why...
I think you are right the pin melting is for the rear stand , and glue the rack , it has no need to be moveable.
Two technical issues:
1) The high voltage leads emanate from the coil assy on the left of the seat post, not the generator on the front of the engine.
2) The distributor on the top right of the engine case has to be rotated 90' counter clockwise (plan view) ,so that the vertical pin locates into the 'c' shaped part 24b directly in front of it. This is the manual advance mechanism ,operated by the left handlebar grip.Turned like the throttle grip.
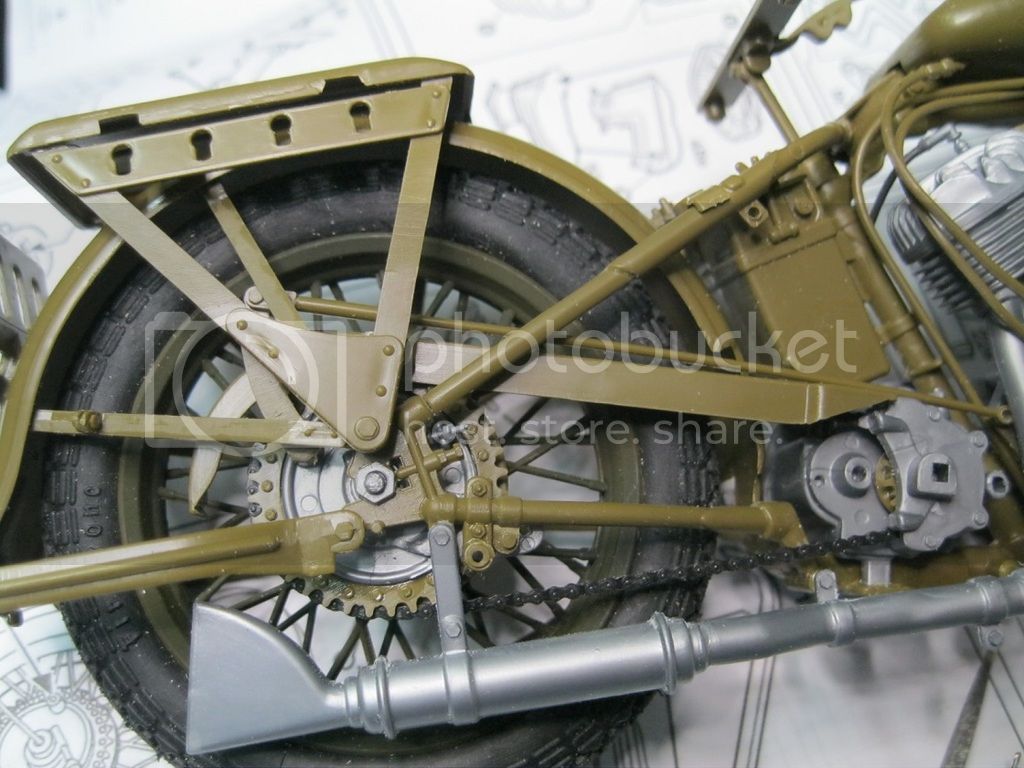
Modelling issues;
The chain and sprockets are a real problem , I trashed the chain completely going with a 1/12 p/e set from Hiroboy. Nothing will glue the chain , nothing can take the circle shape out of the chain , I heated it to do so and it immediately broke.
The chain wont mesh with the sprockets at all, I removed all of the irrelevant teeth from the rear sprocket and laid my chain on the edge. You will hafta orient the sprocket in the frame first to see how many teeth to take off.

I went a different route building mine into a 'bobber' the genesis of custom m/c building in North America:

I highly recommend a WLA 45 parts manual , easily available to help sort out some of the parts and issues. Also a lifetime of bike building didn't hurt either.....!


WHAT did you use for those GREAT-LOOKING Spoked Wheels? Those spokes are ENTIRELY "in-scale" with the main subject! That was something that I ALWAYS HATED about the ITALERI WLA-45; the out-of-scale wheel spokes! I bought TWO of the ITALERI WLA-45 kits, in the hopes of building a "Stock" US Army bike, and the other as a "Bobber", all-Black, if you please!
M4A1Sherman
Visit this Community
New York, United States
Joined: May 02, 2013
KitMaker: 4,403 posts
Armorama: 4,078 posts
Posted: Wednesday, June 22, 2016 - 05:15 AM UTC

Quoted Text

Here are the latest updates. I have now finished the build portion. First, I realized I forgot to add the images of the saddle bags. They are big and blocky.


All the leather items have this textured finish, that reminds me more of fabric or cement.

Details on the left hand side of the bike were added. Parts are a little fiddly but workable. Again, there is a lot of cleanup to remove the seam lines. The molds are slightly offset as well, so depending on where the part lies on the sprue the pieces can be off round. The knob on the shifter has a large lip around the middle, more like Saturn, that needs to be toned down.


Some of the parts require some threading to get them through the engine.


I finished off the build by adding the front details-scabbard, ammo box and such.


I went back and used the hose for the air filter. Gorilla glue made it stick. It will require some filler but I want to use the kit parts for this build. I moved the wires as well. The instructions really don't show where they end up, so you would need an actual bike manual, as was pointed out by Steve Croasdale, to actually get the engine wiring right. With the build done I have sprayed a coat of paint on to help identify where I need to file or fill.


That is all for now. I keep thinking how nice an updated new tooling of this kit would really stand out. At this scale it is about the same size as most 1/35 armor.


LOOKS GREAT, Russ! Following with MUCH INTEREST!!!
krow113
Visit this Community
British Columbia, Canada
Joined: March 16, 2010
KitMaker: 473 posts
Armorama: 56 posts
Posted: Thursday, June 23, 2016 - 11:01 PM UTC
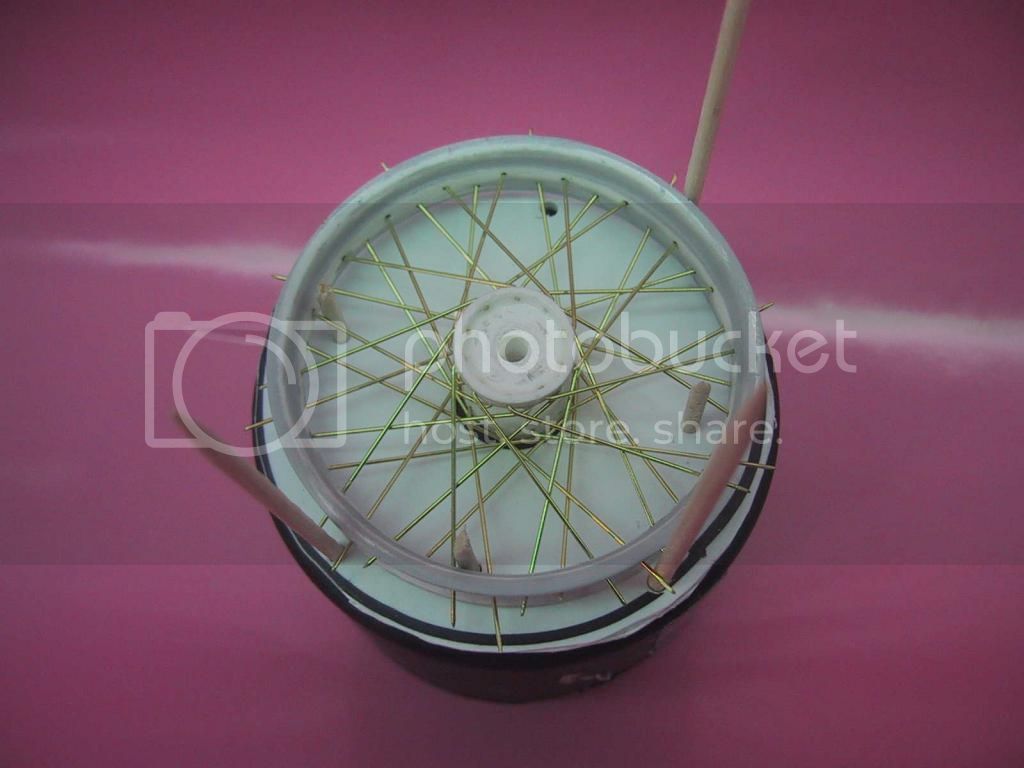
Unable to deal with the kit wheels , I made my own:

I used the kit rims and made my own hubs for masters ,cast them in resin, wouldn't do that again , the mould will take metal , that is best. That deals with the wheel problems.
The chain can be solved as I already suggested; a Top Stiudio 1/12 RC 211 p/e chain set. Or I had Eduard make me some 1/9 scale p/e test shots , you can see them on my Hillclimber thread on this site.
Mostly what this kit needs is a photo resource of the WLA m/c. The images are available on the web and need compilation prior to tackling th kit.
A more useable set of instructions is the biggest problem. The kit is great and builds up into a show winner if due diligence is applied. My Bobber '47 display took top awards when ever it was shown.

All of the parts are there to do a more than decent job. I used the parts catalogue and service manual for the m/c ,all available from Harley. The parts supplied are decently accurate , but all need final finishing. Correct alignment of key parts is also essential, a few degrees off and the cascade of problems begins.
I have access to these bikes and have had Harleys , worked in Harley shops , riding my whole life. That helps a little as well.
M4A1Sherman
Visit this Community
New York, United States
Joined: May 02, 2013
KitMaker: 4,403 posts
Armorama: 4,078 posts
Posted: Friday, June 24, 2016 - 10:51 AM UTC

Quoted Text

Unable to deal with the kit wheels , I made my own:

I used the kit rims and made my own hubs for masters ,cast them in resin, wouldn't do that again , the mould will take metal , that is best. That deals with the wheel problems.
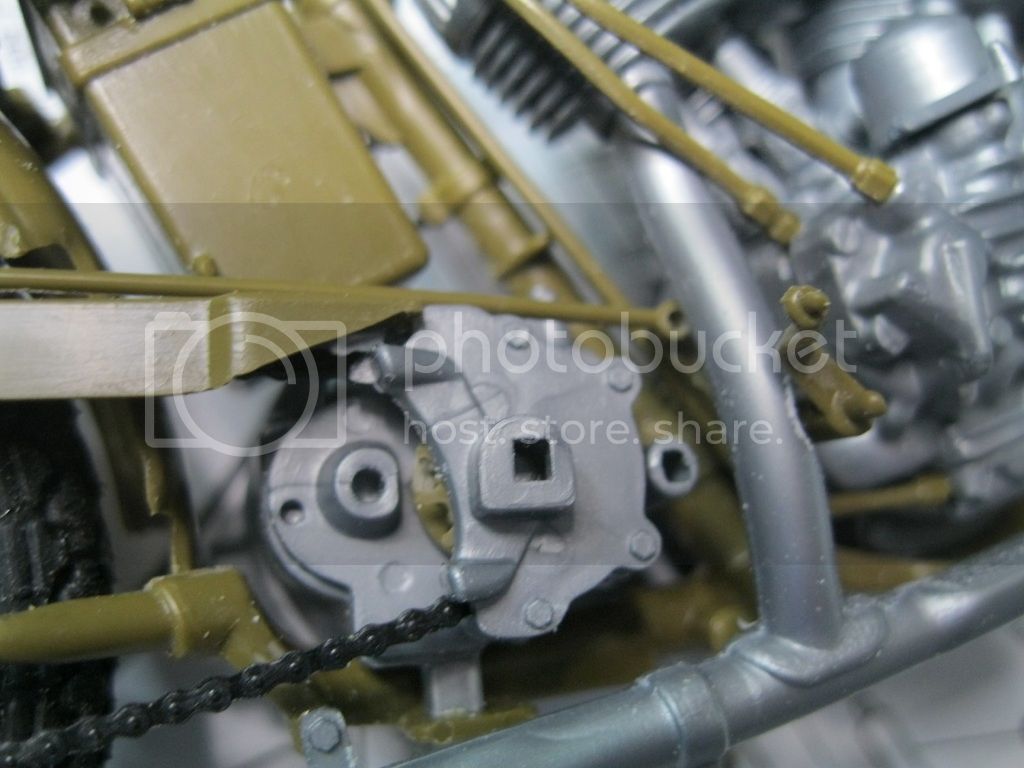
The chain can be solved as I already suggested; a Top Stiudio 1/12 RC 211 p/e chain set. Or I had Eduard make me some 1/9 scale p/e test shots , you can see them on my Hillclimber thread on this site.
Mostly what this kit needs is a photo resource of the WLA m/c. The images are available on the web and need compilation prior to tackling th kit.
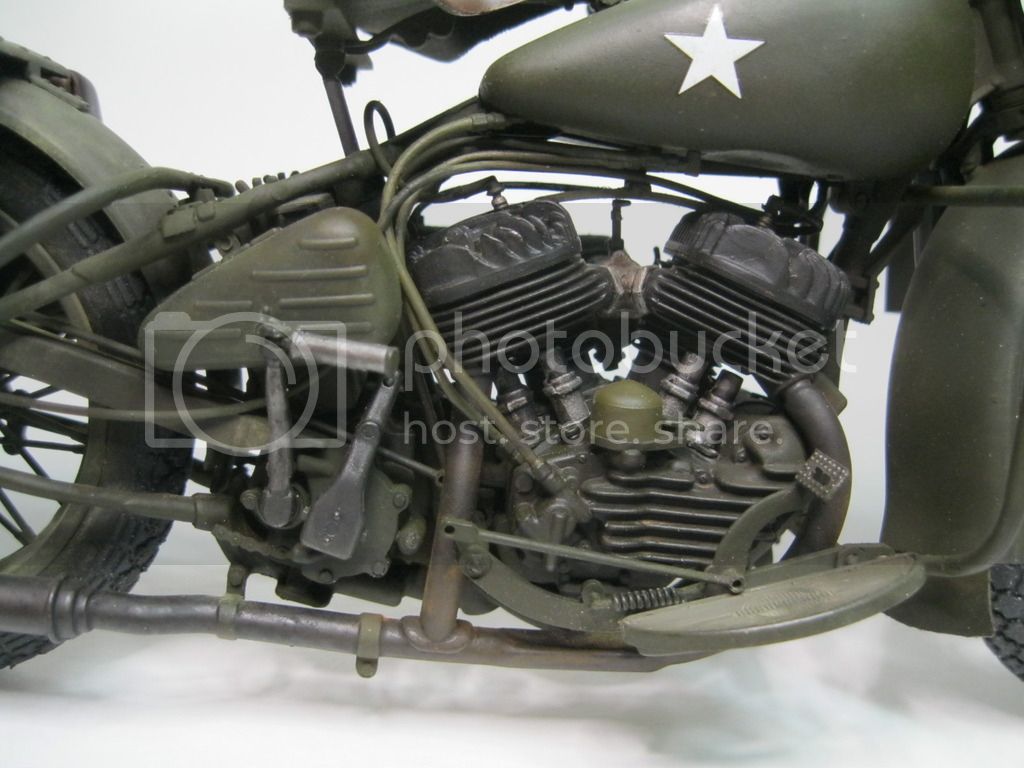
A more useable set of instructions is the biggest problem. The kit is great and builds up into a show winner if due diligence is applied. My Bobber '47 display took top awards when ever it was shown.

All of the parts are there to do a more than decent job. I used the parts catalogue and service manual for the m/c ,all available from Harley. The parts supplied are decently accurate , but all need final finishing. Correct alignment of key parts is also essential, a few degrees off and the cascade of problems begins.
I have access to these bikes and have had Harleys , worked in Harley shops , riding my whole life. That helps a little as well.


I thought maybe, as regards to the scratch-built wheels- Guess I'll have to build my own as well, unless we could work something out as a "Special Customer Order" in order for me to buy a set or two from you..?
krow113
Visit this Community
British Columbia, Canada
Joined: March 16, 2010
KitMaker: 473 posts
Armorama: 56 posts
Posted: Friday, June 24, 2016 - 08:31 PM UTC
I thought maybe, as regards to the scratch-built wheels- Guess I'll have to build my own as well, unless we could work something out as a "Special Customer Order" in order for me to buy a set or two from you..? [/quote]

I will be offering sets in the near future . My problem is that there are very few modellers building these kits, ( large scale m/c models), so the market is slim. I do for my own models and I am hoping it will catch on. I am casting rims and hubs for my Hillclimber ( see the m/c forum on this site) as plastic kit parts will not withstand the lacing procedure. A set of rims and hubs is only a small part of a set. There will have to be clear instructions , a photo guide for lacing and spokes and nipples and wheel spacing etc. Most of this is beyond the casual modeller.
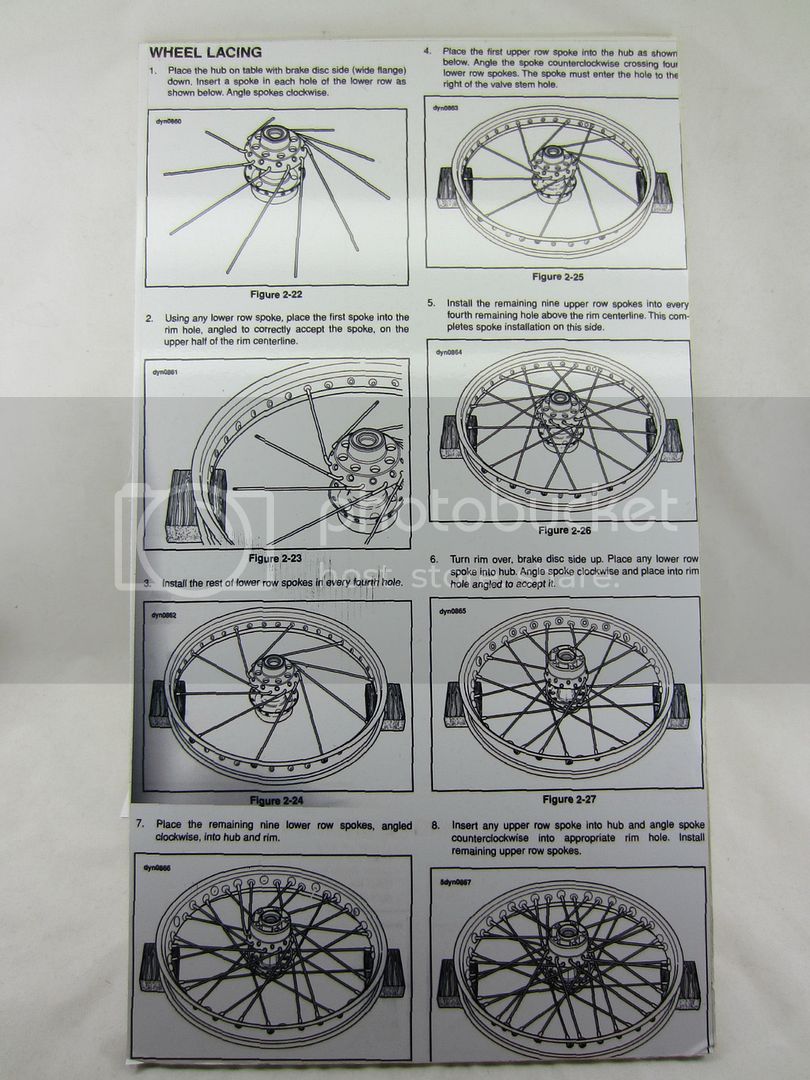
I do have moulds for the rims and hubs for the WWII Harley kit , sending a set out isn't impossible, however the assy of a wheel requires the knowledge of how the actual wheel is made. I used the Harley lacing diagram right our of the manual to lace my wheels , not many can do that.
If you cant read, follow, interpret etc , this chart , then you aren't going to be lacing wheels, its that simple:

And in my experience on many forums and the internet in general, one whiny chickensctratch ahole will get a set of wheels from me , be unable to complete them and paste all over the web how my stuff is crap, their own inadequate skills not withstanding. So you can see I am in no hurry to supply any one else with my parts. If a person can demonstrate the skills required to assemble and mount a set of wheels then they are welcome to request parts.
M4A1Sherman
Visit this Community
New York, United States
Joined: May 02, 2013
KitMaker: 4,403 posts
Armorama: 4,078 posts
Posted: Saturday, June 25, 2016 - 06:32 PM UTC

Quoted Text

I thought maybe, as regards to the scratch-built wheels- Guess I'll have to build my own as well, unless we could work something out as a "Special Customer Order" in order for me to buy a set or two from you..?


I will be offering sets in the near future . My problem is that there are very few modellers building these kits, ( large scale m/c models), so the market is slim. I do for my own models and I am hoping it will catch on. I am casting rims and hubs for my Hillclimber ( see the m/c forum on this site) as plastic kit parts will not withstand the lacing procedure. A set of rims and hubs is only a small part of a set. There will have to be clear instructions , a photo guide for lacing and spokes and nipples and wheel spacing etc. Most of this is beyond the casual modeller.
I do have moulds for the rims and hubs for the WWII Harley kit , sending a set out isn't impossible, however the assy of a wheel requires the knowledge of how the actual wheel is made. I used the Harley lacing diagram right our of the manual to lace my wheels , not many can do that.
If you cant read, follow, interpret etc , this chart , then you aren't going to be lacing wheels, its that simple:

And in my experience on many forums and the internet in general, one whiny chickensctratch ahole will get a set of wheels from me , be unable to complete them and paste all over the web how my stuff is crap, their own inadequate skills not withstanding. So you can see I am in no hurry to supply any one else with my parts. If a person can demonstrate the skills required to assemble and mount a set of wheels then they are welcome to request parts.
[/quote]

Hi, Steve! THANKS Very Much for answering!

One can ALWAYS rely on some "chickenscratch ahole" to bugger-up anyone's honest efforts to produce a superior product!!!

As for myself, I've been modelling since I was 5 years old, and haven't built anything "straight-out-of-the-box" since I was about 8. (1961) I've got LOADS of experience with resin kits and "up-grades" PE sets and multi-media kits, so your Harley-Davidson WLA-45 Wheel Lacing kits should pose no special problems for me. I'm not bragging, just stating facts as they are.

From my own personal experience, IMO, the REAL test of a modeller's skills, is scratch-building an HO scale BRASS Steam Locomotive of the "Golden Age of Steam", (circa 1910-1947), to "prototype" accuracy. This, I've done more than just a few times; measuring, cutting, bending, forming, soldering, the whole "bit".

Ditto, regarding 1/35 scale AFVs and Soft-skins, where again, scratch-buiding, kit-bashing, modifying, correcting, well, you know what I'm saying...

I also assisted a close friend in lacing H/D wheels, and "truing" them up, so yes, I do have some limited experience in how the wheels are designed and put together. To reiterate, I would be happy to buy 2 sets of WLA-45 Wheels from you, 1 set for a "stock" US Army -45, and the 2nd set for my "Bobber" conversion...

You can let me know by emailing me: [email protected]
krow113
Visit this Community
British Columbia, Canada
Joined: March 16, 2010
KitMaker: 473 posts
Armorama: 56 posts
Posted: Saturday, June 25, 2016 - 07:56 PM UTC
Ok Dennis let me think about it and we'll see. The mould is ready and I do have some metal to pour. I have one more mould to get ready and then on to 'the pour'.
Thanks for the interest.
russamotto
Visit this Community
Utah, United States
Joined: December 14, 2007
KitMaker: 3,389 posts
Armorama: 2,054 posts
Posted: Thursday, June 30, 2016 - 09:20 PM UTC
I have managed to get a bit done with some details.


'


Need to do decals, then some light weathering, and add the grips. I don't know enough about motorcycles to get the fine details set up. Electrical wiring, proper instruction for all the lines and piping, and a consistent set of reference photos would really make this stand out. I did find a 1/9 scale Captain America. $250. Won't be getting that. Even a decent 1/9 Thompson, or a canteen would be good. The kit is worth a real re-tooling.
krow113
Visit this Community
British Columbia, Canada
Joined: March 16, 2010
KitMaker: 473 posts
Armorama: 56 posts
Posted: Thursday, June 30, 2016 - 10:10 PM UTC
Looking good! Yes some wash's and pigmentation will finish her up nicely.
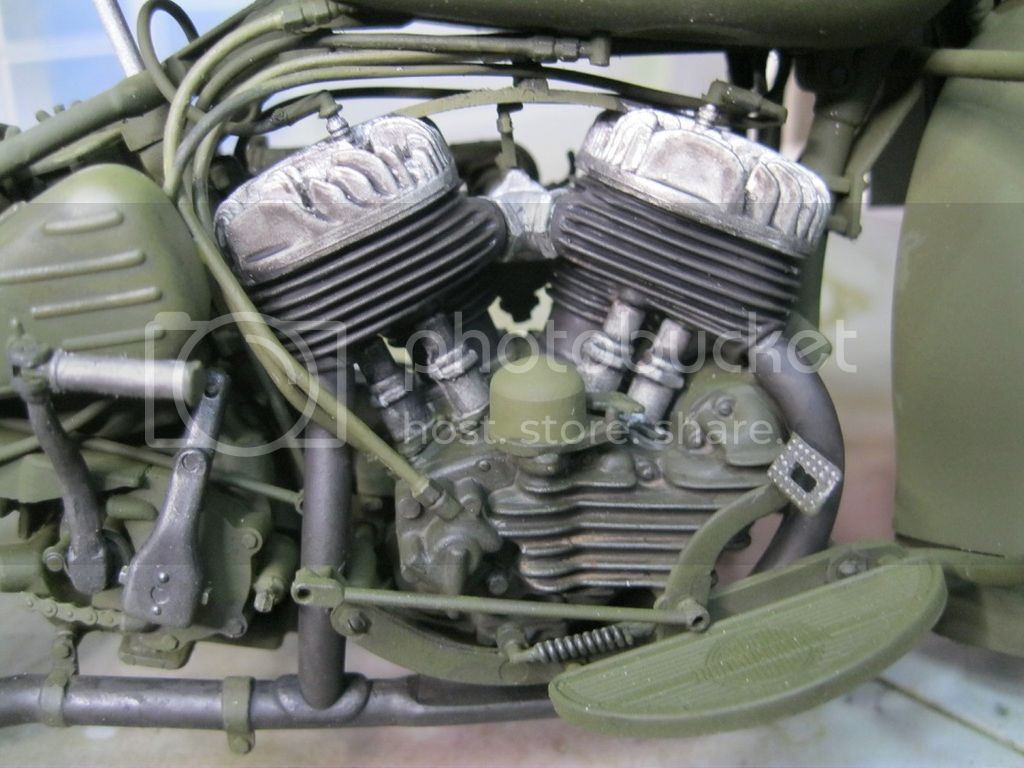
A tad frustrating when references are elusive. One thing for future references , the cylinder heads would be black as they are cast steel. My models heads represent the aluminum racing heads offered by Harley, prolly not on war bikes.
I did see one in person at a bike meet, a Canadian version with a 'snorkel' which would be a cool addition, I took massive amounts of pics , to the point the owner was getting weird!
My kit came with a Thompson , was there not one in your example? I have it right here on my bench.
Excellent job on the thread and model.
russamotto
Visit this Community
Utah, United States
Joined: December 14, 2007
KitMaker: 3,389 posts
Armorama: 2,054 posts
Posted: Thursday, June 30, 2016 - 10:35 PM UTC
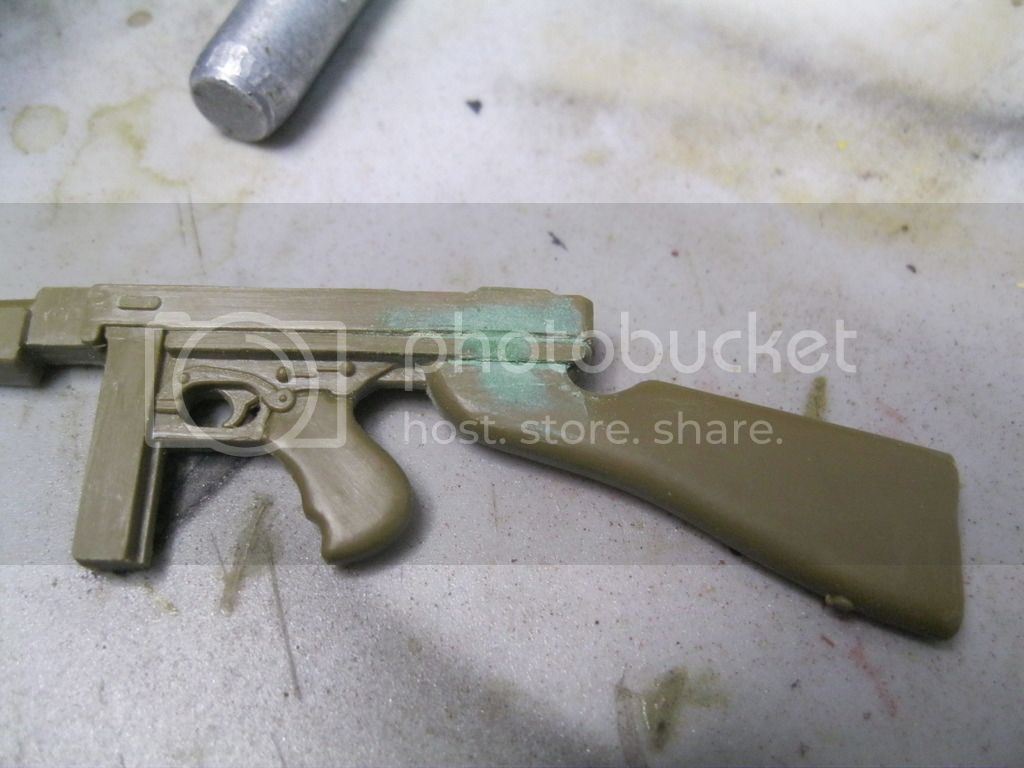
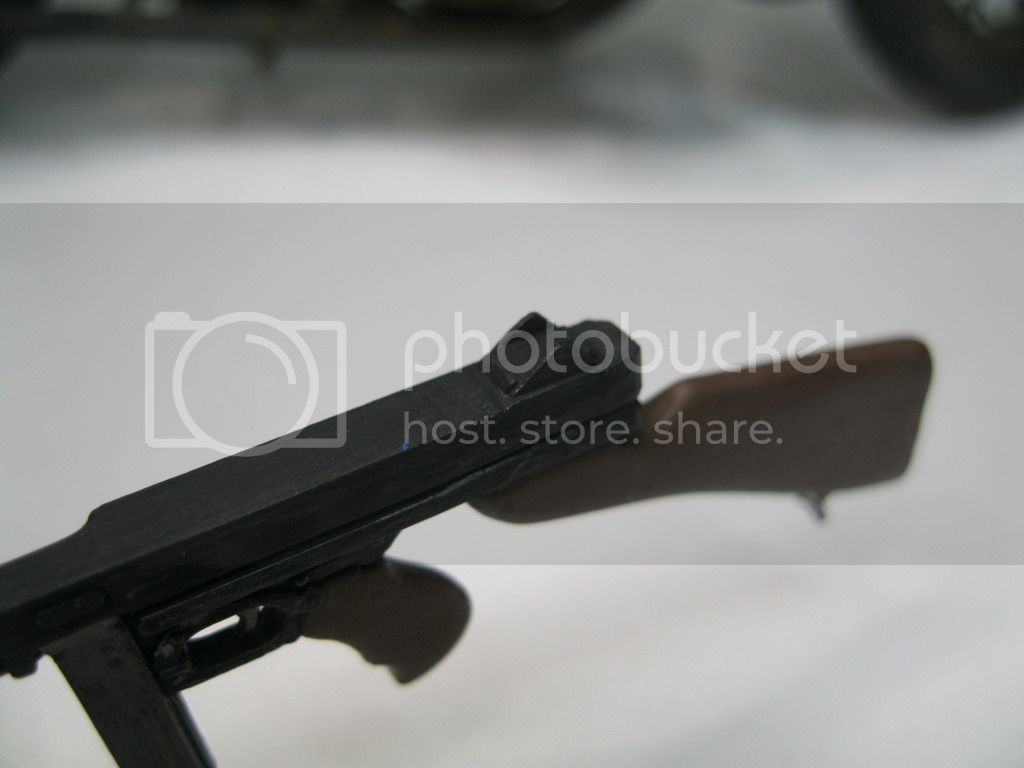
I can fix the cylinder heads. The Thompson has a big sink mark right where the buttstock meets the receiver. It will take some clean-up but as most of it is hidden it will work. Thank you for the input! It is greatly needed.
russamotto
Visit this Community
Utah, United States
Joined: December 14, 2007
KitMaker: 3,389 posts
Armorama: 2,054 posts
Posted: Sunday, July 10, 2016 - 10:17 PM UTC
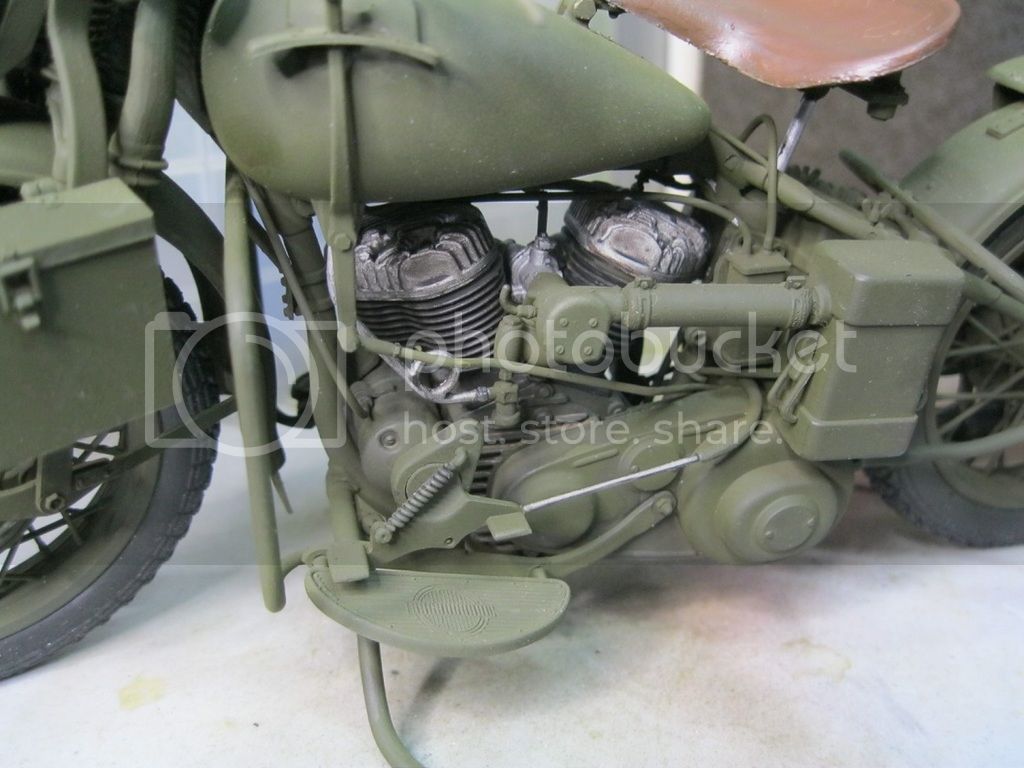
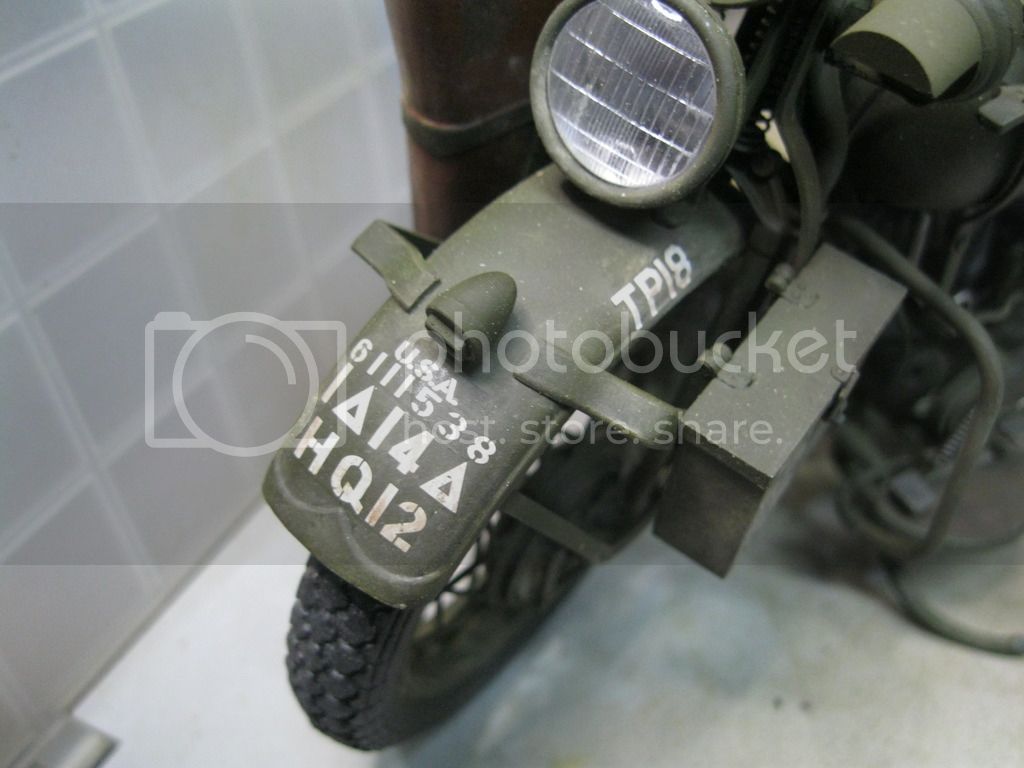
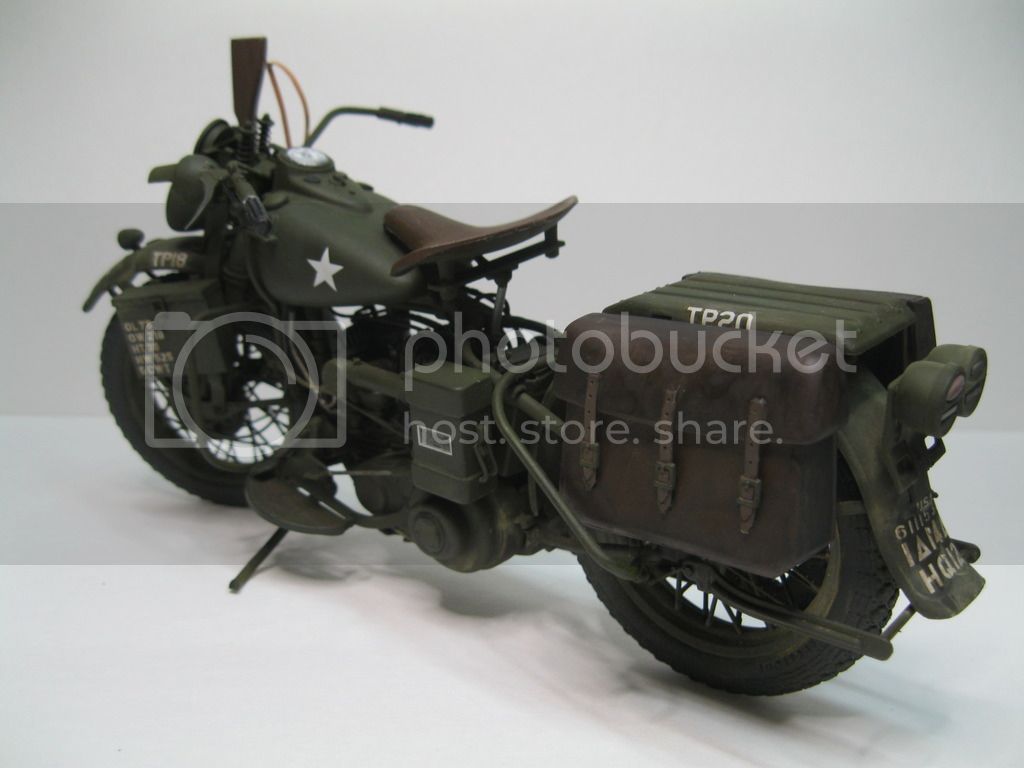
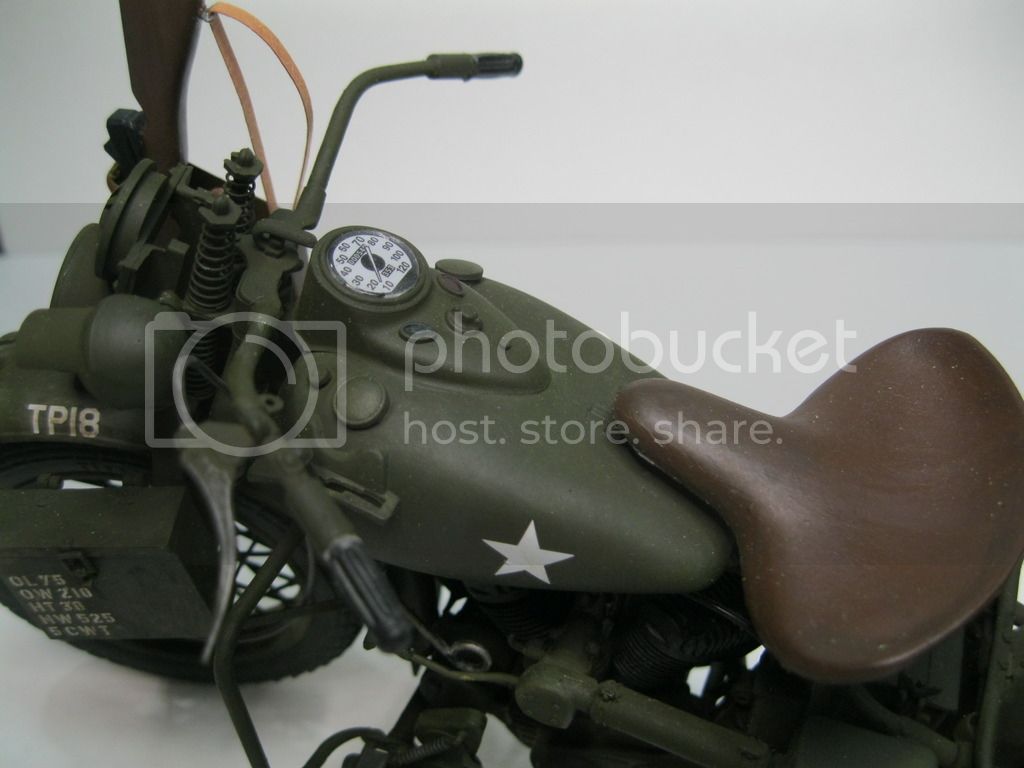
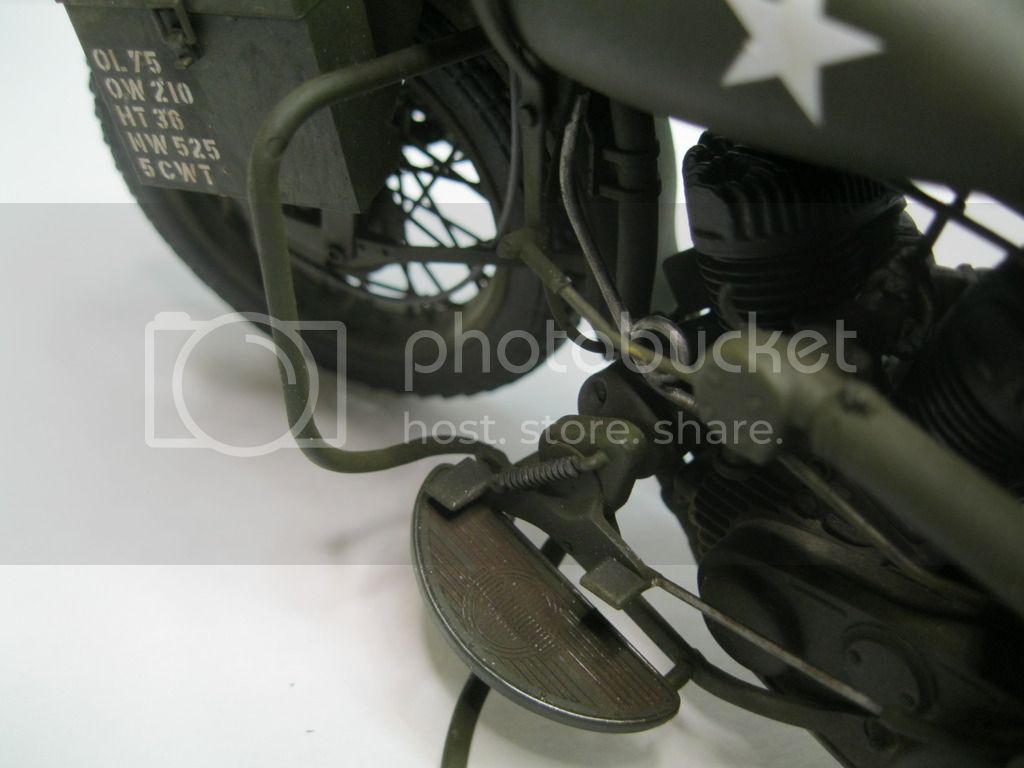
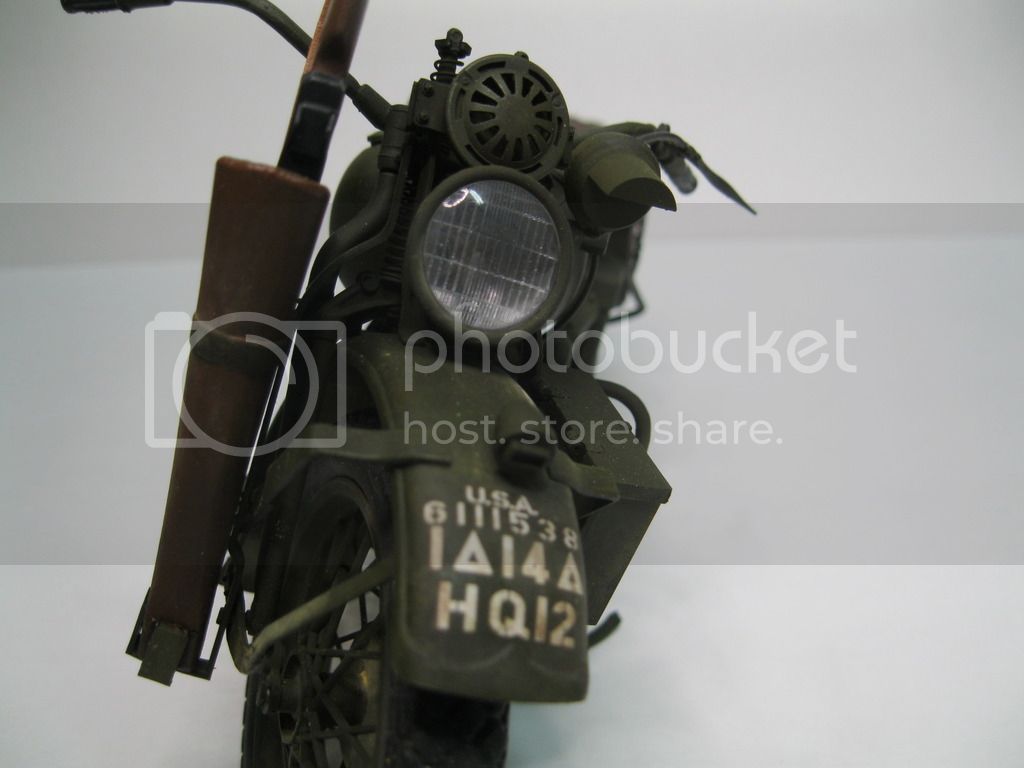
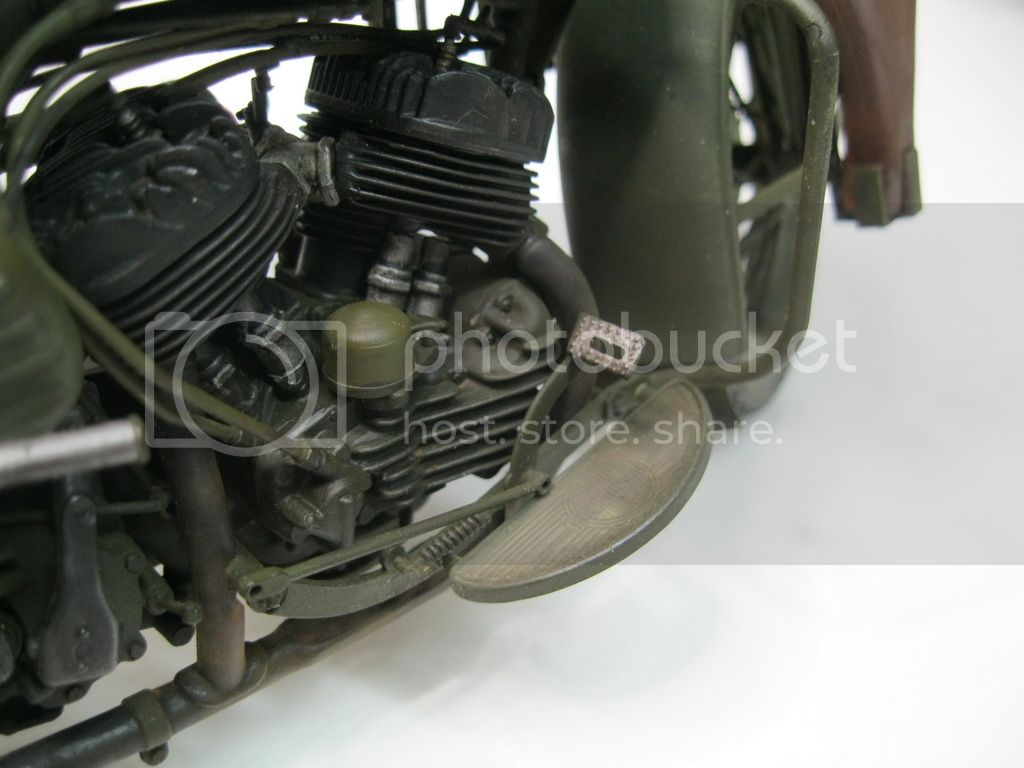
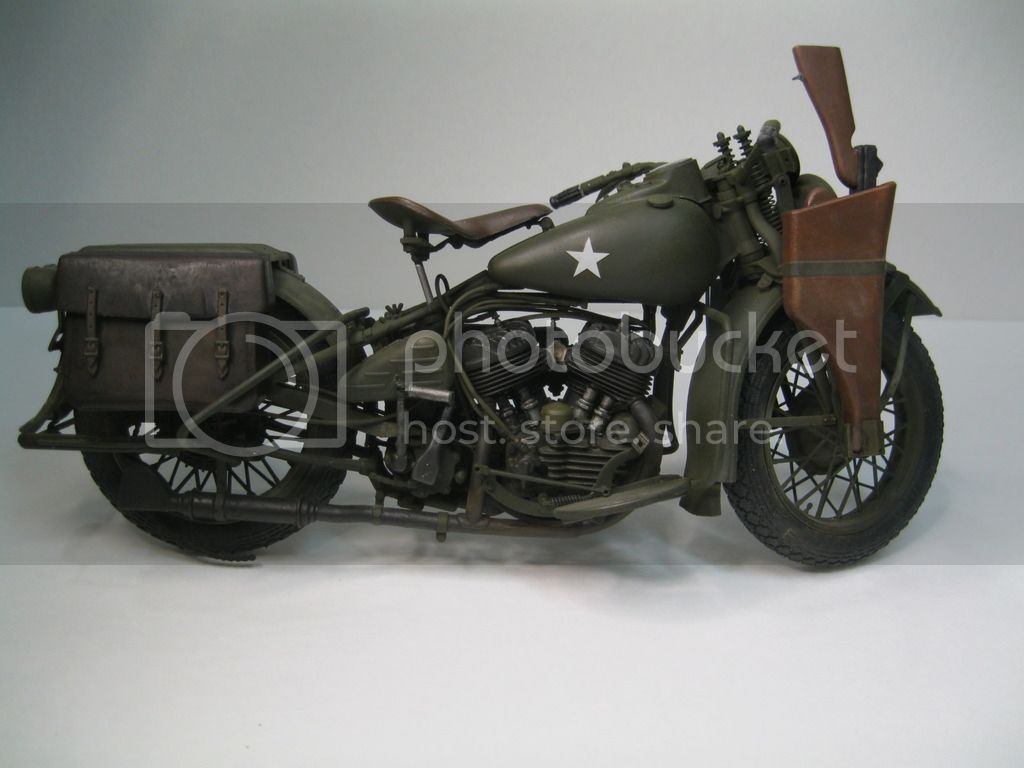
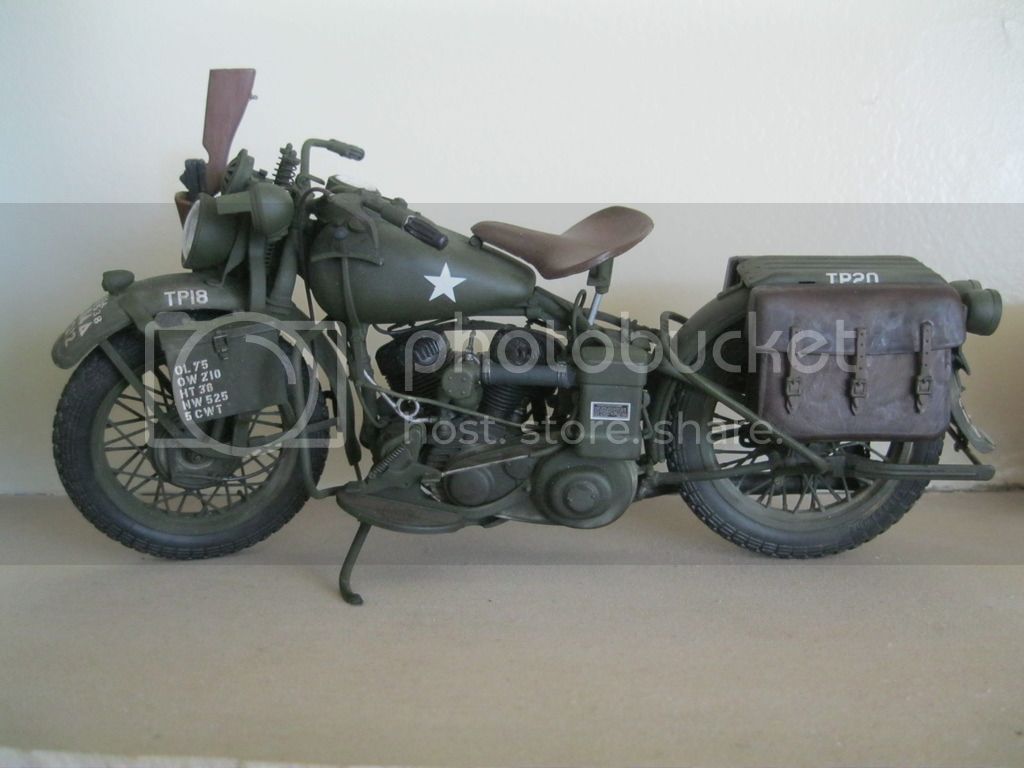
Here is the latest update. I painted the cylinder heads, using Tamiya rubber black. I worked on the Thompson. Added the decals, which seemed a little thick but went down very smoothly and reacted well with micro-sol. I used a basic wash of raw umber and thinner, as well as some Games Workshop nuln oil and agrax earthshade, and the Vallejo oily earth acrylic wash.


I used Vallejo flat varnish on the saddle bags which left a white film. I also realized that I forgot to paint the shift knob and the air filter hose. That has since been fixed.

This is a kit that can really use some serious updating, but I don't know if it is popular enough to warrant a new release.

I didn't add a sling to the Thompson as wartime photos don't show one very often. I have also seen Garand and M1903 Springfield rifles in the scabbard as well as the Thompson. Overall, the kit is challenging for fit and cleanup, though the parts count is low. Detail is soft on many parts. A good wiring guide or specific knowledge of the subject will let you detail to your heart's content. I know very little of motorcycles, but I can easily see where bike fans would really enjoy the kit.
krow113
Visit this Community
British Columbia, Canada
Joined: March 16, 2010
KitMaker: 473 posts
Armorama: 56 posts
Posted: Sunday, July 10, 2016 - 10:52 PM UTC
Great finish!
Well done. windshield - y/n?
russamotto
Visit this Community
Utah, United States
Joined: December 14, 2007
KitMaker: 3,389 posts
Armorama: 2,054 posts
Posted: Monday, July 11, 2016 - 03:36 AM UTC
Thanks, Steve! I opted out of the windshield. I like the look without it, and I didn't want to deal with the vinyl lower half.
russamotto
Visit this Community
Utah, United States
Joined: December 14, 2007
KitMaker: 3,389 posts
Armorama: 2,054 posts
Posted: Thursday, July 14, 2016 - 03:54 AM UTC
I couldn't leave the last bit unfinished. My attempt to fill the gap wasn't perfect, but the detail is small and hard to see.


I was planning on giving this to a friend at work who is a motorcycle fan, but my 8 year old daughter just proclaimed it the greatest thing she has ever seen, so it looks like I will be holding onto it for a while. Thanks for looking.

justsendit
Visit this Community
Colorado, United States
Joined: February 24, 2014
KitMaker: 3,033 posts
Armorama: 2,492 posts
Posted: Thursday, July 14, 2016 - 07:21 AM UTC

Quoted Text

... my 8 year old daughter just proclaimed it the greatest thing she has ever seen ...


She has very good taste! Awesome work!

—mike
CMOT
Staff MemberEditor-in-Chief
ARMORAMA
Visit this Community
England - South West, United Kingdom
Joined: May 14, 2006
KitMaker: 10,954 posts
Armorama: 8,571 posts
Posted: Thursday, July 14, 2016 - 11:51 AM UTC
Russ: Despite the number of years this has been available in various releases I am very impressed at how well this has turned out and it has been worth the wait. Thank you
russamotto
Visit this Community
Utah, United States
Joined: December 14, 2007
KitMaker: 3,389 posts
Armorama: 2,054 posts
Posted: Friday, July 15, 2016 - 08:20 AM UTC
Thank you, Mike and Darren. With so many offbeat subjects coming out right now, I think more and more that a new tooling of this kit and other motorcycles would probably do well.

Darren, I wasn't sure what to think of the kit when I got it, but I am very happy with the end result. Thank you for sending it my way.
 _GOTOTOP