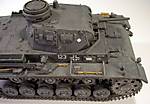
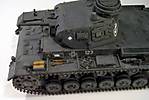
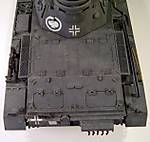
1⁄35Building the Pzkpfw III Ausf E
11
Comments
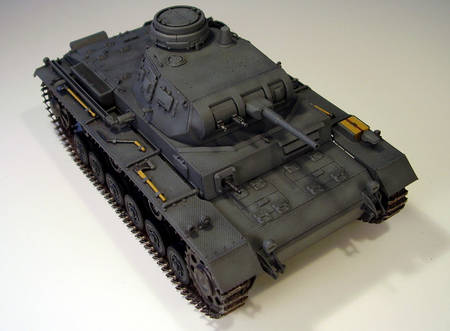
paint finish, tracks, and weathering
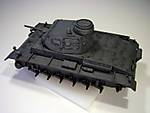
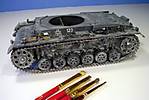
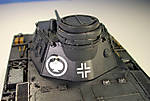
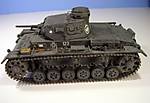
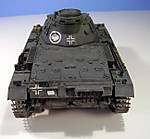
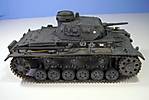
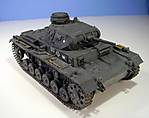
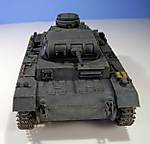
In preparation for painting, all of the road wheels were placed on toothpicks with blue-tack and stuck into a Styrofoam block for easy handling. The cupola view ports were masked off with the same and the turret set on a handy-dandy cardboard tube scavenged from the obvious place. All paints used are Model Master enamels. As a Greece campaign vehicle, the overall finish calls for Panzer Schwarzgrau and all surfaces were first primed with Flat Black followed by Rust to simulate the Red Oxide primer. Once cured up, the overcoat finish was applied using 3 different shades of Panzer Schwarzgrau starting with the original shade and the other 2 increasingly lightened with Light Gray to provide a 3 tone scale. Before final weathering, I installed the tracks and road wheels and weathered the lower hull, drive sprockets, and idlers with dry brushed Steel and Burnt Umber. The return rollers, due to the way Dragon molded them with short support posts, required additional support to set up correctly and not collapse under the force of gravity. Once done, the road wheels were glued in place and the individual link tracks assembled. Each link required cleanup of sink marks on their upper surface and, while molded with open guide horns, some were not completely hollowed out and required extra attention. The tracks were assembled quickly, about 95 links per side, and painted using Non-Buffing Gunmetal Metalizer followed by a wash of Rust and dry brushed with Steel and Burnt Umber. Installation went smoothly and the runs held in place with toothpicks over the return rollers to produce a slight sag and left to set up overnight. At the same time, the pioneer tools were detailed and installed as well before sealed with Future. The kit decals, being older, were somewhat on the thicker side but went down fairly easily. The chosen markings included a large white spade in a circle on the rear turret that presented a nice challenge, overcome by the use of some Walther’s Solvaset to get it to conform properly. Another Future coat was applied prior to weathering. To begin, I applied a pin wash of Burnt Umber around the raised detail and panels. The smoke grenades on the rear deck also got an extra detail with some added lengths of 47-link-per-inch chain. Testor’s rattle can Dullcote was applied to seal and provide some “tooth” allowing the lightest gray shade used earlier to be dry brushed on all the raised points to create some highlights and blend in the Burnt Umber wash with the original finish. Final weathering came in the form of a dusty finish supplied with Mig pigments Light Dust applied wet to the lower hull and dry to the upper and blended/removed as needed with a stiff bristled brush. The upper hull surfaces were dusted with a #6 round sable brush followed up a selective dragging of a damp #0 round brush to produce some variation and streaking. As a final touch up, the handles on the wire cutters were stippled with a mixture of thinned MM Dark earth and Leather to simulate the resin impregnated cardboard insulator covers as opposed to wood handles on the other tools. And thus the Pz.Kpfw III Ausf. E rolled off the bench and into the display cabinet!Comments
I actually have that kit in the on deck circle so it was really welcome.
Thanks Bill,
Shaun
DEC 10, 2006 - 06:59 PM
Nice Feature, very well put together!
Thanks for sharing, mate.
~Gunny
DEC 10, 2006 - 07:53 PM
Bill
I said it before when you were posting in the forums and I will say it again simply a superb article. Thanks for all your time and effort.
Regards
Sean
DEC 10, 2006 - 11:11 PM
Bill,
was the semi matte finish on your PzKW III E meant to convey a tank in the rain?
JUL 03, 2008 - 07:18 PM
Hi Jack,
Not sure what you mean by semi-matte? The finish on this one is dead-flat including the dust coat, it depicts a vehicle in the Balkans in early summer 1941.
JUL 03, 2008 - 07:29 PM
Great review and build...some great ideas and points to bear in mind when undertaking this kit. I usually avoid "older" kits but ,at the right price and with some judicious editing ,as you have shown, they can be made into fine looking kits.
MAY 15, 2015 - 09:17 PM
Thanks Bill,
You have shown, once again, the benefits of paying attention to detail in this build. It is a reminder that well honed skills can turn an older kit into a work of art.
Thanks again for the feature.
Cheers,
Rick
MAY 15, 2015 - 11:30 PM
Copyright ©2021 by Bill Plunk. Images and/or videos also by copyright holder unless otherwise noted. The views and opinions expressed herein are solely the views and opinions of the authors and/or contributors to this Web site and do not necessarily represent the views and/or opinions of Armorama, KitMaker Network, or Silver Star Enterrpises. All rights reserved. Originally published on: 2006-12-09 00:00:00. Unique Reads: 34354


