

1⁄35French Heavyweight Char B1 bis
21
Comments
Painting and Markings
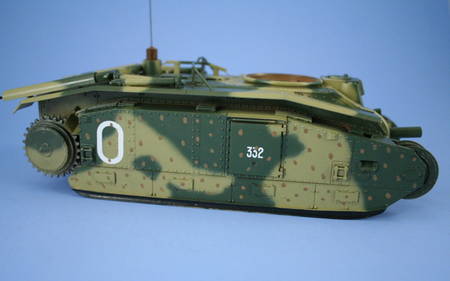
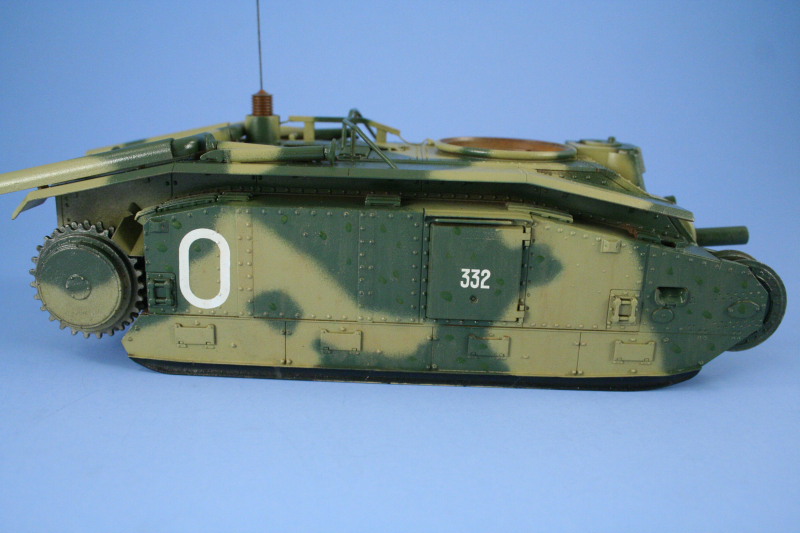
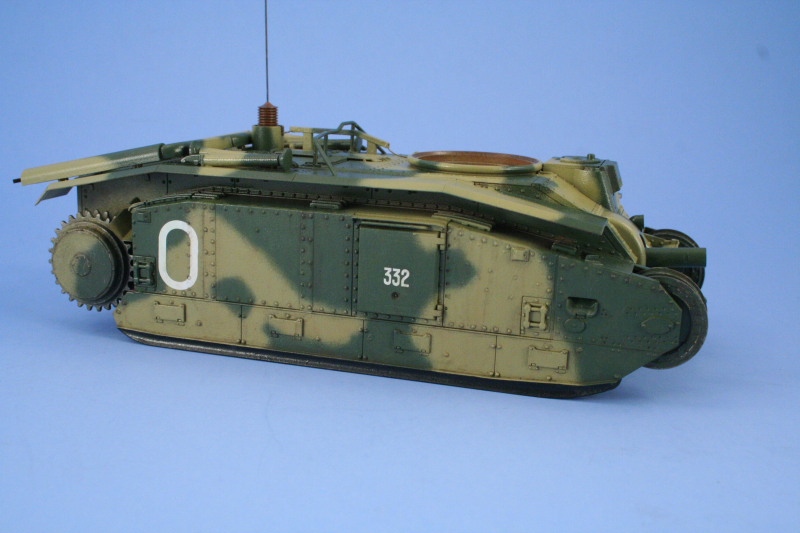
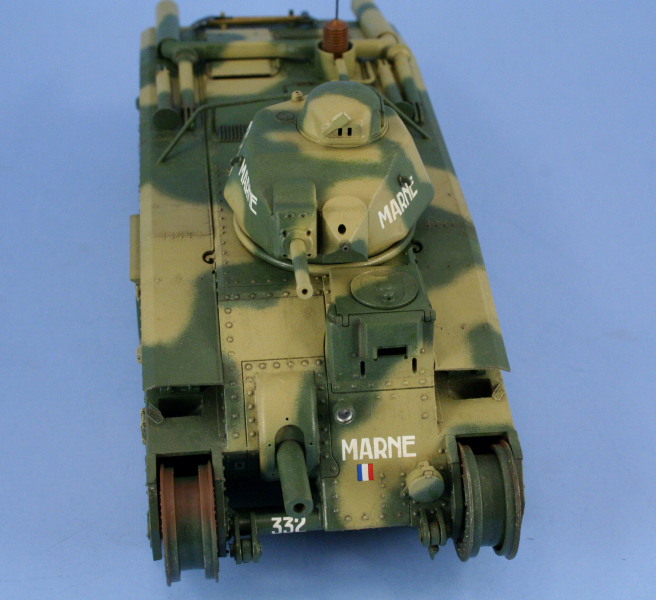
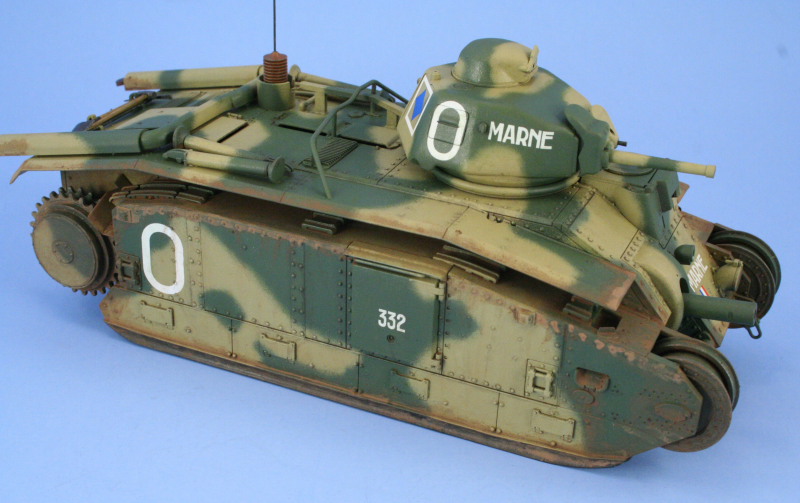
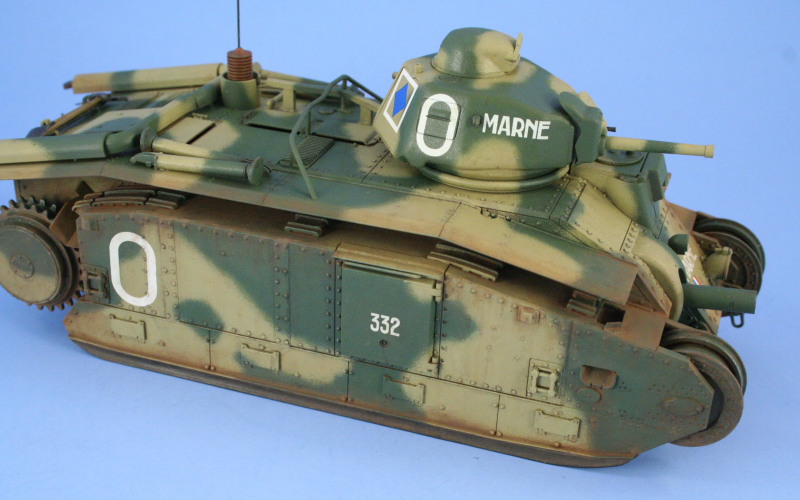
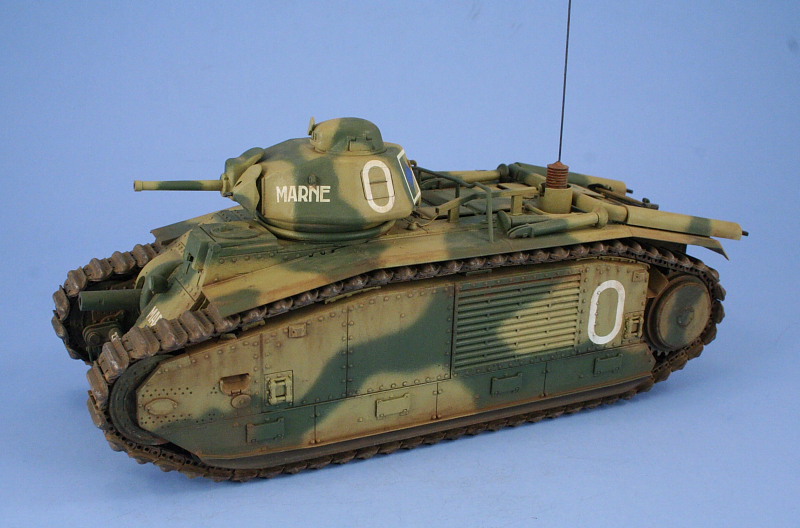
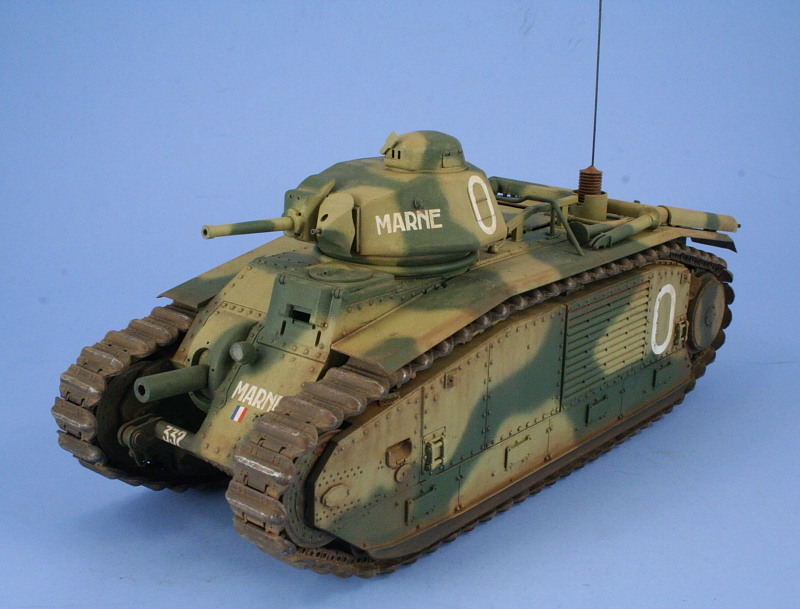
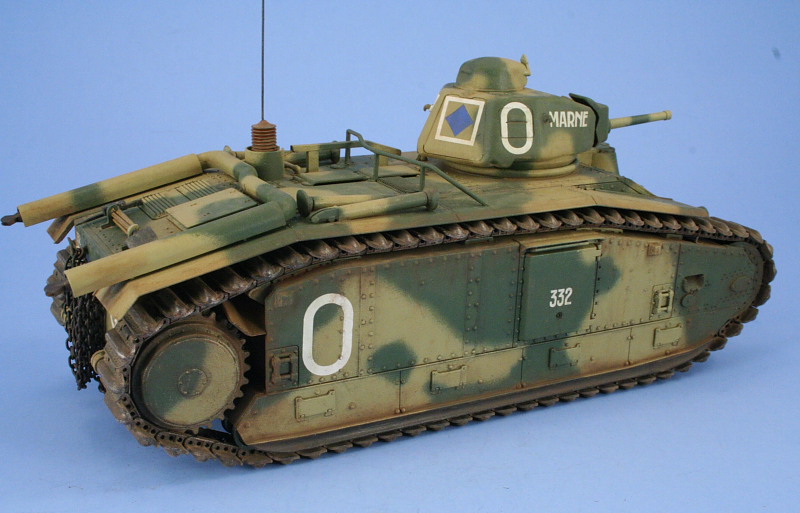
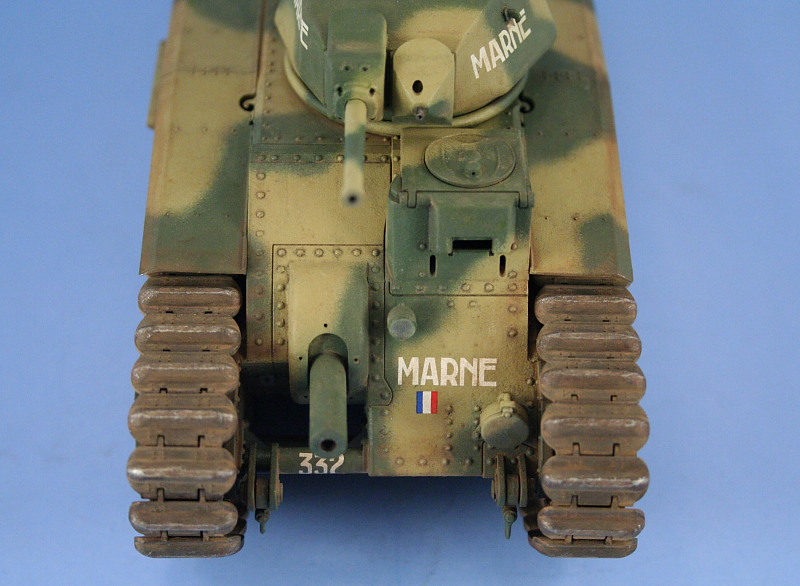
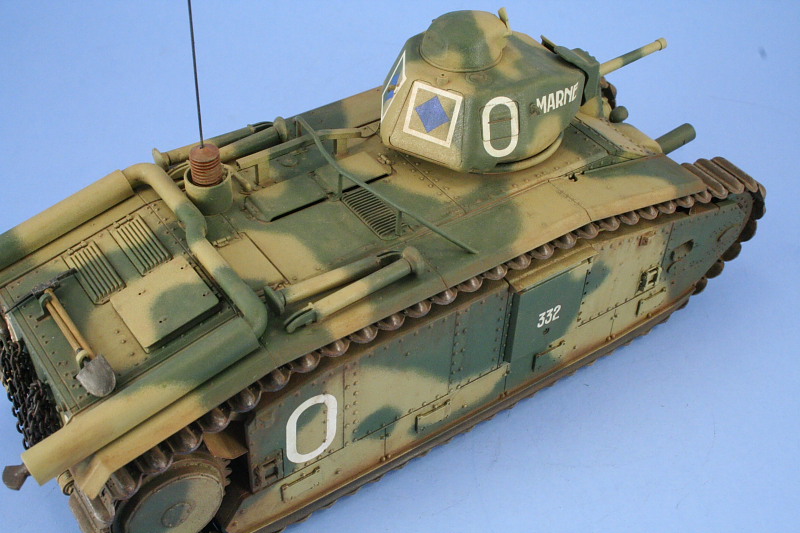
All of the paints used, unless otherwise mentioned, are from the Testors Model Master enamel line of paints. I began by applying a primer coat of Italian Dark Brown to insure no bare plastic was left behind and also to check the previous sanding/putty work. The seam for the drivers hood and part of the turret needed some rework and this was quickly taken care of before moving on to the camo scheme.Marne had a two-tone khaki green/dark yellow camo scheme and the Echelon decal set provided a painting guide which I used to determine the pattern. Rather than paint the whole vehicle in a single base coat, I used the Dark Brown coat as a pre-shade and to define the patterns. The green pattern was applied using Khaki and applied first since it was the darker color. For the dark yellow pattern, I mixed 80/20 Dunkelgelb and Light Gray and sprayed it in next to the Khaki to complete the pattern. Both patterns were tightened up for overspray but left in a soft edge pattern as its not clear from the references if Marne had a hard or soft edge pattern.
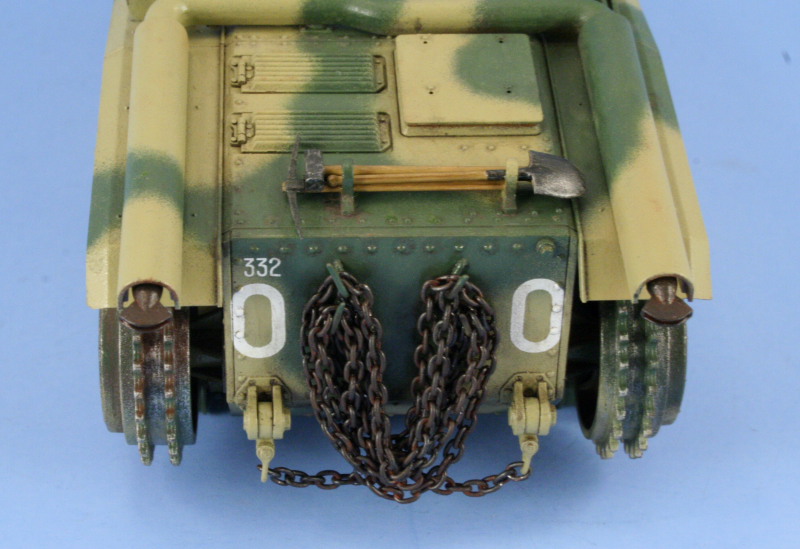
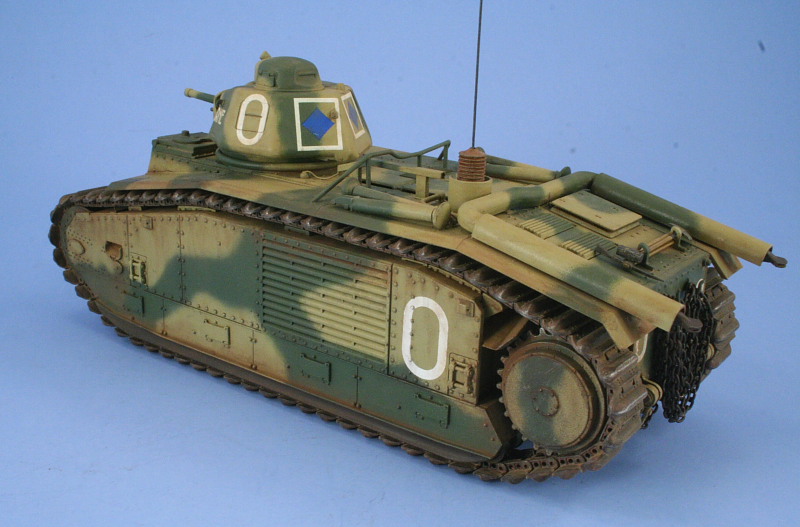
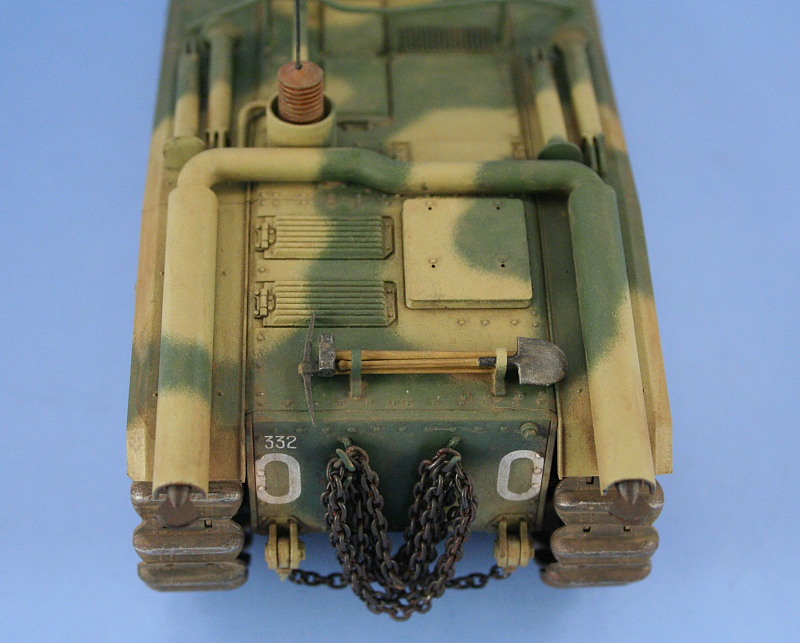
Details were added in the form of the rubber mud skirts along the sponson edged painted with Gunmetal, the concertina painted with a 50/50 mix of Leather and Military Brown and weathered, the exhausts painted with Metalizer Gunmetal and weathered with a light Rust wash, and the pioneer tools painted and installed on the rear engine deck.
A coat of Future was applied by airbrush and allowed to sit for a couple of hours before the decals were applied. The Echelon markings are superbly printed, with the larger markings largely hollow with only connecting film where its necessary to maintain the integrity of the marking. Each were treated with Solvaset to insure they settled in over the complex bolt head surfaces and conformed to the painted surfaces. Once dry, an additional coat of Future was applied to protect the decals and allowed to dry overnight.
Each track run was sprayed with a coat of Non-buffing Metalizer Gunmetal by airbrush to insure all the nooks and crannies were sufficiently covered and allowed to cure up overnight. Each track was first heavily dry brushed with Steel and then given a wash of thinned Rust. Once the wash had dried, they were dry brushed with Burnt Umber and any visible brighter Rust areas were toned down with black artist pastel as the final preparation before final weathering with the rest of the vehicle.
Weathering and Finish
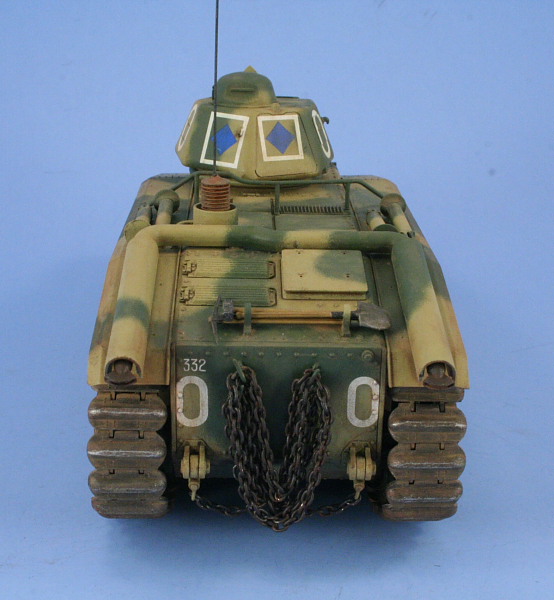
A two-step filter was applied first using dots of Raw Sienna blended in with clean thinner and a round brush followed by dots of Medium Green to the Khaki areas only. Once dried, this was followed with a pin wash of Burnt Umber applied with a 20/10 brush to the panel lines, bolt heads, and raised detail areas. Some slight adjustments using a 0 round brush and clean thinner were made in various places where the washes were too heavy or had bloomed.Once satisfied, the tow chains were installed on the rear hull using the methods outlined in Step 18 of the instruction sheet. The chains were finished in the same manner as the tracks and once installed an additional wash of Burnt Umber was applied to match with the weathering on the hull. The entire model was then sprayed with Testors Model Master Lusterless (flat) dullcoat in the spraycan and allowed to set up.
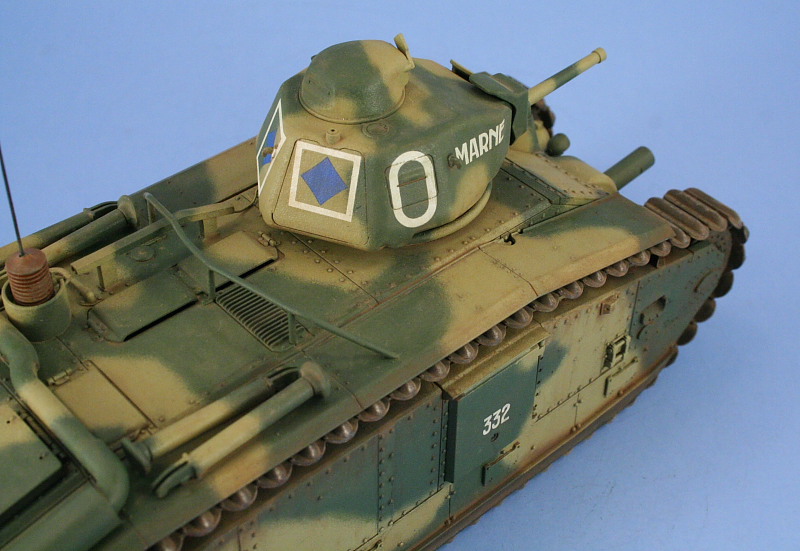
The final coat of weathering involved a two-tone approach using Mig weathering powders Dark Mud and Europe Dust. The Dark Mud was mixed with regular tap water in an old contact lens case and applied by brush to the areas under the fenders, around the mud chutes and scrapers, and on the sprockets and idlers. This was followed by a spot application of Europe Dust mixed in the same fashion as the Dark Mud and applied selectively to the bolt heads, fenders, and other areas around the sponsons. Once dried, both applications were blended together using a round stiff bristled brush to remove the excess pigment. This was followed up by using a Q-tip with one end moistened and the other dry to alternate blending and removal of pigment to produce the final result.
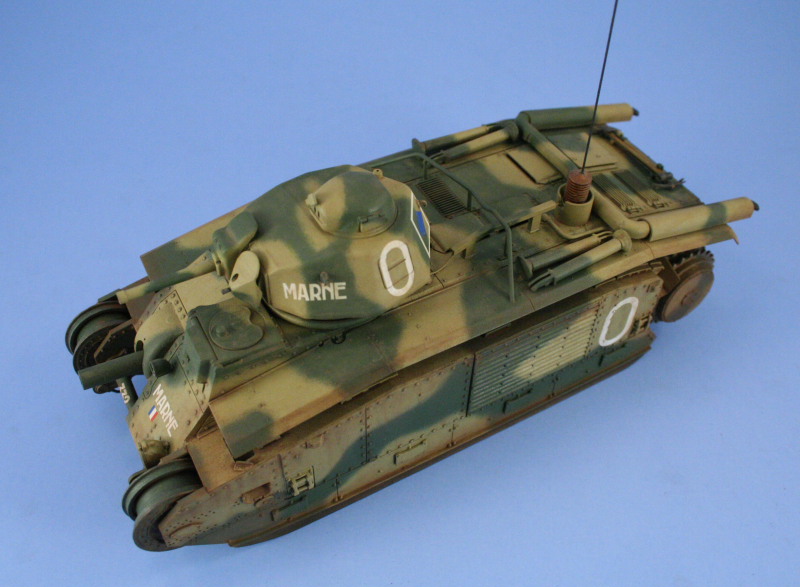
The upper hull areas and turret were given a very light wash application of Europe Dust to tie it in with the weathering on the lower hull and was given the same stiff brush/Q-tip treatment to complete the weathering. The heavyweight is ready to take on all comers!


About the Author


FROM: TEXAS, UNITED STATES
Like many, I started out in the hobby as a kid building airplanes to hang from my bedroom cieling. I took a long break from the hobby, returning in 2001 with an interest in armor inspired mostly by online gaming. WW2 armor, 1/35 scale, is my preferred genre with a special taste for the stranger vehi...
Comments


After reading (and enjoying greatly) your build article, my only regret is that I have already built mine...although it was a very quick and fun build, I'm sure it would have been much better had I been able to read your article first.
MAR 12, 2007 - 07:48 PM

Bill VERY nice build! You did this baby justice!
One question, I'm interested in how you made your rusty track wash? What did you use and what was the ratio? I reallyn like the way it came out.
Thanks
Jim
MAR 12, 2007 - 09:53 PM

Ron, Gary, Jim, thanks for the comments!
My rusty wash is simple, 90% thinner, 10% paint more or less. Here's what it looks like when it's "settled" to give you an idea of the ratio. The thinner is cloudy because it picks up some of the Metalizer over time and that just adds a bit of "character" to it I guess. :-)

MAR 13, 2007 - 07:58 AM

Nice Bill...very nice - article and build...
Let me know what you think about mine!
MAR 14, 2007 - 04:04 AM
Outstanding article and beautiful paint job! One comment if I may... The jacks on the fenders should be secured with some type of retaining tie downs. They wouldn't just sit on the fenders. Also, I have never seen 4 of them mounted on one tank. The kit came with 4 simply because Tamiya included two identical sprues in the kit. More than 2 is redundant. They were used to jack up one side of the tank at a time. Don't know of any way they could raise the whole tank off the ground without a crane. My jack comments aside, best build article I've seen in a long time. I enjoyed it.
MAR 16, 2007 - 04:50 PM
Bob,
Thanks for the comments, what you are saying makes sense in regards to the jack stands. The Tamiya instructions direct for all 4 to be installed and not knowing any better at the time, I followed along and installed them. In checking various reference photos since building this one, it's difficult to determine if there was in fact any sort of standard placement for them in relation to the fenders or the rear deck...or if they were installed externally at all depending on the different vehicles and the available reference photos.
MAR 16, 2007 - 10:04 PM

Bill,
Awsome SBS Sir....already book marked for my Char. I too have the LM set of barrels on the way. I'm either going to do a similar paint scheme, or once I get the hang of my DA airbrush, may do one of the "tree" patterns...not sure yet. Regardless, your article is killer and will be of great assistance.
Many thanks (and congrats on your new [heheheh] position!!).
Mike
MAR 16, 2007 - 10:49 PM
Thanks Mike! The different units and timeframes offer up a wide range of possibilities when it comes to the Char paint schemes. The tree patterns being one of the more intriguing to be sure! Look forward to seeing what you do with yours.
MAR 17, 2007 - 05:42 AM
Hi Bill,
I've seen photos with the jacks stowed on either the right or left fender so I don't think anybody could say one side is right and the other wrong. Most of the photos I've seen don't show them at all. I suppose it's possible they were stowed inside the vehicle although I wonder if perhaps because of their size whether many Chars didn't carry them at all and depended upon a support unit to provide the necessary lift when required. After all, how often would a crew in a combat zone be able to take the time to deploy to jacks and tilt the tank to one side? My guess is that maintenance units ultimately did the dirty work once the battle had moved on. Regards and I look forward to further examples of your work. Very well done.
MAR 17, 2007 - 07:19 AM
Copyright ©2021 by Bill Plunk. Images and/or videos also by copyright holder unless otherwise noted. The views and opinions expressed herein are solely the views and opinions of the authors and/or contributors to this Web site and do not necessarily represent the views and/or opinions of Armorama, KitMaker Network, or Silver Star Enterrpises. All rights reserved. Originally published on: 2007-03-10 00:00:00. Unique Reads: 21705

WEB HOSTING BY


Copyright ©2021 Armorama and Kitmaker Network, a subsidiary of Silver Star Enterprises
All Rights Reserved. Please read our Conditions of Use and Privacy Policy.
All Rights Reserved. Please read our Conditions of Use and Privacy Policy.