

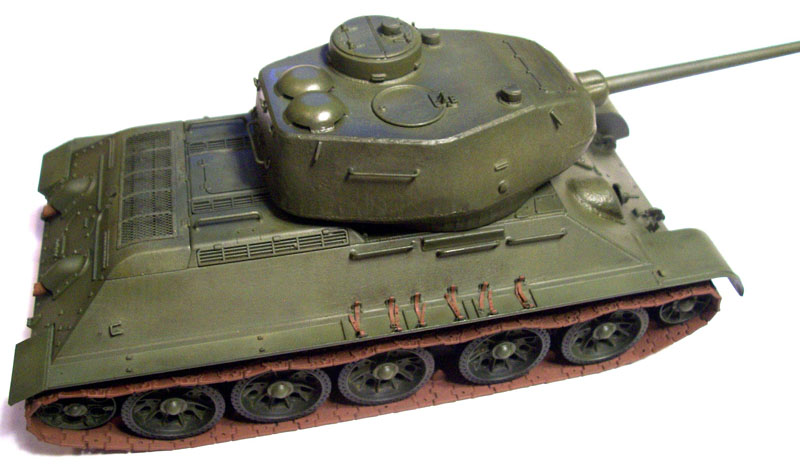
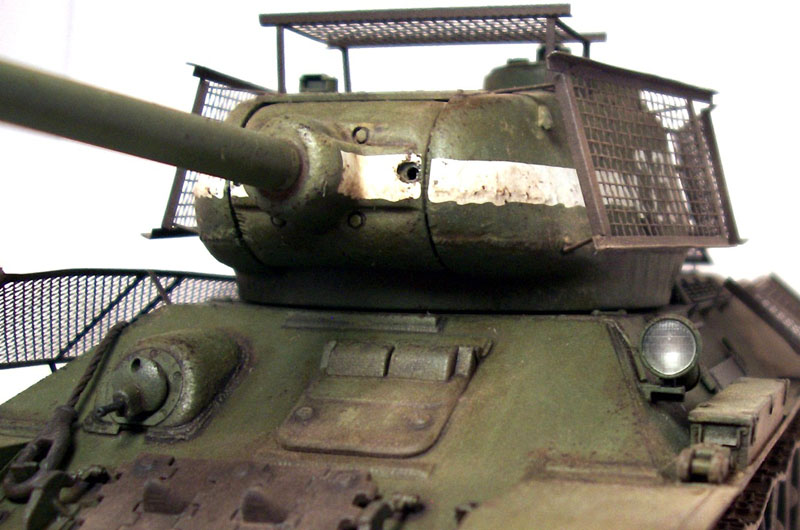
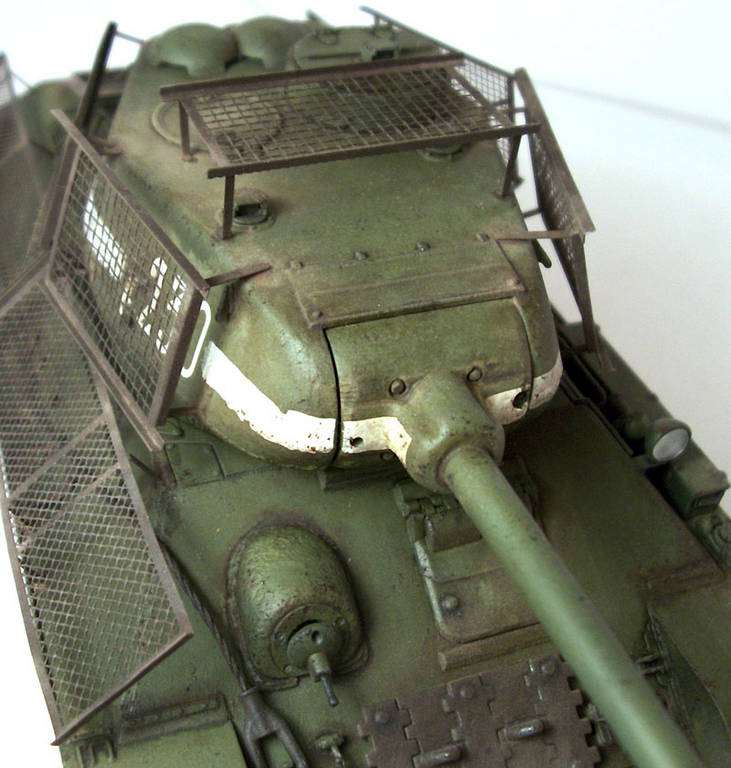
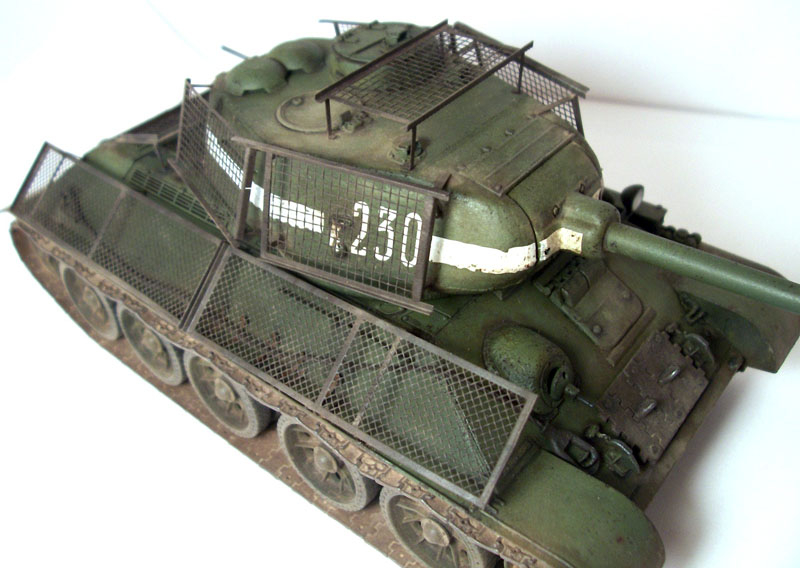
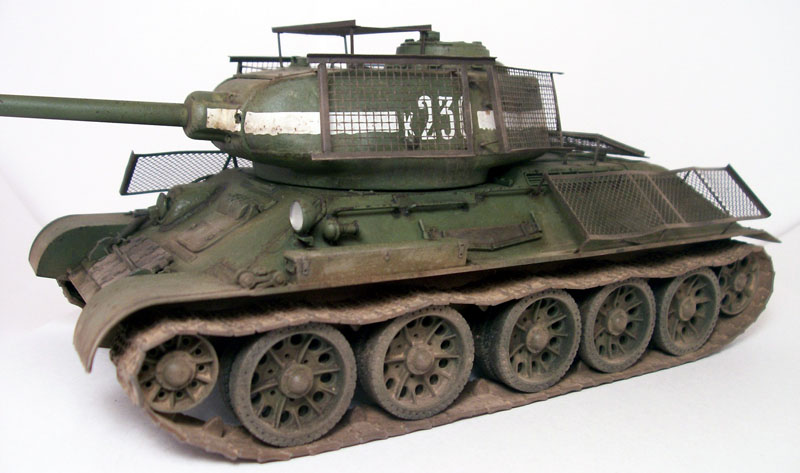
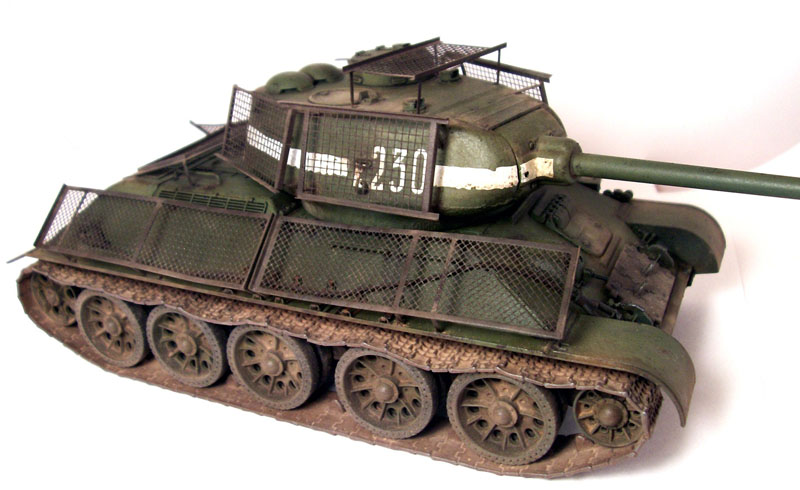
1⁄35Dragon's T34/85 with Bedspring Armor

Painting and weathering.
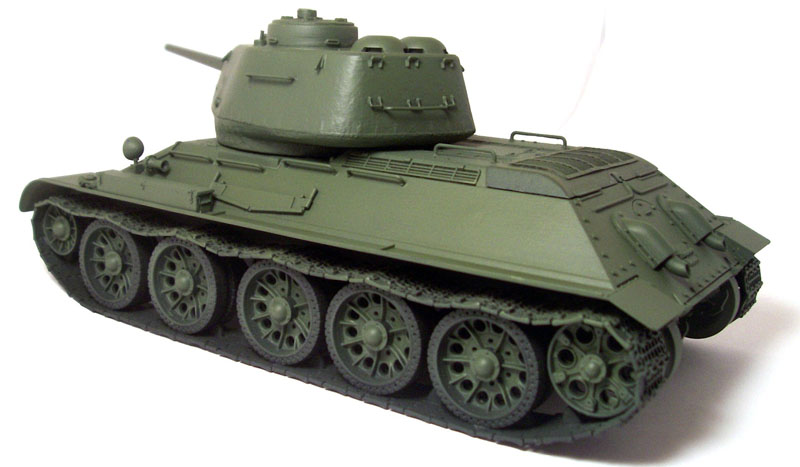
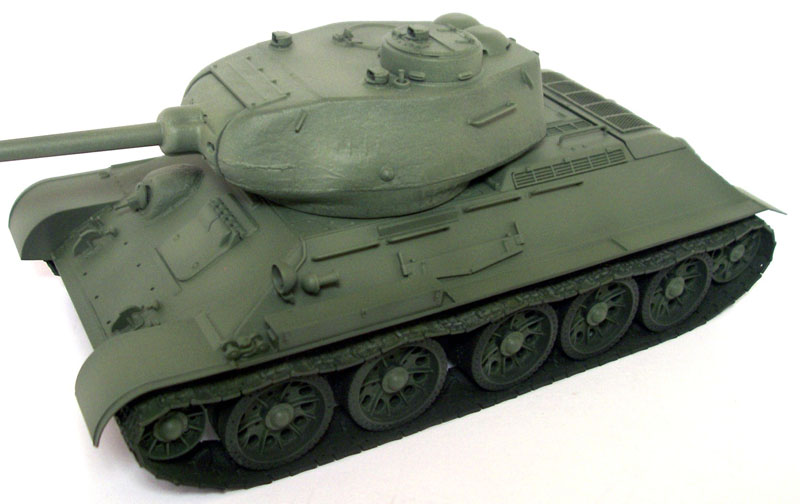
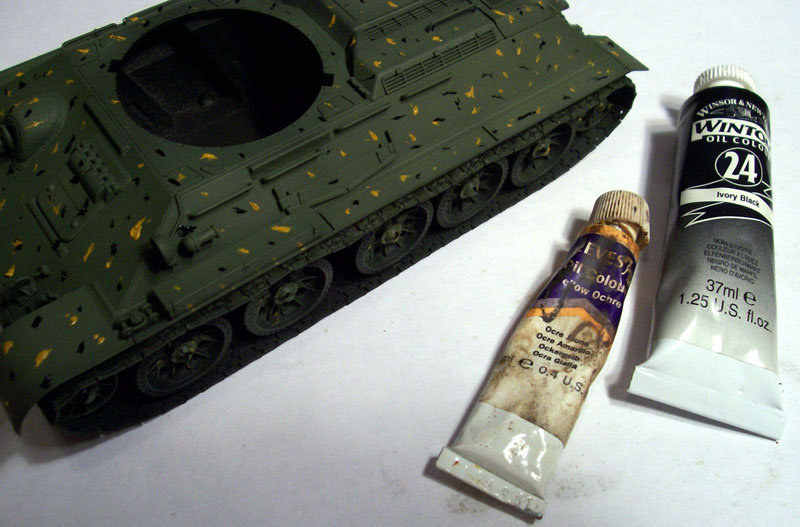
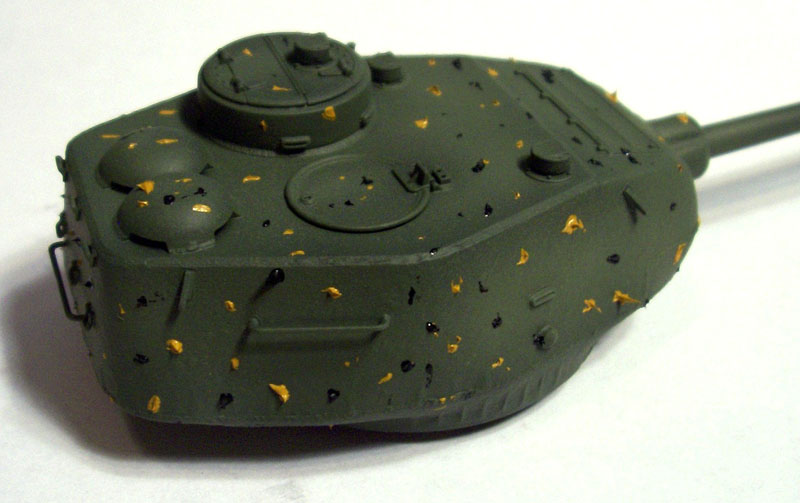
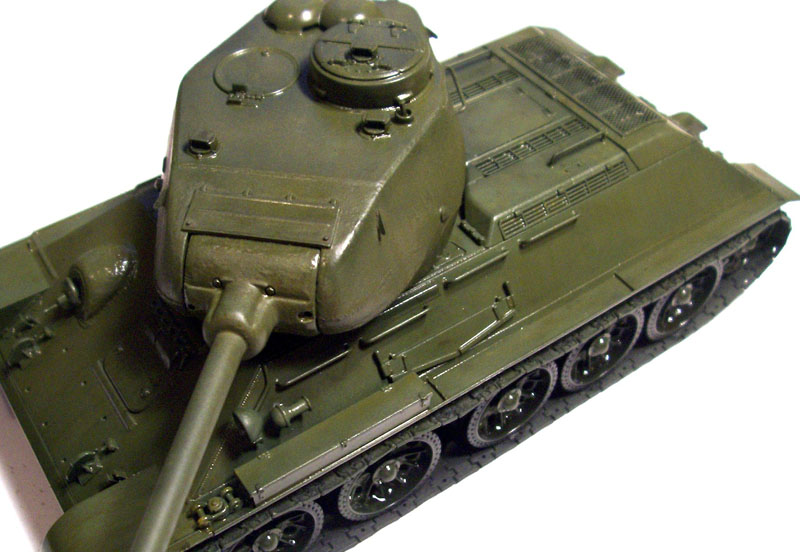
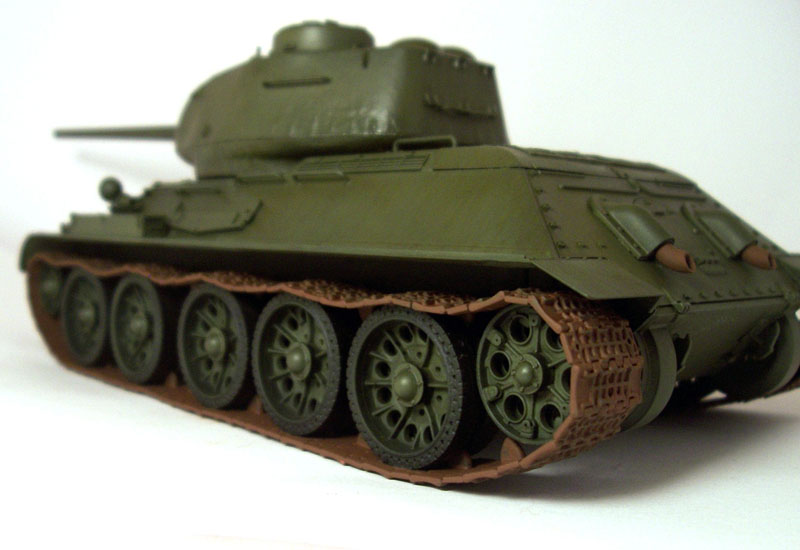
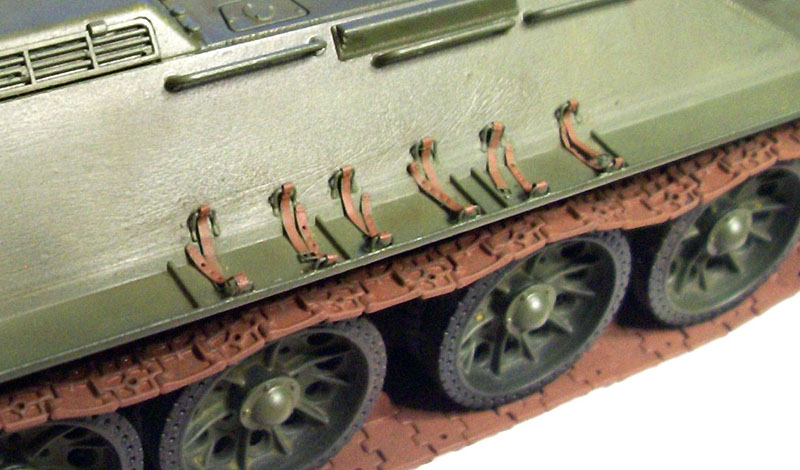
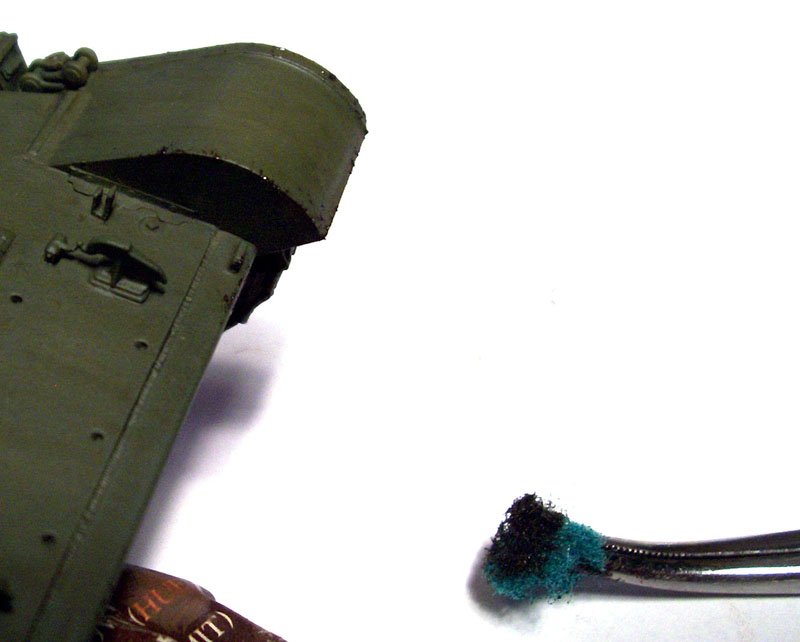
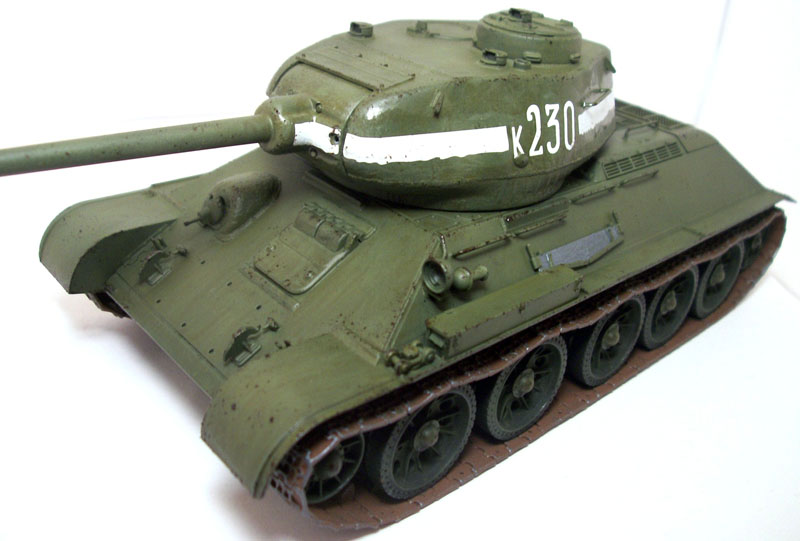
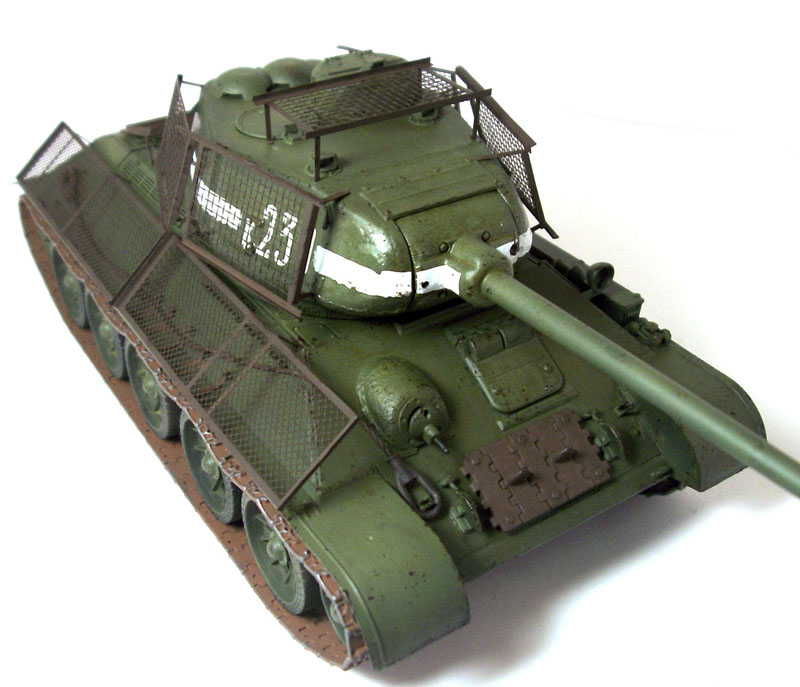
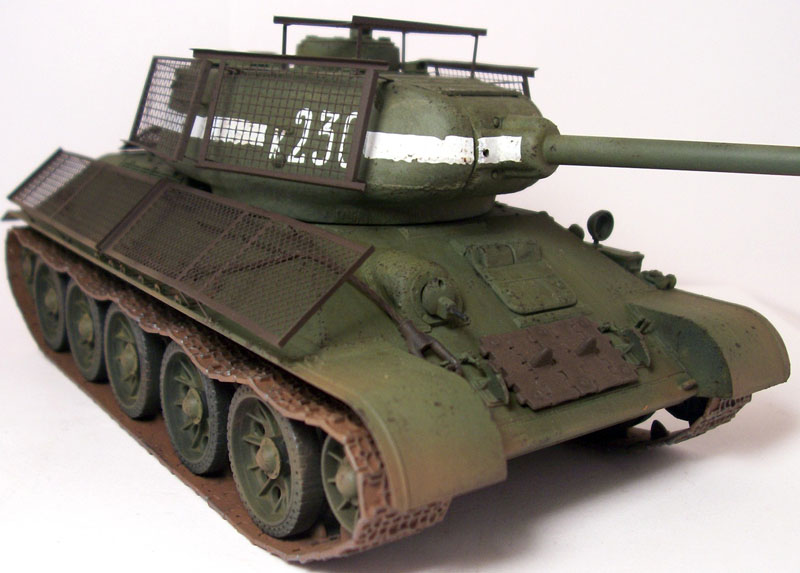
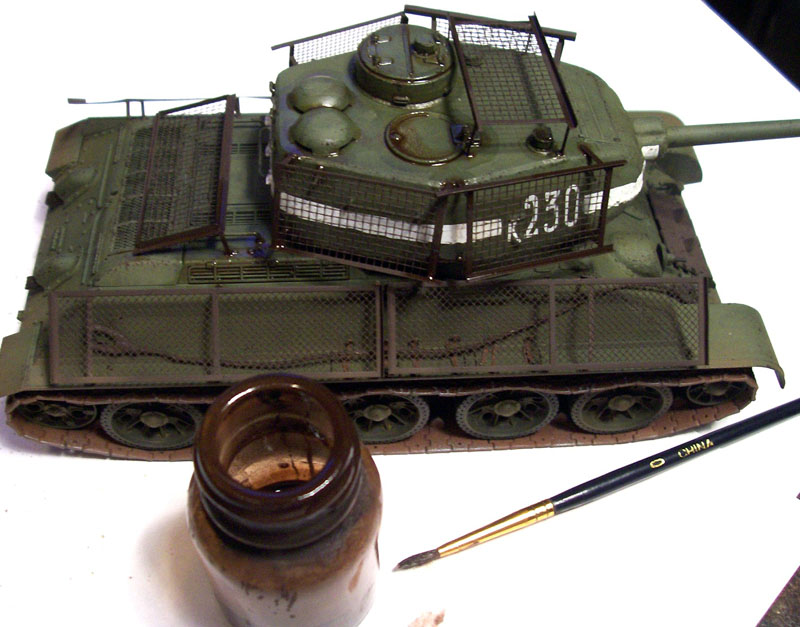
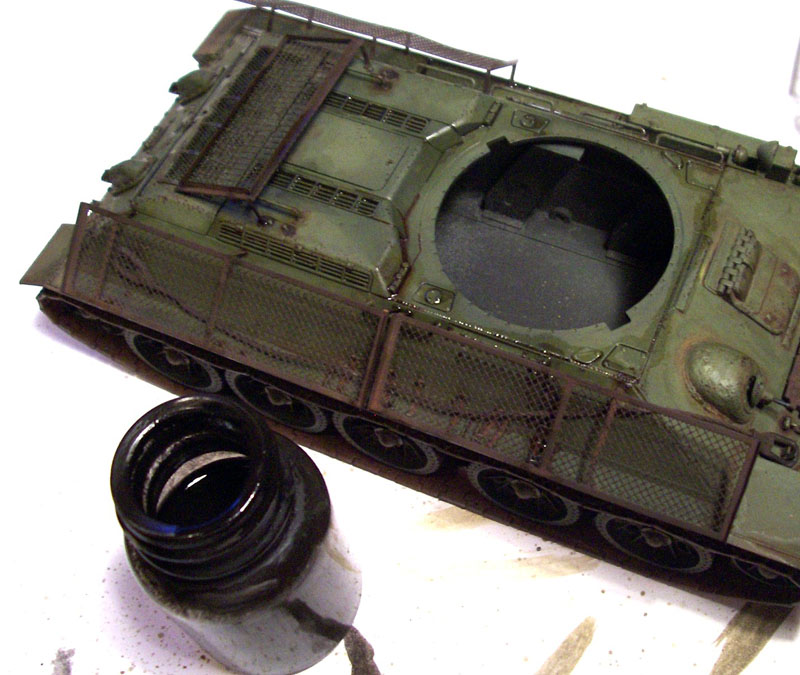
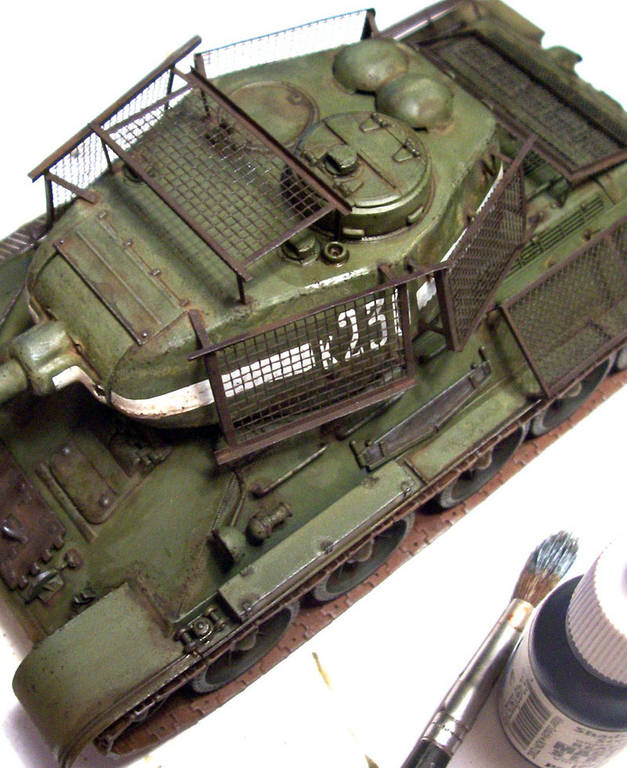
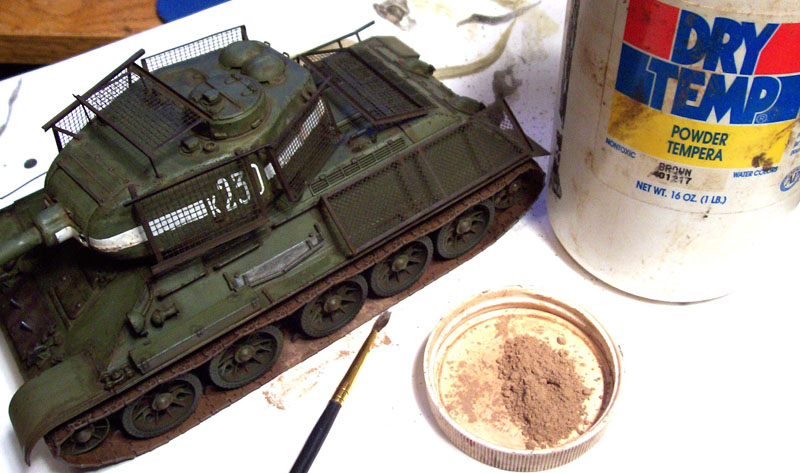
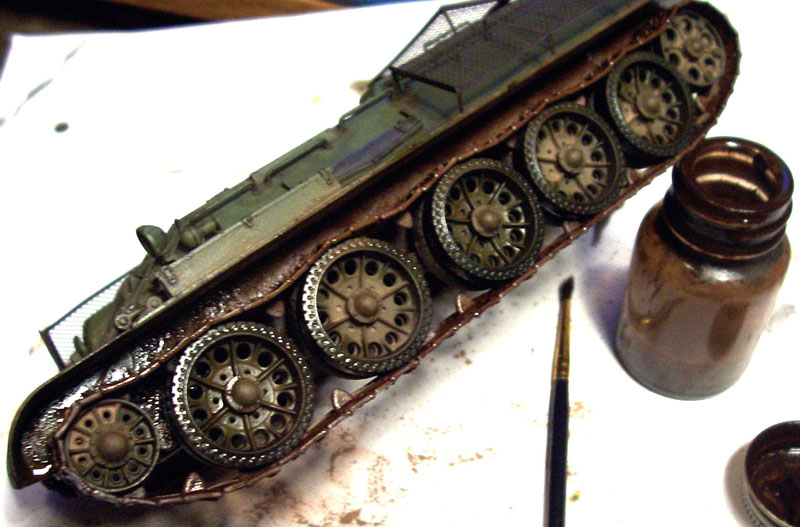
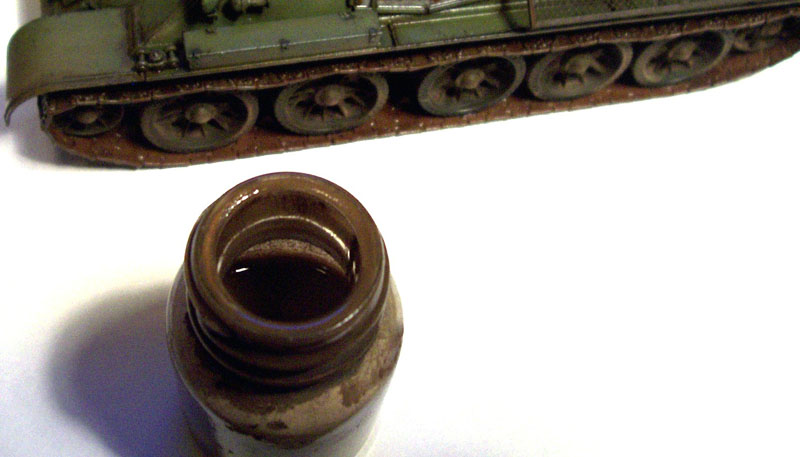
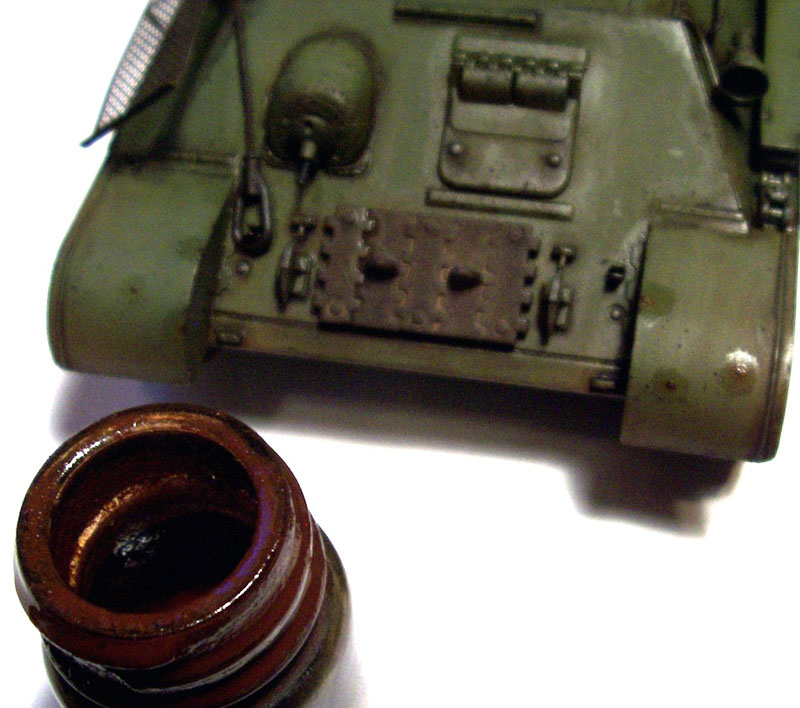
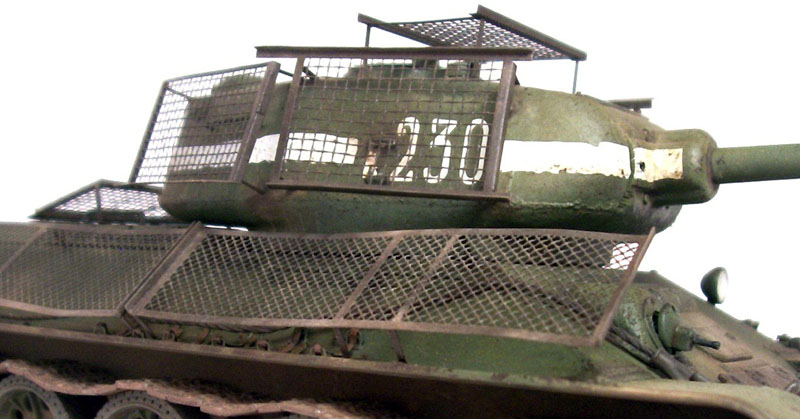
Well here we are at my favourite part of any build, for this tank i wanted to achieve a dusty, dirty and fairly beaten Russian vehicle and heres how i got the look i was after. First thing i used a black auto primer on everything, when this was dry i followed with a couple of light coats of MM acrylic "dark green" i let a little of the black show through in places and using my airbrush close in i painted the wheels while leaving the tires black this is important because they would be hard to paint later, i then added a little MM "desert tan" to the green to lighten it up a little and did a little fading of the base colour. Now the base was down i wanted to add even more depth to the colour so i used a "yellow ochre" and "ivory black" oil paint filter which basically consisted of covering the vehicle with dots and then using a brush wet with thinner i "sloshed" them around, once this dried it really added some nice tones to the base colour. Now it was time to paint the tracks, to do this i used a small brush and nutmeg brown acrylic craft paint from walmart, the cheap stuff works fine this is just a basecoat, i made sure to put a couple of thin coats rather than one thick one this makes it easier to get close into the wheels without touching and it wont dry and cover all the track detail up, with that done i painted the small straps for the ice cleats and put a base coat on the mufflers. Next up was a coat of future on the turret to get it ready for decals which went on but not without a little fight, i had to cut a little here and there to get up, around and over all the obstacles on the turret but in the end they looked great. Now began the weathering and to start this off i dry brushed the tracks a little to get some metal wear using "shadowed steel" from reaper. Following this it was time to do a little wear and tear and a bit of chipping, for this i used a scouring pad torn off a kitchen sponge and applied van dyke brown oil paint by dabbing the edges of the fenders and other high wear areas this was then sealed in by a couple of coats of Testors dullcote in preparation of the coming washes at this point i decided to add the bedspring armour which had already been painted with rattle can Krylon camouflage brown paint. Once the dullcote was applied i took my airbrush and using a light rust mix i sprayed a dusting around the wheels and fender edges and now it was time to begin the oil washes, first up was a heavily applied "van dyke brown" wash as it dried i followed around adding and working it where nessesary. This was followed by a black more precise wash and not as heavy i then dry brushed a little "shadowed steel" around the bedsprings and such to give a hint of metal and wear. Finally i moved on to finishing the tracks, what i did here was use a product called Temp which is basically powdered paint although i have never used pigments i assume it is similar and i have a big tub of brown, what i did was piled the powder onto tracks and under the fenders then taking my brown wash again i liberally sloshed it on soaking the powder but not brushing it so when it dried it had a crusty gritty look. Once all this dried i added a mud coloured wash followed by a light coloured wash and left it to dry one last time before another final brushing with the powder scrubbing it into the tracks then hard brushing the loose away and they were finished. for the final finish i used a couple of dabs of a thin rust wash here and there it was looking a ltle bit flat so i airbrushed a very watered down coat of future just to put a slight sheen to it all and i was ready to call it done.
In conculsion
All in all this is a fantastic kit that i would definatly recommend it as everything you need right there in the box and the "bedspring" armour really makes this one interesting looking T34/85.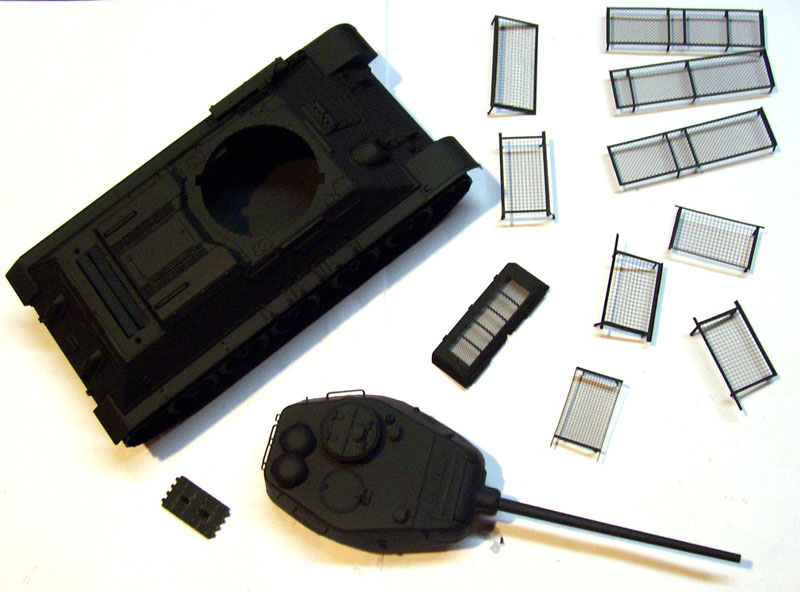


About the Author


FROM: TENNESSEE, UNITED STATES
My name is Ron and i began modeling in january of 2005 while off work with knee surgery i have always been interested in the military and 1/35 scale vehicles and armour are my main subjects, i will build just about any brand of kit there is as long as it interests me and i build for my own collectio...
Comments


All Rights Reserved. Please read our Conditions of Use and Privacy Policy.