

1⁄35Weathering German Armor
Washes and Weathering
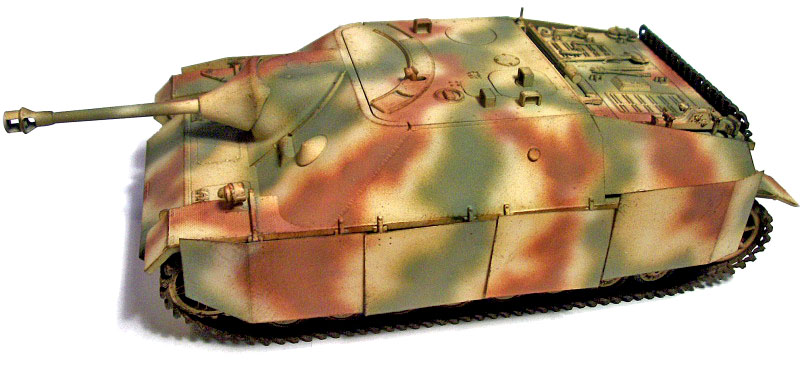
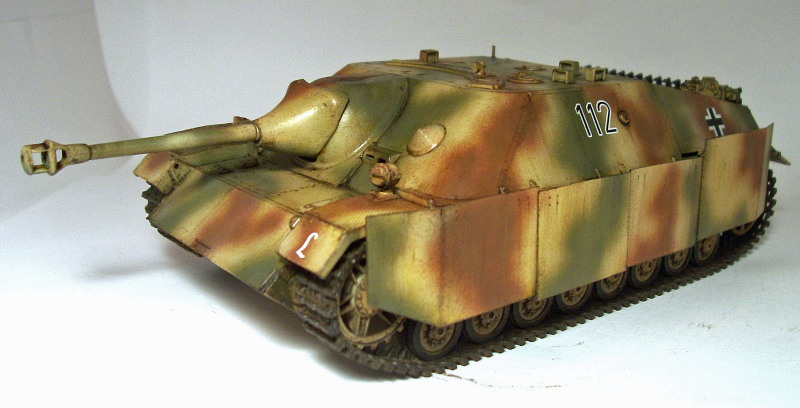
Step 6: This involves using dry brushing to show some wear and tear in various places. I used Van Dyke Brown oil paint dry brushed all over to give a nice slightly rusted looking edge to everything.Step 7: At this point i wanted to add some depth to the paint job so I applied a filter in the form of a wash using Yellow Ochre oil paint. This was brushed over the entire model and you can see the difference it makes, giving the model a warmer, deeper appearance and blending the camouflage edges nicely together as well.
Step 8: After the filter went down it was time to bring out some of the details. Using the same Van Dyke Brown I used on the wheels earlier, I applied a pin wash concentrating on the nuts, bolts, and panel lines. It's about this time of the process where you really start seeing things come together nicely.
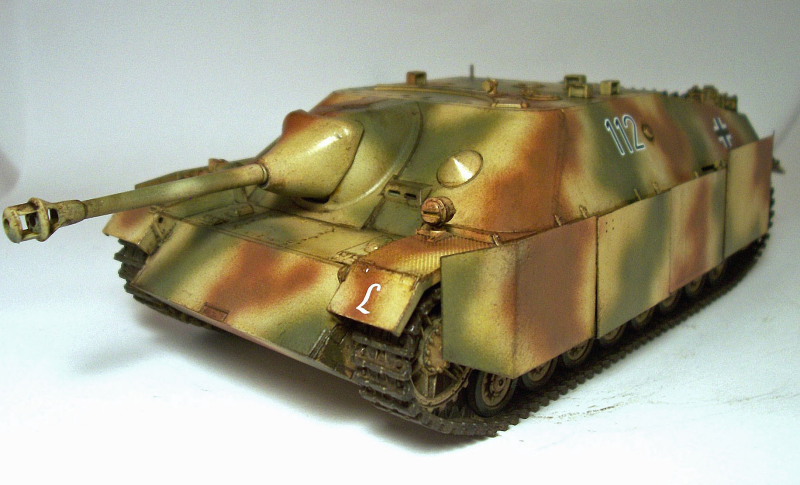
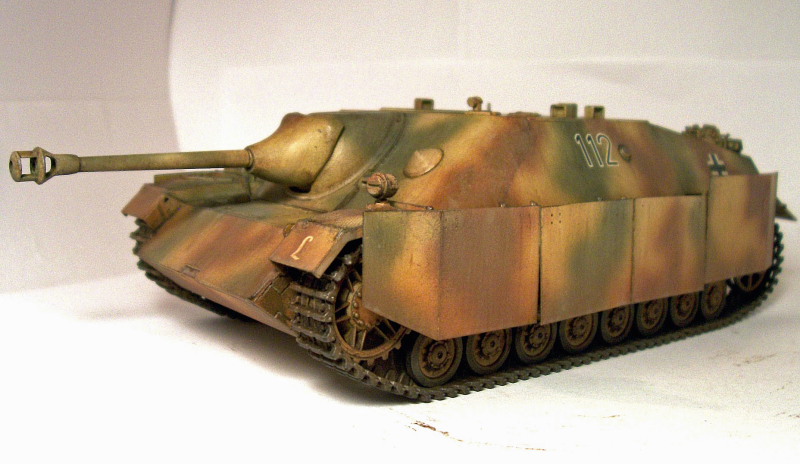
Step 9: Time for the decals! Usually these would have gone on sooner but I waited until after the Yellow Ochre filter/wash was down because I didn't want them to look yellowed. I applied a coat of Future and then the decals followed with another brush coat of Future just on the decals to seal them in.
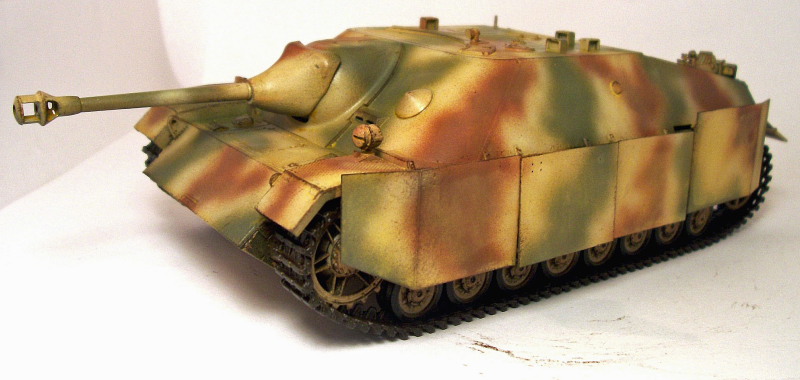
Step 10: In this step I wanted to show some more weathering on the paint work. To do this, I used Titanium White, Black and Van Dyke Brown oil paints and applied dots of each color with a toothpick over all the vehicle except on the horizontal sections where streaking wouldn't normally occur. Using a brush dampened with thinner, I began wiping them off with downward strokes until I could barely see them anymore. Once the thinner dried, it left some nice looking streaks that also helped blend the camouflage together even further.
Final Weathering
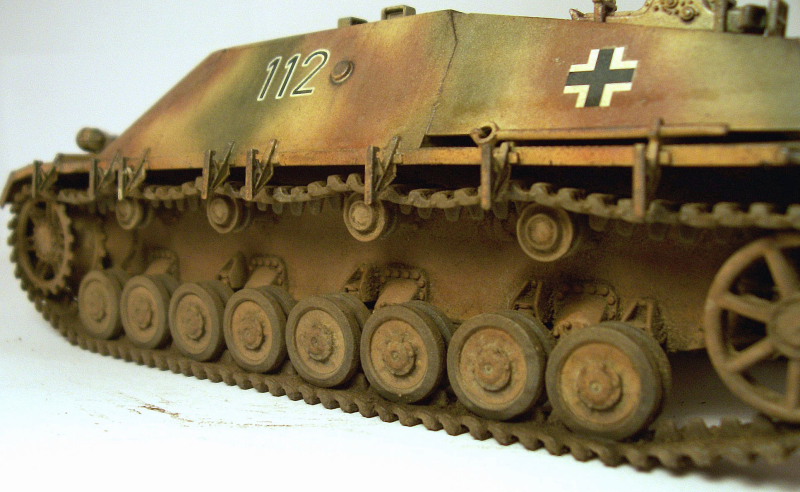
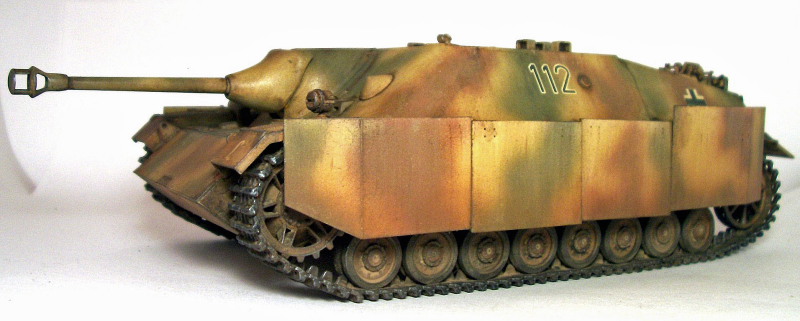
Step 11: With the paint work nicely blended and weathered, it was time for a final layer of dust and dirt. Using my airbrush and thinner slightly tainted with the MM "Tan" used for the base coat, I gave the whole model a coat from about 18 inches away by letting the mist just settle lightly on the model. I would advise caution here and do this in small increments because it may look like there's not much going on at first but when it dries the whole thing can well be covered before you know it. Lastly, using the MM "Rust" I did a bit of dusting around the bottom of the schurzen and lower hull.Step 12: Moving into the final stages, it was time to get the tracks weathered. I used pigments applied dry and then used the Van Dyke Brown wash to gently fix the pigments in place, adding more where needed in the process. Once dried, I took a stiff brush and cleaned them up a little and then used Reaper Master series "Shadowed steel" to dry brush the tracks to show wear and they were good to go. This step was repeated on the rear lower hull and around the muffler area as well.
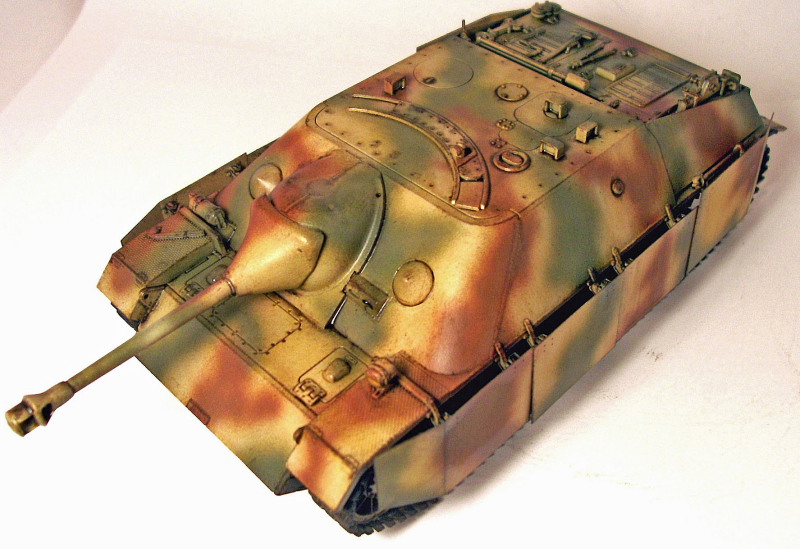
Step 13: Once more, I applied a coat of future to the upper hull to seal everything in and allow me to paint the on vehicle tools etc. without worrying about disturbing the underlying finish in the process.
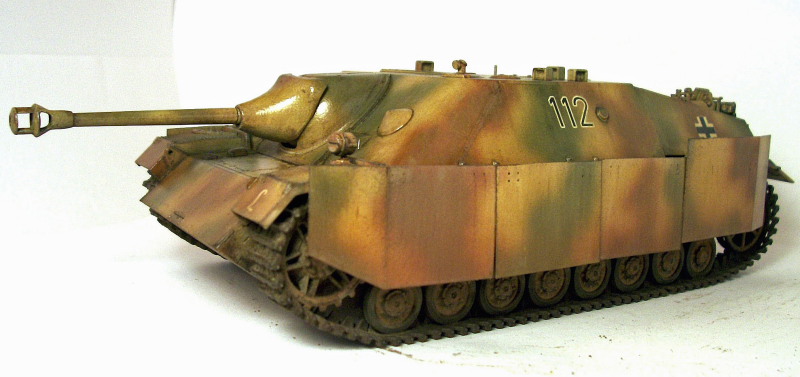
Step 14: With everything painted and weathered to suit, all that remained was to knock the shine off with a final dull coat and call this one finished.
All in all I was very pleased with the results using some very easy to apply weathering techniques that anyone can do with a little practice. These steps may not always be followed exactly depending on the desired results, but experimenting with the basics used above will allow for all sorts of possibilities!
About the Author


FROM: TENNESSEE, UNITED STATES
My name is Ron and i began modeling in january of 2005 while off work with knee surgery i have always been interested in the military and 1/35 scale vehicles and armour are my main subjects, i will build just about any brand of kit there is as long as it interests me and i build for my own collectio...
Comments


All Rights Reserved. Please read our Conditions of Use and Privacy Policy.