

1⁄35Building DML's Sdkfz 234/3
3
Comments
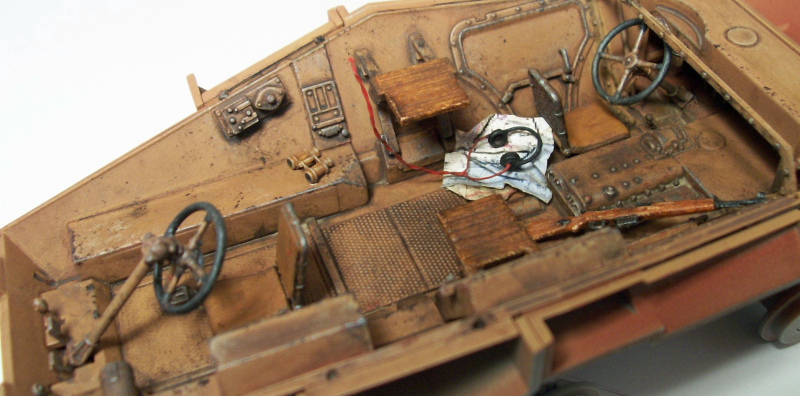
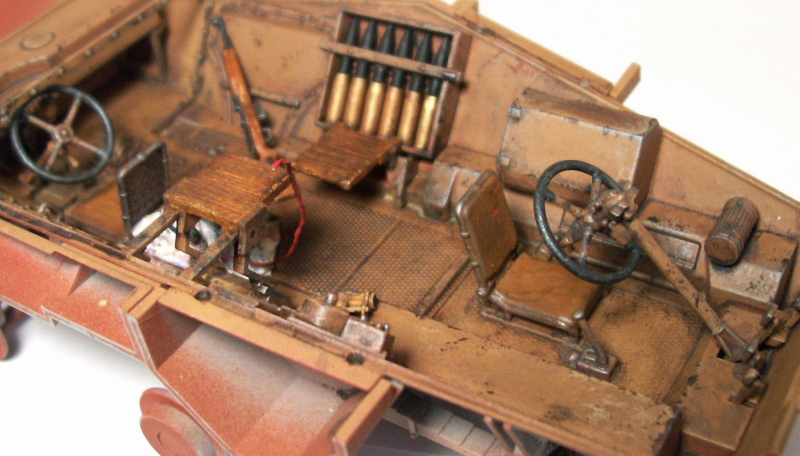
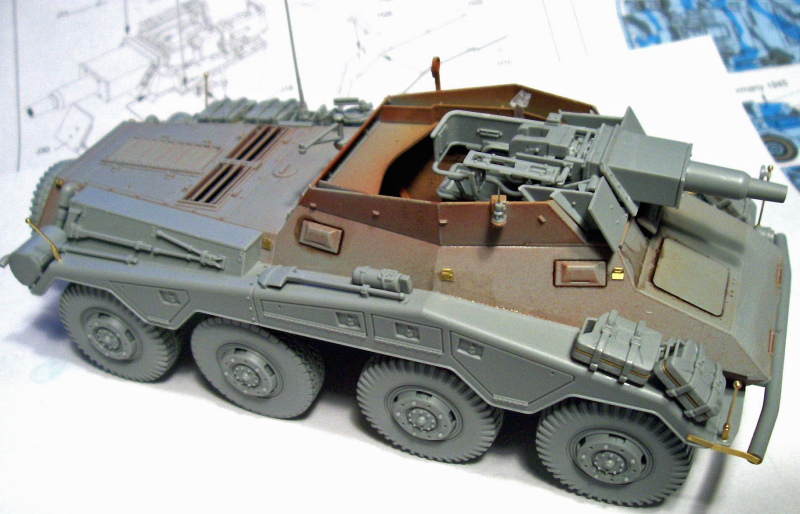
Painting the interior
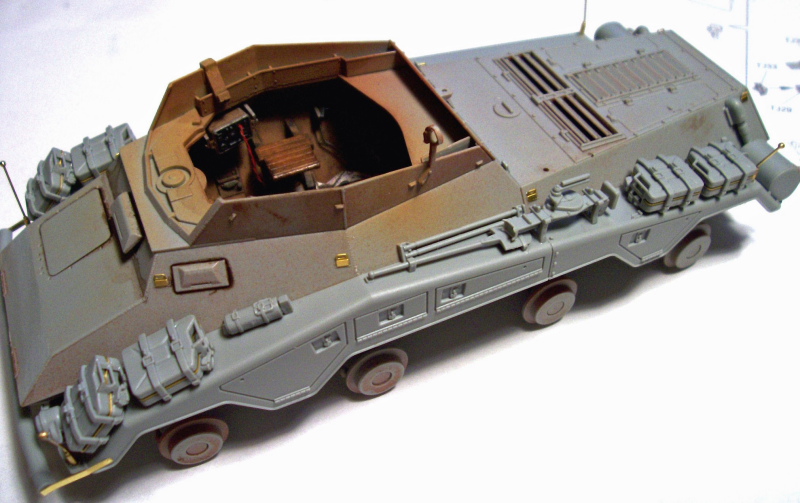
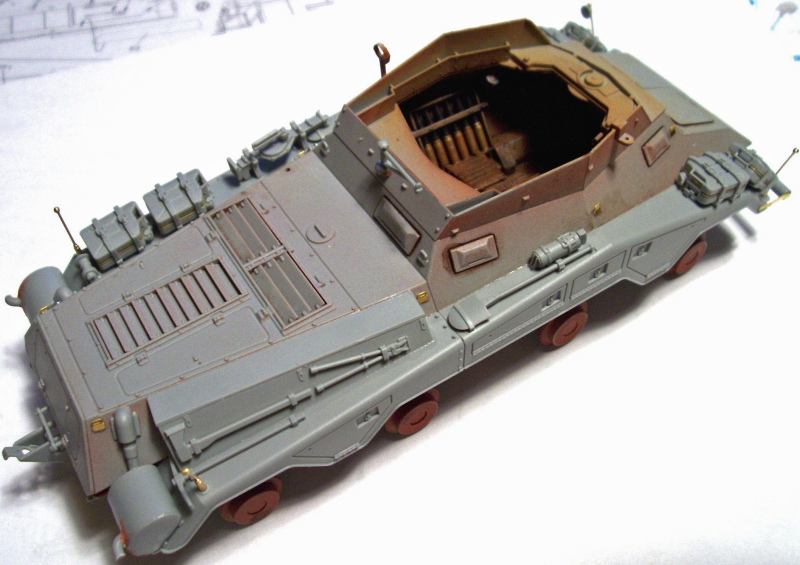
I began the painting of the interior with a primer of rattlecan automotive "Red Oxide". After this cured, I gave it several thin coats of Tamiya acrylic XF-59 Desert Yellow for the base coat. I began the weathering with a dry brushing of Off-white then proceeded to start adding some wear by taking a cotton bud dipped in water and gently removed some of the base coat here and there. This allowed the red oxide primer to show through and give the appearance of paint scuffing and added more to this effect by dabbing Van Dyke Brown oil paint with a small piece of sponge along the edges and corners and anywhere else that might get scuffed easily. Next up I added an overall oil wash also of Van Dyke Brown. Using acrylic craft paints, I painted the seats in "Nutmeg Brown" and the steering wheels in Black. Moving on to the final stage of the weathering, I used Reaper Masterseries Shadowed Steel and gave the interior a select dry brushing. All that remained was giving the wooden seats a base coat of Acrylic craft paint Stone then using Yellow Ochre, Burnt Sienna, and Van Dyke Brown, I added the wood grain effect. Then I went over this lightly with Paynes Grey to age it. Last of all, I painted the spare ammo, added a scratch built headset for the radio, some downscaled maps, a pair of binoculars, and a rifle and called the interior done.Exterior and main gun
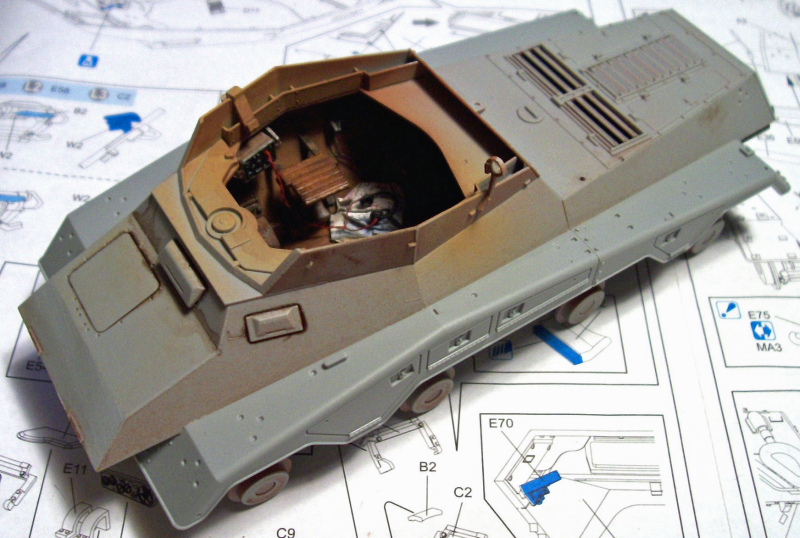
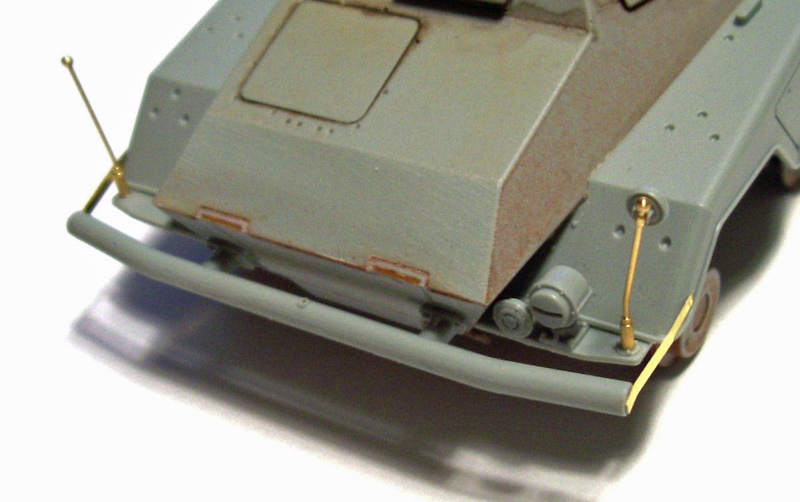
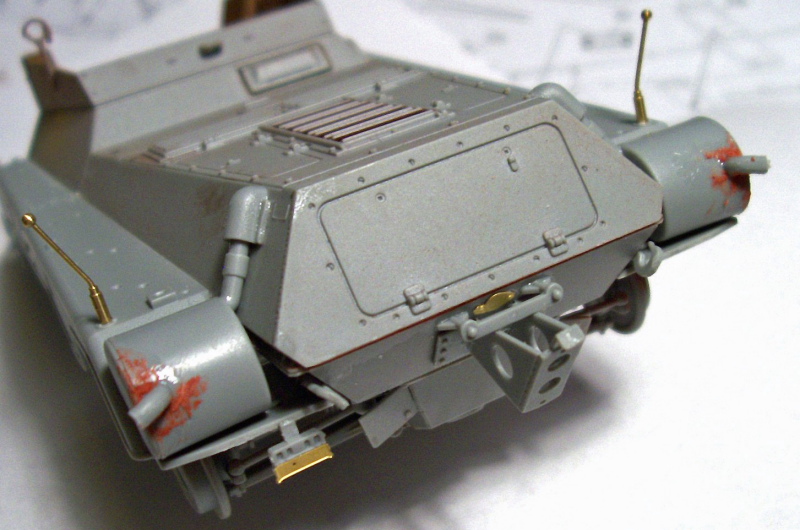
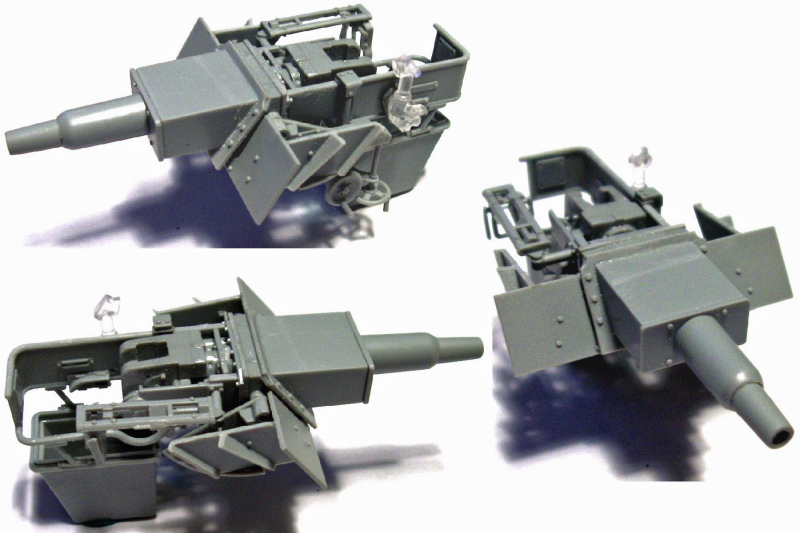
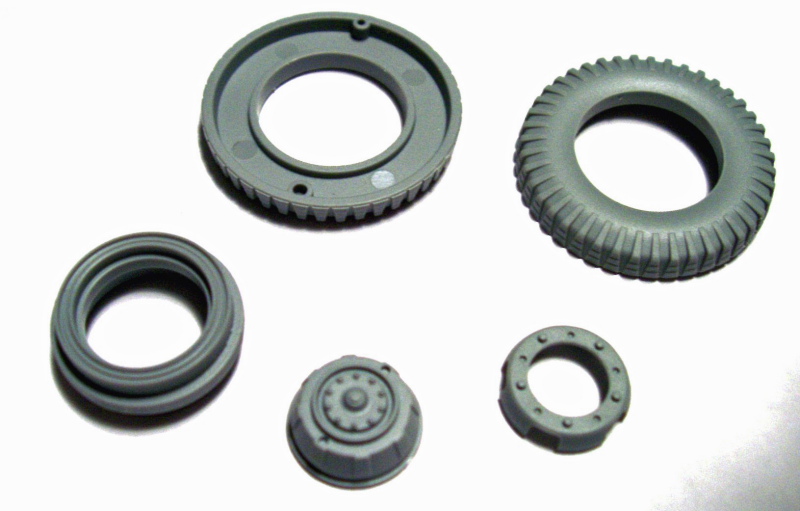
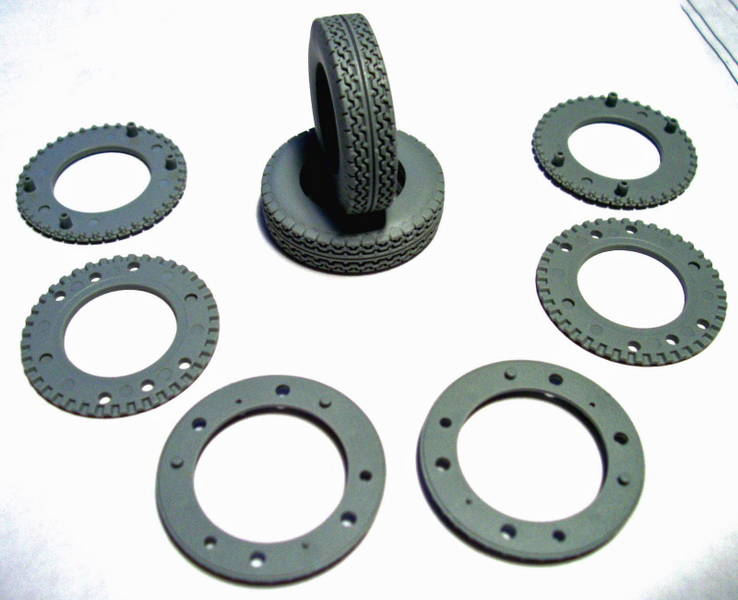
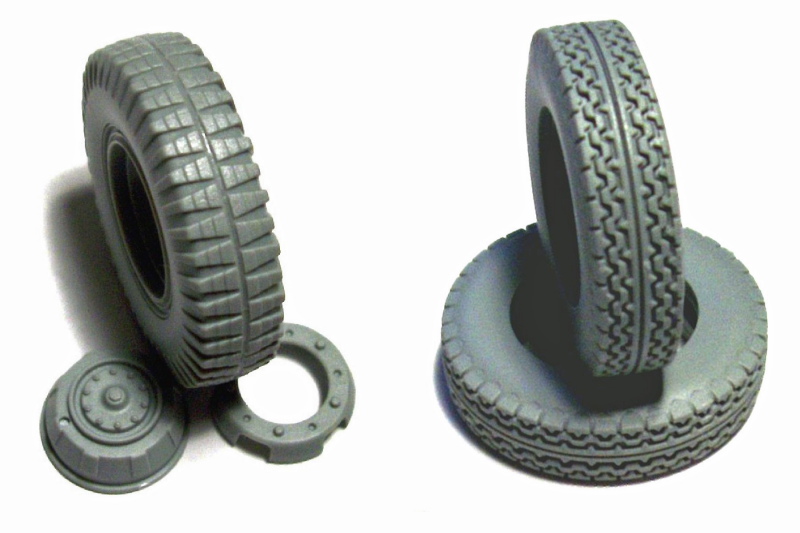
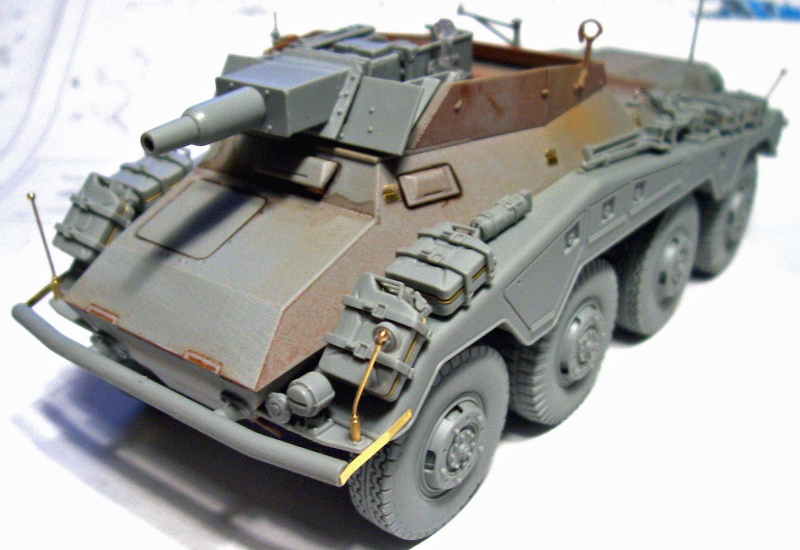
After the inside was painted, I was able to join the upper and lower hulls and add the fenders. These were slightly out of alignment and required me to glue one end and then, applying a little pressure, work my way down until I had the entire length on without any gap. This could simply have been a result of something I did in a previous step, but either way it wasn't difficult to overcome. Step 15 takes care of the front bumper which comes with the option of plastic or PE side mounting brackets as well as metal width indicators and includes the light, horn, and wing mirror. Moving on with Steps 16 and 17, these focus on the rear of the vehicle with the spare tire and its mounting bracket and the mufflers. It seems you have three choices with the spare tire situation: 1) no spare and no bracket 2) bracket but no tire and 3) bracket and tire. It's necessary here to check the instructions carefully and decide which way to go. I decided on adding the whole thing although I left the wheel off until after everything has been painted. The mufflers required a little filling around the exhaust area which I did but quite roughly as I intend to add texture to the muffler later anyway. Everything else went well during these steps. Steps 18 and 19 consist of the on vehicle tools, water/fuel cans, and the rest of the exterior details except the main gun. I began with the water/fuel cans of which six are required. The only thing I might recommend changing here is the straps. They look a little thick but the cans themselves are very nicely done and when mounted look very good. The only thing to note is the model calls for ten tie down brackets and there are only 8 PE ones supplied, so I used them on the left and right of the vehicle and used plastic ones on the rear of the fighting compartment. With only the main gun and wheels remaining, I decided on the gun next. This takes Steps 21 through 26 to accomplish but all said and done they are small steps and very clear and well explained. The gun itself is very well detailed and fits together beautifully and if built by the instructions allows up and down and side to side movement. It has a single piece plastic barrel with the faintest of seams, easily cleaned with a light sanding as per the rest of the gun parts and that made this section a very enjoyable experience. The wheels, being the final stage, were a joy to build. You are given nine regular ones which consist of two tire halves, an inner hub, and a two part rim and the only clean up is the connection points which are all hidden except on the tires themselves. The fit is perfect, i just used liquid glue and let capillary action draw the glue around the outside part where the tire halves meet then squeezed them together. Also included are three extra "road pattern" tires. These use the same hub and rims but the tires themselves consist of six slices that are sandwiched together. Just be sure not to forget the hub before putting these together! They look superb when done and on the model. The only extra things I added to the exterior was a wire for the extra antenna and the extra antenna itself, bringing the building part of this project to a close.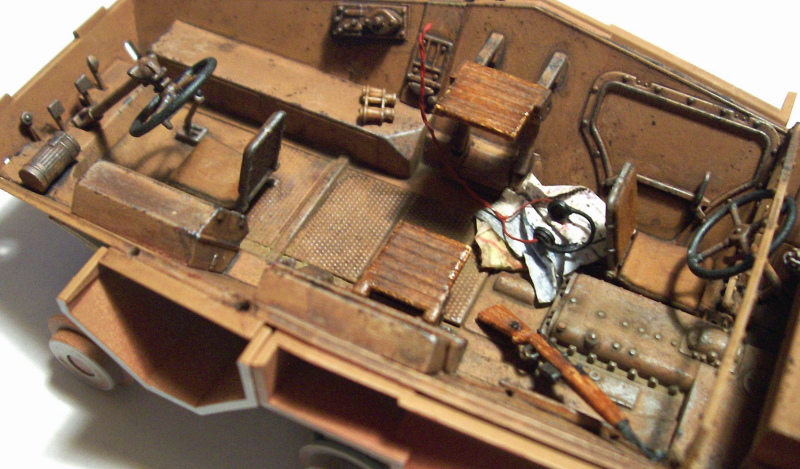
About the Author


FROM: TENNESSEE, UNITED STATES
My name is Ron and i began modeling in january of 2005 while off work with knee surgery i have always been interested in the military and 1/35 scale vehicles and armour are my main subjects, i will build just about any brand of kit there is as long as it interests me and i build for my own collectio...
Comments


Hi Ron
Great modelling as always.
I admire not only the sheer quantity of models you seem to be able to make (whilst I'm still messing about with one figure), but also the consistent high quality.
Also the fact you seem to be able to create a feeling you are looking at a ton of metal not a little plastic kit.
I'd really like to see you put some of these into a matching diorama, I think it would look very realistic.
All the best
Alan
OCT 01, 2007 - 11:10 PM

Copyright ©2021 by Ron Goins. Images and/or videos also by copyright holder unless otherwise noted. The views and opinions expressed herein are solely the views and opinions of the authors and/or contributors to this Web site and do not necessarily represent the views and/or opinions of Armorama, KitMaker Network, or Silver Star Enterrpises. All rights reserved. Originally published on: 2007-10-01 00:00:00. Unique Reads: 23964

WEB HOSTING BY


Copyright ©2021 Armorama and Kitmaker Network, a subsidiary of Silver Star Enterprises
All Rights Reserved. Please read our Conditions of Use and Privacy Policy.
All Rights Reserved. Please read our Conditions of Use and Privacy Policy.