

1⁄35Building DML's Sdkfz 234/3
3
Comments
Painting and weathering
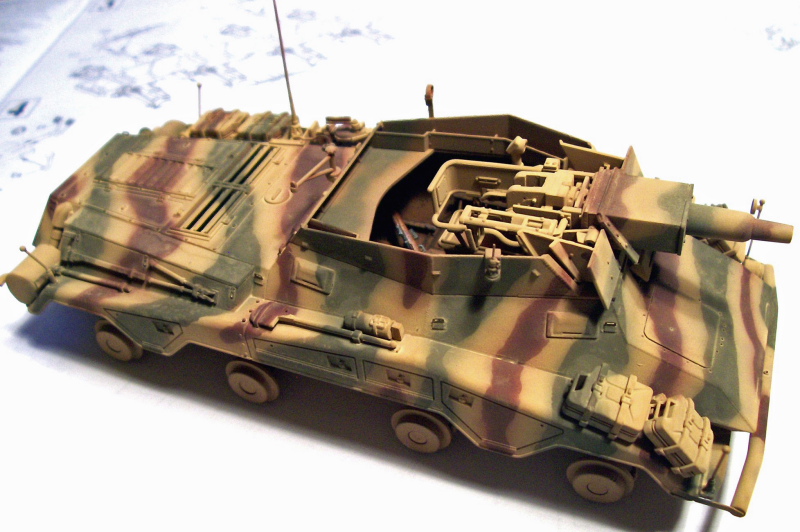
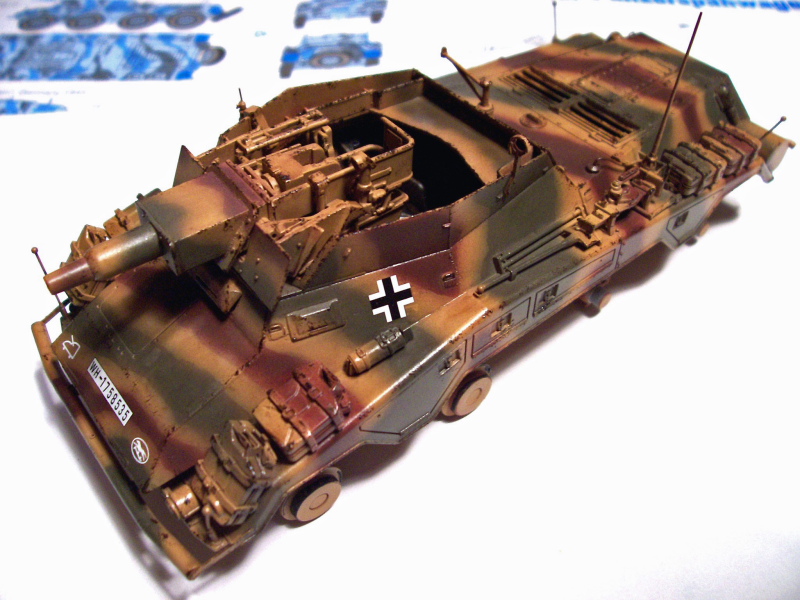
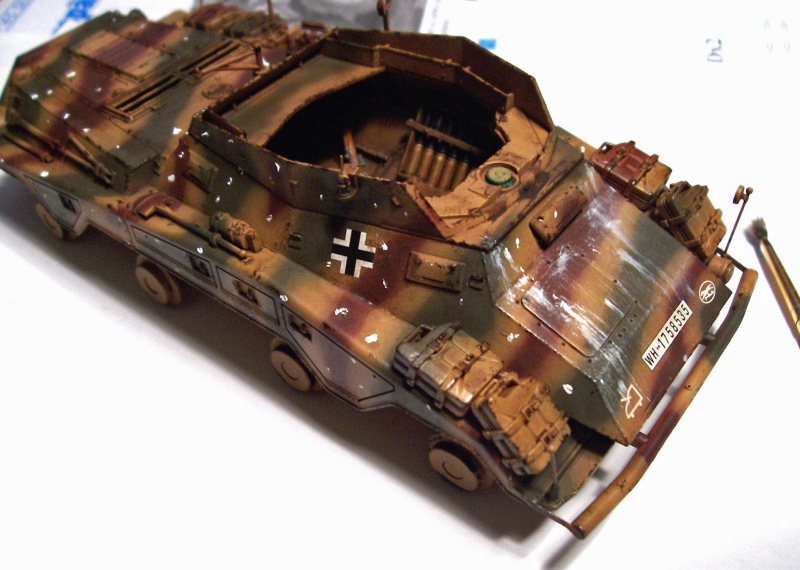
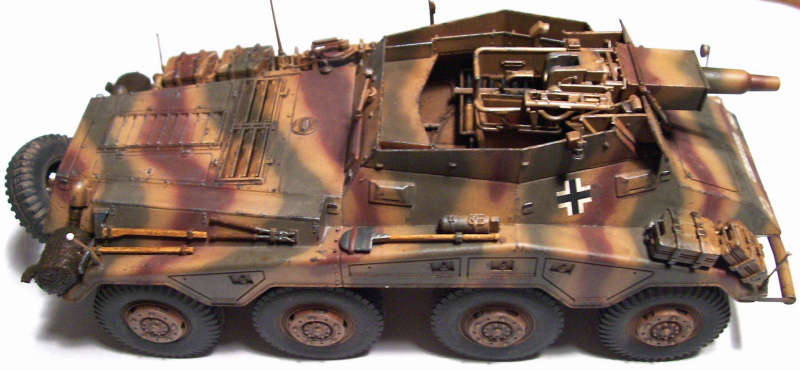
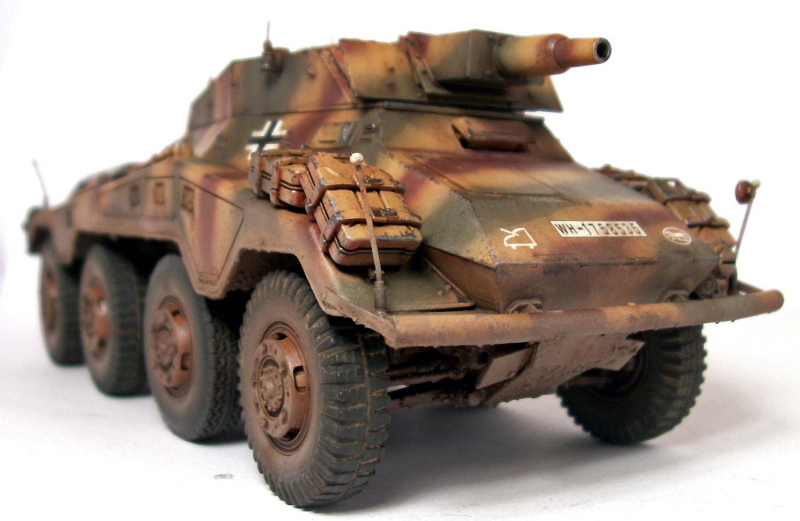
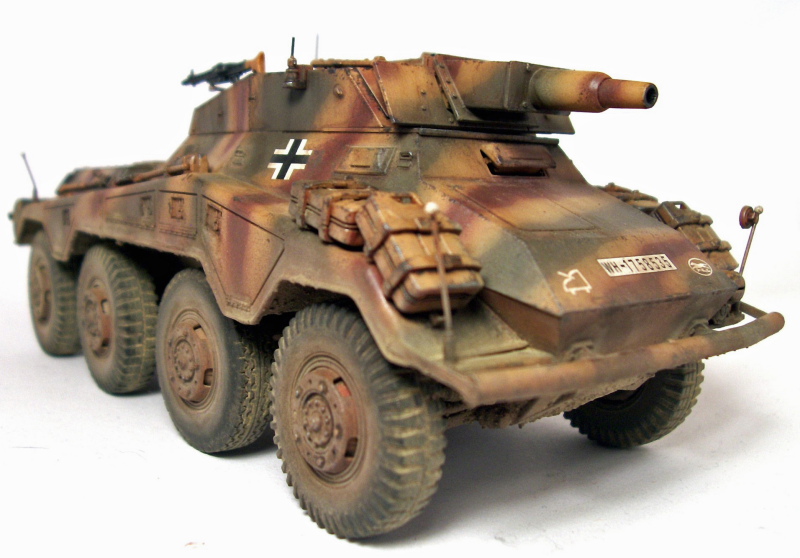
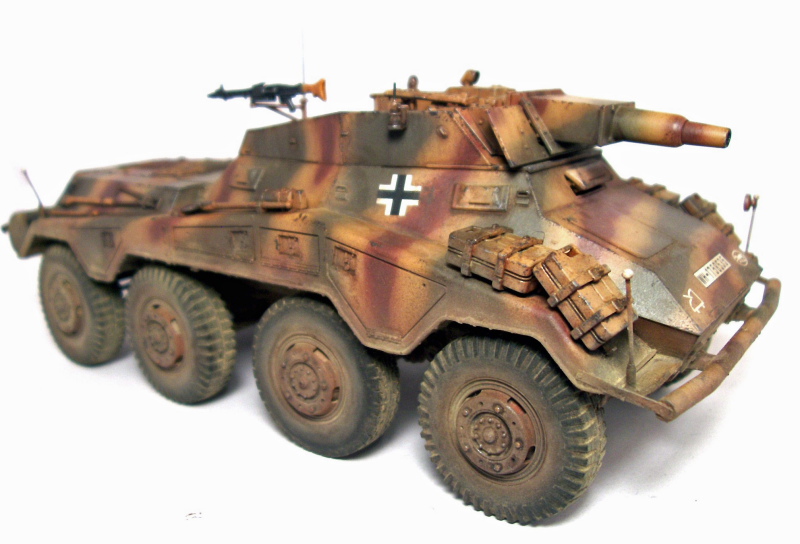
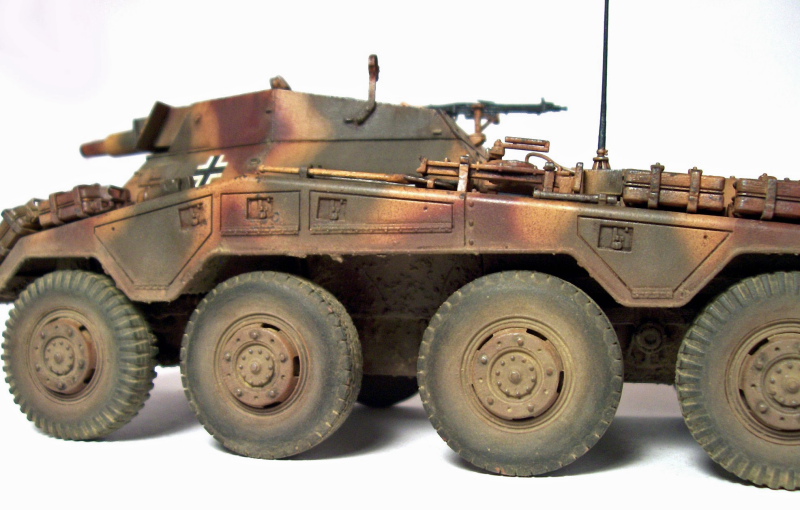
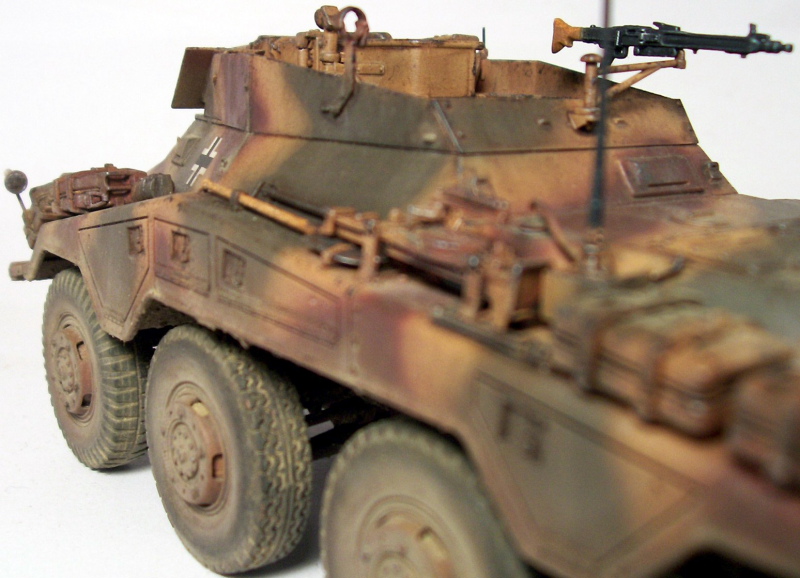
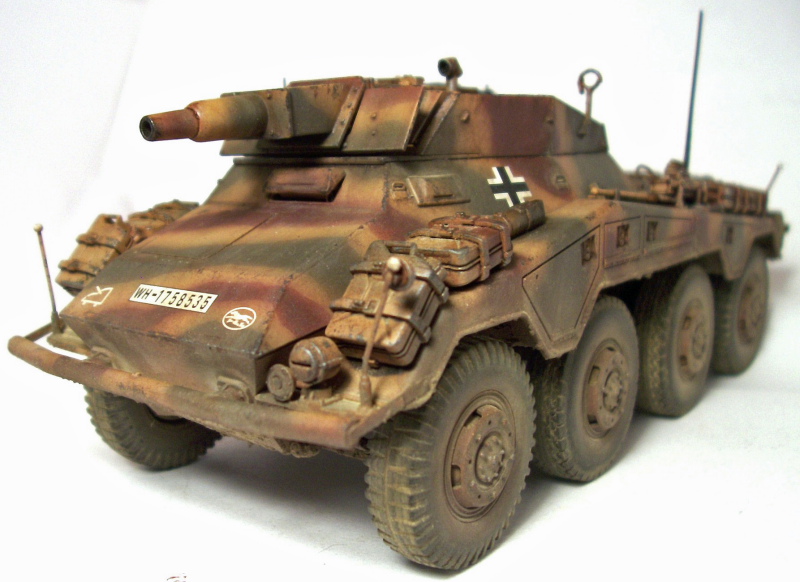
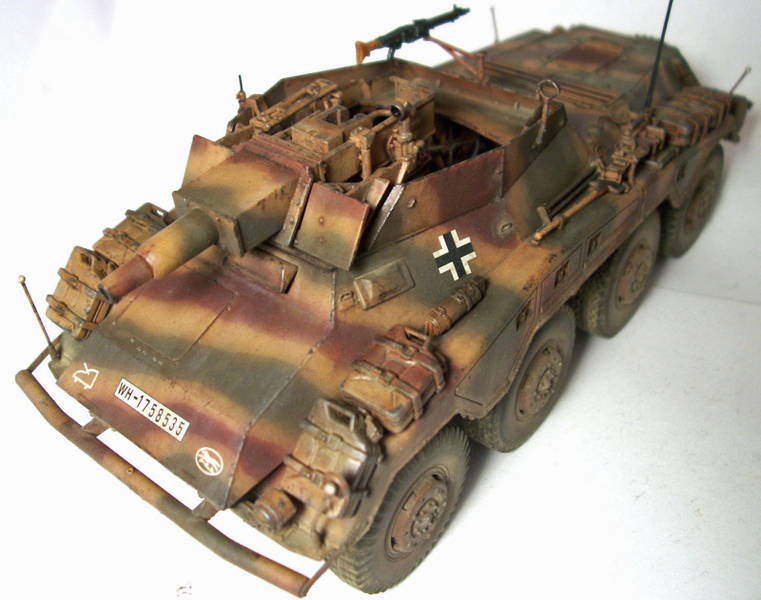
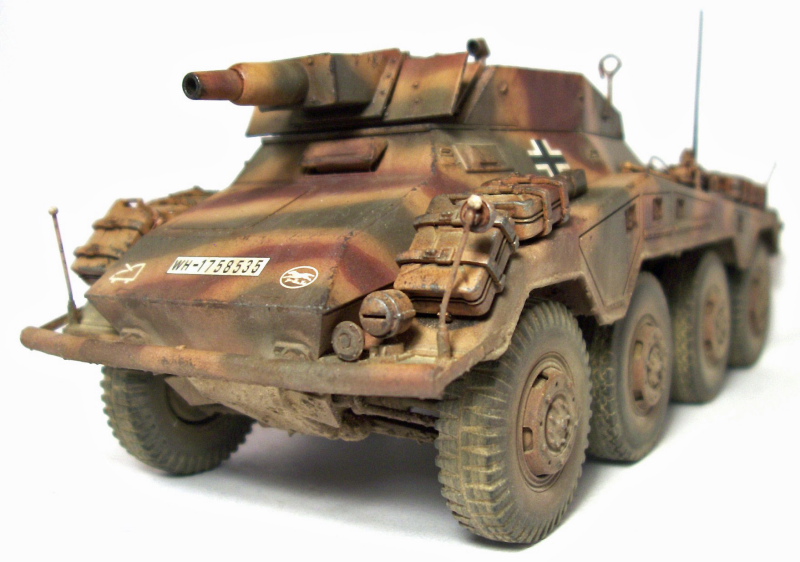
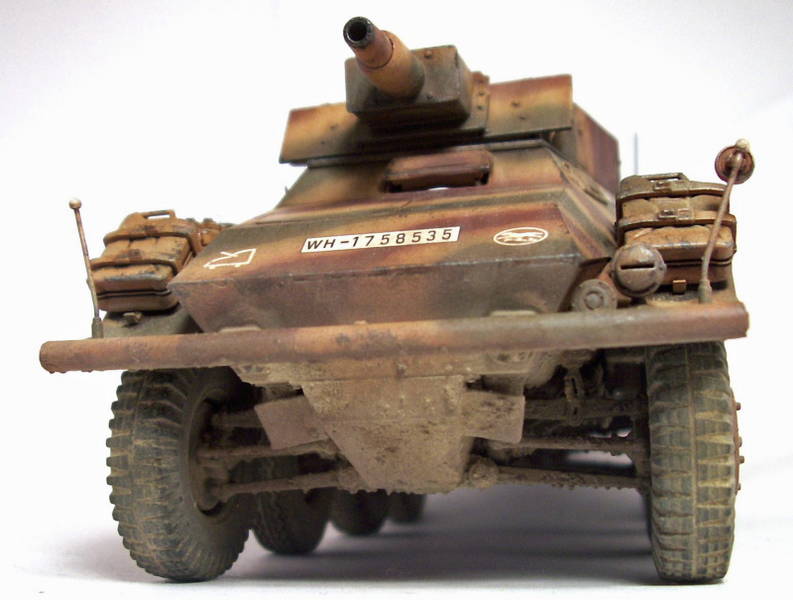
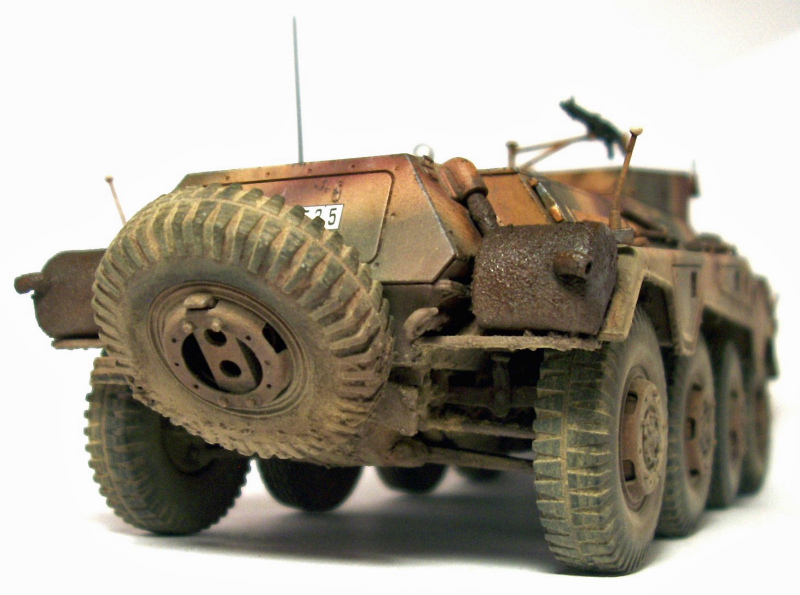
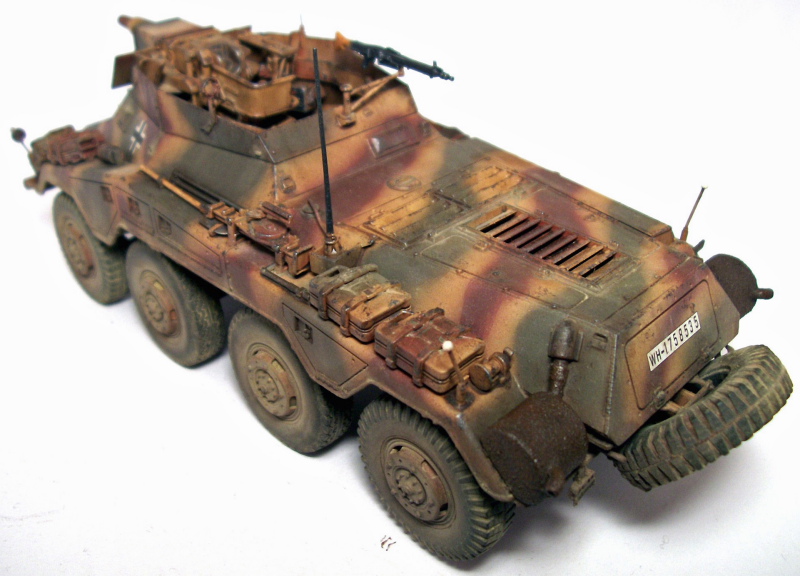
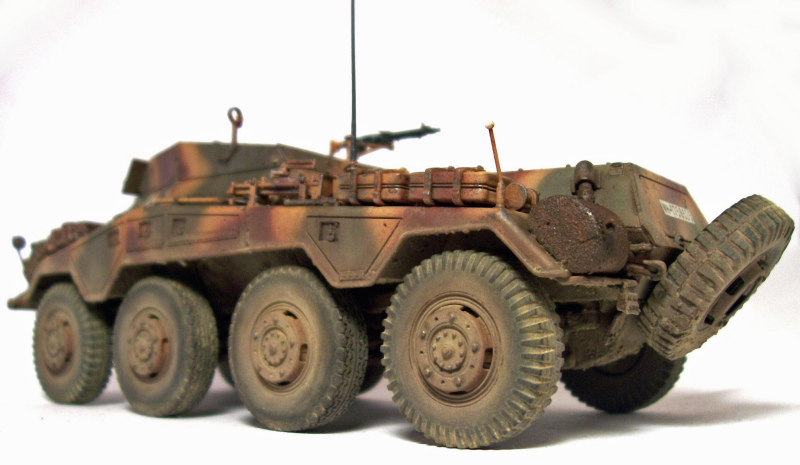
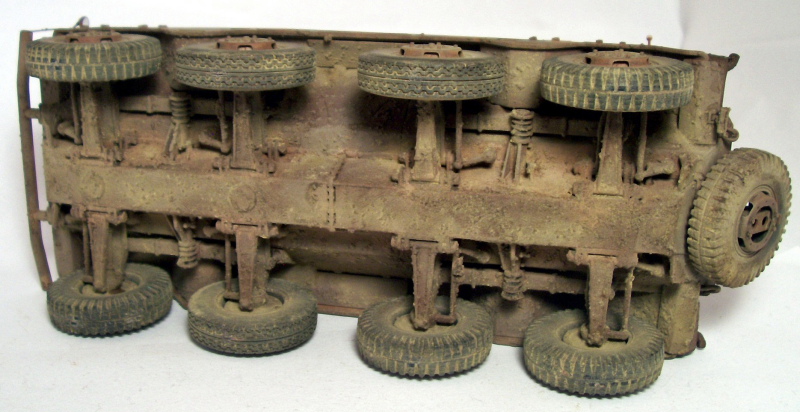
I began by first by giving the model a primer coat with rattlecan automotive "Red Oxide", the same used for the interior. For the paint scheme, I decided to go with the box-art because it was just too cool to pass up. For this I used Tamiya acrylics with the base coat XF-59 Desert Yellow, the green XF-51 Khaki Drab, and the brown XF-9 Hull Red. The camouflage was applied free hand then, using silly putty, I masked the green and brown and redid the yellow to tighten up the edges a bit. I used the Desert Yellow heavily thinned and did an all over misting to blend the three colors together. After the base coat had dried, I used a Van Dyke Brown filter/wash to further blend the camouflage together. Once I was happy with the blending, I gave the model a coat of Future in preparation for the decals. While this was drying, I took the wheels which had already received the Desert Yellow base-coat and Van Dyke Brown wash and painted the tires black using generic acrylic craft paint. After the decals were applied, they were sealed in with another coat of Future to protect them from the up coming weathering. The weathering began by adding some wear and tear along the edges using Van Dyke Brown oil paint applied with a scrap of the green scouring pad that comes attached to a kitchen sponge. After leaving this a day or so to dry, I gave the model a coat of Testors rattlecan Dullcote. Next I decided to add some streaking by placing small dots of white oil paint on the model with a tooth pick then cleaning them off with thinner and a brush using downward brush strokes. Once dry, I did some selective dry brushing with Reaper MasterSeries Shadowed Steel and painted the tools and other small details. Moving on to the undercarriage, I wanted to depict a vehicle that was quite dirty so I began by mixing up a batch of mud. For this I used water, white glue, fine sand, and Bragdon's Dustbowl Brown pigments and mixed them together. I proceeded to stipple the mix on the entire undercarriage and, while it was damp, added more pigments here and there as needed. Once dried, it received a couple of oil washes and a dry brushing. Finally, using a mix of Tamiya Buff and Red Brown, I misted a dust coat around the entire lower hull. Getting ready for the final stages of weathering, I once again gave the entire model a coat of Testors Dullcote before applying multiple washes using combinations of Van Dyke Brown, Burnt Umber, and White oil paints. Dust Bowl Brown pigments were added as a final touch to tie all the weathering together and I was ready to call this one finished.Conclusion
All in all, a beautiful kit of a very interesting subject. The fit was good throughout and the detail is excellent. I definitely recommend this one to anybody interested in WWII AFVs, especially if you are looking for something just a little bit different.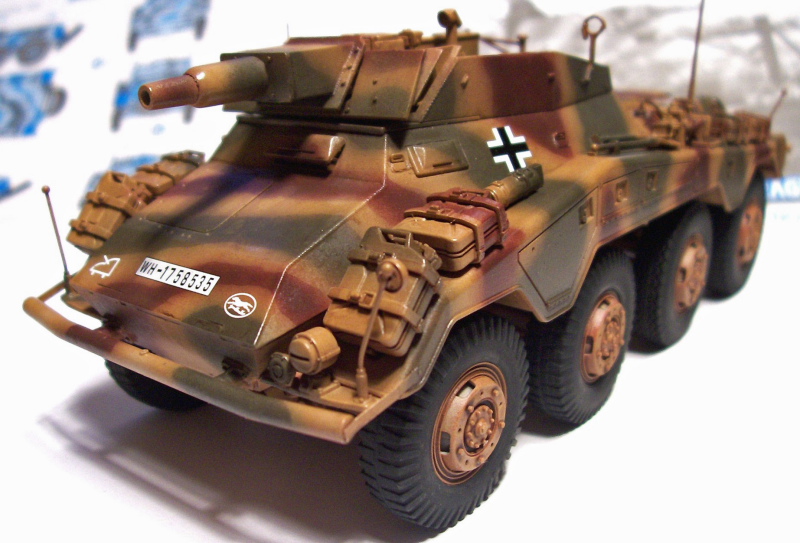


About the Author


FROM: TENNESSEE, UNITED STATES
My name is Ron and i began modeling in january of 2005 while off work with knee surgery i have always been interested in the military and 1/35 scale vehicles and armour are my main subjects, i will build just about any brand of kit there is as long as it interests me and i build for my own collectio...
Comments


Hi Ron
Great modelling as always.
I admire not only the sheer quantity of models you seem to be able to make (whilst I'm still messing about with one figure), but also the consistent high quality.
Also the fact you seem to be able to create a feeling you are looking at a ton of metal not a little plastic kit.
I'd really like to see you put some of these into a matching diorama, I think it would look very realistic.
All the best
Alan
OCT 01, 2007 - 11:10 PM

Copyright ©2021 by Ron Goins. Images and/or videos also by copyright holder unless otherwise noted. The views and opinions expressed herein are solely the views and opinions of the authors and/or contributors to this Web site and do not necessarily represent the views and/or opinions of Armorama, KitMaker Network, or Silver Star Enterrpises. All rights reserved. Originally published on: 2007-10-01 00:00:00. Unique Reads: 23964

WEB HOSTING BY


Copyright ©2021 Armorama and Kitmaker Network, a subsidiary of Silver Star Enterprises
All Rights Reserved. Please read our Conditions of Use and Privacy Policy.
All Rights Reserved. Please read our Conditions of Use and Privacy Policy.