

1⁄35Building DML's Pzkpfw I-A Mod Version
...
Post a Comment

Turret and Final Exterior
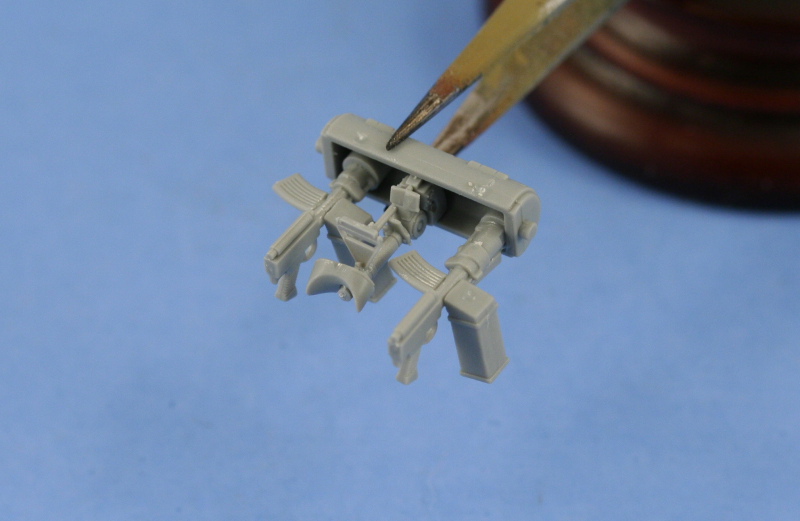
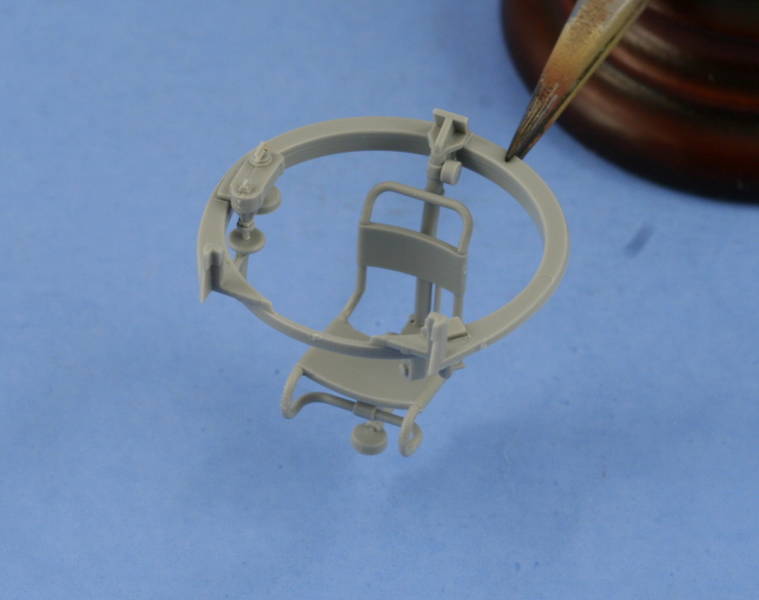
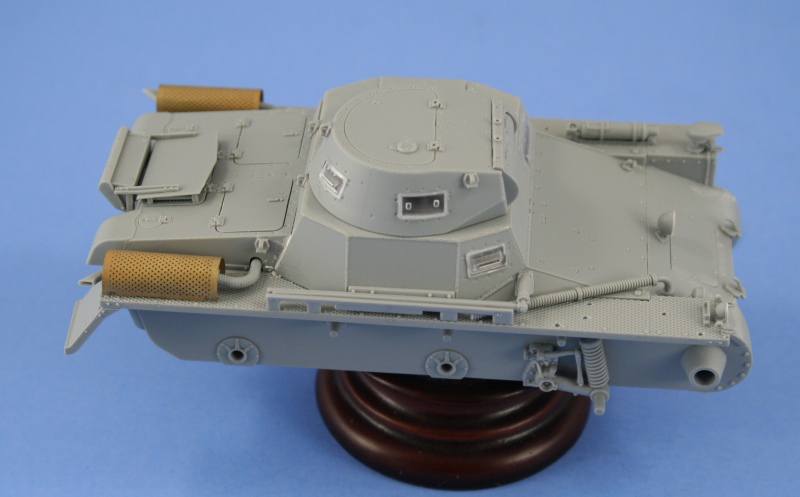
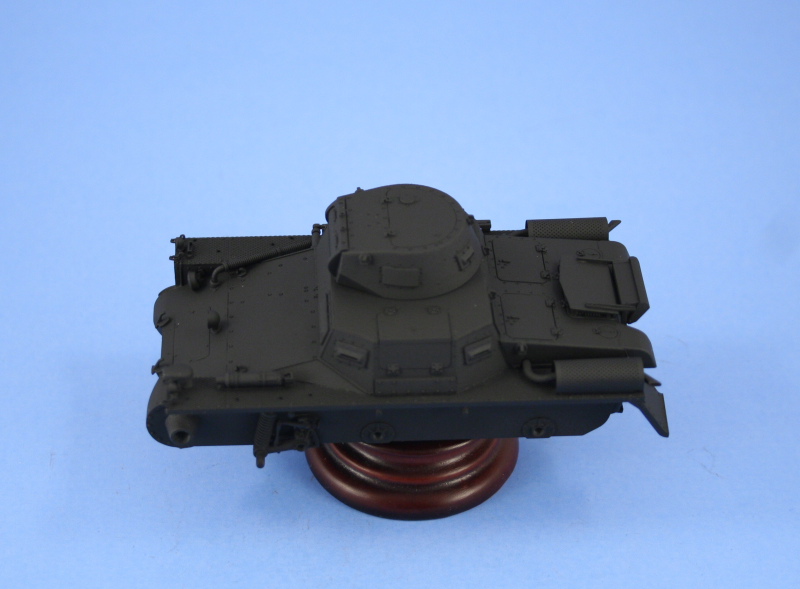
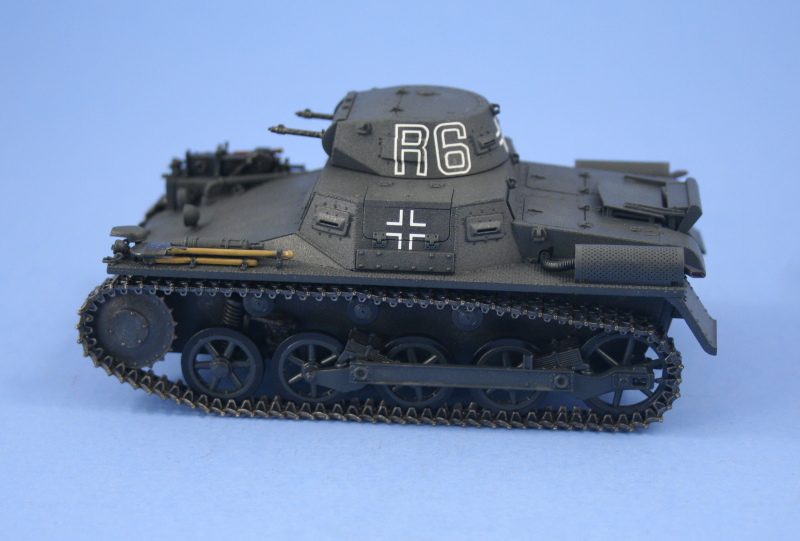
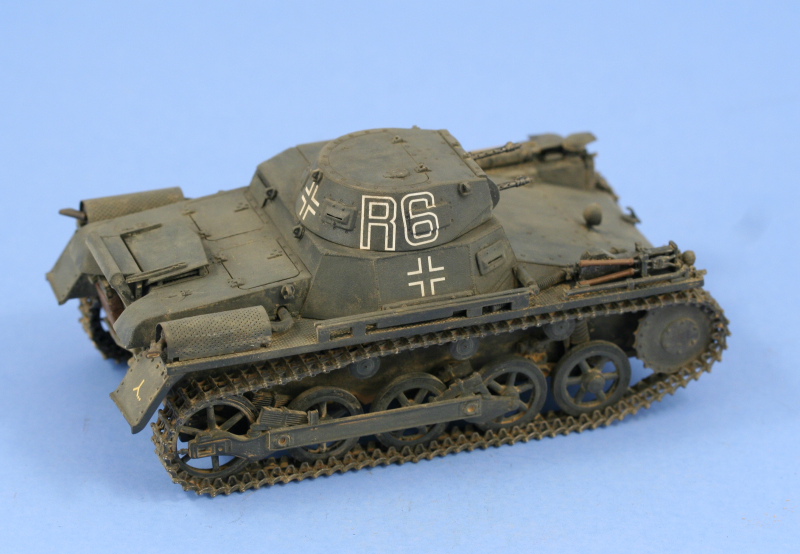
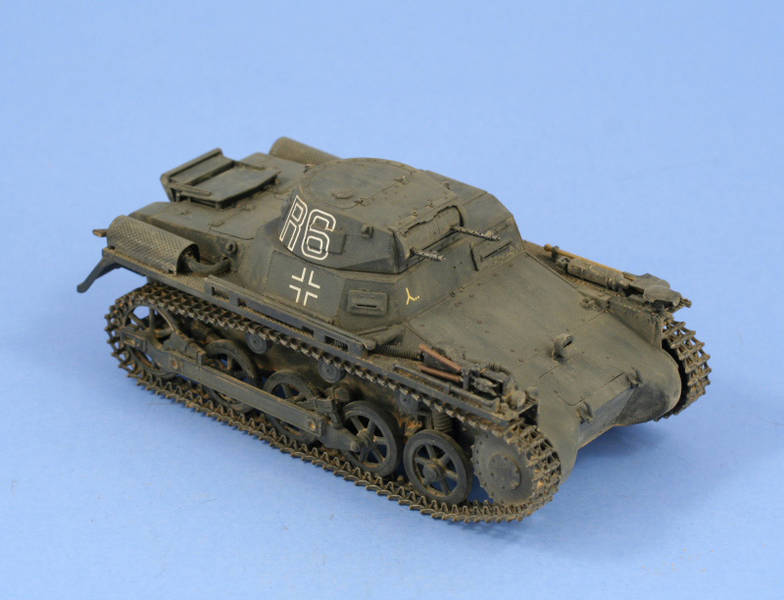
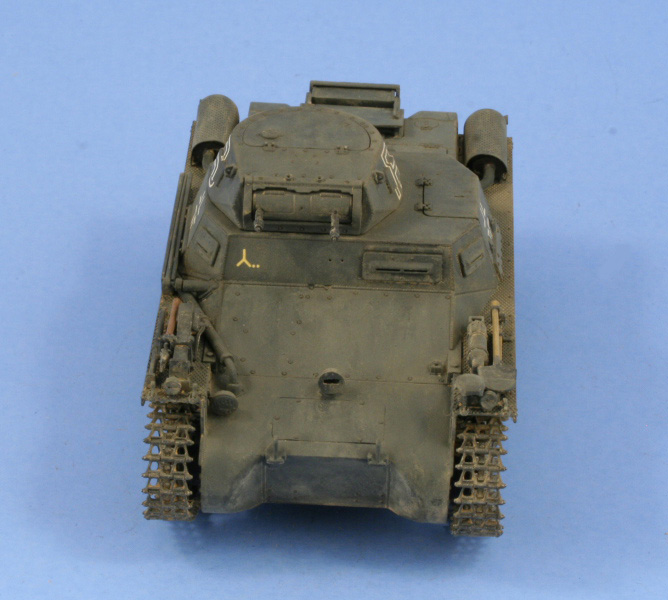
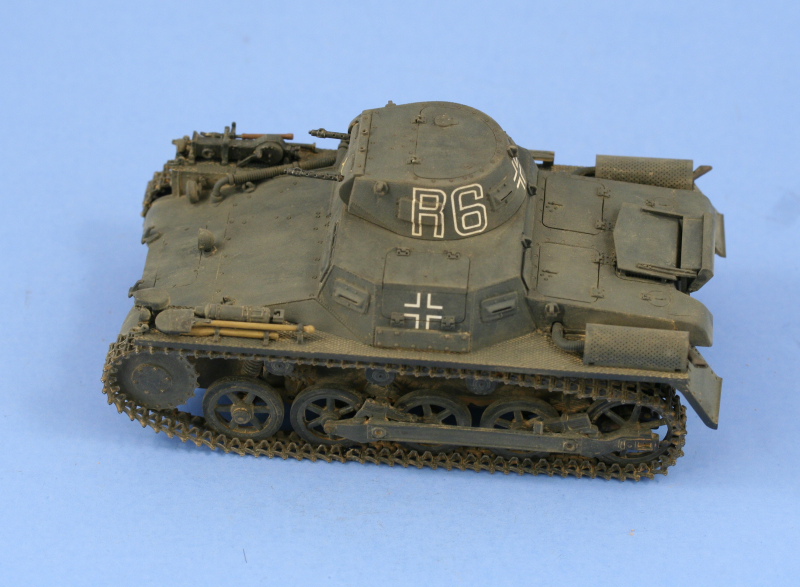
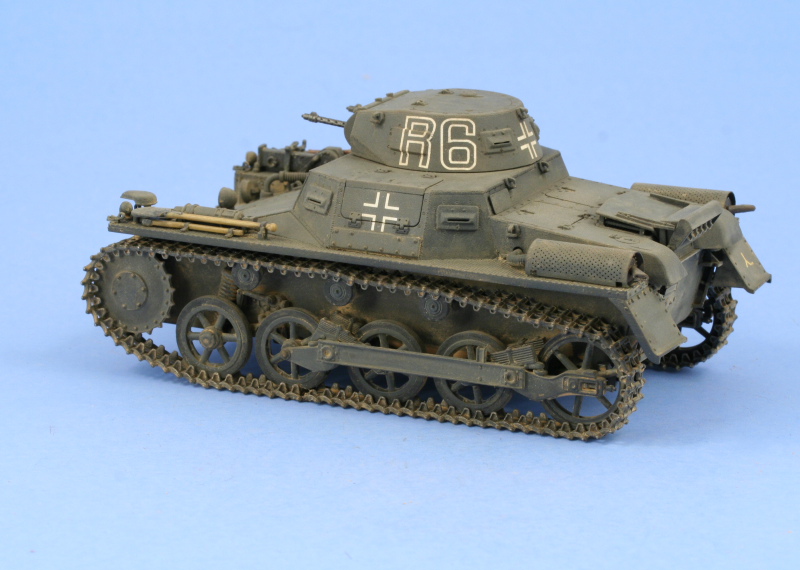
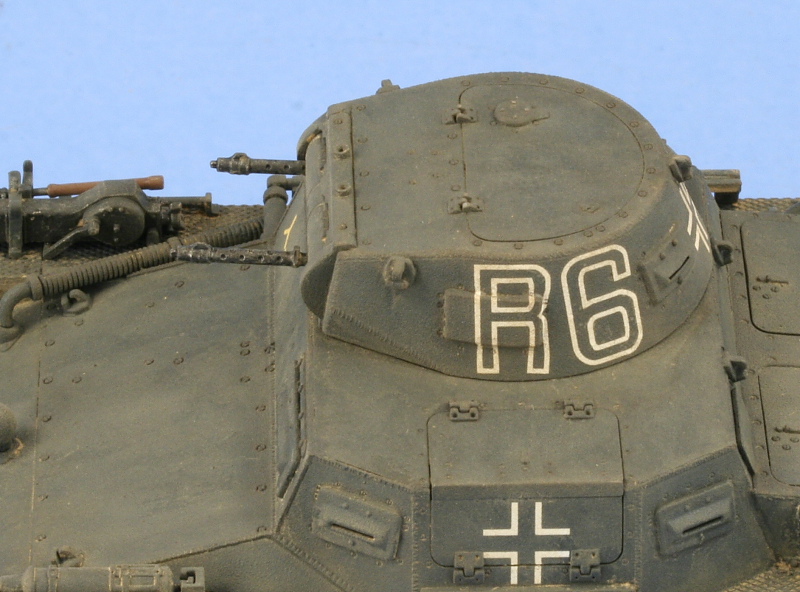
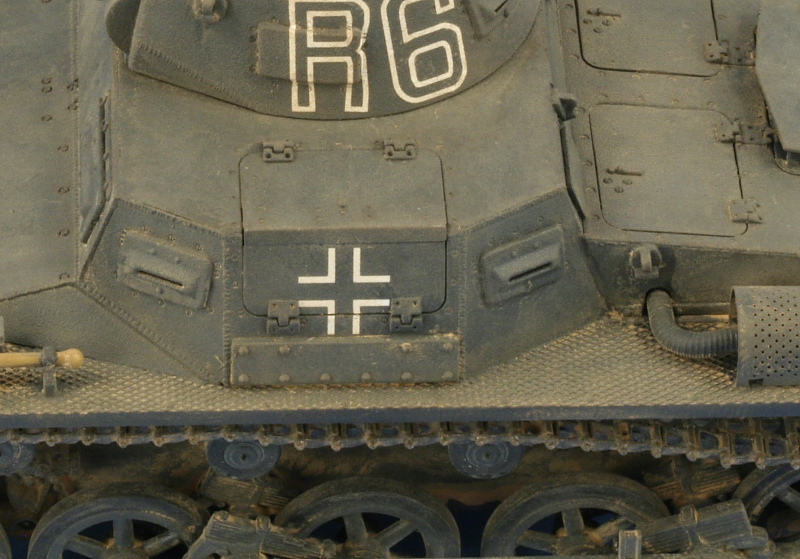
The turret also includes interior details and, like the hull, is packed into a very small space. The commanders hatch was constructed with its molded interior details enhanced with 3 small additional parts. The twin MG13 main armament and sights were also assembled, a delicate process given the number of parts involved. Each MG13 has its own spent shell chute and magazines and the alignment has to be very precise to allow it to fit properly into the turret shell. The commanders sight includes both the telescopic and direct-vision sights although the telescopic site is molded solid and should be drilled out with a pin vise to be accurate. The base of the turret, with its main feature of the commanders chair, was constructed separately from the turret shell. The chair is a multi-part assembly that is tricky due to the tubular frame and the way the different parts contact each other, almost requiring a third hand to get everything together. The gun trigger mount and traverse wheels complete the detail for this area and test-fits are again necessary to insure the whole turret package will fit properly into the turret ring. I joined the base to the turret proper with liquid glue, running it carefully around the seams in an effort to keep the guns positionable but was unsuccessful in that regard in the end with the guns ending up in a fixed position. The remaining exterior details were added in the form of the smoke grenade rack on the rear hull and the various other details such as the brake vent hose, lifting hooks, and antenna tray. The smoke grenade rack is a delicate multi-part assembly and, due to the way it attaches to the armored vent cover on the rear deck, care is needed to get it to set square on both sides relative to the cover and the holder.Paint and Finish
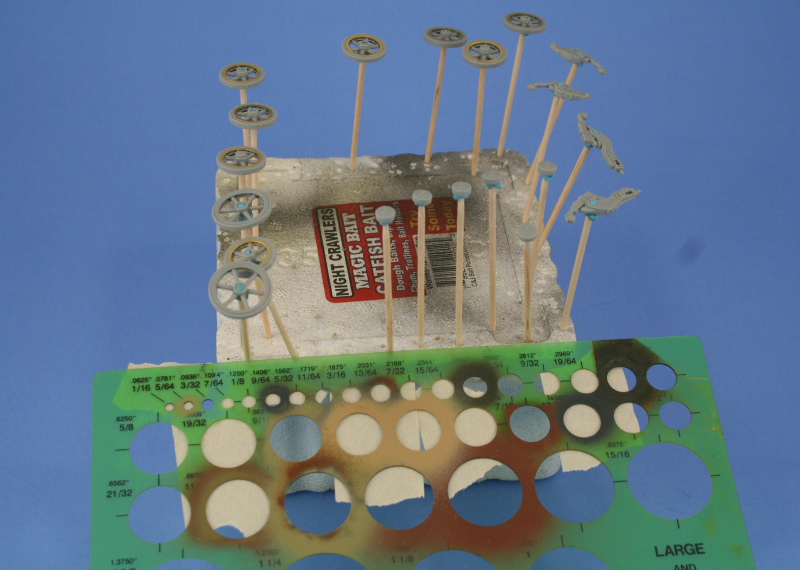
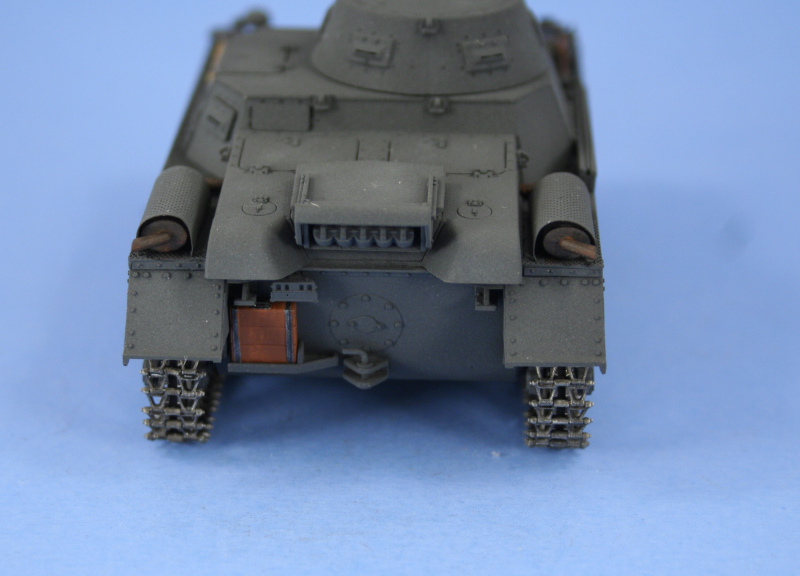
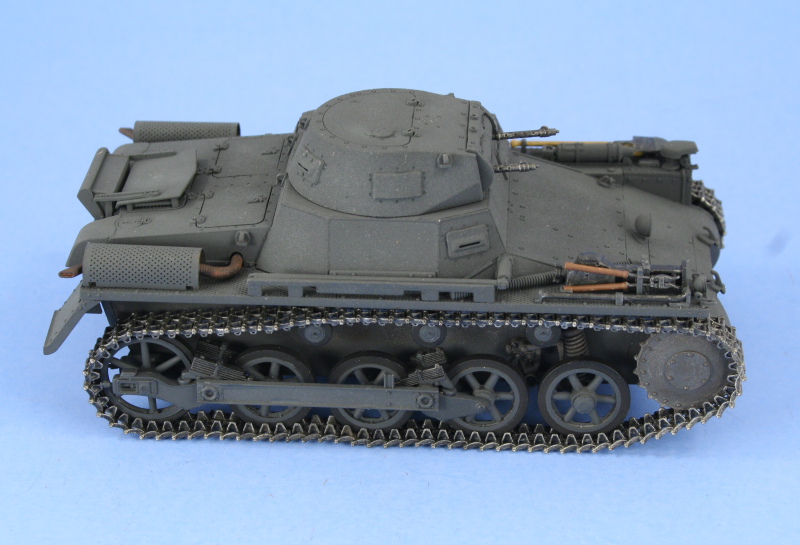
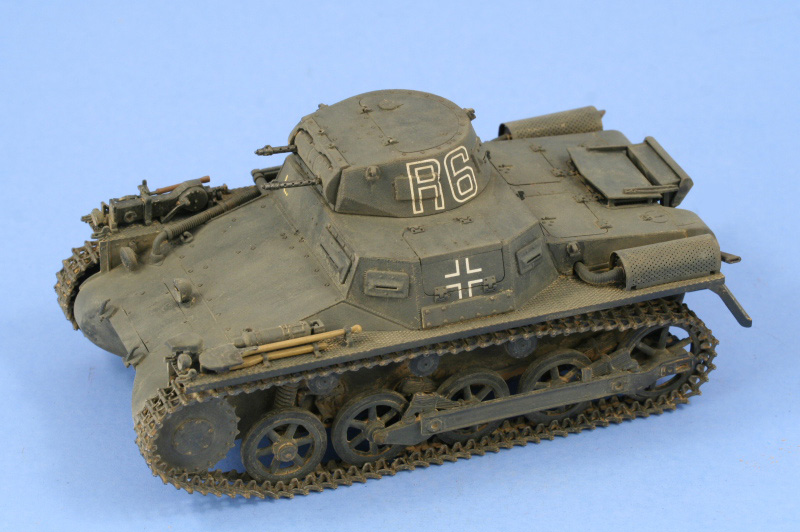
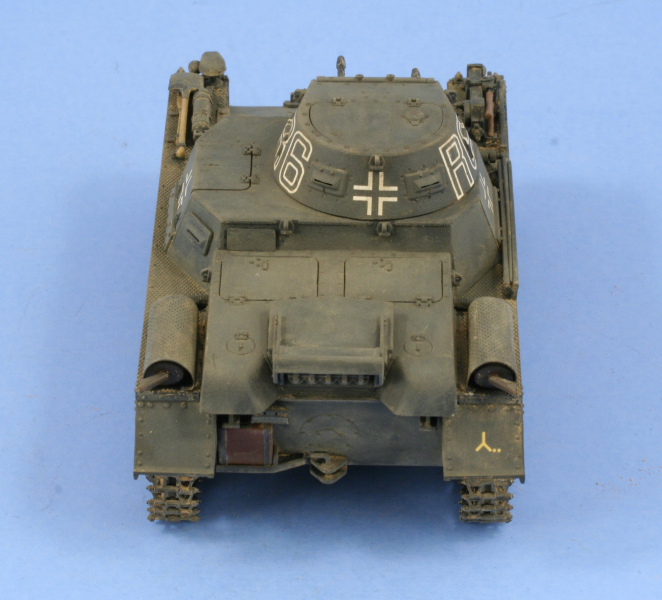
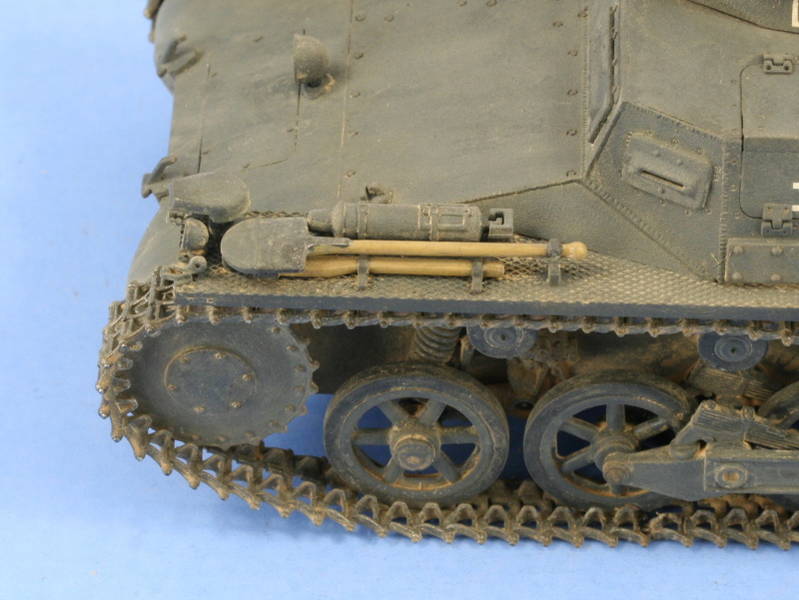
In preparation for painting, all of the road wheels and suspension elements were mounted on toothpicks with blue-tack poster putty and/or mounted to masking tape strips to aid in their handling. I use a circle template for painting the hubs and the corresponding circles were masked off for the return rollers, road wheels, and idlers. For ease of reference, all paints mentioned are Model Master enamels unless otherwise specified. The vehicle received an overall primer coat of Flat Black followed by a base coat of Panzer Schwarzgrau applied in very light and multiple coats until it was built up to the desired level. The same Schwarzgrau was lightened with 10% Light Gray and then randomly sprayed in the panels to produce some shade variation as well. The suspension was then detailed and installed with the sprockets left loose to facilitate the upcoming indy-link track installation. The pioneer tools were also detail painted and installed at this time, the trickiest being the jack-wire cutter combination on the left fender. The jack block was also detailed and installed and the mufflers and exhausts painted. I learned after the fact that the tubing from the hull to the exhausts are rubber and not metal, so went back and repainted them to match that in later steps. Track installation on this kit is aided greatly by the inclusion of Magic track links but they are still tiny and very delicate. The runs were constructed using the kit recommended 87 links per side and base coated with Metalizer Non-buffing Gunmetal, dry brushed with Steel, and given a wash of Raw Umber before being installed. The contact points on the links are very narrow, so care has to be taken not to stretch them too far when getting the final join together and I left both tracks to set up overnight before proceeding. For the markings, I chose the scheme for the 6th Pz. Division in 1940 and applied a coat of Future as a foundation for the decals. The kit decals are thin to begin with and with the aid of some Walthers Solvaset, they conformed to the complex surfaces, especially on the turret, with just a little careful coaxing and adjusting. A second sealing coat of Future was applied and left to sit and cure up before weathering began. The initial weathering process took the form of the dot method of applying small dots of enamel paint over the Future surface and using a thinner-dampened brush to blend them together to create a filter/variation effect. I used three colors, Raw Umber, Afrika Grunbraun, and 20% lightened Schwarzgrau/Light Gray, one at a time to produce the desired effect. A pin wash of Burnt Umber was also applied to the raised details and panel lines and, after some slight adjustments, the vehicle sealed with a coat of rattle-can Lusterless Flat. The final weathering was applied via a batch of 50-50 Dried Mud and Gulf War Sand MIG pigments thinned with ordinary water and applied in varying thicknesses over the entire model. Once dry, the pigments were adjusted with stiff bristled brushes followed by softer sable brushes until a dusty appearance appropriate to summer 1940, in my mind at least, was achieved over the base coat.Conclusion
Overall the kit packs a lot of detail into a tiny vehicle and I thoroughly enjoyed the build from start to finish. There are some potential pitfalls to watch out for along the way due to the detail and tight tolerances but in the end, a very nicely detailed PzKpfw I Ausf A Series 2 or 3 vehicle results.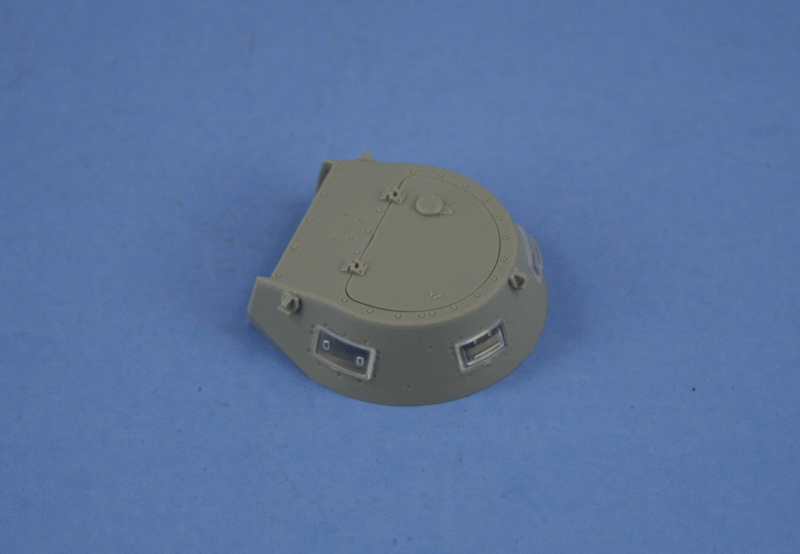


About the Author


FROM: TEXAS, UNITED STATES
Like many, I started out in the hobby as a kid building airplanes to hang from my bedroom cieling. I took a long break from the hobby, returning in 2001 with an interest in armor inspired mostly by online gaming. WW2 armor, 1/35 scale, is my preferred genre with a special taste for the stranger vehi...
Comments
Copyright ©2021 by Bill Plunk. Images and/or videos also by copyright holder unless otherwise noted. The views and opinions expressed herein are solely the views and opinions of the authors and/or contributors to this Web site and do not necessarily represent the views and/or opinions of Armorama, KitMaker Network, or Silver Star Enterrpises. All rights reserved. Originally published on: 2007-10-16 00:00:00. Unique Reads: 21155

WEB HOSTING BY


Copyright ©2021 Armorama and Kitmaker Network, a subsidiary of Silver Star Enterprises
All Rights Reserved. Please read our Conditions of Use and Privacy Policy.
All Rights Reserved. Please read our Conditions of Use and Privacy Policy.