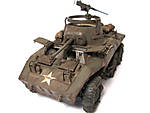
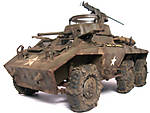
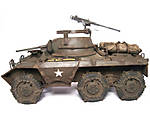
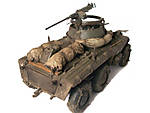
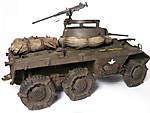
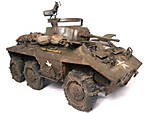
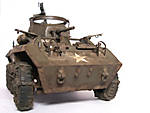
1⁄35M8 greyhound
3
Comments
Introduction
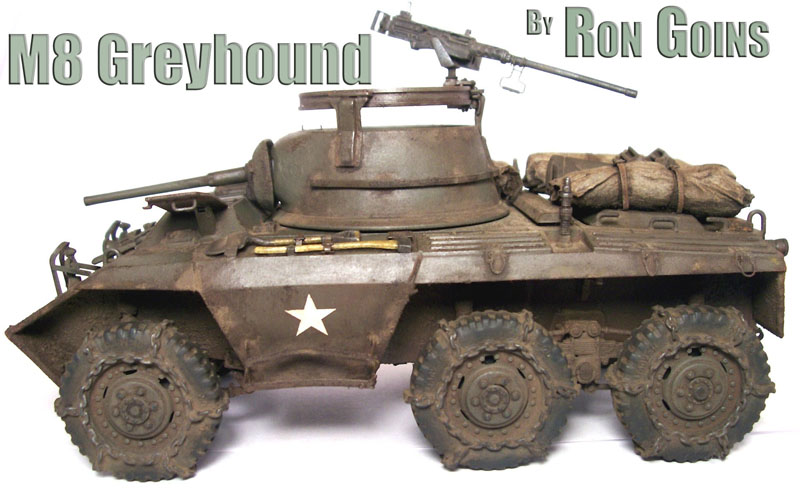
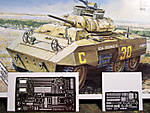
This is a short article on my build of the Italeri M8 greyhound, using the Eduard PE upgrade set and a few scratch built details. This model is generally passed over for the prefered Tamiya kit , but it doesn't mean it isn't worth building and I hope the final result will show this.Modifications to the kit
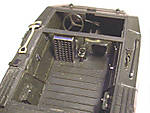
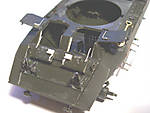
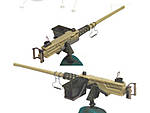
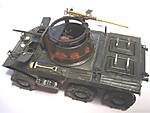
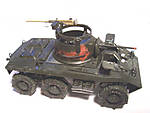
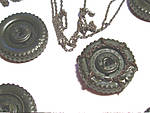
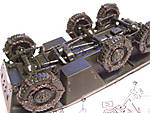
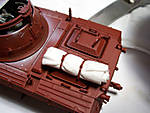
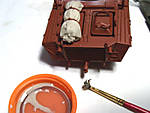
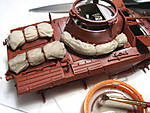
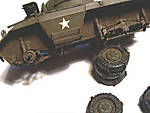
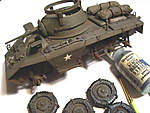
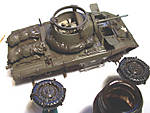
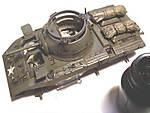
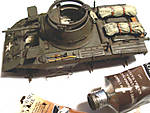
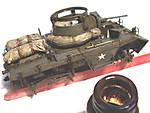
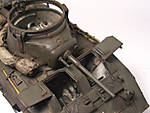
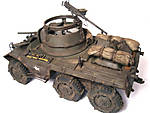
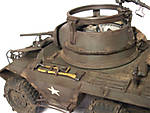
The first of the modifications I made was to the wheels, I had already decided that I wanted to fit snow chain clad tires, so I set about making a set. For this I used the kit wheels and some 16 link per inch chain, I cut to the chain to the lengths I needed for each wheel, this consisted of 2 lengths to go around the rims (inside and out) and then 6 lengths to link the inner chain to the outer chain, it was then attached with CA glue and I was very happy with the outcome. These were not fitted on to the model, until after painting, more of which later. The next step was the drivers hatches, the kit allows the top hatches to be positioned open or closed but the front one's are molded in the closed position and I wanted them open, so I carefully cut the hatches off and reset them in the open position, I then needed to add some detail to the inside of them which was completely missing, for this I scratch built the inner details using what bits of wire and plastic sheet I had laying around. The kit supplied MG was not that great, so I used an academy one that I had in the spares box and along with the Eduard PE parts resulted in a nicely detailed .50 cal MG Lastly the kit supplied stowage was badly sunken in places and I didn't really like the way it looked, so I decided to make my own using facial tissue and a mix of white glue and water. First I rolled up the tissue into the shapes and sizes needed then tied them off with string and placed them on the vehicle in their respective places and then added the glue/water mix ,allowing them to soak it up until they couldn't take any more, the tissue began to swell creating some nice looking wrinkles and folds, once this had dried, and gone hard, they were painted as normal.Painting and weathering
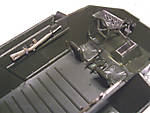
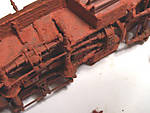
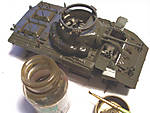
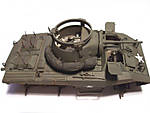
The interior.The interior was painted first, I started with a base coat of flat white ,then using a small scrap of sponge and dark colored craft paint I added some wear and tear to edges and areas that would get worn quickly by simply dabbing the sponge in the paint, cleaning off the excess and then dabbing it where I needed it. Next I applied several washes of burnt umber oil paints, and once this had dried everything received a dry brushing of shadowed steel, finally to finish it off I did a pin wash of ivory black oil paints followed by a dry application of pigments. The exterior. The exterior first received a primer coat of red oxide, from a spray can, then some light texture around the lower hull and wheel wells using Bondo glazing putty stippled on with and old brush. For the base coat I used Tamiya acrylic Khaki green, after which several all over oil washes of burnt umber were applied until I was happy with the look, the decals were added next, no gloss coat was necessary because I trimmed the decal carrier film all the way to the edges so there was nothing to left to silver. Continuing on with the washes, I added another all over oil wash using van dyke brown, this was then put to one side to dry. I then turned my attention to the wheels which had already received a base coat of flat black ,followed by the rims being painted Khaki green. I used dark brown craft paint to base coat the chains and the metal parts of the vehicle tools after which they all received a dry brushing of shadowed steel to give a nice worn steel look. More oil washes followed first with an all over wash of Van Dyke brown then a more precise pin wash of ivory black. As I was getting close to the finished look, I began to focus on the final details,adding some wear and tear using the same sponge method as on the interior, using Van Dyke brown oil paint. Next the tools handles were painted, these were base coated with craft paint "stone", then, using a mix of yellow ochre and raw umber oil paints, I streaked the mix down the shafts creating a wood grain effect. The stowage was then painted with a dark brown base coat, this was then gradually dry brushed with lighter shades of the base colour each time, and then a final oil wash of van dyke brown finished them off. After this the wheels were attached, and I used a dry application of pigments to blend it all together.
Conclusion
All in all this turned out to be one very enjoyable project, and the result was in my opinion a nice looking M8 greyhound, the kit itself was very easy to work with and great practice for trying out new techniques and definatly one I would recommend to someone just starting out in the hobby or someone like myself who is just trying to improve their basic scratchbuilding and photoetch skills.Comments
Very nice work on the detailing. Are those PE straps around the stowage bundles? The swollen, tightly wrapped effect is quite effective. And, why no fenders? Was that an artistic decision or a historic one?
MAY 16, 2008 - 05:27 AM
Ron, yet again you have amazed me with the finish you have achieved. The depth and realism you achieve with your finishes is second to none, in my humble opinion mate. I scratched some snow chains for the Tamiya kit a while back, and I also was happy with how they turned out. Fiddly and time consuming, but quite rewarding!
Great stuff
Brad
MAY 17, 2008 - 11:05 PM
Well after several months away from the hobby i come back to find this one published, thanks Henk that was nice timing and i appreciate your time putting it together
Hi Ed thanks for the comments, the fenders were left off just because i didnt want to cover up the snow chains heh but i remember seeing pics of these vehicles with them missing so its not totally artistic but definatly wasnt based on an actual vehicle.
Hi Brad, thanks man i always appreciate your comments on my allied builds i know ive done ok if i get your thumbs up, i agree about the snow chains i think they really set this particular vehicle off perfectly.
Ron.
MAY 18, 2008 - 09:40 AM
Copyright ©2021 by Ron Goins. Images and/or videos also by copyright holder unless otherwise noted. The views and opinions expressed herein are solely the views and opinions of the authors and/or contributors to this Web site and do not necessarily represent the views and/or opinions of Armorama, KitMaker Network, or Silver Star Enterrpises. All rights reserved. Originally published on: 2008-05-16 00:00:00. Unique Reads: 21772


