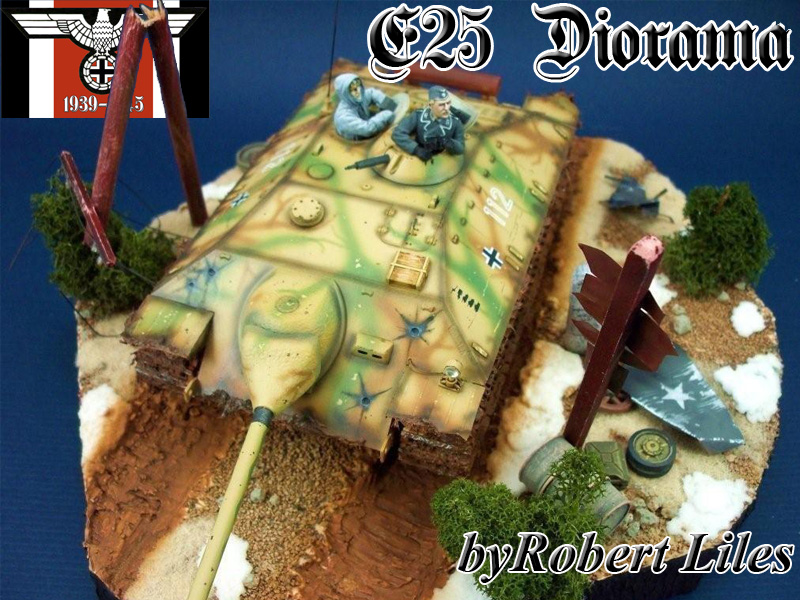
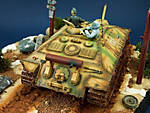
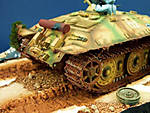
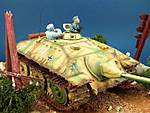
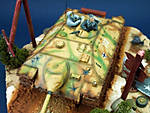
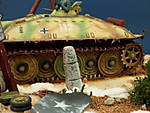
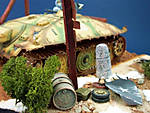
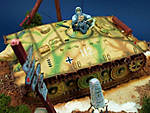
1⁄35Trumpeter’s 1/35th E25
4
Comments
Background
As a youngster in the mid seventies my Grandfather, a veteran of North Africa, Sicily, and European campaigns, would drive me down to the now defunct Toys by Roy hobby shop in Dallas Texas. We usually did this on Fridays after he got off work at Bell Helicopter and I would stand in front of the front windows intently studying the built WW2 dioramas. At that time, Revell and Monogram were the biggies when it came to plastic kits with Tamiya only a few years old. The majority of the kits were Allied, and I loved them…..Sherman’s, Sherman’s, and more Sherman’s! For the last six years since I got back into modeling I have been happily submerged in the new-to-me world of German armor. And with such zeal I just knew that I could easily complete them all sometime around 2029! But that is part of the lure of modeling for me. I keep building and the manufacturers keep releasing. With all this in mind I came to where the crossroad of historical design and prototype interpretation meet Trumpeter’s E25. As a builder, the entire package the box art, sprues, and subject matter was really impressive to me.Introduction
The “E” series of German tanks is relatively new to me having been happily submerged in the world of 1/35 Tiger and Panzer (insert Roman numeral here) kits for I have enough of each in leftovers from past builds that I could realistically build a dozen or more and not have to crack open a fresh box! Many of you are more familiar with this range of German production designs. I guess, for me, the E series represents what could have been for German panzer forces in the Second World War. Also, in my opinion, this concept is an open admission that their current method of production had actually hindered their ability to wage war against their mass producing foes. Being no expert on the E design concept, my understanding was that this design system whereby the basic components of the chassis, hull, etc….were standardized. A system of design and production whereby all future AFV’s would utilize these common components to replace all classes of armored vehicles. The designers would work, for once, with what they already had in the way of components instead of creating the components that satisfied their particular engineering whims, as in the past. Although there was not a single doubt that the quality of past production had been beyond comparison, the lack of standardization of parts meant a lot of abandoned tanks on battlefields stretching from Stalingrad to the Spanish Frontier due, in many cases, to nothing more than the lack of a spare nut or bolt.The Build
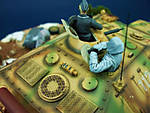
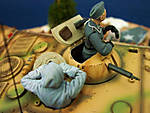
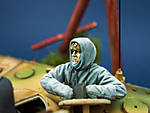
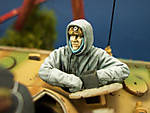
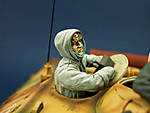
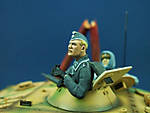
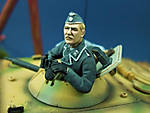
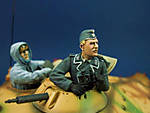
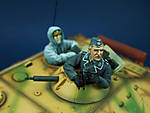
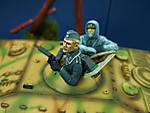
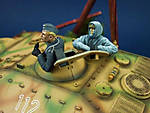
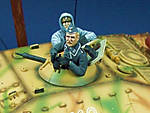
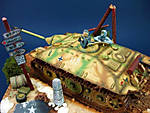
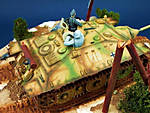
The kit offered by Trumpeter was built OOB. It offers a small photo etch sprue (hard as a rock, but serviceable) as well as sisal cables. The instructions were easy to follow, and the box art was fantastic. One thing that I noticed immediately when I glanced at the color Painting and Marking guide was just how much of an influence the T-34 had upon German designers. When you look at the top-down view the similarities are striking. The ripple effect of German encounters with the infamous T-34 carrying from the wastelands of the Eastern Front to the very drawing rooms of German military designers. The Turret As the E25 is a Tank Destroyer there is no traditional turret. However, there is a choice regarding the type of commander’s hatch. The two different commander hatch options can be seen from the box art and are completely imaginary. One option is exactly like a Jagd IV commander’s hatch. I chose the machine gun turret option. The Chassis The suspension was especially easy to build owing to the large, somewhat simple design. The tracks offered in the box were either Tamiya style rubber or styrene individual track links and went together lightning fast. I chose to use Tamiya thin glue to for the track construction. One thing that I found interesting regarding the E25 was that each road wheel was attached to the lower hull with a bolt-on type assembly. The importance of this design will be easy to see for any WW2 battlefield historian. You could simply unbolt a damaged suspension part and stick another one on probably without even needing to break out the welder! Hull Exterior and Finish There are two options for the rear hull surface. I chose to place the Track Block on the front slope. There are also tools included but I used some leftovers from DML with Lion Roar tool clamps. “Gunze” acrylics were airbrushed and “Daler-Rowney” oils were used for washes. “Vallejo” Flat Brown and Black were used for the nicks and cuts. The grass and undercarriage mud and gunk were made with “Windsor” paste mixed with static grass and RR ballast. Then the entire lower third was airbrushed with “Gunze” Mud, great stuff! It leaves a flat, dull appearance to any area that might collect road dirt and looks very realistic. The Figures The crewmembers came from Jaguar, the Commander’s head is “Verlinden” and the body from the spares box. The uniforms were painted with Vallejo and the faces with “Daler-Rowney” Oils. I am relatively new to oils but I like them so far. There are so many possibilities with oils. Washes were the only use I had for them before but my eyes have been opened!Base and Debris
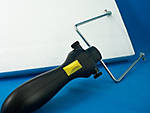
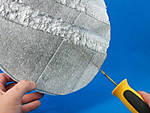
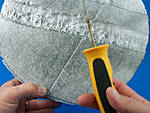
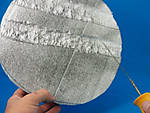
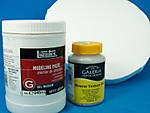
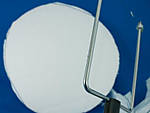
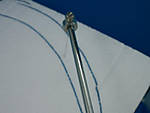
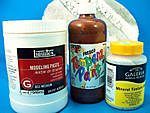
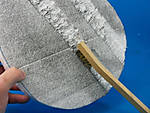
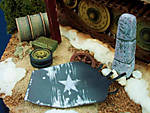
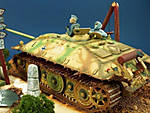
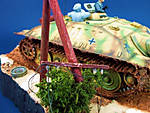
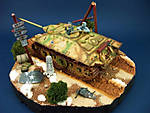
When I make bases I believe in doing it the least expensive way possible. I use great tools and adequate raw materials for my base construction. To start off with, I use common Styrofoam for all my bases. These I cut with Foam Factory hotwire tools. I use both the bow type wire tools and the spaghetti thin wire tool. I have found that this brand is both durable and reasonable in price. Cutting with a saw leaves a lot of mess when I have tried in the past. Once the basic shape of my base is created I will seal the Styrofoam with “Windsor” Texture Gel, this will be applied to the top, not the sides of my base. To the gel I will add a couple of sizes of RR Ballast. Sometimes I will add “fish tank” rocks in groups with SIG liquid resin after the foundation coat has dried. To add color to the groundcover I add common poster paint, this comes in several colors and is a fraction of the cost of other water based paints. After the base has dried I add grass and any other vegetation that seems logical for the area this scene was set in. The road sign is scratch built from Basswood with Copper sheet for the signs. Basswood was also used for the telephone pole. Telephone lines were made from solder and the insulators were made from a “cocoon” of CA.Conclusion
All in all, I would have to say this was a fun kit to build. The quality was such that there were no big surprises with no warped parts or inconsistencies with the instructions. This is not the most detailed kit regarding the molding of the parts but they still come off looking sharp and clean. Considering that this kit is partially based upon imagination, I think it lends itself well to all of us who enjoy improvising our builds. Whether improvising paint schemes or the designs themselves, this is the greatest opportunity to explore our imagination. And I think that is the most enjoyable part of our hobby.Comments
a nicely done panzer, Robert!
I think however that there are some things that hit me as being incongruous, and I point them out so that you might take these into consideration on your next dio.
The setting strikes me as probably Spring?--the ground is really muddy, and will remnants of snow still to be seen, (as in a Spring thaw), yet you have green, fully-leafed vegetation in the scene? It just doesn't strike me as appropriate to the setting?
Additionally, although it looks like a scene of warming temperatures, the gunner figure is portrayed absolutely just "buttoned-up against what looks like frigid cold--the big mittens, hood up, big furry hat, and even what looks like a hood or head scarf. Again, this strikes me as incongruous with the setting.
I hope you don't take it as a dismissal of your fine efforts here; I just think that compositionally it could be a stronger diorama if all the elements were a little more carefully planned.
JUN 06, 2008 - 06:35 PM
Good effort, nice looking E-25. However, as Karl stated, the environment looks kind of "off" with contradictions. A few more pointers that caught my eye:
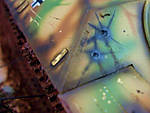
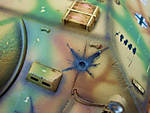
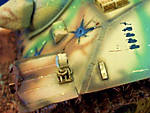
- The hits on the front look rather superficial. The sharply defined paint scorches around the hits look as if they are painted on or like they are decorative stickers.
- The "shadowing" on the panel lines is way too much. You can see a black line following every panel line, which kills any attempts at reality. If I were the builder, I would attempt playing around with color tones or attempt a preshade.
These are my humble opinions and of course since I'm not an authority, don't amount to a lot, just worth two cents
JUN 06, 2008 - 09:24 PM
I fully agree with what Emre says about the hit marks, but other than that I really like the tank, the figures and the base. Nice job!
The only thing I really don't like is the model railway lichen vegetation which looks like ..... model railway lichen!
Lose that and replace it with better, wintery vegetation and the dio is a real winner!
Steve
JUN 06, 2008 - 11:04 PM
Thanks to all who gave input. Very good and accurate points to be sure. And valuable advice that I can use in the future.
Best Regards, Robert Liles
JUN 12, 2008 - 12:31 AM
Copyright ©2021 by Robert Liles. Images and/or videos also by copyright holder unless otherwise noted. The views and opinions expressed herein are solely the views and opinions of the authors and/or contributors to this Web site and do not necessarily represent the views and/or opinions of Armorama, KitMaker Network, or Silver Star Enterrpises. All rights reserved. Originally published on: 2008-06-05 00:00:00. Unique Reads: 28523


