

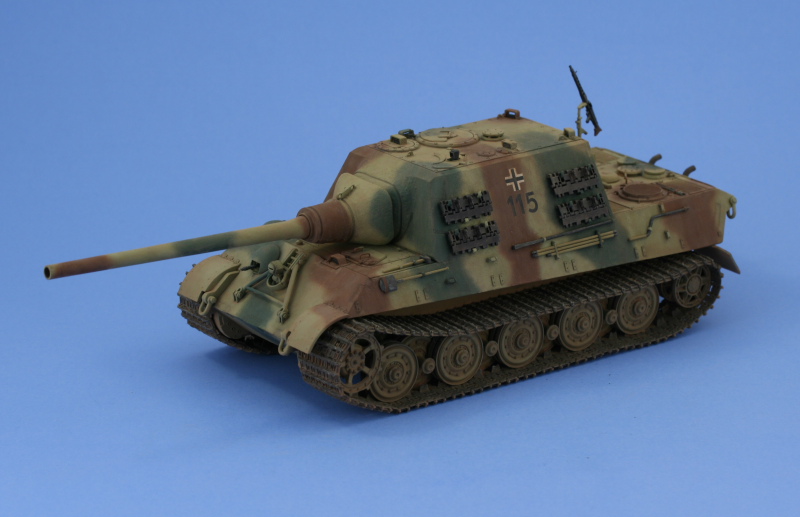
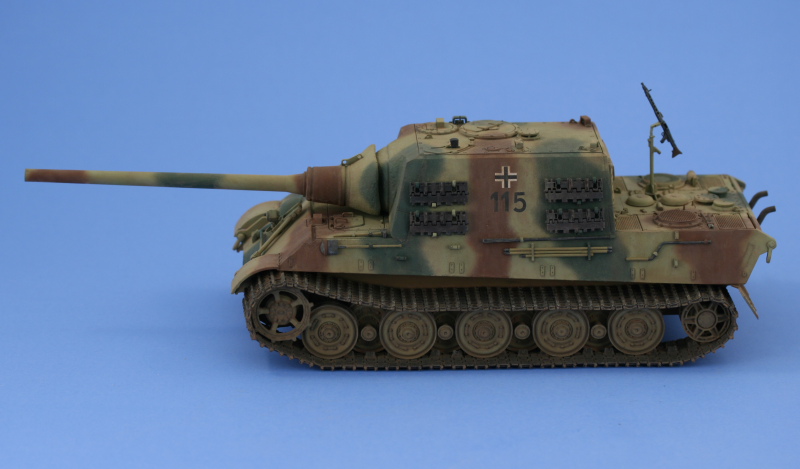
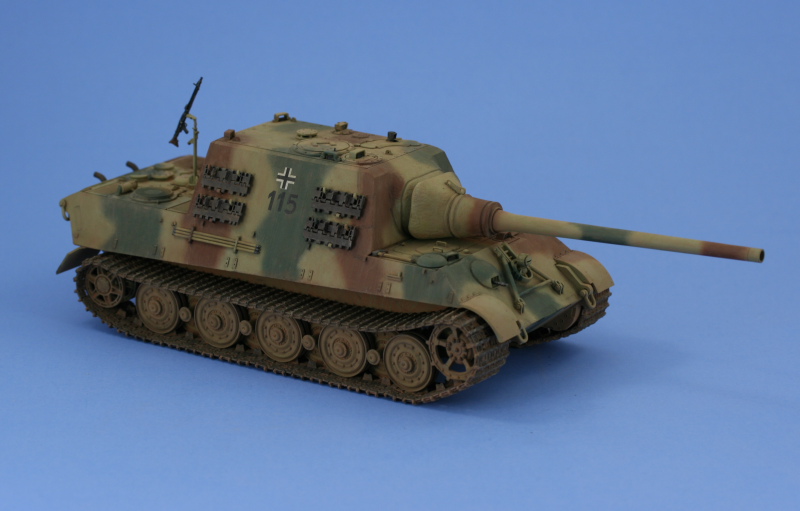
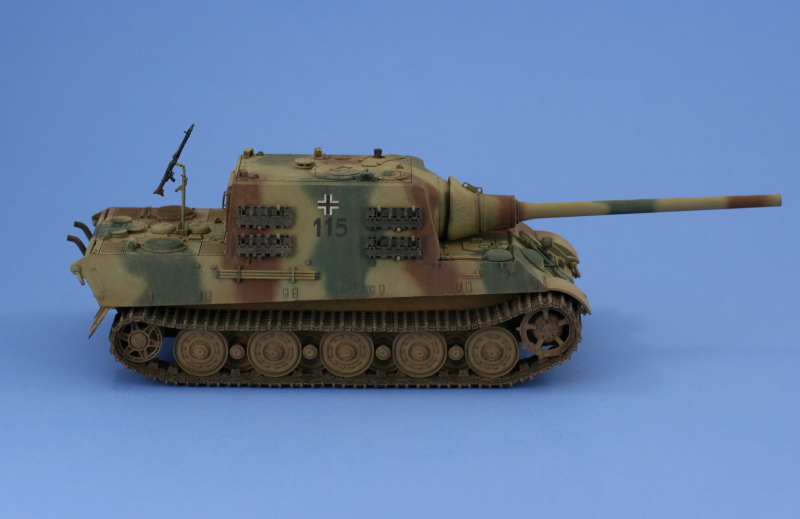
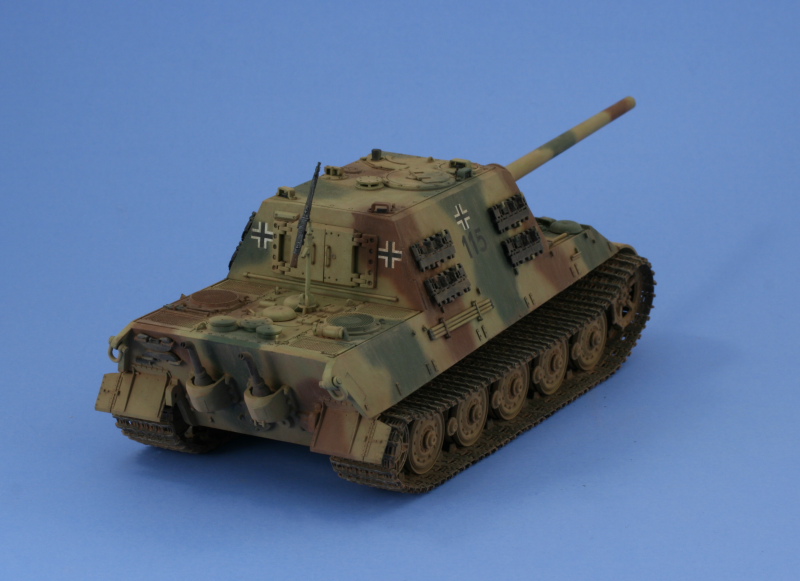
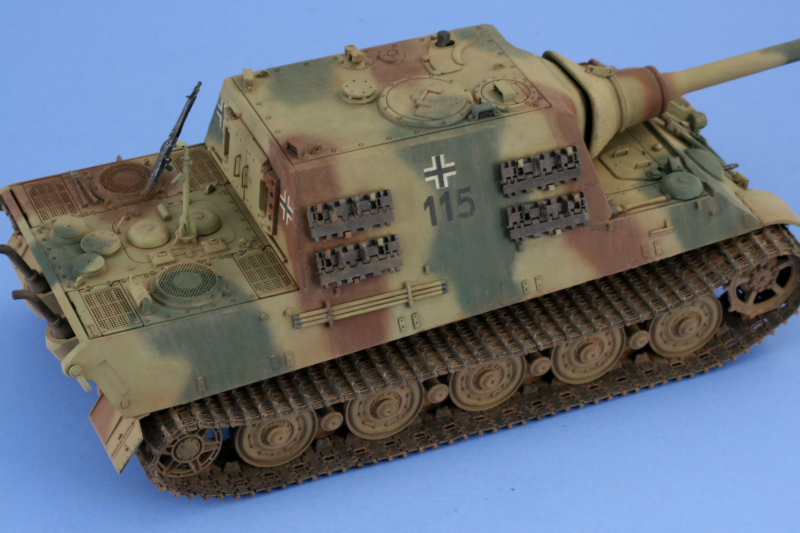
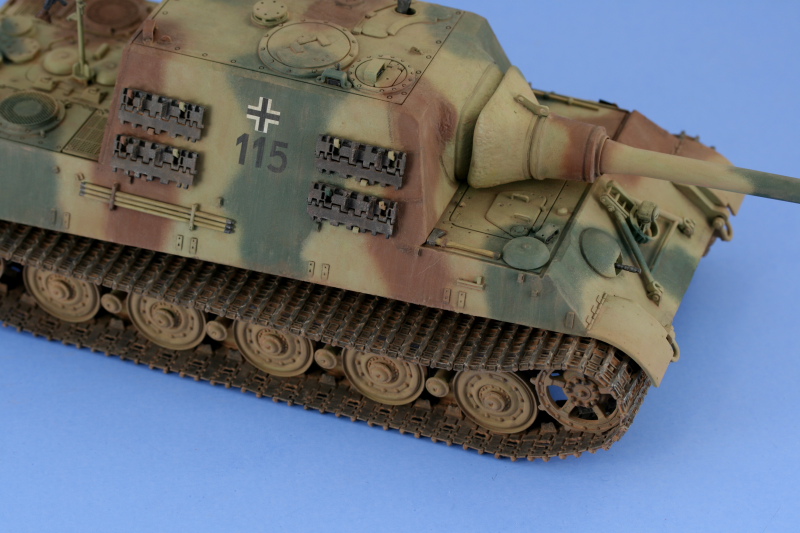
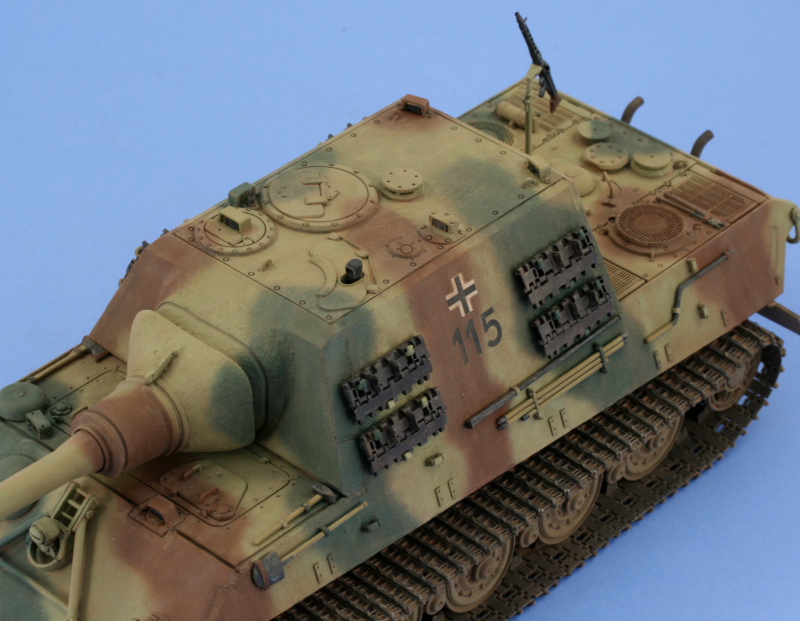
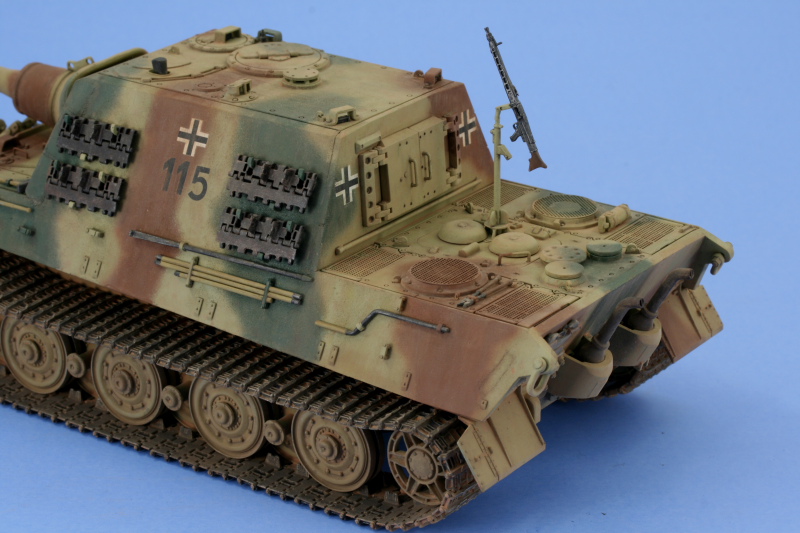
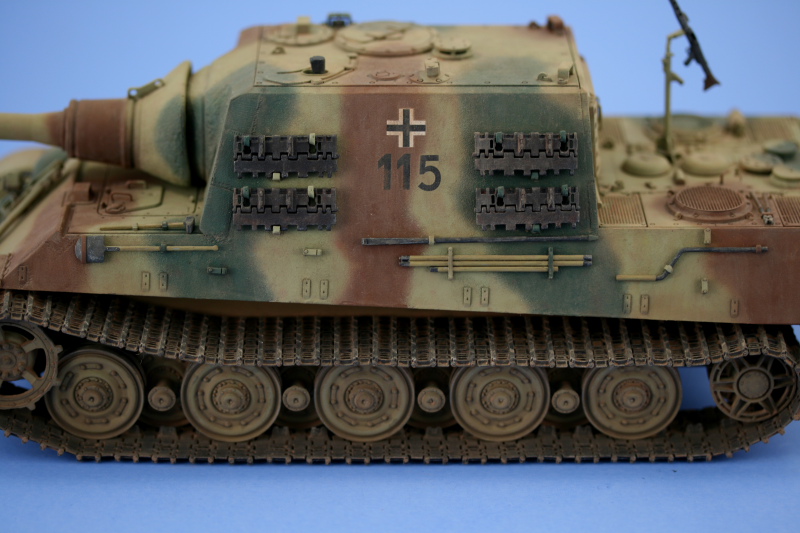
1⁄35Jagdtiger Henschel
12
Comments


About the Author


FROM: TEXAS, UNITED STATES
Like many, I started out in the hobby as a kid building airplanes to hang from my bedroom cieling. I took a long break from the hobby, returning in 2001 with an interest in armor inspired mostly by online gaming. WW2 armor, 1/35 scale, is my preferred genre with a special taste for the stranger vehi...
Comments

Looks great. I am preparing to build this model myself and has researched "Black 115". You captured the look of the real thing very well.
Thanks for sharing
JUL 09, 2008 - 10:44 PM

Milvehfan, appreciate the comments!
Jesper,
The kit stands up well for the most part, I enjoyed building. Thanks for your comments and look forward to seeing what you do with yours.
JUL 10, 2008 - 07:19 AM

Bill--can you review your technique for toning down the original camo job? I recall you apply various dots of paint and then blend them in with a wide brush and turpenoid...if I recall correctly.
thanks
DJ
JUL 10, 2008 - 08:19 AM
DJ,
The full details are here in the build log thread: https://armorama.kitmaker.net/forums/118784&page=2
In this particular case I used a combination of dot filters and a Mig pigment "dust coat" to produce the final finish. For the dots I use enamel paints and ordinary enamel thinner vs. oils and turpenoid. Both types of paint can be used, I use the enamels out of expediency and the fact that they dry faster than standard oil paints but still produce the desired result. It's also worth noting that I use enamels for the base coat vs. acrylics and that in turn drives the need to have a Future barrier coat between the base coat and the weathering.
JUL 10, 2008 - 04:29 PM

Bill, your Mig pigment dust coat, is that sprayed on, brushed on, using your 'addition by subtraction' method, or how? Did I miss this in your build log, or is this a 'trade secret'? The weathering finish on this is fantastic.
JUL 10, 2008 - 05:04 PM

Thats what I love about Armorama so much , everyone sharing techniques. I learn so much practical things to put to use. Thanks , to everyone Bob
JUL 10, 2008 - 05:33 PM
James,
Definitely not a "trade secret", I don't have any of those! The bottom of the hull, tracks, etc. is done with the 'addition by subtraction' approach (adding a heavy coat and then removing excess and adjusting until the looks is right). The top hull and other surfaces get their dust coat as a very thin mix of water and pigment applied by brush so it has good control and can pool a bit where desired. For the streaking, I used a slightly dampened round 1 sable brush and drew it down in vertical strokes. The bristles then collect the pigment together and produce streaks once it air dries and this allows for some variety in the dust coat as well so it doesn't look like it just got pigment/dust blown over it uniformly.
Bob,
That's what the forums are all about! Knowledge that isn't shared is useless IMHO.
JUL 11, 2008 - 02:41 AM
Copyright ©2021 by Bill Plunk. Images and/or videos also by copyright holder unless otherwise noted. The views and opinions expressed herein are solely the views and opinions of the authors and/or contributors to this Web site and do not necessarily represent the views and/or opinions of Armorama, KitMaker Network, or Silver Star Enterrpises. All rights reserved. Originally published on: 2008-07-08 00:00:00. Unique Reads: 14975

WEB HOSTING BY


Copyright ©2021 Armorama and Kitmaker Network, a subsidiary of Silver Star Enterprises
All Rights Reserved. Please read our Conditions of Use and Privacy Policy.
All Rights Reserved. Please read our Conditions of Use and Privacy Policy.