

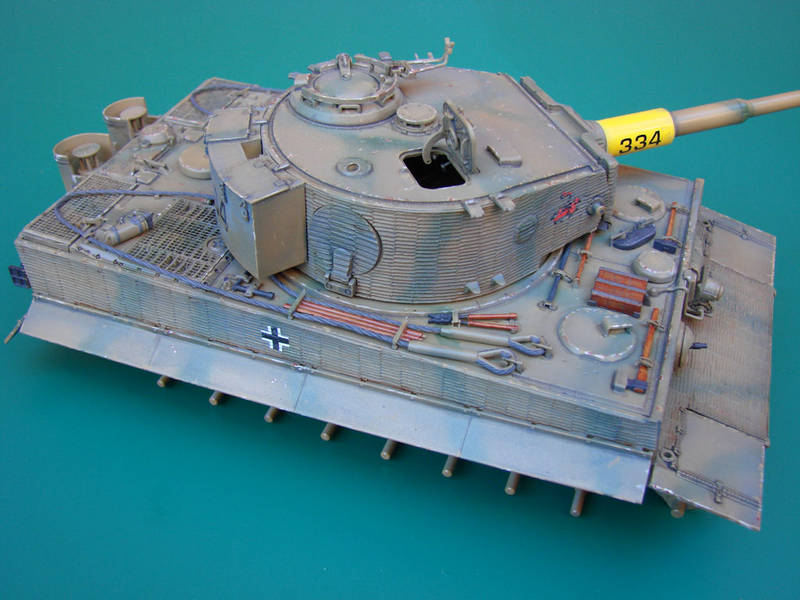
1⁄35Tiger I Late Production
3
Comments
Painting and Weathering
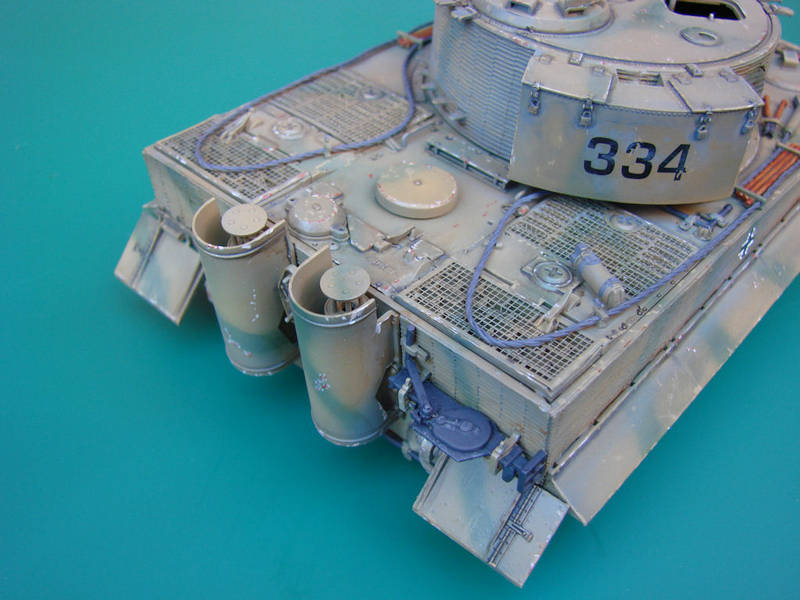
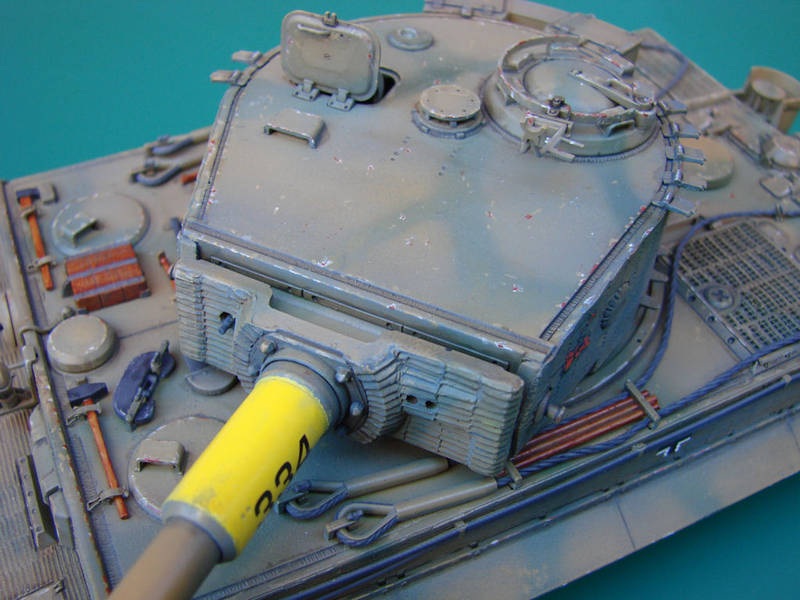
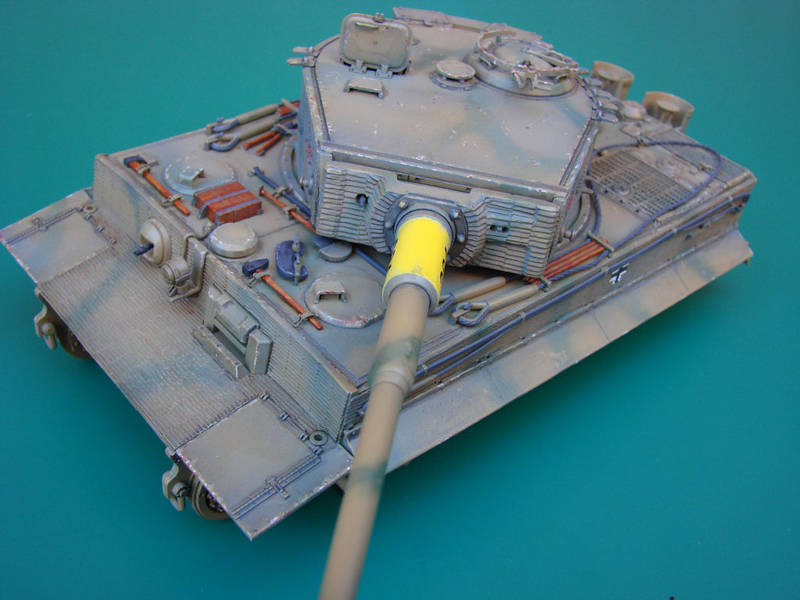
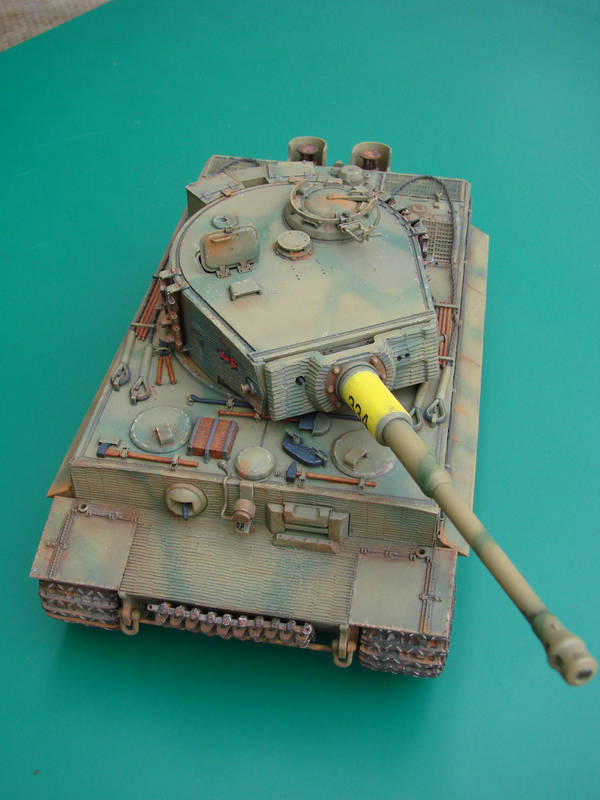
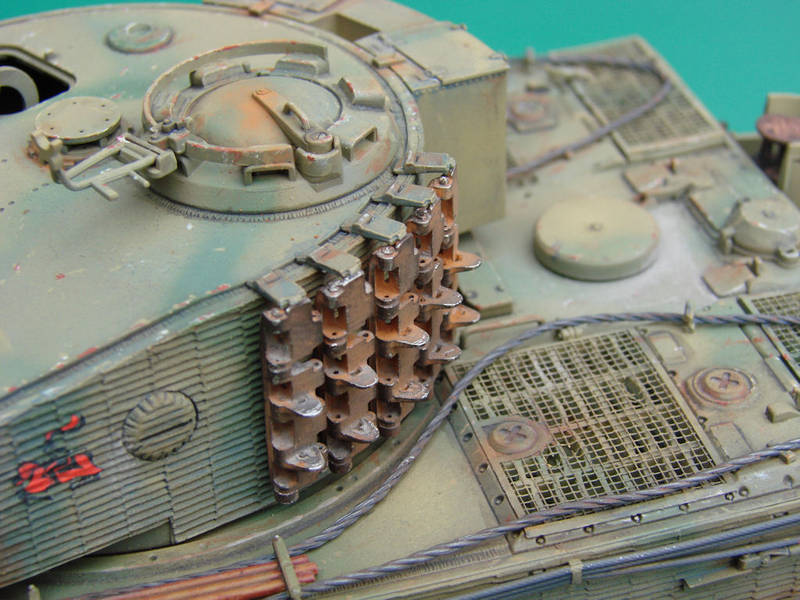
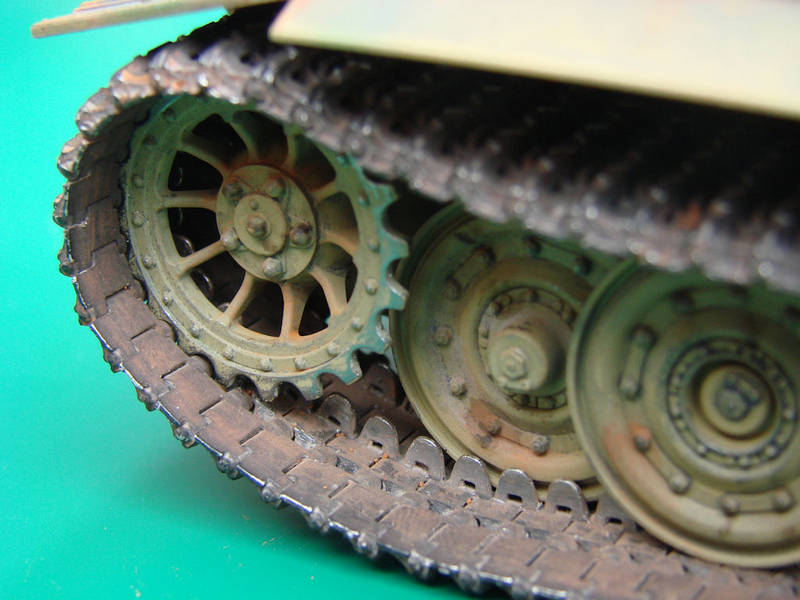
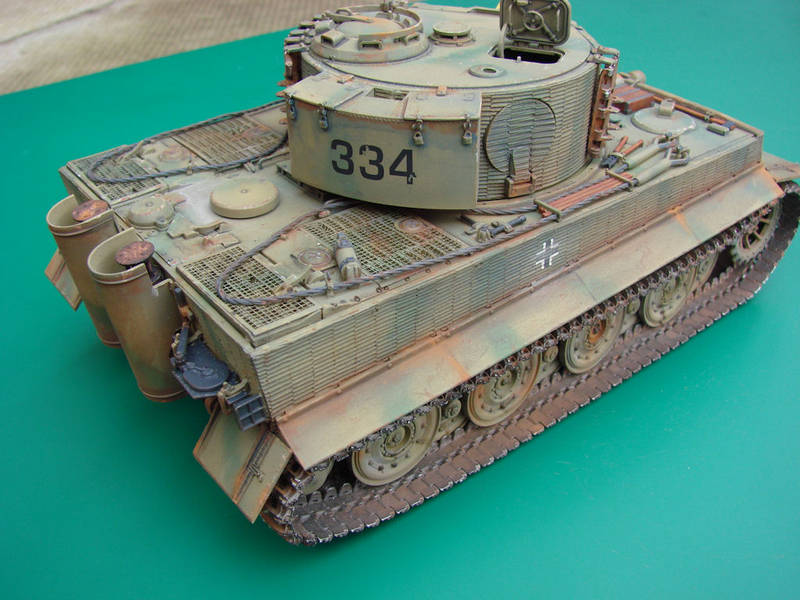
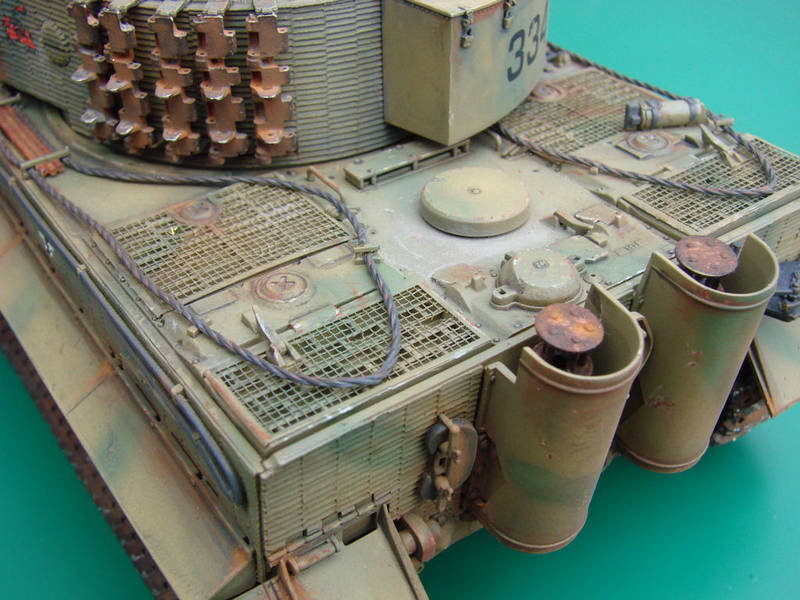
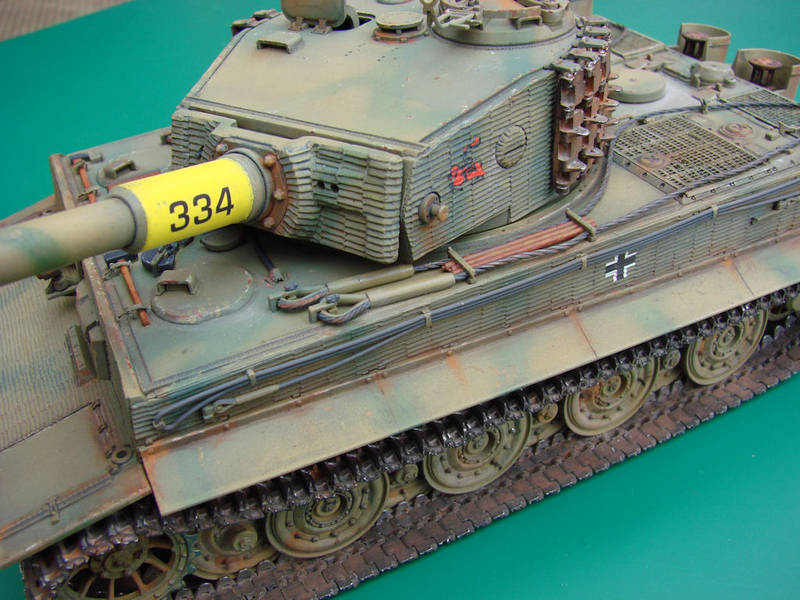
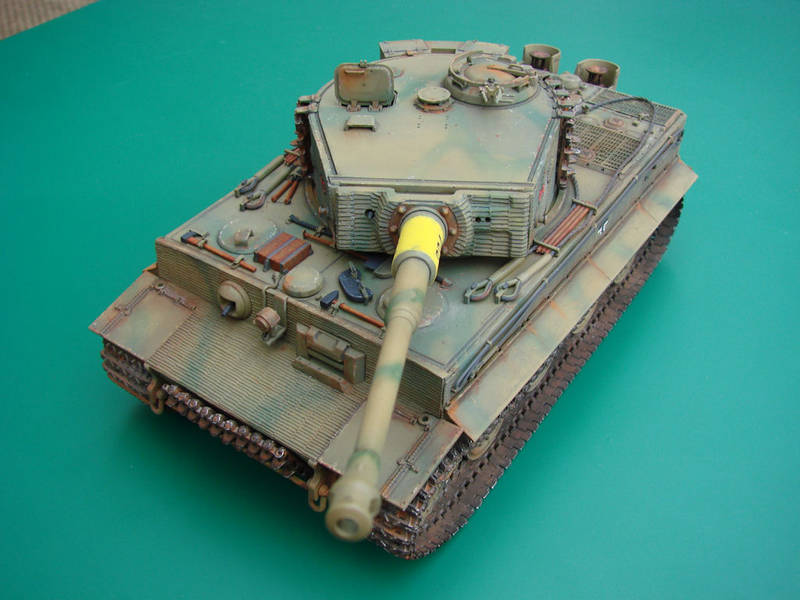
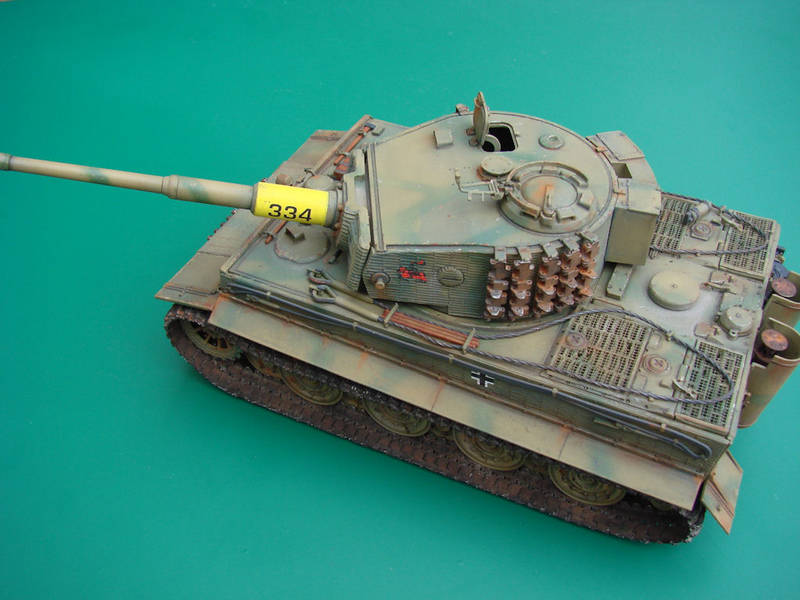
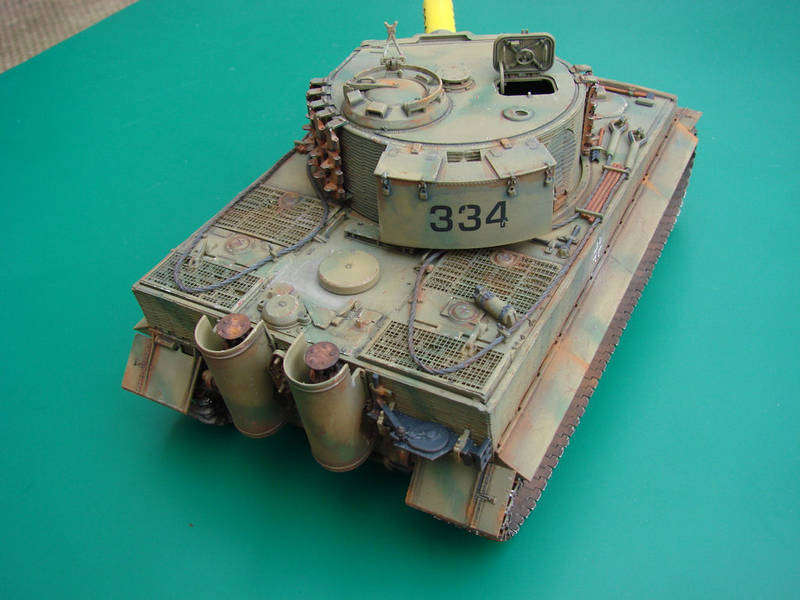
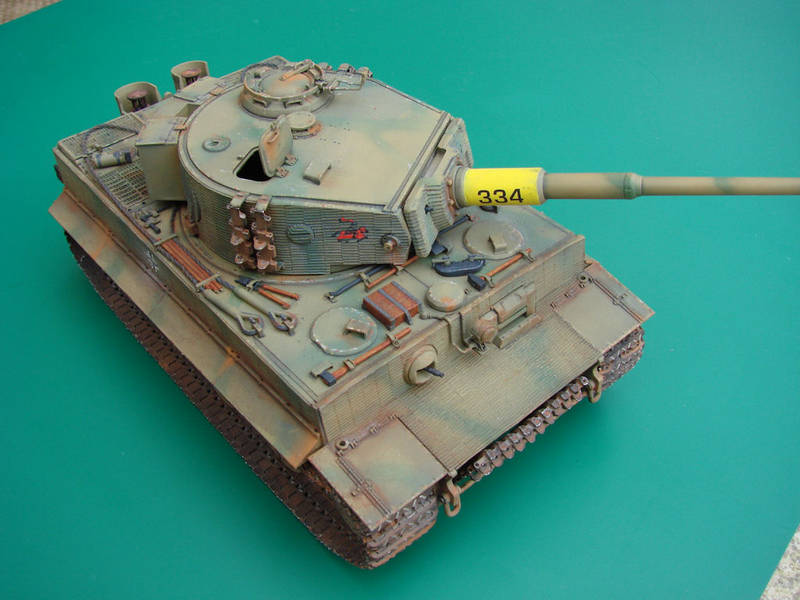
As I say, this was all new to me and the order in which I did things may go against the grain of conformity, but it seemed to work in the end. With advice I chose to go with WEM enamel. I always used enamel when I was a kid, but back then, it was all brush painted. The first thing to do though was to prime the model, and this was done with Alclad2 grey. WEM Dunkelgelb was thinned and airbrushed over the whole model (minus wheels and tracks) until a good even coat was established. WEM seems to dry quickly, so the next process could then begin, which was adding the highlights and lowlights. To achieve this, the base colour was first darkened with black enamel, and the recesses, edges of panels and other folds & creases were then sprayed to define them. Next up, the basecoat colour was treated to some white enamel before being sprayed into the centres of panels etc, to create highlights. All of this was then followed with a highly thinned coat of base colour over the whole model in order to tone down the previous light and dark effects. The overall effect was superb. After this, I added the camouflage streaks with WEM Dunkelgrun. When the whole lot was dry, several coats of Johnsons Klear were sprayed neat over the model to seal it up prior to weathering. At this point, it was obvious to me that the green was too vivid. When someone else mentioned it to, I just had to tone it down. To do this, I sprayed another highly thinned coat of Dunkelgelb over the model, and all was well with the world again. This was again sprayed with Klear to seal. I decided to filter the paint using MIG filters, and opted for the blue German armour one after advice. This gave the whole model a wonderful shade effect and made it look much more natural. At this point, I realised I actually should have decaled the model! For this I used MicroSol/Set solutions to get the decals to adhere properly, especially over the zimmerit surface. I quick filter dusting when set sorted that out. Next up was something else alien to me, namely applying washes. To do this, I used a little Winsor & Newton Griffin Alkyd oils paint (Paynes Grey and Burnt Umber) in a white spirit base. This was then run around all weld seams and other areas which needed to be enhanced, such as panel lines etc. This brought everything very much to life. Paint chips were added using neat oil paint application (over a buff chipped base) with a 000 size brush. Chips were added around areas of wear, and randomly in other areas. It was important for me not to overdo this as I am no armour expert, and I didnt want the model looking false with overkill. The tow cables were painted with Vallejo German grey and then treated with a rubbing using a block of graphite to metalise them. Tools were painted with Vallejo acrylics and oils. The wooden handles are too dark, but hey! The exhausts were painted with black oil paint and stippled with MIG pigment (rust) when they were still tacky. When the oil was dry, the pigment was brushed over the oils to leave a blotchy rust and wet oil finish. All of these are techniques which I had to ask about beforehand, or research online. At this point, I went back to the wheels which I airbrushed with Dunkelgelb, and then gave the same filtering and washes treatment to as the main machine. The rims were then treated to a rubbing with graphite to simulate wear. Runs were added from various bolts on the hubs to simulate lube leak etc. The tracks were now assembled after a wash in acetone to remove the mould release agent. I airbrushed these in Alclad2 grey primer and then in Tamiya XF1 Black, thinned 50:50 with X20A thinner. When dry, I used MIGs rust and smoke pigment set, with the Europe Dirt pigment. I took each pigment in turn and created a sludge which was then applied to the tracks and left to dry. When dry, the excess was removed with a stiff decorating brush. The road side of the tracks were gently rubbed over glasspaper in order to bear the metal on them on their raised areas. The inner side of the tracks was treated with graphite in the areas of wear. Now when it comes to mud, I simply didnt make any. I have seen so many good models with too much applied and I didnt wish to risk my model with this. The whole model, and separate wheels were now sprayed with Xtracolor Flat enamel varnish (XDFF) thinned 50:50 with white spirit. This varnish is darn good. With the model not matted down, the wheels were finally added and the tracks fitted. The glacis and hull spare track links are also now fitted. The rear idler was now moved to tension the track and a little CA dripped in with an applicator to hold the idler in position. The model was then finished in Rust and Europe Dirt MIG pigments, dry brushed to create rust streets and general weather/wear & tear.Conclusion
In all, this was a good straightforward build, and more importantly, enjoyable. As I have said, it was a testbed of many ideas and experiments for me, and it seemed to pay off. I know the model is far from perfect, but despite one harsh criticism I got, Im spurred on to try new things with future models. I recommend this kit to any modeller, let alone Tiger fan. Many thanks to all those unknown persons whose ideas I plagiarised and spent endless hours trying to figure out. I salute you all!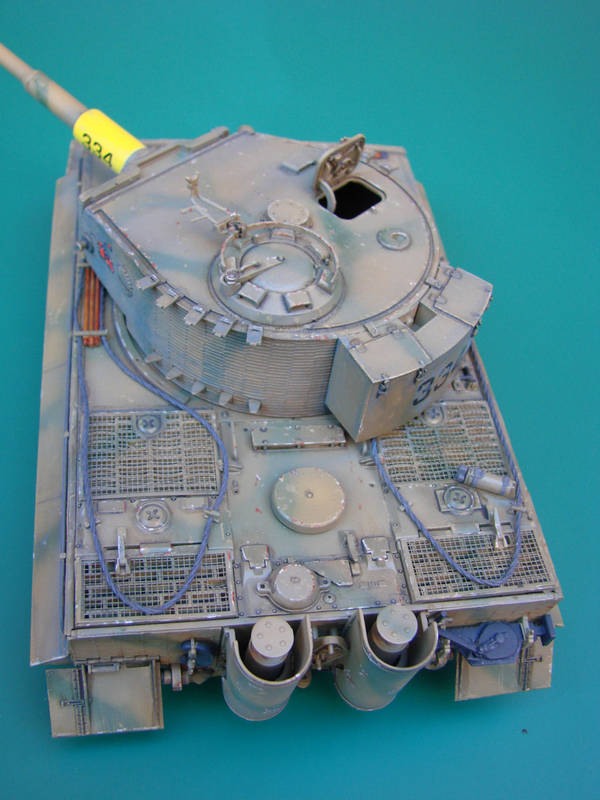

About the Author


FROM: ENGLAND - NORTH WEST, UNITED KINGDOM
I'm 47 yrs old and started modelling from about 6yrs old, mostly in plastic, but then also designing and flying scale model aircraft for Free Flight. Left the scene in the early 90's and ventured back in 2001 to build wooden period ships. Decided I missed plastic too much. Recently re-aligned my ...
Comments

Jim, you know I have the same Tiger on my workbench and I am currently applying the ATAK Zim. Although not very easy to do, I just like the quality of this Zimmerit. It was nice reading about the progression of your built. I will apply some the things that you mentioned and I hope I can get a good result close to what you have achieved.
JUN 03, 2010 - 04:16 PM
Copyright ©2021 by Jim Hatch . Images and/or videos also by copyright holder unless otherwise noted. The views and opinions expressed herein are solely the views and opinions of the authors and/or contributors to this Web site and do not necessarily represent the views and/or opinions of Armorama, KitMaker Network, or Silver Star Enterrpises. All rights reserved. Originally published on: 2008-11-30 00:00:00. Unique Reads: 33791

WEB HOSTING BY


Copyright ©2021 Armorama and Kitmaker Network, a subsidiary of Silver Star Enterprises
All Rights Reserved. Please read our Conditions of Use and Privacy Policy.
All Rights Reserved. Please read our Conditions of Use and Privacy Policy.