

1⁄16Trumpeter M16 Halftrack
5
Comments
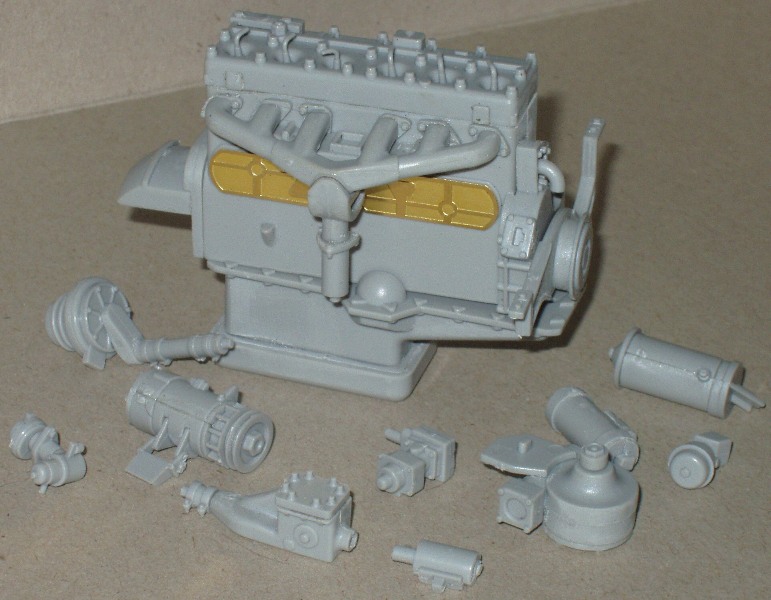
The Engine
The well-detailed 6-cylinder engine is really the jewel in this kit, with only some sparkplug leads needed to make it gleam. The engine, a kit in itself, is covered in Steps 2 through 6. I spent a whole day on mine. Part W26 (the engine exhaust manifold) is correctly moulded with a noticeable casting seam dont completely sand that off! Part W37, however, must be shaved-down to attach in a straight vertical plane, and still meet the exhaust pipe later (in Step # 7). Also, the locating lug on part W8 (engine timing cover) must be trimmed considerably before attaching to the engine, as does Z41 and Z42 these parts were slightly warped.
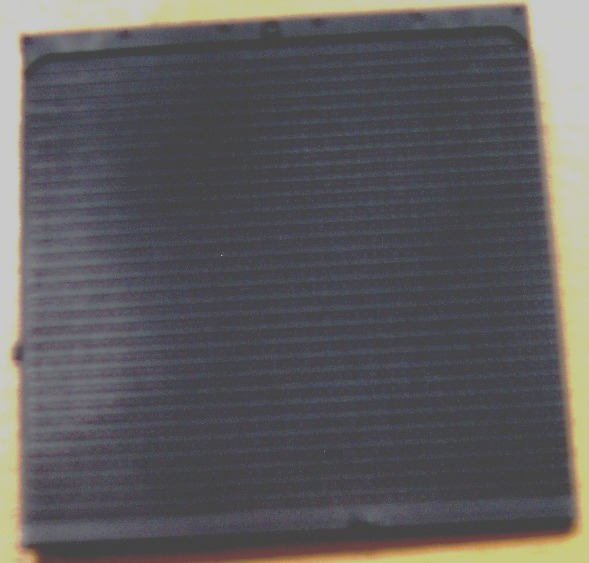
No fan belts (they are twin belts) are provided - I used 1/16 masking tape. Photo-etched tappet covers for the engine give nice detail. The air cleaner is well done, finished with PE clamps. The hose clamps on the engine plumbing are all present, but suffer from unfortunate placement of the mould seams. The radiator cooling fan is a single PE part, but the fins should be slightly twisted at about a 30 degree angle look under the hood of your car, to give it a realistic look. One of the kits glaring weaknesses is the lack of a radiator. I cut a piece of 3 mm plastic card to fit inside the shroud (partW48), covered it with plastic mesh, and added a bit of trim. The engine firewall is nicely finished with air cleaner and voltage regulator -both with PE brackets. Almost everything in the engine bay, including the engine itself, was originally painted in OD green, but would of course be quickly covered in black goo.
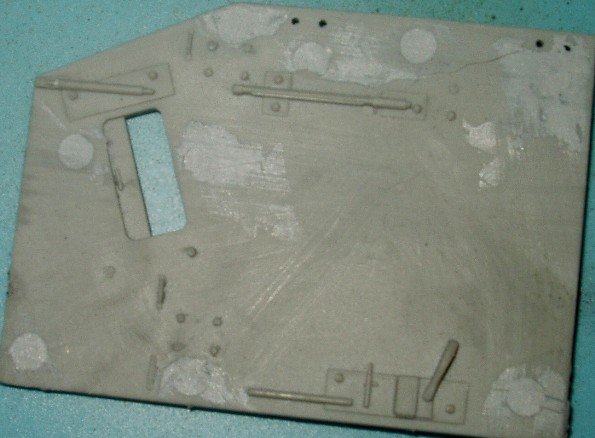
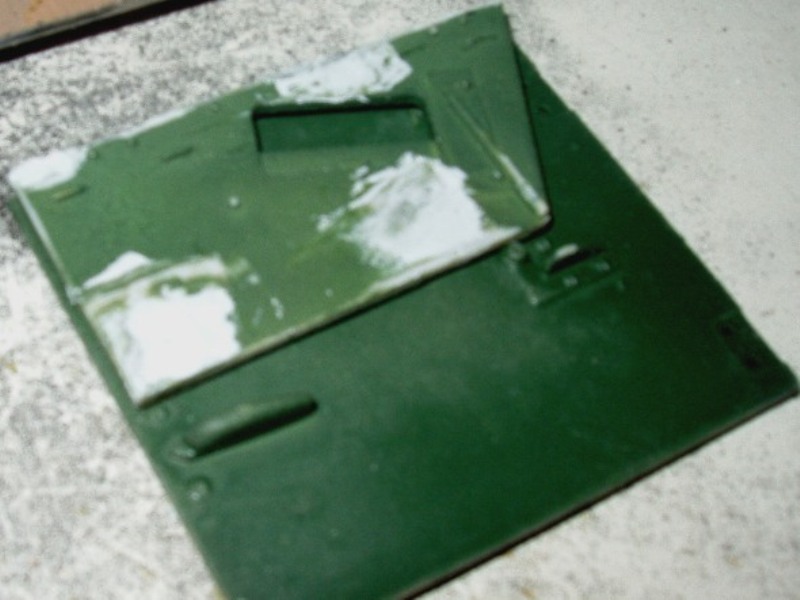
The Cab
In the cab there are plenty of sinkholes and injector pin marks, though few will be visible after assembly -the exception being numerous and large marks on the interiors of the doors, which are visible. The cab doors are moulded as one-piece units. Slotted screws festoon the M16, though they are not of the correct dome shape in this kit.
I carefully scored through the molded joint to portray the top half of the cab door in the folded-down position.
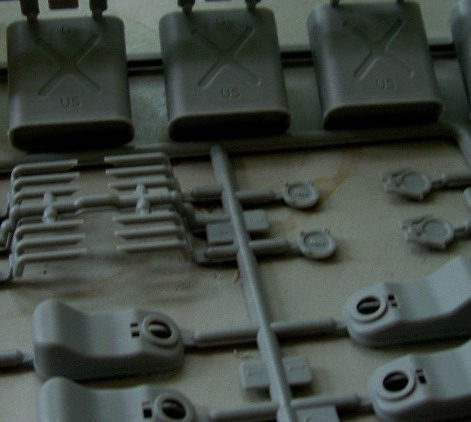
Two potable U.S. water cans with flip-up lids and two jerry cans with screw-type caps are included. The solid racks and straps for these are PE parts and look correct. The side-view mirrors can be omitted they were never mounted on wartime halftracks.
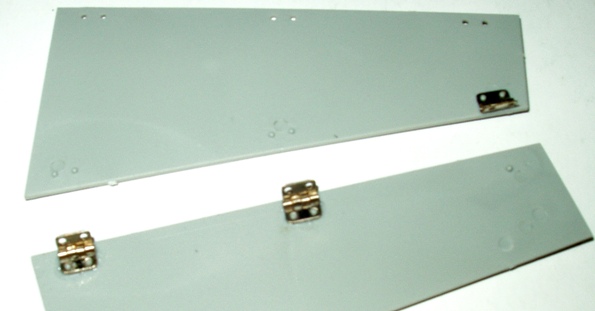
The hood (bonnet) is in separate pieces with working hinges, allowing that beautiful engine to be displayed. Sadly, the bonnet lifting handles lack any detail. Be sure to work the stiffness out of those hinges before installing, and use nothing but a minute drop of gel type super glue. After cementing the hinges in place, the instructions would have you pin parts J7 through the holes in the hinges, into the bonnet as scale bolts -an impossible and tedious idea. I used some 2mm lengths of wire to line up a couple holes on each hinge, with the corresponding holes in the bonnet. Its the same operation for the cab door hinges.
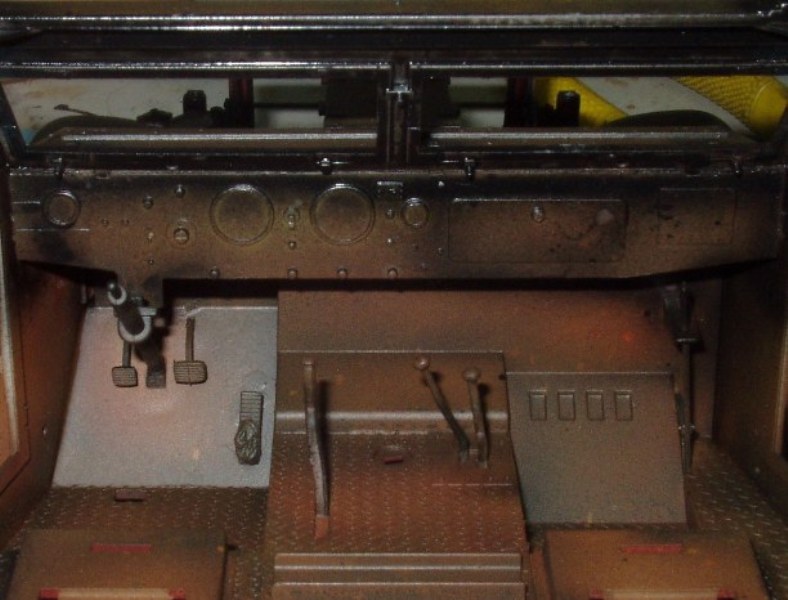
The radiator louver actuating lever in the cab is poorly represented, but a new one is easily scratch-built (Fig. 8).
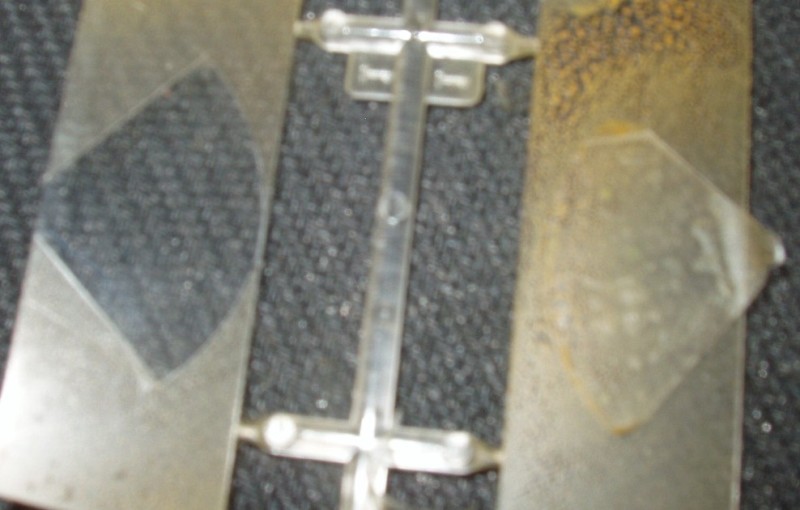
To weather the windscreens, I carefully cut a mask from cello tape, roughly in the shape of an arc left by a sweep from the windscreen wiper. I then lightly sprayed a transparent wash of watercolor mud onto each glass pane (using the same mask) to replicate dirty windscreens.
When installing the windscreen glass, I didnt use glue. I just brushed black Testors paint (scale glazing mastic) into the frames (E1), let it set-up for 30 minutes, and dropped the clear panes in. The armored radiator louvers are molded as one-piece (in the open position). The canvas seats, including the gunners seat, were painted a greenish khaki color. Instruments are a brushed aluminum color on museum vehicles, but black-faced gauges with white numerals are correct. The kit provides decals with white faces.
About the Author


FROM: TAIPEI, TAIWAN / 台灣
From B.C., Canada. Living in Taiwan for past several years. I've been building kits for as long as memory serves -armor, aircraft, cars. Big fan of 1/16th scale armor kits. Currently serving as poster boy for working with CA adhesives in a well-ventilated area. My first kit was the positively awful ...
Comments
Thank you Ted,for the write up. I too made those fixes you described.
I made my own gun solenoids,and used images from Hunnicutt's halftrack book,to lead the wires into the mount.
My track is a bit tighter around the running gear,I hid the "joint" in the sprocket area. Also,I used fine fishing line to tie down the track to the sprocket and idler,this helped the overall view.
I noticed there was a top radiator hose,but no lower.The connection point on the engine is there,so I made one from a piece of wire which had black insulation on it. Also I had to fabricate an adjustment bar for the generator,as there was none on the engine.
I suppose for the missing ammo belts,a series of round sections of styrene rod,or stretched sprue glued side by side would be good to use as a substitute.
JUN 11, 2009 - 11:36 AM

Very awesome build and write-up! I couldn't read the whole article tonight, but what I saw I did like and saved it to my favorites. I also am into 1/16th kits and have been eyeing this one for awhile and can't decide on it or waiting for the R/C version, which is slated to be released later this year.
Lots of tips so thanks for sharing it with us!
JUN 11, 2009 - 01:18 PM

Not to detract from the amazing work done on this huge model, but the 50th Artillery Battalion (Automatic Weapons, Self Propelled) did exist. There are a number of references to this unit in Korea. It would have been equipped with the M16 during that time frame as well.
Also the M55 designation applied only to the M45C mount + the M20 trailer.
Regardless, this is a truly impressive piece and thanks for sharing.
JUN 12, 2009 - 04:12 AM
Thank you!!!!
I've been looking for one of these blogs, good job Ted.
We still have the track problem, anybody find a good way around this?
Dan
JUN 12, 2009 - 11:43 AM

I'm very surprised that the AM folks haven't jumped to produce extras for this kit. It's many flaws aside, it still has no rivals in this scale. I was shocked. however, to see how much it's selling for in your part of the world. For my money, I'd rather save-up and get the 1/16th King Tiger instead -far better value-for-money!
JUN 12, 2009 - 03:32 PM
Copyright ©2021 by Ted Hayward. Images and/or videos also by copyright holder unless otherwise noted. The views and opinions expressed herein are solely the views and opinions of the authors and/or contributors to this Web site and do not necessarily represent the views and/or opinions of Armorama, KitMaker Network, or Silver Star Enterrpises. All rights reserved. Originally published on: 2009-06-11 00:00:00. Unique Reads: 27080

WEB HOSTING BY


Copyright ©2021 Armorama and Kitmaker Network, a subsidiary of Silver Star Enterprises
All Rights Reserved. Please read our Conditions of Use and Privacy Policy.
All Rights Reserved. Please read our Conditions of Use and Privacy Policy.