

1⁄16Trumpeter M16 Halftrack
5
Comments
Painting/ Decals
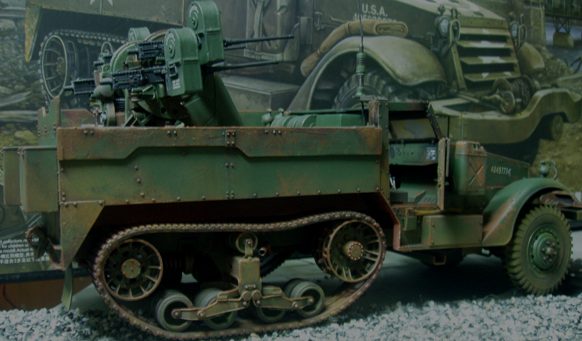
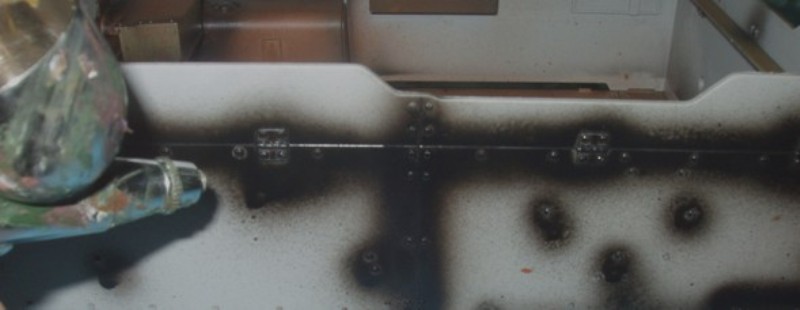
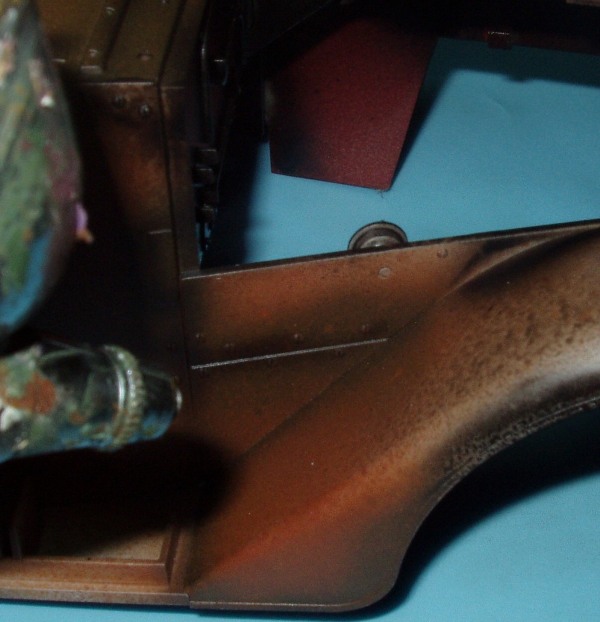
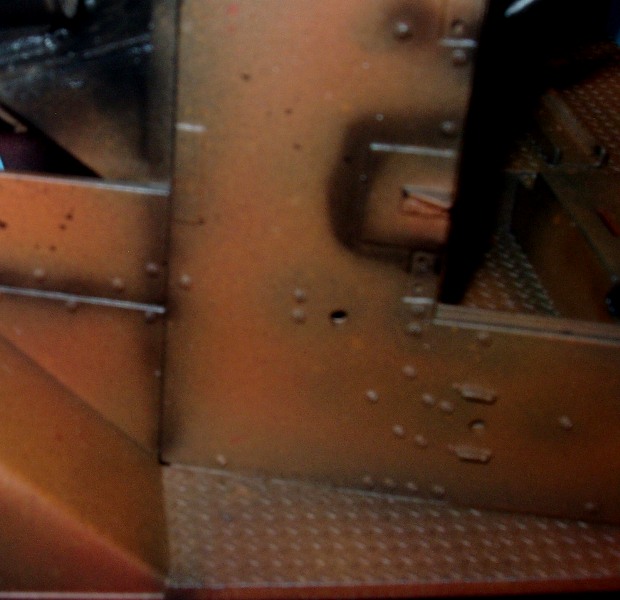
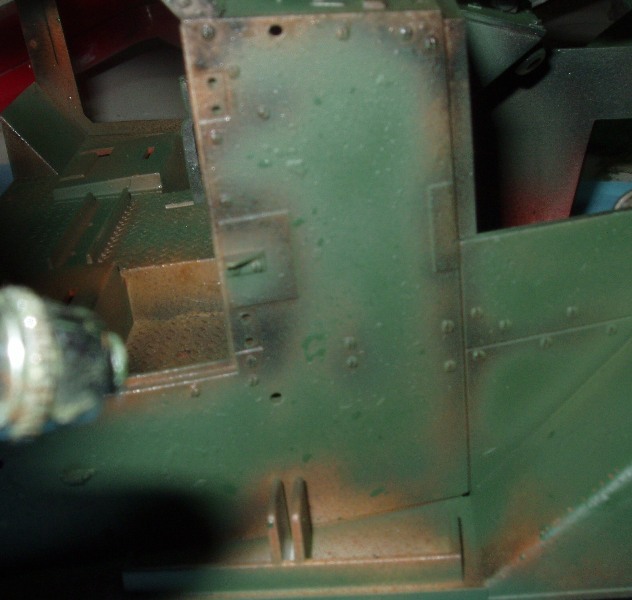
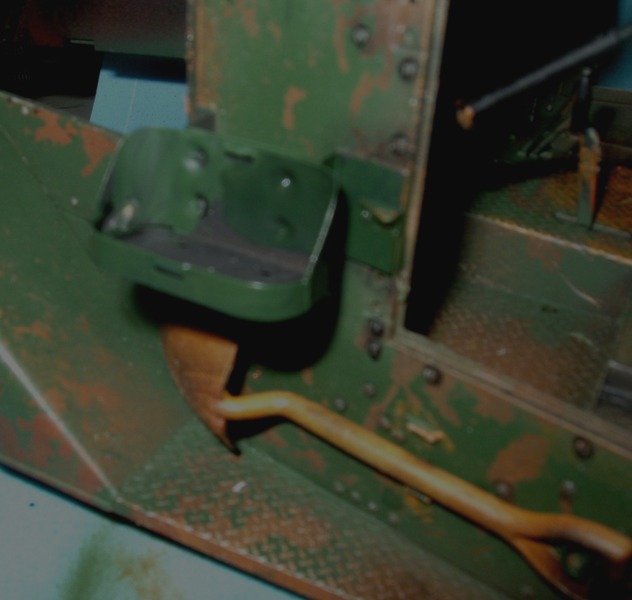
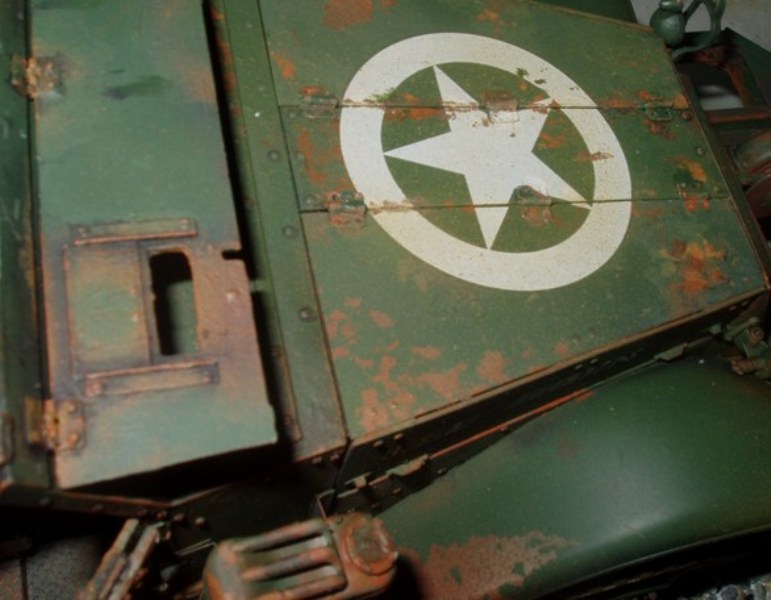
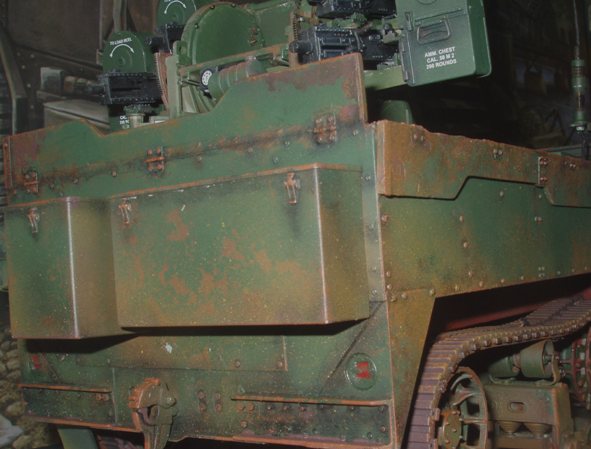
I wanted to depict an M16 of the 447th AAA (AW) Bn, 28th U.S. Infantry Div, during January of 1945. The decals provided in the kit include markings for the 50th AAA Bn, a unit that didn't exist! You can probably tell I like to paint everything as I go. It gives me inspiration to press-on during a big project. An airbrush will be essential my favorite being a stripped-down Iwata HP-C. Ive had the same results with Tamiya acrylics or enamels, or a combination of both. The first painting step is the "pre-shading". Much has been said about pre-shading. This is a fancy way of saying you paint all the edges, recesses, and any raised detail with a dark colour (never pure black) first. None of the successive latter coats of paint will completely cover this initial dark colour. Step two involves depicting rusted metal visible under a flaking, failing topcoat of the vehicles OD green (Tamiya XF-58). Looking closely at a rusted surface, youll notice varying hues of colour, from oxide yellow to almost blackish-brown. I found that decreasing the air pressure at the airbrush to below 20 PSI causes the paint to spatter and fleck in an irregular pattern a very convincing representation of rust. For this step, I use thinned-down, and thus slightly transparent, acrylics. Each coat is a slightly different colour of spatter, none so opaque that it completely covers the previous layer. Take care to not obliterate your previous pre-shading. Liquid mask is sold at most art retailers. Its much like rubber glue, and is applied in a random pattern using torn pieces of Scotch-Brite scrubbie pads. I concentrated the liquid mask on areas that get obvious wear and paint failure. Dont get too carried away; its easily over-done. Give the mask a good hour or so to dry, and youre ready for your topcoat. Again, dont completely cover all that pre-shading. A steady hand and firm control will be essential. I thus remove the crown cap and rear needle protector altogether from my airbrush. I never seem to give this final coat enough time to fully dry Im like a kid who cant wait to tear open Christmas presents, madly rubbing away the masking to reveal my masterpiece. You can gently use some of that Scotch Brite for removal in nooks and corners it leaves convincing scratches. Dont remove all the topcoat! Remember that you can touch-up any areas with more topcoat colour that look over-done later. I even leave a little masking in places it looks just like a layer of old, blistering paint. This method is very appropriate for a big-scale kit. It really doesnt take long, but I find its much easier to do to each sub-assembly, rather than to a completed model. After coating the whole model with a layer of clear, youre free to apply conventional ink or oil-colour washes, but I feel doing so gives the model an over-worked appearance. A final dry brushing with acrylics will be enough. Decal application was simple enough my M16 merely bears the US recognition star on the hood. The white stars on vehicles flanks were always painted-out by the latter part of the War, as they provided handy aiming references for German gunners.Conclusion
This kit just doesnt boast the same attention to detail and value-for-bucks as the big Trumpeter T-34 kits. One is left with the impression of a product which was rushed to market a little half-baked. While some aspects are well done the engine and metal chassis rails, other areas of the kit seem to have been produced by a different design team: * No cable, wiring, or plumbing is provided. * Details of the engine distributor are lacking (no plug wires) * The carburetor detail is also soft. In step 21, the moulded-on clasp detail must be removed before attaching PE clasps onto the stowage boxes (F6, F20, F36). The amount of flash and injector pin marks is already excessive, without having to do this extra sanding! * The radio is incorrect * The winch cable is merely a piece of string Im sounding ungrateful, I know. The end product does provide an excellent basis for scratch-builders, however.Thanks and Reference
My sincere thanks to MPK Hobbyworld in Taipei for their excellent and timely customer service ReferencesReviews
1/16 M16 MGMC Review by Chris Hughes [ TOADMAN1]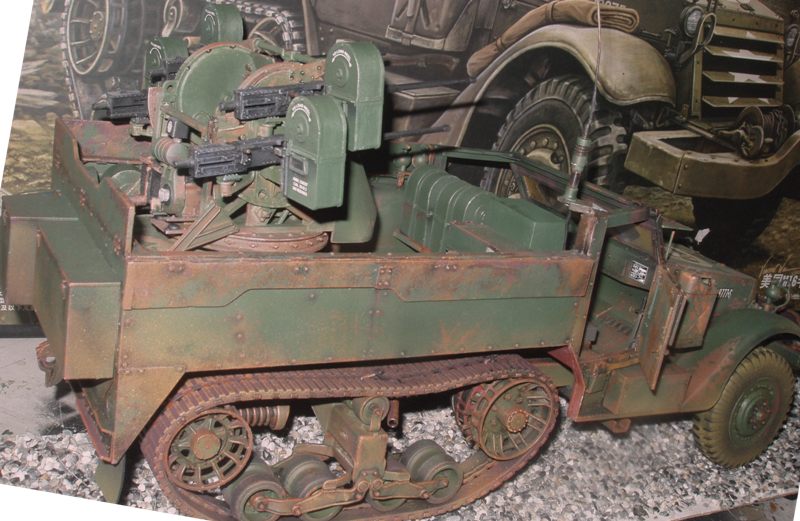
About the Author


FROM: TAIPEI, TAIWAN / 台灣
From B.C., Canada. Living in Taiwan for past several years. I've been building kits for as long as memory serves -armor, aircraft, cars. Big fan of 1/16th scale armor kits. Currently serving as poster boy for working with CA adhesives in a well-ventilated area. My first kit was the positively awful ...
Comments
Thank you Ted,for the write up. I too made those fixes you described.
I made my own gun solenoids,and used images from Hunnicutt's halftrack book,to lead the wires into the mount.
My track is a bit tighter around the running gear,I hid the "joint" in the sprocket area. Also,I used fine fishing line to tie down the track to the sprocket and idler,this helped the overall view.
I noticed there was a top radiator hose,but no lower.The connection point on the engine is there,so I made one from a piece of wire which had black insulation on it. Also I had to fabricate an adjustment bar for the generator,as there was none on the engine.
I suppose for the missing ammo belts,a series of round sections of styrene rod,or stretched sprue glued side by side would be good to use as a substitute.
JUN 11, 2009 - 11:36 AM

Very awesome build and write-up! I couldn't read the whole article tonight, but what I saw I did like and saved it to my favorites. I also am into 1/16th kits and have been eyeing this one for awhile and can't decide on it or waiting for the R/C version, which is slated to be released later this year.
Lots of tips so thanks for sharing it with us!
JUN 11, 2009 - 01:18 PM

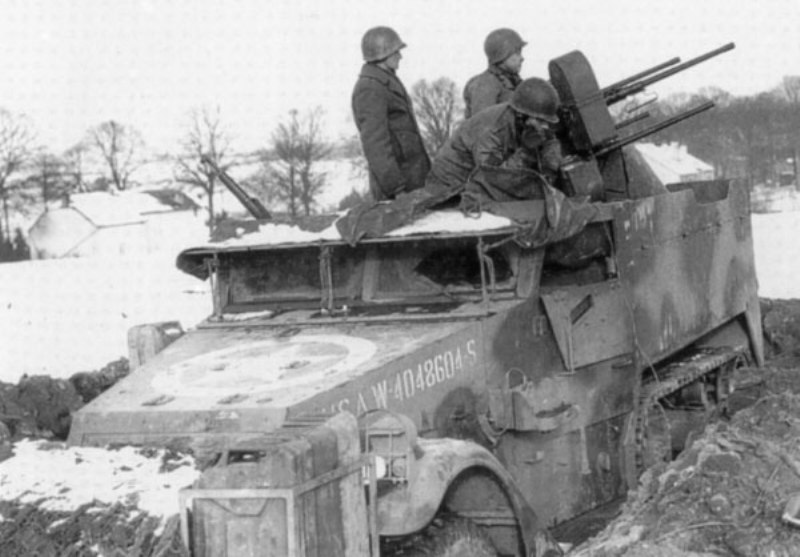
Not to detract from the amazing work done on this huge model, but the 50th Artillery Battalion (Automatic Weapons, Self Propelled) did exist. There are a number of references to this unit in Korea. It would have been equipped with the M16 during that time frame as well.
Also the M55 designation applied only to the M45C mount + the M20 trailer.
Regardless, this is a truly impressive piece and thanks for sharing.
JUN 12, 2009 - 04:12 AM
Thank you!!!!
I've been looking for one of these blogs, good job Ted.
We still have the track problem, anybody find a good way around this?
Dan
JUN 12, 2009 - 11:43 AM

I'm very surprised that the AM folks haven't jumped to produce extras for this kit. It's many flaws aside, it still has no rivals in this scale. I was shocked. however, to see how much it's selling for in your part of the world. For my money, I'd rather save-up and get the 1/16th King Tiger instead -far better value-for-money!
JUN 12, 2009 - 03:32 PM
Copyright ©2021 by Ted Hayward. Images and/or videos also by copyright holder unless otherwise noted. The views and opinions expressed herein are solely the views and opinions of the authors and/or contributors to this Web site and do not necessarily represent the views and/or opinions of Armorama, KitMaker Network, or Silver Star Enterrpises. All rights reserved. Originally published on: 2009-06-11 00:00:00. Unique Reads: 27080

WEB HOSTING BY


Copyright ©2021 Armorama and Kitmaker Network, a subsidiary of Silver Star Enterprises
All Rights Reserved. Please read our Conditions of Use and Privacy Policy.
All Rights Reserved. Please read our Conditions of Use and Privacy Policy.