

1⁄35Chevrolet C8A HUW
10
Comments

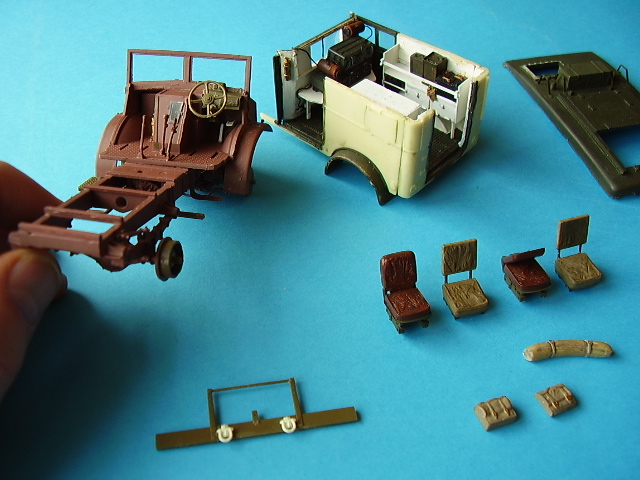
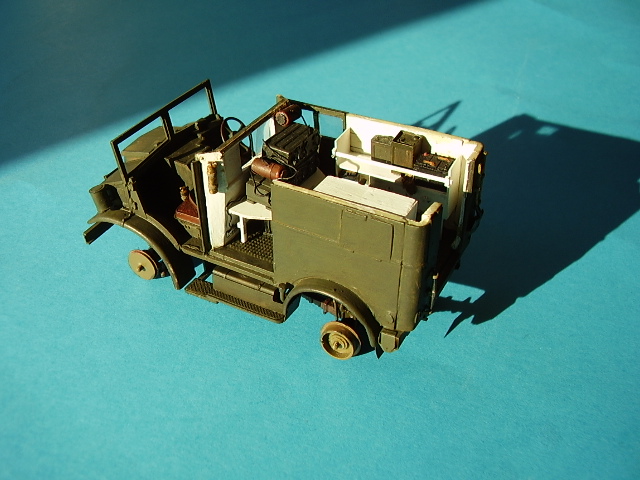
Converting the Italeri 15cwt Chevrolet Kit
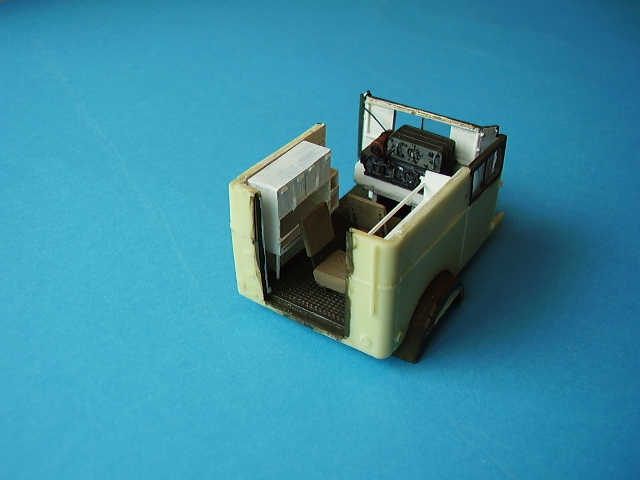
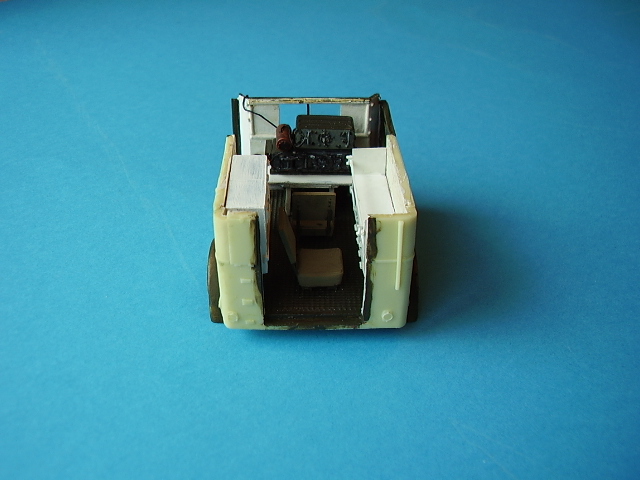
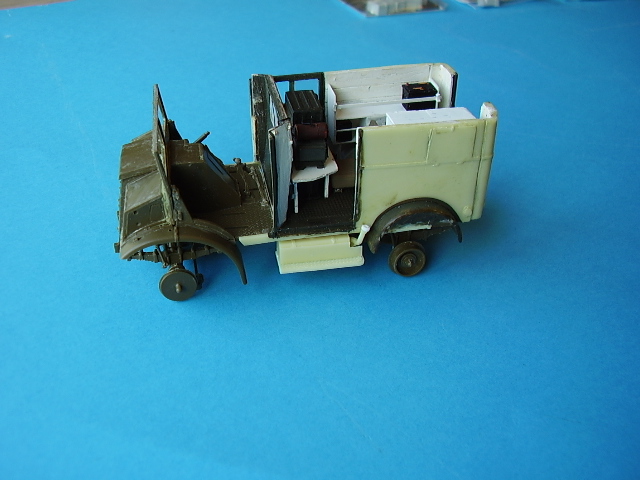
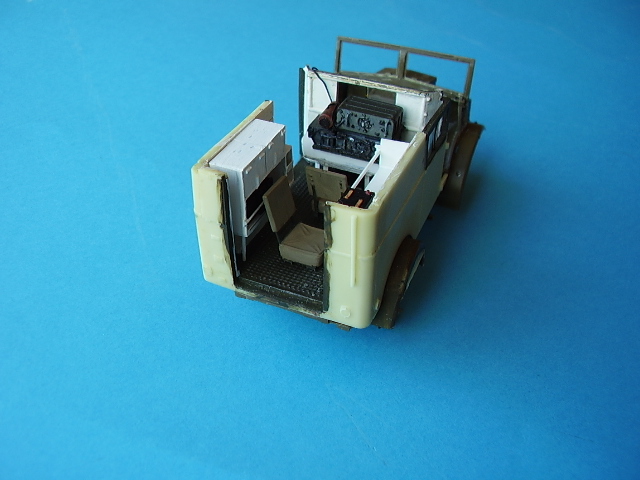
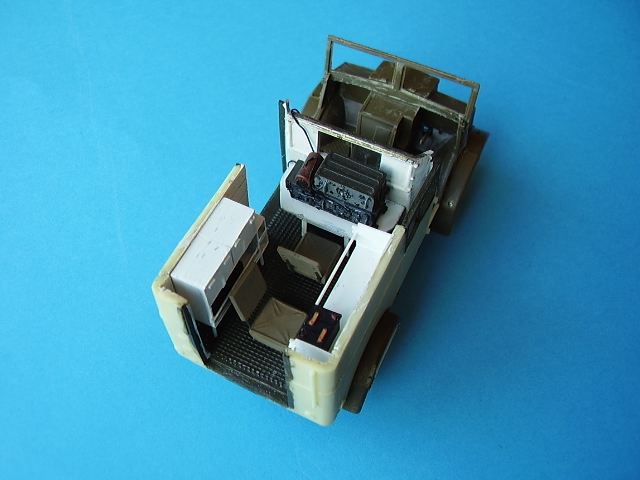
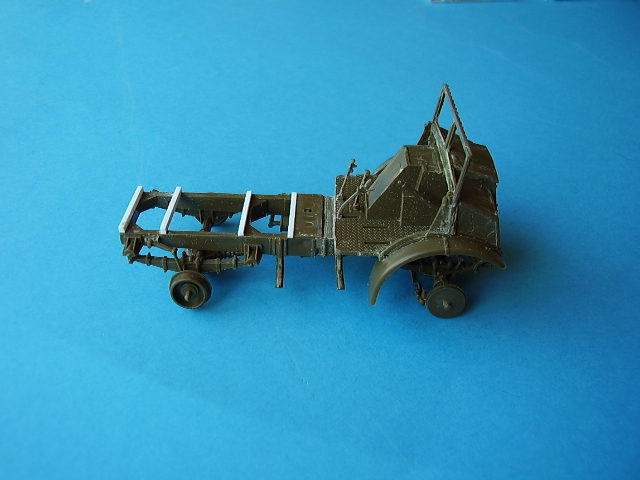
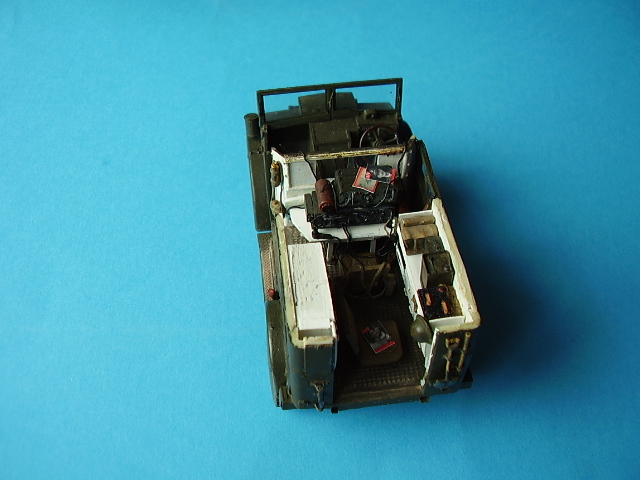
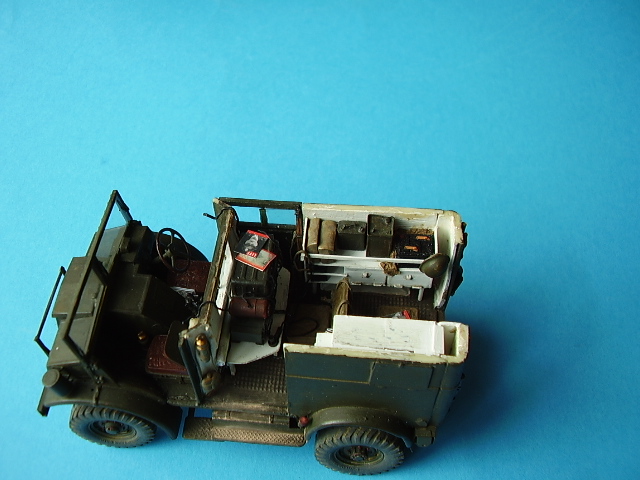
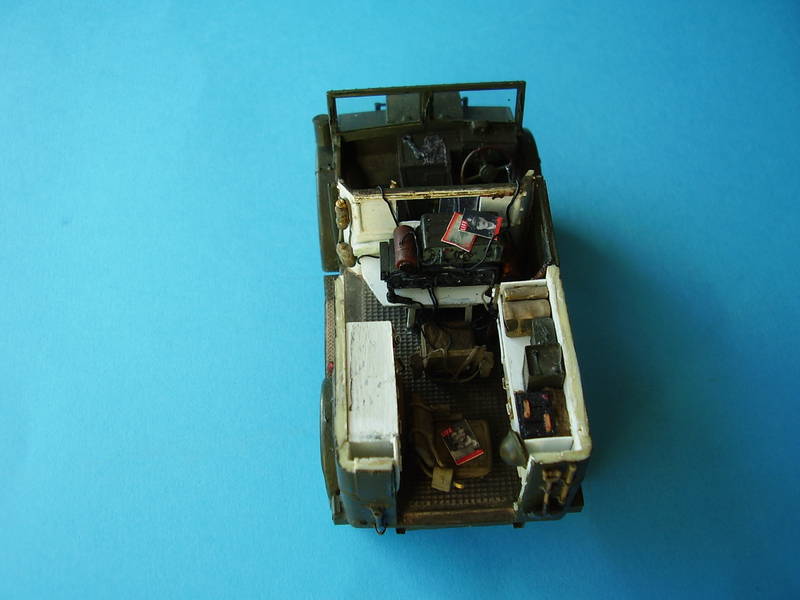
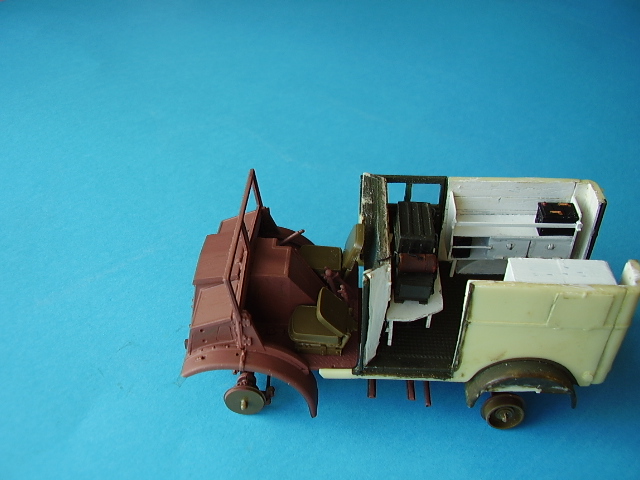
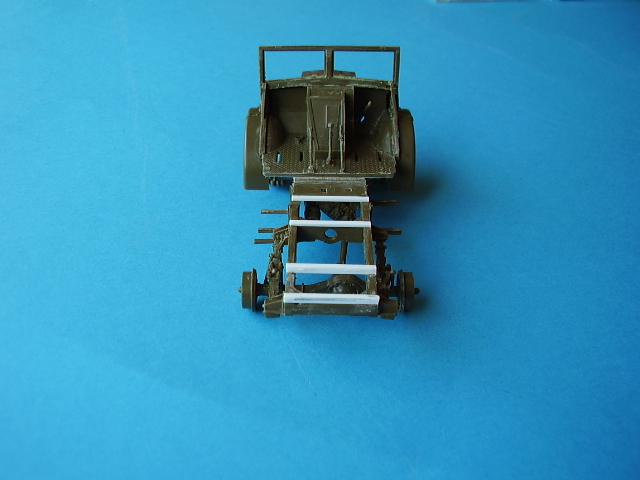
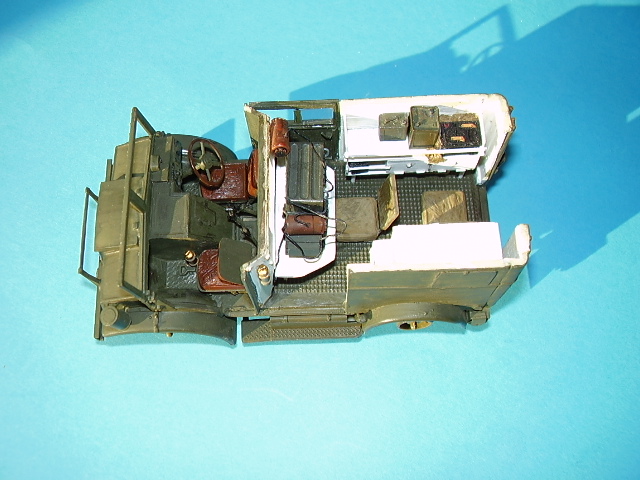
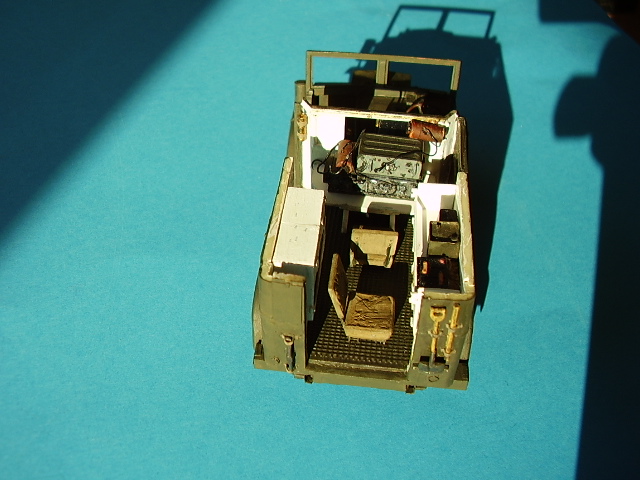
This is the old Italeri 1/35 15cwt Chevrolet truck kit. It needed some adjustments done to the chassis frame firstly by cutting off the rear end thus squaring it up and by removal of the 4 locating pins for the tilt. This was a fairly simple job: some cutting and filing being required. The Plus Model instructions recommend that you fit the replacement cab to the chassis. This didnt sound right to me so I consulted the Oracle aka Mr Roo who confirmed my idea of mounting it on cross beams. There should really have been wooded fillers placed between the beams but I left these out in case my plan went wrong and I had to cut the whole deck off and start again. Another reason I didnt want to follow the conversion instructions was that this would have meant removing the 2 securing points under the drivers cab thus loosing the one fixed point of reference. I was concerned that the kit would sit too low, if I joined it directly to the chassis. I therefore added 4 cross beams from plastic strip to support the RT cabin building them up to the correct height and alignment of the drivers cab. Alterations also have to be made to the drivers cab floor. According to the conversion instructions, this has to be shortened by 3mm and cut off 1.5mm strips on each side. In reality what needs to be done here is that the drivers cab needs to be shortened a little bit more because, and this is the important bit, the set of the drivers doors determine where the 2 cabs should be joined. A lot of test fitting, filing and alterations are needed here to get the correct length so be prepared to spend a good deal of time getting this correct. I had acquired the PE set for the Italeri Chevrolet Gun Tractor and decided to use a number of pieces on the Italeri cab. I added the engine rear cover door, engine rear cover door left side and also a fire extinguisher from the Tamiya Bren carrier. I choose to show the passengers seat folded forward and added the 4 small window adjustment handles to the inside of the front screen after I had added the window. Again I tried to make the seats a bit more interesting and real looking by adding some Milliput. On the outside of the cab I added the small round and PE bracket to the condenser(?) on the LHS and also added the wipers in PE. I made pedals for the drivers compartment from plastic strip and rod and thinned down all the gear leavers, and brake handle and side mirrors. When all was done I added an ammo box to the passengers side, a small pack, map and pin up for the driver, plus an oily rag and spanner on the dash board. I cut the windows off, as these were removable in the vehicle, I plan to wrap the tops in canvas and store them behind the seats, but this has not happened yet. The other alteration that needs done to the truck is on the front bumper. You need to remove the tow fittings and replace them with the conversion kit supplied ones. I also added 2 small PE fittings to the bonnet.Joining the two kits
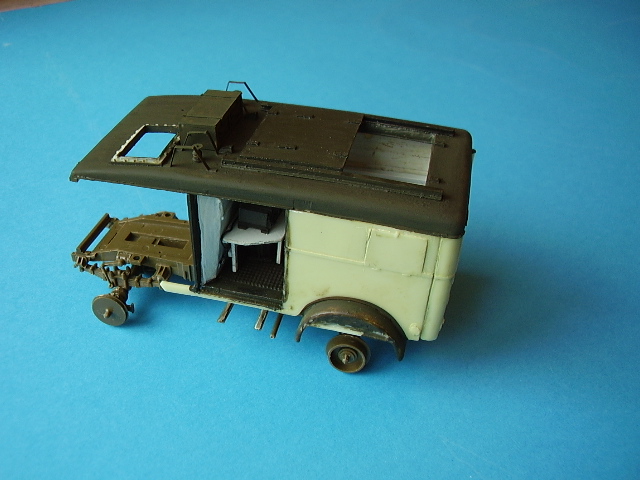
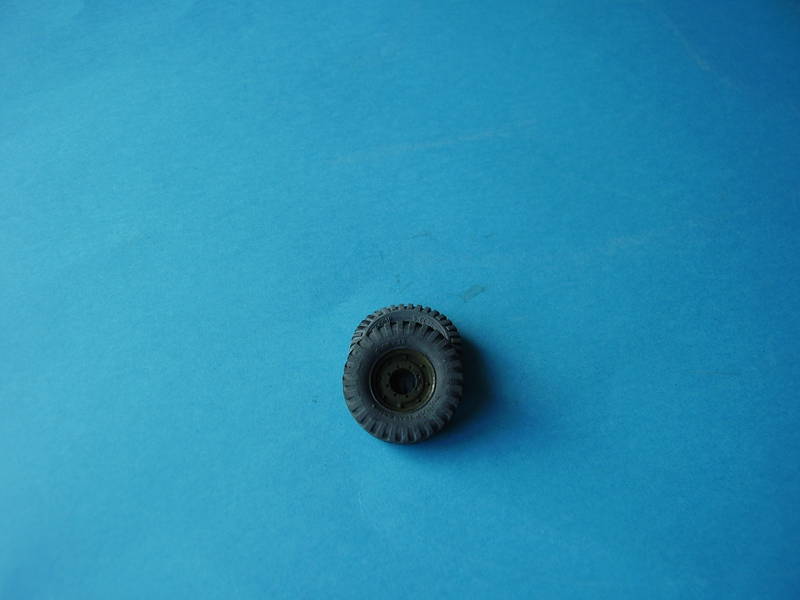
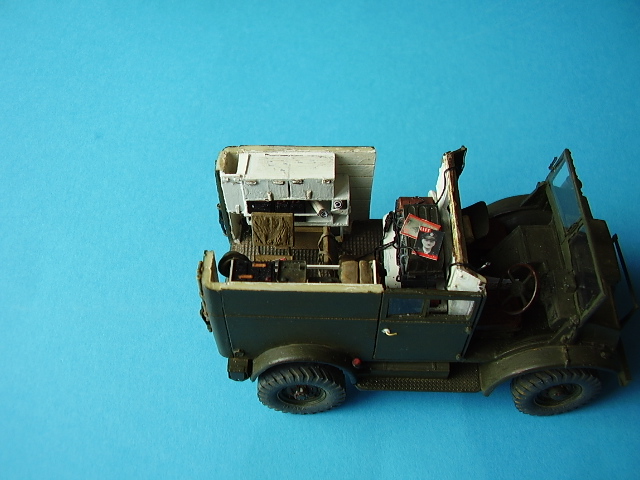
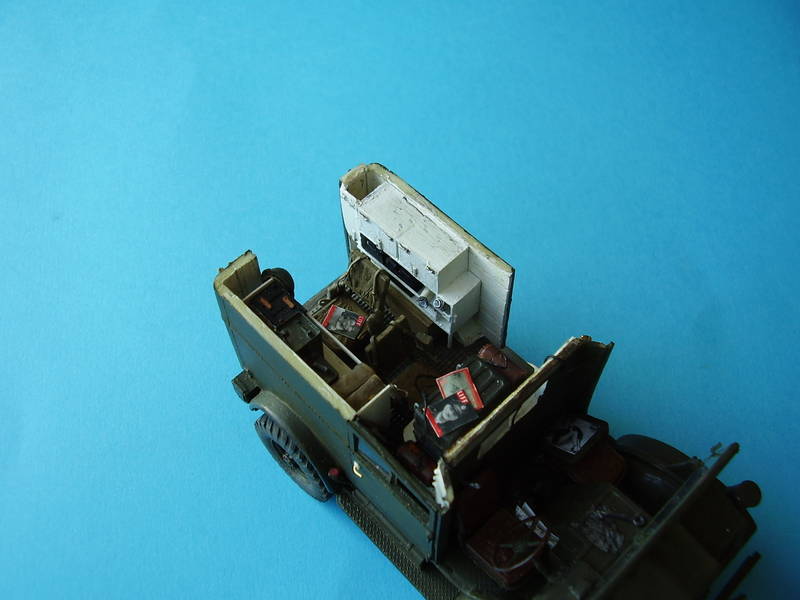
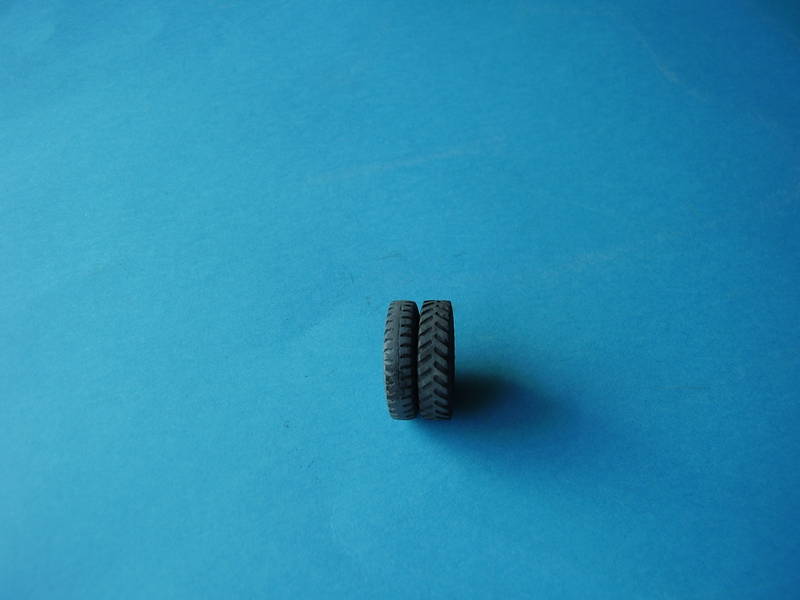
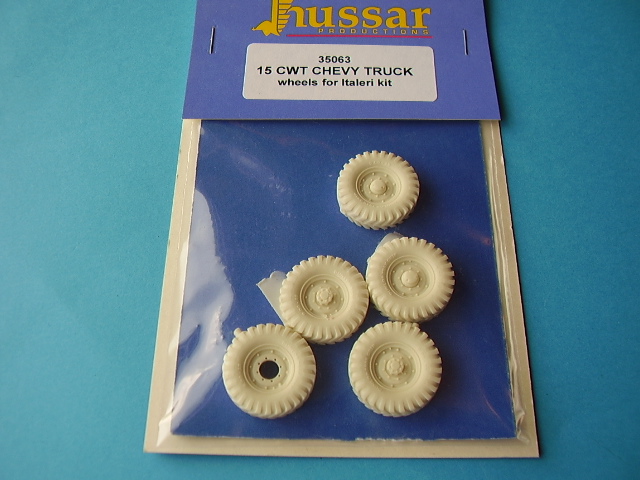
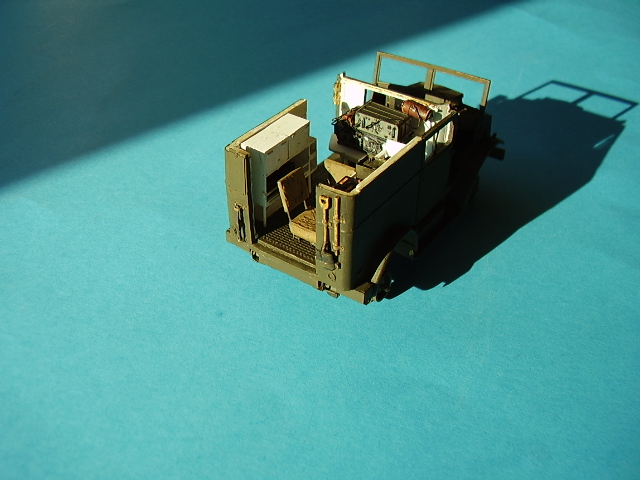
This is the most tricky bit of the build. The temptation is to use the roof as a guide, but in fact as mentioned you need to set the drivers doors in place, in my case temporarily, to get the correct length. As I had used the fixing points for the cab floor I had a good starting point and filed and adjusted both the rear of the cab floor and the connecting RT cabin until I got the correct fit. The end of the chassis should fit into a small recess on the underside of the cab, so it was test fit - file, test fit - file until I got this correct. Make sure also the parts are aligned correctly. Once the two cabins were joined together I added the fuel tanks. I needed to make a fix on the RHS fuel tank as the filler pipe had been broken off as I mentioned before. Unfortunately it was not in the kit and this fix was one of the most difficult as I had to try and bend very think plastic rod into the basic shape I needed. I also added new caps to both pipes. Whilst the conversion set provide the correct tanks, what it doesnt provide are the L brackets for these to sit on. You have to file the kit parts, which quite frankly was a real pain, and fit the resin part to these. Why they dont provide the 4 basic fitting needed in the correct shape is beyond me. Once the 2 cabins were joined I filed off any excess and filled in any gaps with Milliput. I then added the wheels. I had decided to try the Hussar resin set and Im glad I chose these, despite the cost, as they are a neat set of replacements. This was not a totally necessary replacement, the kit wheels would have done an adequate job. I have built a number of the old Italeri 15cwt trucks and one thing I have noticed is a tendency for the axel points to melt and become very soft when glued. I have no idea what causes this, but the same problems occurred with the rear RHS axle point in so much as it just broke off. I used copper wire to fix this and re attached the wheel and axel in the correct position. I would recommend running a piece of copper wire through both axel points when joining them together to avoid this problem, something I should really have done at the start, but I had simply forgotten about this problem. I finished off any internal detailing I needed to do and then set about fitting the roof. Again this was a disappointing fit and over hung the front windscreen by about 3mm, which was way too much. There was nothing for it but to get the saw out and cut off the excess. I then filed the top and corners back into shape and added a small lip with a small piece of ½ round. I had already added the internal detail and most of the external detail to the roof earlier in the build. The one thing I missed was the handles for the ammo box on top. So I used a piece of flat lead wire, twisted it into a rope and made side handles for the box. These should probably have been metal handles, not rope, but I had already fitted the antenna points and guard PE brackets so space to work was a bit limited!!! The remaining work consisted of adding the PE fitting to the rear underside of the truck, that help give it that boxed shape on the rear. I believe there was a small towing hook in the original kit but despite looking for this in the box I havent yet found it but will add it if and when I do. The last alteration I decided to make was to remove the drivers and co-drivers door windows. These could be and often were removed by the crew. They were stored in canvas covers behind the drivers/co-drivers seats and this is one element I have yet to complete as it was a last minute decision. Then I fitted the doors and wing mirrors and added the small PE drivers step, the antenna mount for the LHS which I then wire in.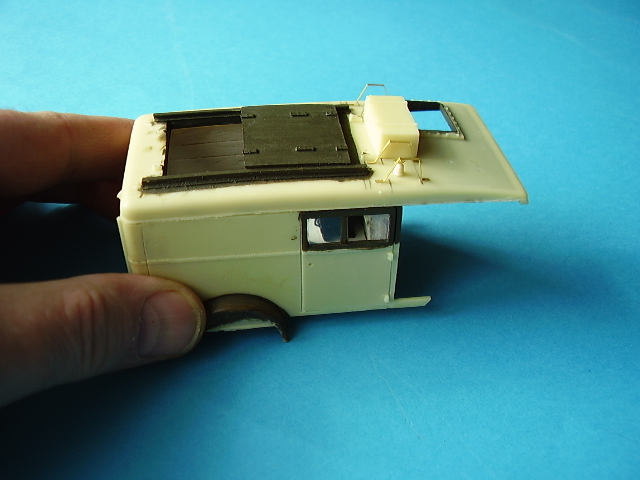


About the Author


FROM: ENGLAND - EAST ANGLIA, UNITED KINGDOM
Greying slightly, but young at heart. I've been teaching adults off and on for most of my life. Left the services in 85 and first started modelling in about 87 for a few years. Then I had a long spell when I didn't build anything (too busy) and really just got started again during the summer of ...
Comments

Another fantastic build from Alan, and it's a CMP!
This is another that I tried to scratchbuild some years ago, and like the C15TA it never got finished. That conversion set looks a bit of a dog, so well done for making it work so well!
JAN 08, 2009 - 05:12 AM
Really great job Alan! Looks really nice and a first rate job as usual. I always like to see your work and really appreciate you sharing it with us. Love to see those CMP trucks!!
Bob
JAN 08, 2009 - 05:47 AM

Hi Dave and Bob,
Thanks for the comments guys, appreciated. I have to admit that when I decided to open it up I had no idea if it was do-able.
Cheers
Al
JAN 08, 2009 - 06:33 AM

Really nice Build, Alan, and an interesting project.
Great work.
Paul
JAN 08, 2009 - 08:44 AM
Alan,
I keep seeing a lot of your work coming up and the details just keep getting better with each build. Very impressive build and congratulations on a great feature. I didnt notice but is the top still detachable? Hope so, it's such a shame not to be able to see all the great details you added.
Bob
JAN 08, 2009 - 09:39 AM
Hi Guys,
Paul, thanks for the comments and glad you found the project an interesting one. It was quite a challenge
Bob, many thanks for the kind words. Unfortunately the only way to get the roof to sit correctly was glue it down, but a a fair amount of the details is still visible through the open doors.so it does look nice and busy inside.
Cheers folks.
Al
JAN 08, 2009 - 06:17 PM
Hey there Alan,
Great build....I just picked up one of these conversion sets and want to do a CDN version of the truck.
I picked up the conversion in a trade with another modeler, as opposed to purchasing it out right, otherwise I might have been as disappointed in it as you were in the conversion kit.
I will however be bookmarking your build and use it as a reference for my own build at some point!
Again, fantastic result!!!!
JAN 10, 2009 - 08:37 AM
Hi Scott,
Many thanks for the comments and glad you enjoyed the article. The original build blog is still in place. I don't know if you followed the build but there are a lot of useful references in the blog:
Here's the link
https://armorama.kitmaker.net/forums/124414#1026710
so fill you boots as they say
Plus Models make a lot of neat items but they are very expensive, over priced IMHO. Still this was the only kid on the block and a lot of fun to do. Hopefully you got a good trade and can go from there.
Cheers
Al
JAN 10, 2009 - 09:25 AM

Perhaps I missed the reason why the left front seat has a fold down back since there is a wall behind it.
Your mud and dirt give it that lived in look. If you want a dustier appearance, you might try a slurry of wood ashes in water.
Paint it on with a wide brush, let dry, rinse and brush off. It will mildly etch and flatten the paint also and leaves a light tan/grey look, as if it had spent a lot of time on unpaved Normandy roads.
JAN 11, 2009 - 02:30 PM
Hi Trenor,
Yes, you did, the Pin Up behind it
Thanks for the thoughts on the wood ash, interesting technicque. No facilities for an open fire here but perhaps cigarette ash or paper ash might work too. I'll try a few experiments.
Many thanks
Al
JAN 11, 2009 - 05:43 PM
Copyright ©2021 by Alan McNeilly. Images and/or videos also by copyright holder unless otherwise noted. The views and opinions expressed herein are solely the views and opinions of the authors and/or contributors to this Web site and do not necessarily represent the views and/or opinions of Armorama, KitMaker Network, or Silver Star Enterrpises. All rights reserved. Originally published on: 2009-01-08 00:00:00. Unique Reads: 23130

WEB HOSTING BY


Copyright ©2021 Armorama and Kitmaker Network, a subsidiary of Silver Star Enterprises
All Rights Reserved. Please read our Conditions of Use and Privacy Policy.
All Rights Reserved. Please read our Conditions of Use and Privacy Policy.