1⁄35Abandoned & booby-trapped Sturm Tiger
10
Comments
Introduction
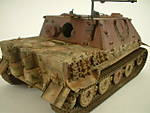
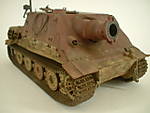
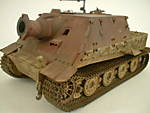
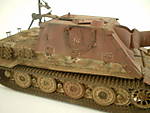
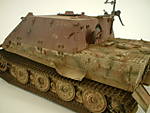
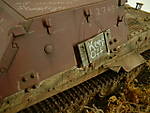
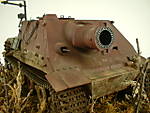
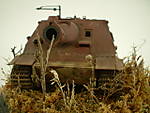
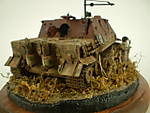
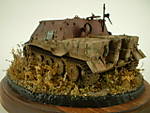
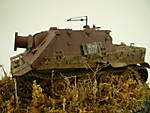
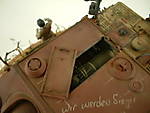
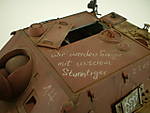
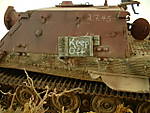
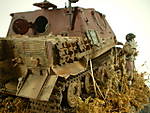
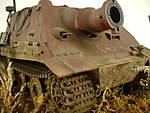
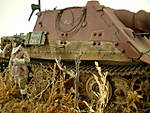
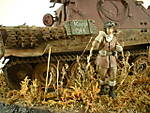
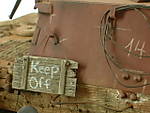
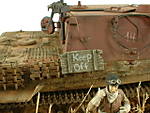
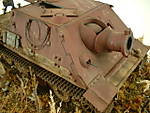
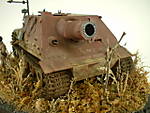
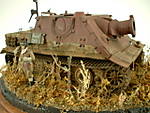
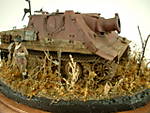
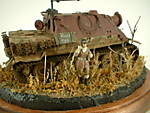
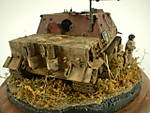
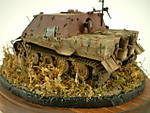
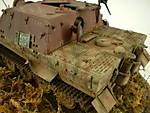
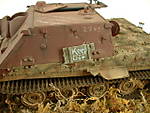
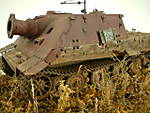
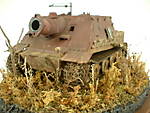
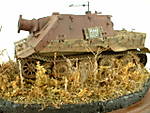
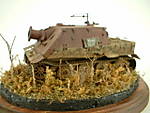
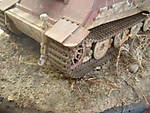
An abandoned & booby-trapped Sturm Tiger on the Western front This Sturmtiger was sent to the front in a hurry, no time for a new paintjob at the factory, this vehicle broke down because of technical problems, or it just ran out of fuel, either way the crew tried to set charges to destroy it, but this failed. The Sturmtiger was found by the allies, and to avoid any casualties from nosy troops, Signs were posted for them to "Keep off".Kit details
The kit used was the Tamiya kit, released some years ago. As with all Tamiya kits the instructions are excellent and the fit of the parts is very good. The model does come with individual track links which require cleaning up, but look much better than the normal vinyl tracks supplied in most Tamiya kits.Construction
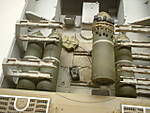
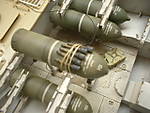
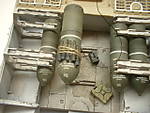
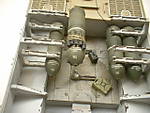
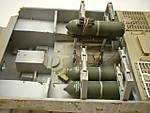
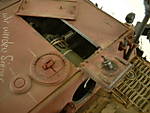
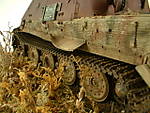
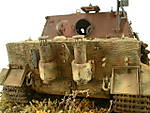
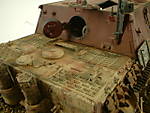
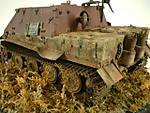
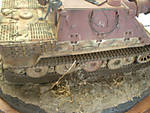
Construction begins with the lower hull and road wheels, once the running gear was complete the tracks were glued up into 2 lengths for each side, and temporarily attached to the wheels and sprockets. The most time consuming part was now complete and set aside to dry. I then began with the interior steps while the tracks dried. The gun breech is well detailed and everything fit together just right. The interior Parts were installed into the lower hull as were the four kit supplied mortar rounds. These were painted separately in different mixtures of green and the Decals were applied. An empty fuel can and stick grenades were attached to a mortar round and explosives from the spare parts bin were installed in the interior to simulate the method used by the German crew in their attempt to destroy this Sturmtiger. The rest of the build is pretty much as per instructions. I applied zimmerit using squadron white putty and masked off the area with tape to achieve a clean finish. After market parts used were the tool clasps from Aber, and the air intake screens are from Tamiya that are sold separately for the Tiger 1.Painting and weathering
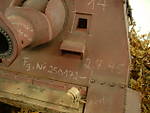
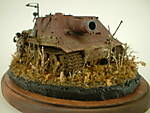
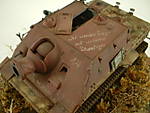
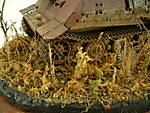
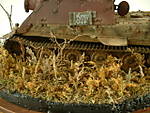
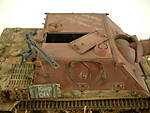
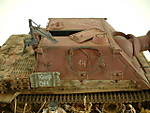
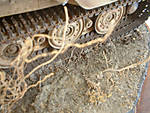
Painting the model was done in 2 stages after the initial primer and base coat of panzer yellow, Tamiya XF60. The upper gun encasement and mud guards were masked off in preparation for the camouflage colours. The first step was to paint the Sturmtiger in an original striped 3 tone camouflage scheme as it appeared before being sent off to the factory for repairs. Step 2 was to paint the upper gun encasement as it would have looked at the factory before it is sent off for painting. A mixture of Tamiya acrylics, red, panzer grey and dark green were mixed to the state of primer-red oxide that looked right. When all was dry an oil based white pencil was used to simulate the chalk lines and writing applied by factory workers. A sealer coat of Vallejo model colour flat acrylics was applied in preparation of the filters and washes. Oil paints were used for the washes as filters in the normal manner, followed by weathering with acrylic colour pigments and pastel chalks. The tracks were mounted and the two signs made from crate lids were painted and installed on the model. An 8X10 oval wooden base was sanded, stained and sealed with poly in preparation for the diorama. A 1/2" thick piece of Styrofoam with the edges painted black was then glued to the wood base. The ground work was made with a mixture of white glue, plaster, sifted dirt and acrylic paints. When this was dry, watered down white PVA glue was brushed onto the base and cooking spices/Oregano and Maruja roots from the back yard were pressed into the glue and set aside to dry. The vegetation are items from the backyard, and dried moss from the local craft store was glued in place with white PVA glue. A figure I had painted ten years ago finally found a spot in a diorama. He was painted entirely with Vallejo model acrylics. All together this little diorama base took about 5 hours to put together.Conclusion
I enjoyed building this diorama, it turned out the way I envisioned it would be. The primed superstructure is different then the normal offering, this catches your eye. The simple base and figure doesn’t detract from the vehicle.Links to reviewed items
German 38cm Assault Mortar SturmtigerComments
Wow that Sturm Tiger of Rob's kicks ass a truly impressive finish as always thanks for the link Darren
JAN 21, 2009 - 04:23 PM
super work. relly love it . just wonder if a nice wood bord would have been better for the presentation. The vegetation seem to me not convincing .
JAN 22, 2009 - 08:58 AM
Ollie: I think his vegetation is quite fine. Certainly more convincing than the Chinese broccoli I had for lunch.
wh
JAN 22, 2009 - 09:04 AM
beautiful work, very impressive and realistic weathering work.
Paul
JAN 22, 2009 - 09:34 PM
Well, THAT's the work of art! I like the twist with failed booby trap (and related detailing too, of course). The pain job is something I can only dream of. Simply amazing...
JAN 23, 2009 - 01:50 AM
Wow, I just learned you can say "kicks ass" right here at the big A ... that's what I was thinking. So awesome work was the next thought. I love the Sturmy anyway and Rob pulled off a great diorama. I even saved the whole article too.
Very nice work!
JAN 23, 2009 - 03:10 AM
Rob,
Extremely nice piece of work Rob! I like the dio and story that it tells. As I had mentioned before concerning the finish, this has got to be the finest red oxide primer rendition that I have seen to date! You've done a splendid job of capturing the look of this big cat. Nice figure too. Great set of photos showing all angles of your model and dio to good effect.
Thanks to you and Darren for taking the time to generate this feature for everyone to view and enjoy.
-Eddy
JAN 23, 2009 - 07:29 PM
I thank you guys very much for the kind and motivating comments. The Sturmy was a fun project and I liked the differant paint scheme, but i definately need to practice on the groundwork. Thank you again.
Rob
(scratchmod)
JAN 24, 2009 - 04:37 PM
Copyright ©2021 by rob ferreira. Images and/or videos also by copyright holder unless otherwise noted. The views and opinions expressed herein are solely the views and opinions of the authors and/or contributors to this Web site and do not necessarily represent the views and/or opinions of Armorama, KitMaker Network, or Silver Star Enterrpises. All rights reserved. Originally published on: 2009-01-22 00:00:00. Unique Reads: 29973


