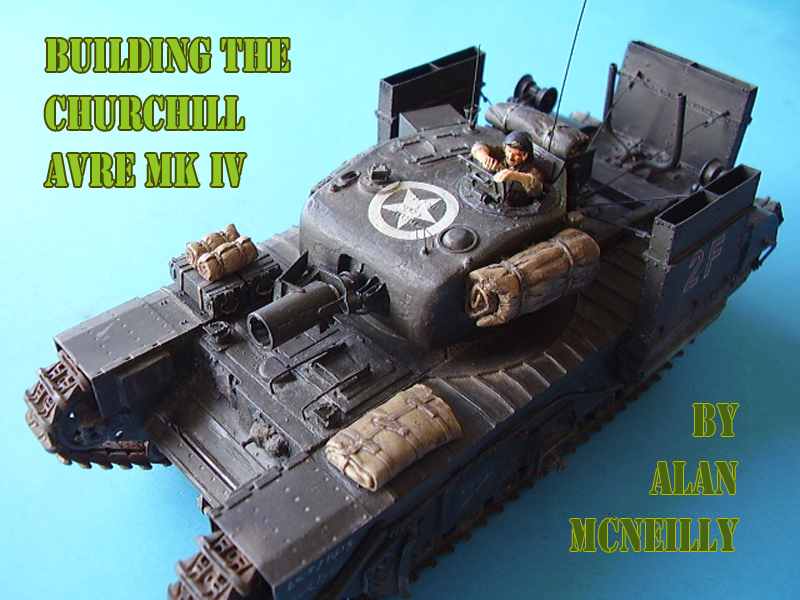
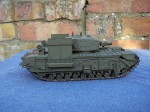
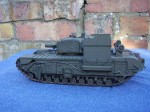
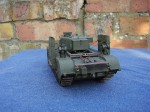
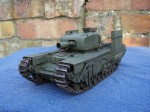
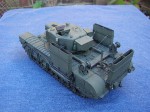
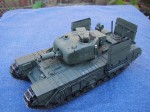
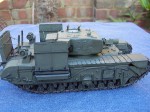
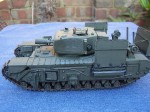
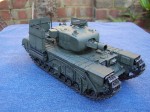
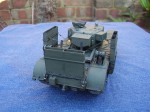
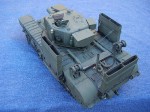
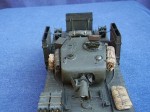
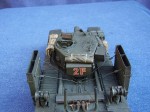
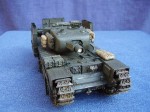
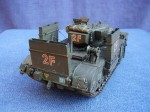
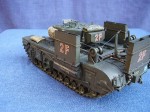
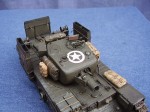
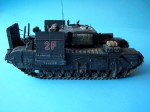
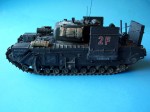
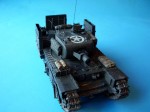
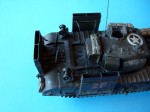
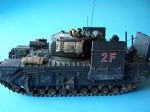
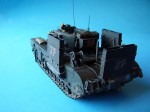
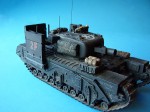
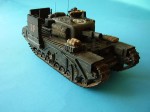
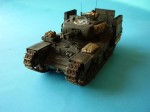
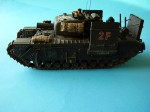
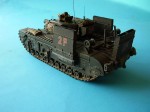
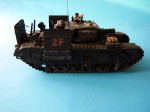
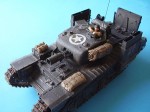
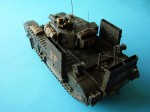
1⁄35Building the Churchill AVRE Mk IV
14
Comments
Background
I had wanted to build one of these vehicles for a very long time but never actually thought I would. The Churchill AVRE and its variants played a key role in the successful landings of the British and Commonwealth troops on D Day.The complete failure of the landing on Dieppe on 19 August 1942 made the British realise that in order to get ashore in any future landing attempt a much greater range of support would be needed to assist the infantry. The development of the AVRE (Armoured Vehicle Royal Engineers) for ‘Bunker Busting’ and the range of bridge layers, carpet layers and associated ‘Funnies’ that appeared on the Churchill tank were a direct result of the Dieppe experience.
The Kit
Most but not all of the AVREs were based on the Churchill Mk IV gun tank so the Tamiya Churchill Mk VII was used as the base kit and the Resicast conversion set 35.170 AVRE turret & parts provided the bulk of the conversion parts and the Resicast conversion set 35.209 Churchill deep wading equipment the remainder.One point to note is that the Resicast kit has the earlier exhaust system and the earlier style square blanket box. The AVREs that landed on D Day also carried a spare set of boggies on the rear and for the replacement of the exhaust, correct blanket box and spare boggies I am indebted to both Gordon from Cromwell Models and Ian from Friendship Models who provided not only the missing bits but also an invaluable amount of information and knowledge about the vehicle, so thanks guys. Note: The New Conversion from Resicast has both the correct exhausts for D Day and the extra boggies).
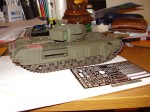
I also used some parts form the Eduard PE set 35 135 Churchill set for some necessary added detail.
The build
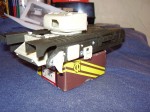
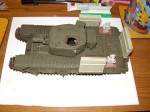
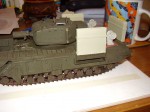
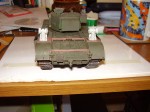
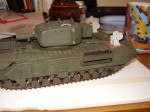
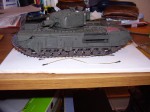
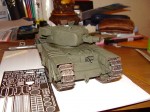
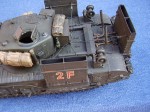
The Resicast conversion comes with a step by step guide to converting the kit, on the reverse is a complete listing of all the parts, a 7 page photo booklet in black and white and a fret of about 18/20 PE parts. You need to study the pictures and booklet carefully and plan your build accordingly.The first requirement is to remove the front hull and replace it with the correct Mk IV nose part AF. This is the only piece of major surgery needed and provided you get this right the remainder of the build can be methodically worked through. So after removing this part I added the hull detail and turret ring as per the instructions. Not mentioned, but shown in one of the pictures are a set of rails on which the loaders hatch slides. I made these out of a couple of pieces of garden wire. The periscopes need to be removed and replaced and this again is shown fairly clearly in the pics. On the AVRE on the inside of the front fenders 2 tool/equipment boxes are shown. These are not provided with the conversion set and I made my own from the hatches of the Churchill turret and some milliput. Cromwell Models site offers some great pictures of Gordon’s range of Churchill Tanks, and these also proved to be a valuable source of reference material.
I may be wrong but I believe the conversion set was made for an earlier version of the Tamiya Churchill and I had a few fit issues with the replacement co/drivers sliding hatch and needed to sand the turret ring down a bit.
Next I build the turret. Again following the instructions and referring to the pictures, which are quite good and show where all the main parts go. The turret comes in two parts and mine was not the best of fits so a fair amount of work was needed to be done to get a good mate of the two pieces. That said the Resicast Turret is still the most accurate on the market despite the recent re-tooling of the Legend’s kit. I added a small amount of interior detail based on some good reference plans. I still need to add a No 19 Radio set as I had a slight delay in getting them but this is not a problem as the turret has not been sealed down yet.
Painting and Tracks
I paint as I build which is just as well as with this vehicle there are a lot of nooks and crannies to get to, and unless you airbrush it might be difficult to paint the vehicle by hand if you build and then paint.For base colour I used a 50/50 mix of Tamiya Olive Drab and Dark Green with several squirts of Vallejo Yellow Ochre, not very scientific, but it works for me. For steel items and to give some pre shading I used Humbrol matt 70, a bit like red lead, and then build the metal from there. Various fixtures and fitting were treated with small amounts of Metallic Grey and Gun Metal as appropriate. Pin washes were added to small fittings and the runs between the side board.
Wooden elements were painted with Vallejo Yellow Ochre as a base coat and then developed with washes of dark brown/black to produce a realistic wood effect.
The model received a couple of coats of Mig Filter P245, dark brown for green, to blend the paintwork together. Small exposed steel marks were added with a lead pencil.
I opted to use the kit tracks, mainly for convenience and although they lack inside detail they produce a reasonable representation of the real thing. Some garden mud and Mig pigments were used to finish off the kit.
Decals and Markings
I used some of the excellent Fingerprint Design decals for the main vehicle markings and improvised with a set of German Numbers and Letters from Archer. Vehicle represents an AVRE from 5th Assault Regiment Royal Engineers, 1st Assault Brigade, 79th Armoured Division NWE, Nan Red Sector, Juno Beach 6th June 1944.Stowage/Crew
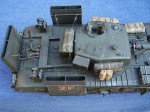
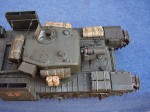
Stowage came from a variety of Accurate Armour Items and the spares box. The kit sat in an almost finished state for a long time whilst I though about a commander finally opting to make one from one of the original crewmen with the addition of some new arms from a figure in the Tamiya carrier. Finally I added the antenna.Conclusion
A fun build and a really good learning experience. Of course now we have the forthcoming AFV Club AVRE that will save a lot of this work!!References
Imperial War Museum website British Tanks in Normandy by Ludovic Fortin (page 17 picture from Tank Museum 406/B2)Paints used
Tamiya, XF61 Dark green and FX 62 Olive DrabTamiya XF 64 Dark Brown
Taniya X 10 Gun Metal
Tamiya XF Metallic Grey
Tamiya XF1 Matt Black
Tamiya XF 66 Light Grey
Tamiya XF 18 Medium Blue
Tamiya XF 75 Buff
Tamiya XF 49 Khaki
Tamiya XF 2 Matt White
Humbrol Matt 70
Vallejo Yellow Ochre
Vallejo Dark Sand 70847
Vallejo Ivory 70918
Mig pigments Dark Mud P033, European Dust P028, Light Dust P027, and Filter Dark
Brown for Green P245
Comments
Hi Ossie,
Your Dad landed on Nan Red then in support of the Canadians and 48 RM Commando, at least if my info is correct.
Thanks for the tank name I shall add it.
Yes, it's a good pic, and you're right that's a Crusader AA with the 40mm without the shield.
I imagine they ditched the stacks at the earliest opportunity, once the beach area was reasonable clear.
Cheers
Al
OCT 10, 2009 - 08:26 AM
Hi Guys,
Just a couple of things to note:
I used the older Resicast Set for this conversion set 531170 which if now discontinued as are the wading trunks 352209. These were both designed for the Tamiya kit.
If you looking for the older set Historex still have it listed in the OOP items.
Both sets were re-tooled with the arrival of the new AFV Club Churchill and the correct D Day exhausts and spare boggies are now included in these sets.
I review both new sets here on Armorama:
AVRE Mk IV Turret:
https://armorama.kitmaker.net/review/3896
Deep Wading Trunks:
https://armorama.kitmaker.net/review/4033
Also if you are looking for early pattern tracks these are available too:
Churchill Early Tracks
https://armorama.kitmaker.net/review/3899
Having released the AVRE Mk III it will be interesting to see if AFV Club follow it up with a Mk IV version. We are living in interesting times.
Al
OCT 10, 2009 - 10:21 PM
Hi Alan. Another nice build.
Its always the case that new details crop up when you´ve finished a project, but its still a great model. The stowage, figure and decals add nice contrast to the dark green. Will you attempt the AFV Club version now?
OCT 11, 2009 - 12:11 AM
Hi Frank,
The new info is good so I can add/amend as necessary. This one was a major challenge at the time I undertook it, so a very good learning experience.
Yip, I have the new Mk III and another conversion set for a Mk IV Also coming out is the Frame for a Facine version so yes, I'll be doing a few more of these vehicles.
Ossie's premis that the wading stacks got dropped straight away, isn't necessarily correct as the picture above shows. There are pics of them on the beach with the stacks removed, but I assume that enemy activitity played a big part in when they got dropped off, the priority would be clearing the weapons for action.
When we look at a picture it's easy to forget that the actions took place over many hours and whilst pictures often give a date they rarely tell the time, so the mix I felt was OK.
Thanks for looking in and the comments, appreciated. Lots more fun with Mr Churchill to come.
Al
OCT 11, 2009 - 01:45 AM
Hi Ossie,
Thanks for the information. I was checking the instructions on the new wading set for the AFV Club kit and they conform to the data you sent. I see what you mean now about the little angles at the top of the stacks and the stay configuration on the side stacks. Should be able to fix that up with a little patience.
Thanks again for the info.
Al
OCT 11, 2009 - 07:50 PM
Hi Al
Great work, it reminds me i must finish my AFV club Churchill with the Mk Iv AVRE conversion.
Your's looks fantastic and will inspire me onwards. Thanks also for the combat picture so much to take in, in that shot , very atmospheric.
Cheers
paul
OCT 12, 2009 - 08:15 AM
Hi Paul,
Many thanks, enjoy the build, I'll look forward to it. I'm going to wait a while before I start the next one and see what else might come out. I'd really like to do one with an interior. I have the engine for the AFV kit, so possibilities there.
It's brillient to see the new choices coming out from AFV Club.
Gotya Ossie.
Thanks guys.
Al
OCT 12, 2009 - 10:19 AM
Copyright ©2021 by Alan McNeilly. Images and/or videos also by copyright holder unless otherwise noted. The views and opinions expressed herein are solely the views and opinions of the authors and/or contributors to this Web site and do not necessarily represent the views and/or opinions of Armorama, KitMaker Network, or Silver Star Enterrpises. All rights reserved. Originally published on: 2009-10-10 00:00:00. Unique Reads: 26846


