

1⁄35M3 Lee
5
Comments
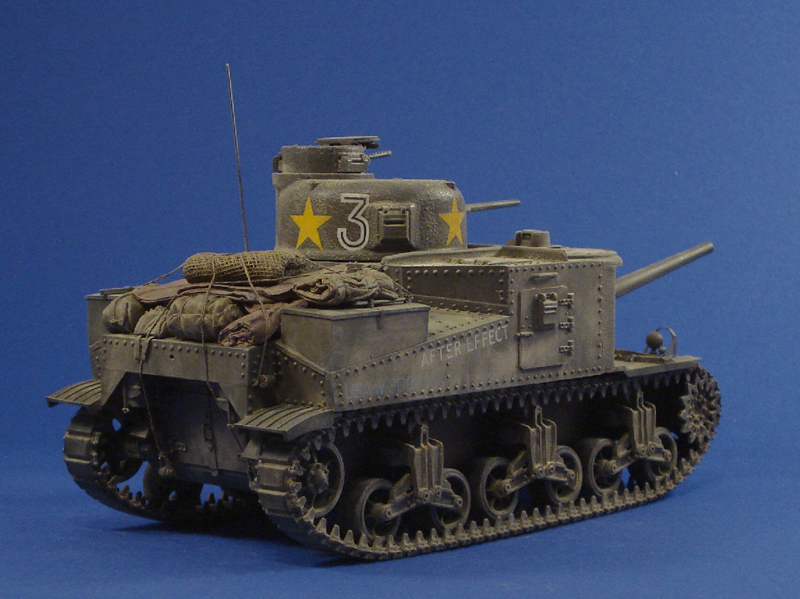
Painting
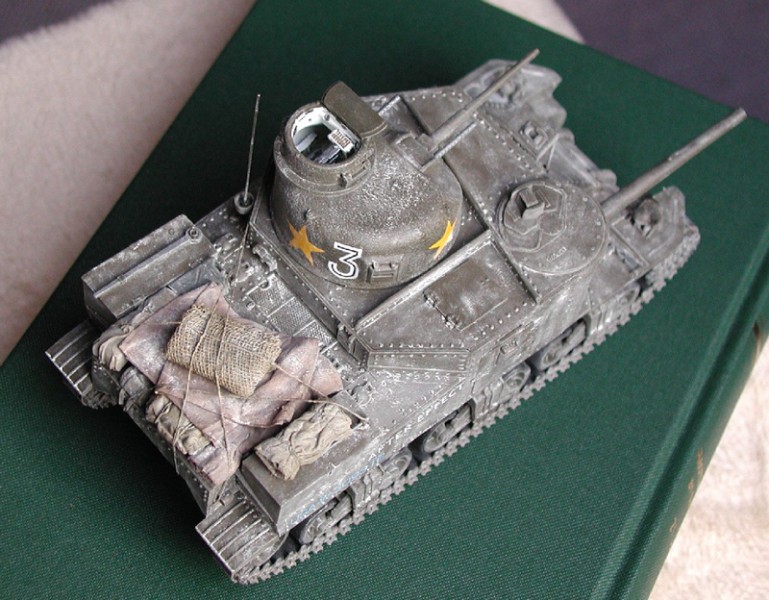
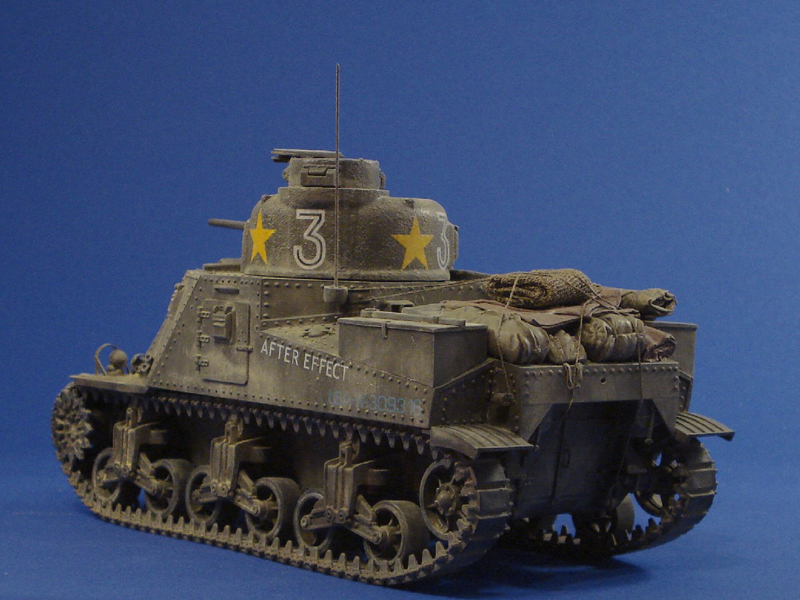
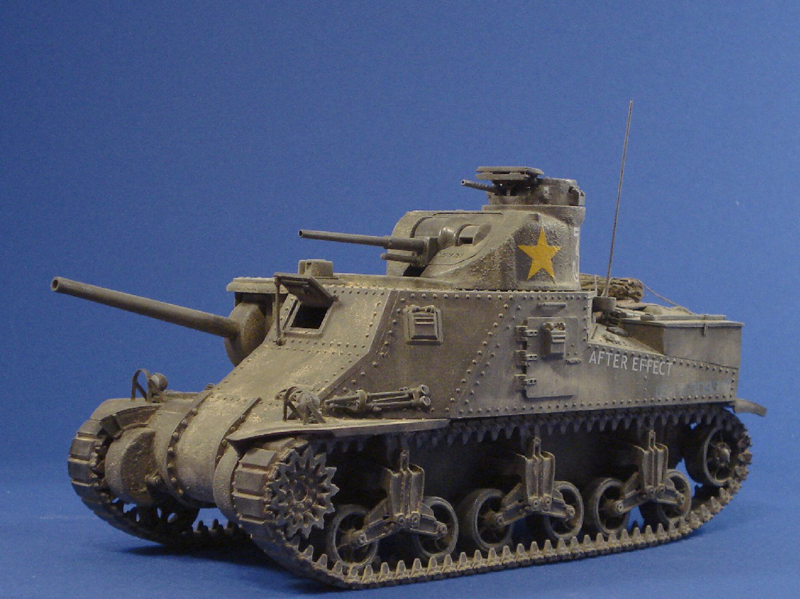
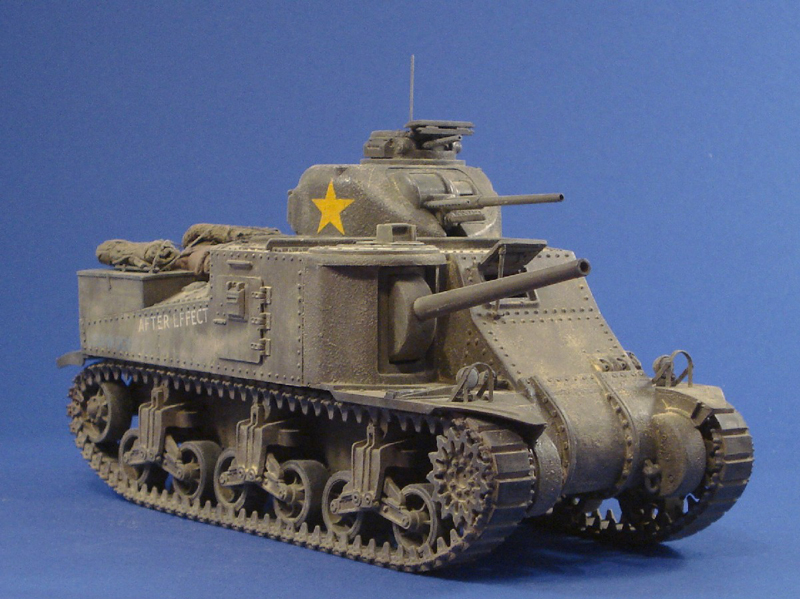
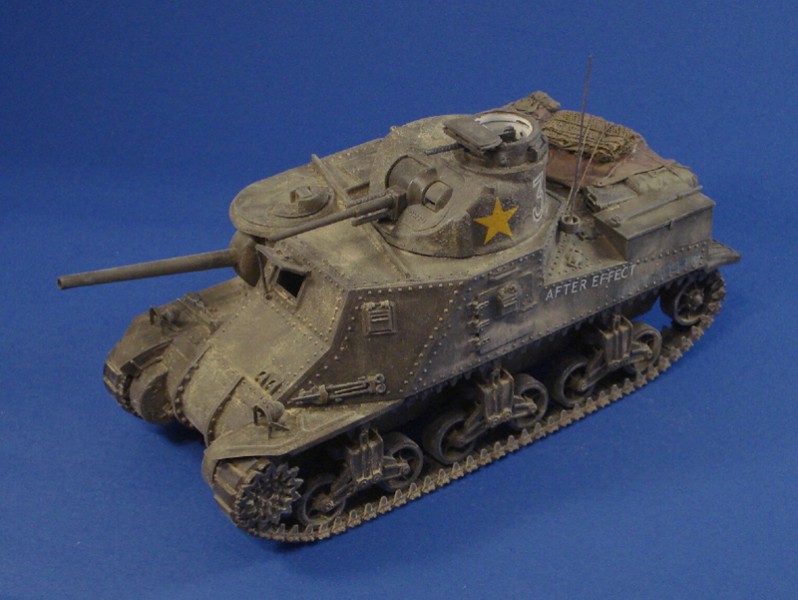
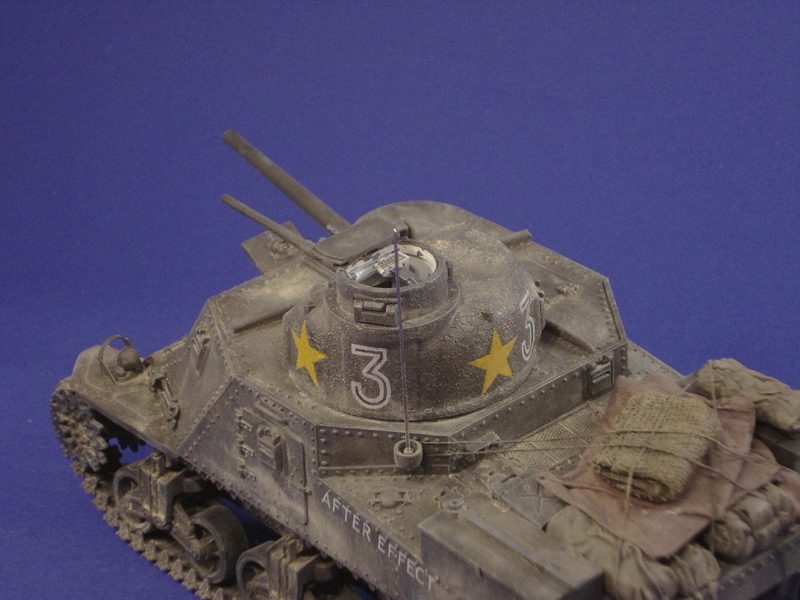
The painting stage was a field of experiments for me to try some new techniques. After the base of Revell OD, I oversprayed this with an irregular pattern of lightened OD. This was followed by several oil filters and washes, gloss varnish, decals, matt varnish and a liberal amount of Mig pigments as I wanted to depict a real dusty vehicle in North Africa. As I was new to pigments, I then tried to fix them to the model with matt varnish This left little to no pigments on the model. Luckily, I had taken some photos before, but I did not reapply the pigments at that time... Until two years later in 2010, I decided to give it another go, the result of which can be seen in the accompanying photos.
A fun project and a great learning experience!
About the Author


FROM: ZURICH, SWITZERLAND
I'll build just about anything military related that gets my interest, though most of it is 1/35 scale WWII Allied.
Comments


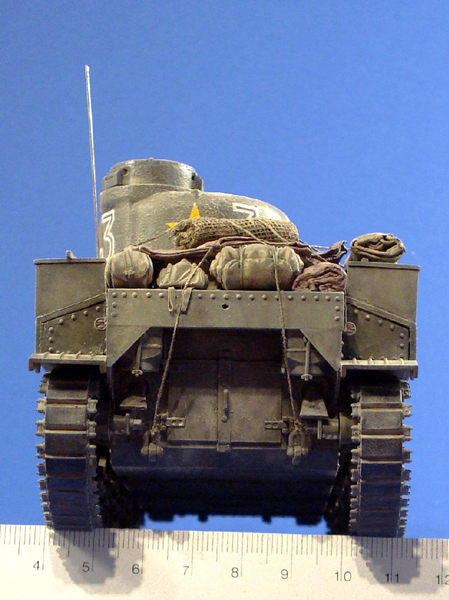
Nice work Stefan: Seeing your completed M3 nudges me closer to finishing my M31 conversion kit (stalled for quite a while). One thing you might want to change is the painting of your tail lights. Only the top left oval was red. The one beneath it and both right lenses were black. Hope this helps.
AUG 24, 2010 - 05:56 AM

Looks really nice, Stefan.
I have this kit in my stash, so your article is very relevant. Especially for changes of the stowage boxes and turret.
Thanks for sharing
AUG 24, 2010 - 08:35 PM
Thanks guys for your replies, I'm glad it was/will be of help to you all. Matan, thanks for getting this up!
Roy, thanks for the tip, I should have changed it when I got around to it the second time but forgot about it.
Cheers!
Stefan
AUG 28, 2010 - 01:54 AM
Copyright ©2021 by Stefan Halter. Images and/or videos also by copyright holder unless otherwise noted. The views and opinions expressed herein are solely the views and opinions of the authors and/or contributors to this Web site and do not necessarily represent the views and/or opinions of Armorama, KitMaker Network, or Silver Star Enterrpises. All rights reserved. Originally published on: 2010-08-24 00:00:00. Unique Reads: 19183

WEB HOSTING BY


Copyright ©2021 Armorama and Kitmaker Network, a subsidiary of Silver Star Enterprises
All Rights Reserved. Please read our Conditions of Use and Privacy Policy.
All Rights Reserved. Please read our Conditions of Use and Privacy Policy.