

1⁄35Left for Dead M41
6
Comments
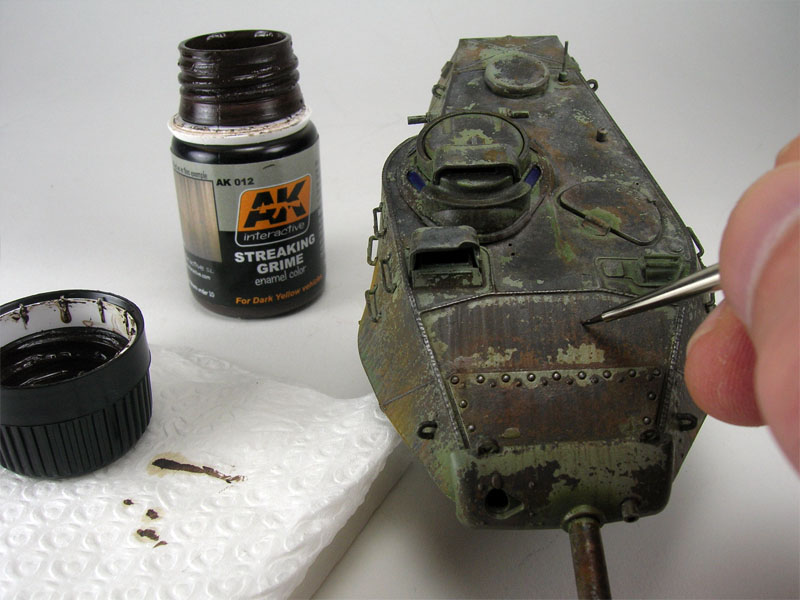
At this stage, I apply a wash made with "Streaking Grime' thinned with enamel thinner to all of the recessed areas and panel lines. The next step shows dirt and grime streaks applied with "Streaking Grime" and "Winter Streaking Grime" from A.K. Interactive. Using a brush and clean thinner, the streaks are pulled downward moving from one side to the other, one pass at a time and cleaning the brush before the next pass. This can be repeated until you have a variety of light and intense streaks. A film of dust was applied to the horizontal surfaces using "Dust Effects" as well as rain marks. The rain marks are applied from the bottom of the vehicles vertical surfaces towards the top of the vehicle. This step serves to weather the vehicle as well as create a "Filter" for the underlying colors, changing the O.D. Green tones subtly.
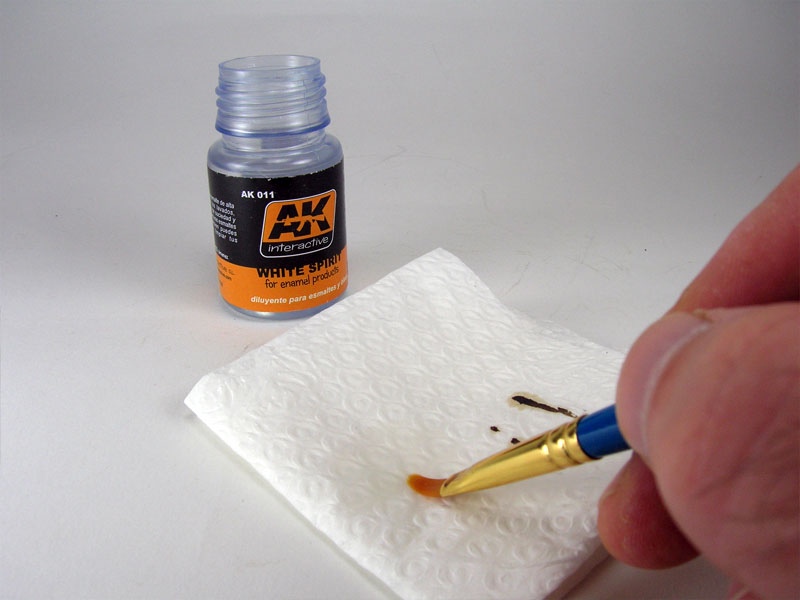
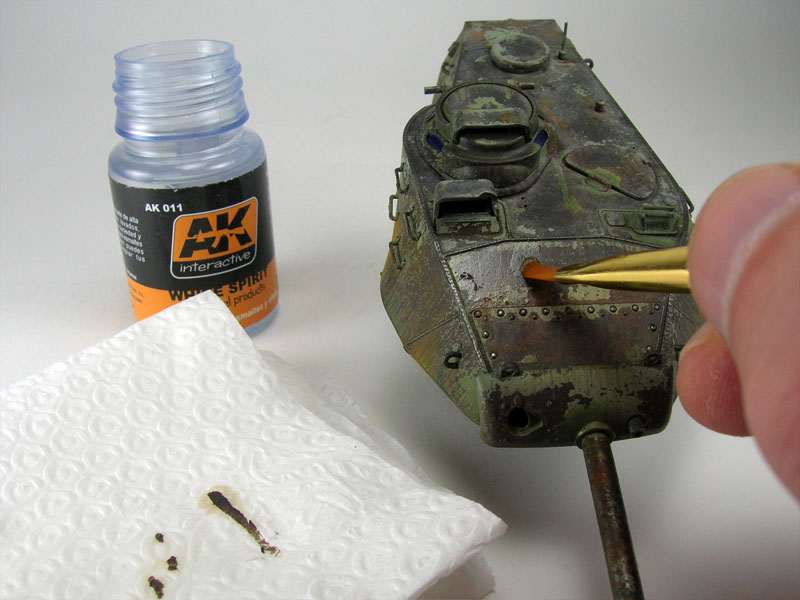
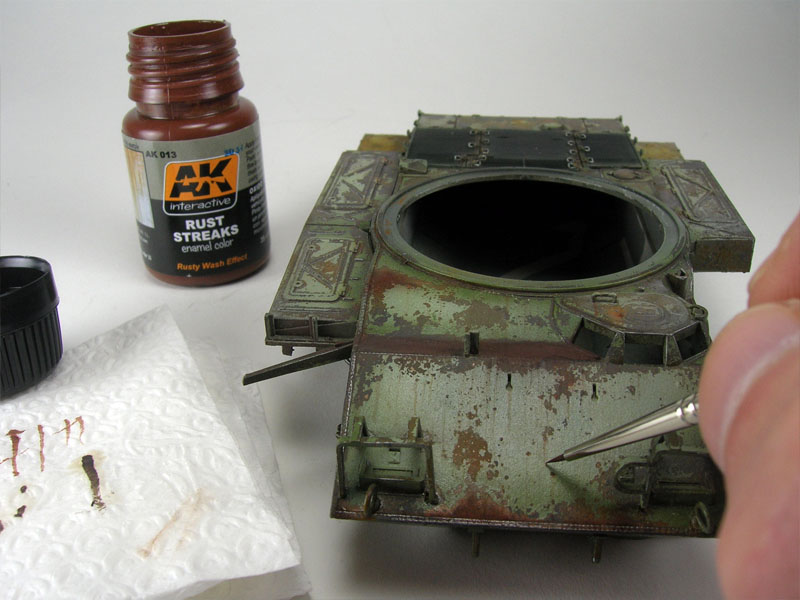
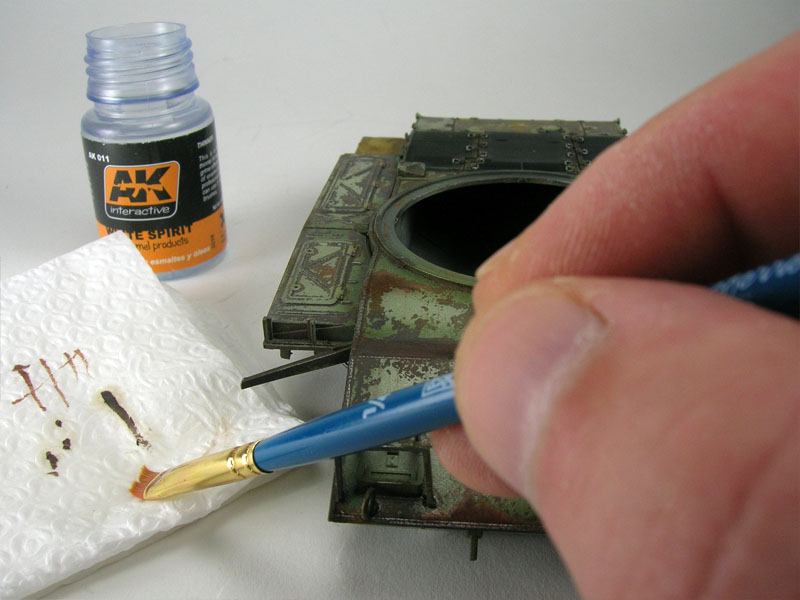
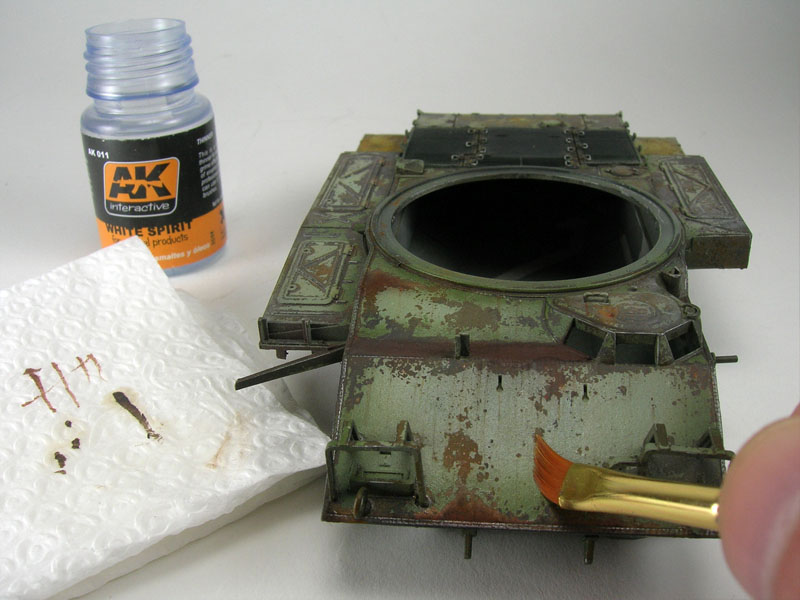
An important step on this project was to come back to the underlying rust area and enhance it with enamels and pigments. Rust streaks on the vertical areas have been created with Streaking Rust from A.K. Interactive. The streaks are applied with a fine brush, left set up for a few minutes, and then pulled downward with a chisel brush and clean enamel thinner. It is important that the brush be blotted on a towel leaving the brush humid and not soaked with thinner. Using the edge of the brush, the streaks are refined.
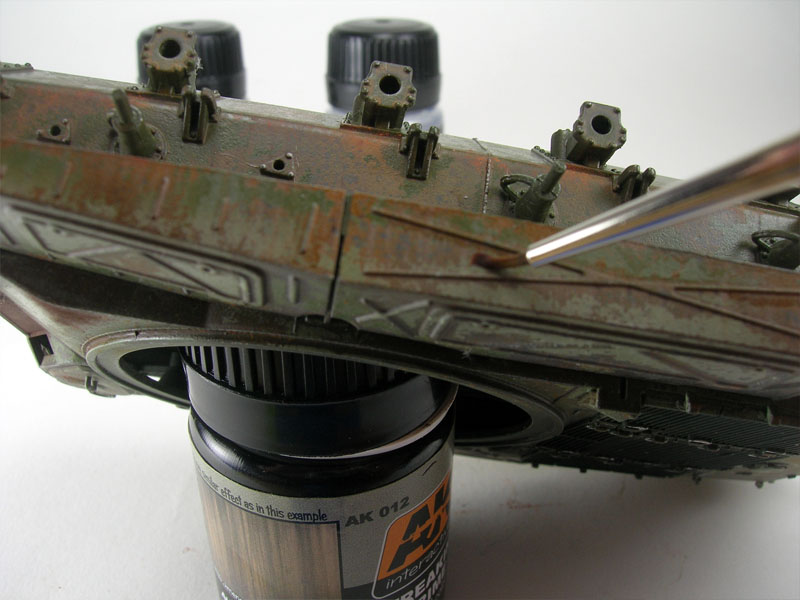
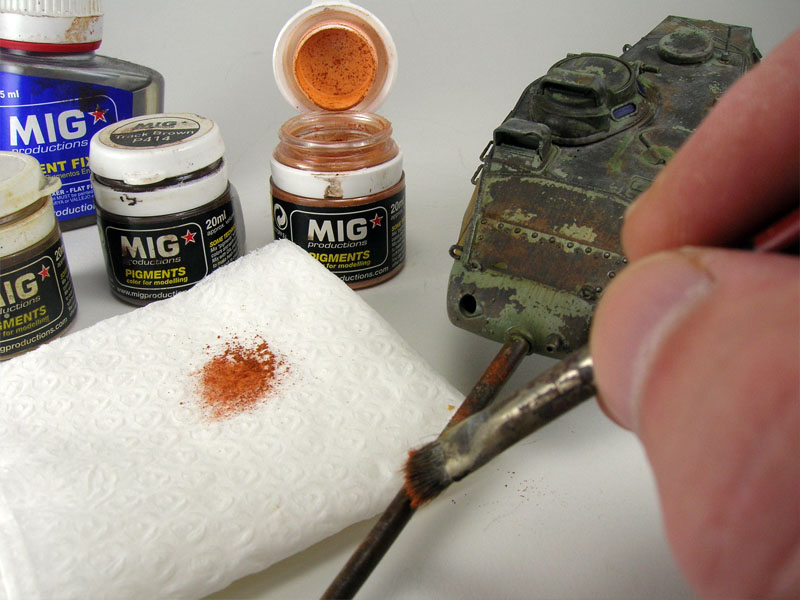
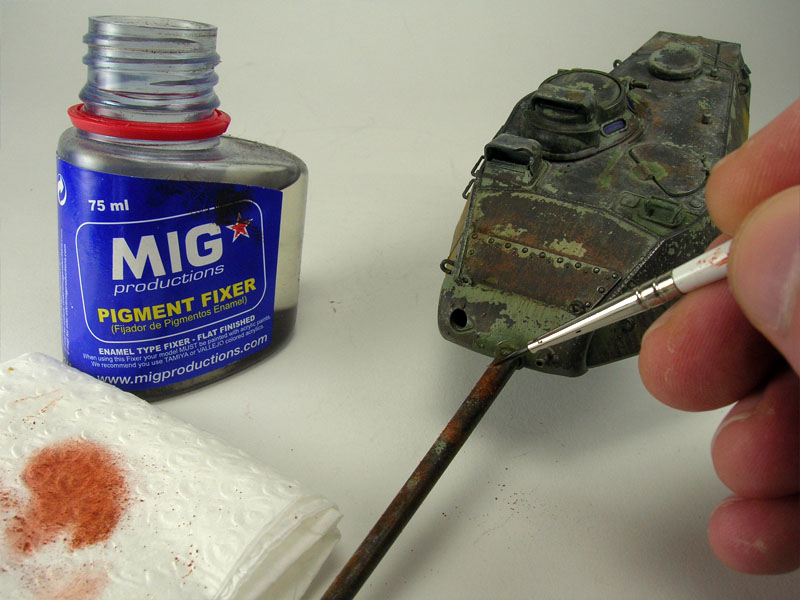
Pooled areas of rust on the horizontal areas have been created with Vietnam Earth, Light Rust, and Track Brown pigments from the MIG Productions range. These effects are used to bring the rust tones to life and add more variety and texture to the previous rust tones created with the Hairspray Technique. The images show the gun barrel receiving the pigments being applied and fixed in place with small drops of Pigment Fixer from MIG Productions.
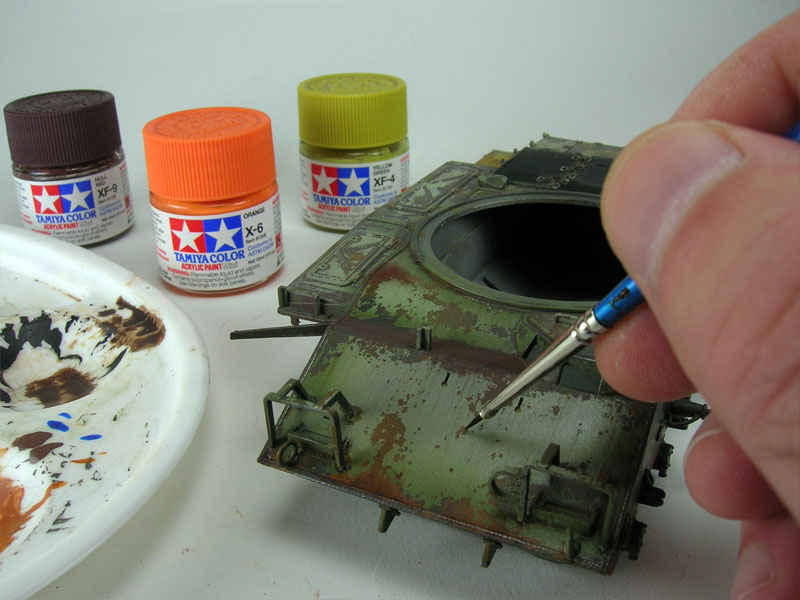
The final step was to create a little more variety with bright and dark rust spots. Tiny dots of color were applied using a fine brush and the same Tamiya rust colors used in the previous steps. Since the previous application has been altered by the weathering process, we can use these colors again to bring even more life to the rusted areas.
About the Author


FROM: CONNECTICUT, UNITED STATES
Modeling was introduced to me at a very young age by my father who was a scale railroad modeler. My interest in history led me in the direction of scale tanks & aircraft. This input, combined with a fasination with drawing and painting, made a modeler out of me very early in life. The work of F...
Comments

Wow... very well done Iain! Thanks for sharing this build story with us. An excellent example of extreme weathering.
Best wishes,
Jim
DEC 26, 2010 - 10:25 AM


Great Idea and really well executed. Good SBS too.
Also makes a nice change from all those wrecked T-55s we usually see in the forums
DEC 26, 2010 - 10:53 PM


I was checking this out on the AK-Interactive website a short while ago and was quite impressed, a very inspiring piece to say the least. Thanks for sharing Iain!
DEC 29, 2010 - 09:07 PM

Incredible! Very realistic. I love the way the paint is "eaten away"...very convincing! Thanks for posting!
FEB 26, 2011 - 02:18 PM
Copyright ©2021 by Iain Hamilton. Images and/or videos also by copyright holder unless otherwise noted. The views and opinions expressed herein are solely the views and opinions of the authors and/or contributors to this Web site and do not necessarily represent the views and/or opinions of Armorama, KitMaker Network, or Silver Star Enterrpises. All rights reserved. Originally published on: 2010-12-26 00:00:00. Unique Reads: 20191

WEB HOSTING BY


Copyright ©2021 Armorama and Kitmaker Network, a subsidiary of Silver Star Enterprises
All Rights Reserved. Please read our Conditions of Use and Privacy Policy.
All Rights Reserved. Please read our Conditions of Use and Privacy Policy.