

1⁄35Crusader Mk II Gun Tractor Mk I
15
Comments
The build
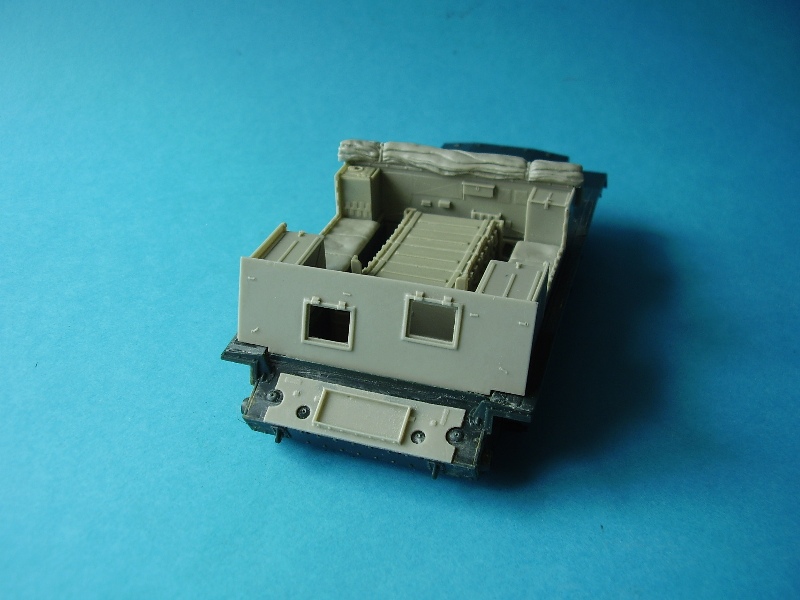
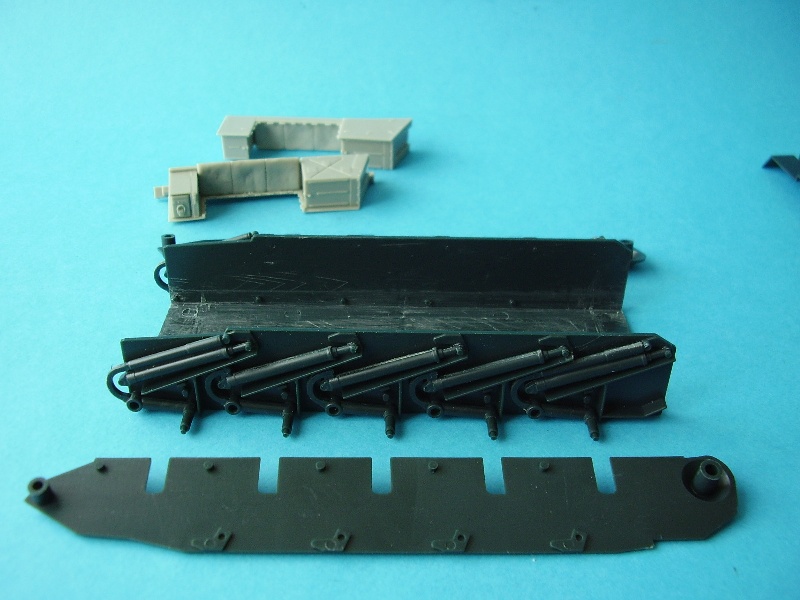
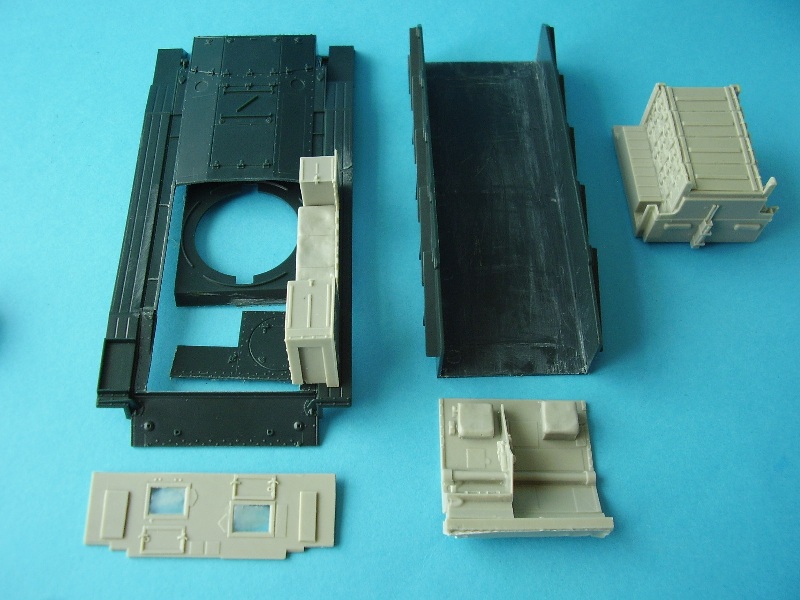
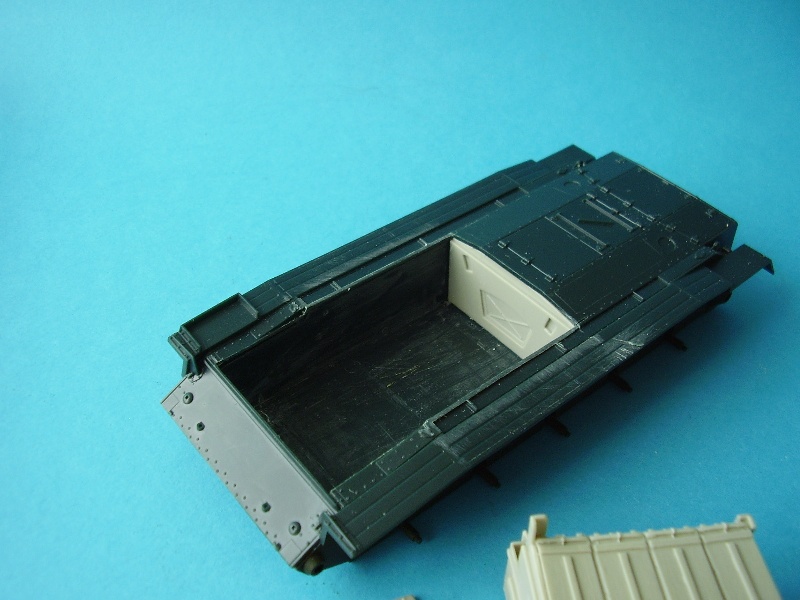
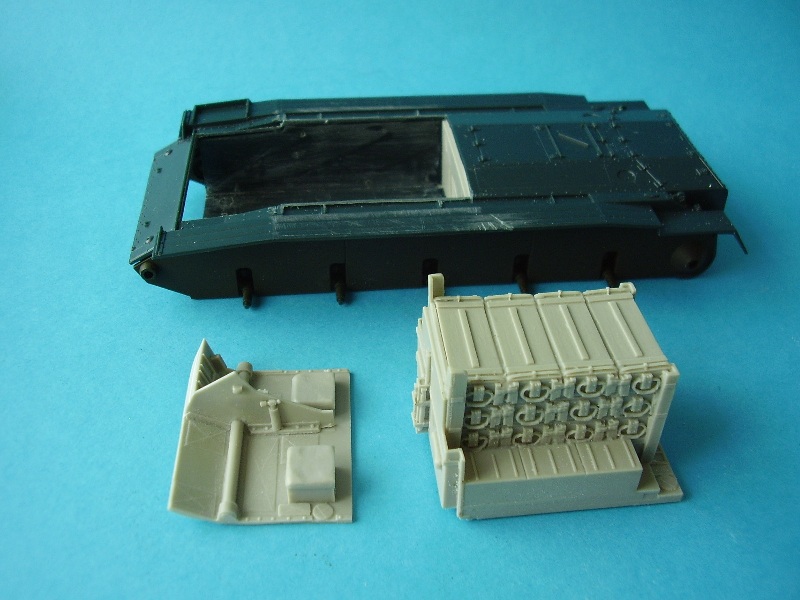
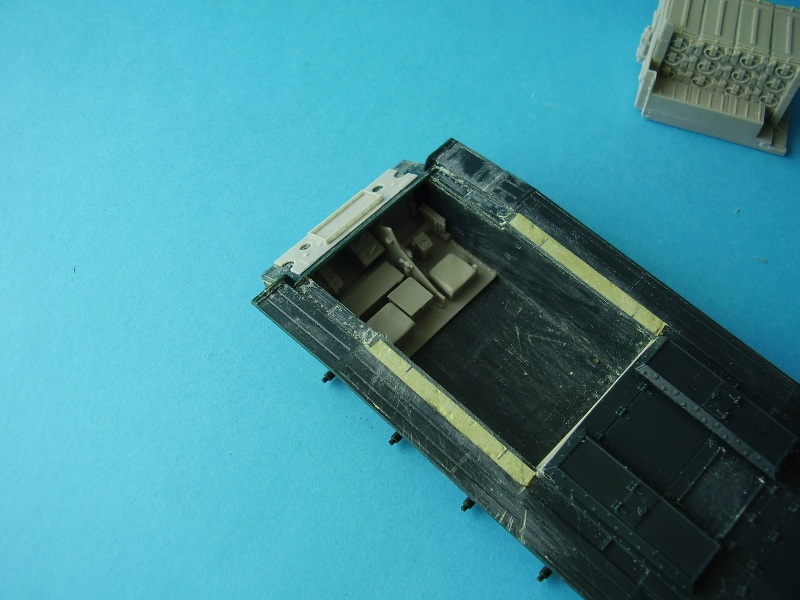
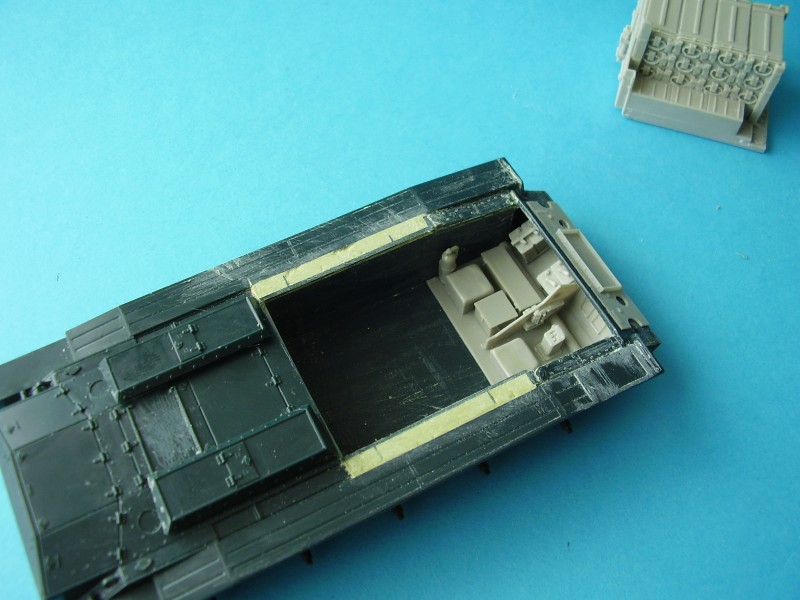
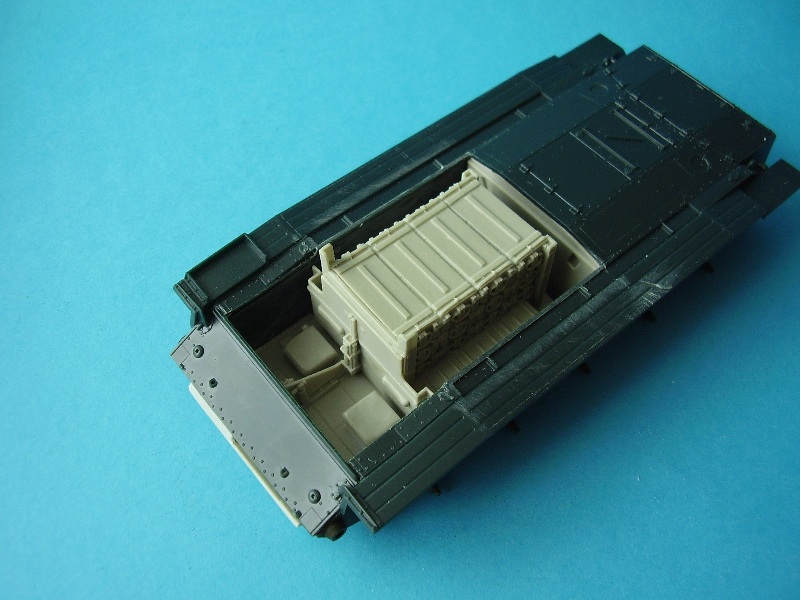
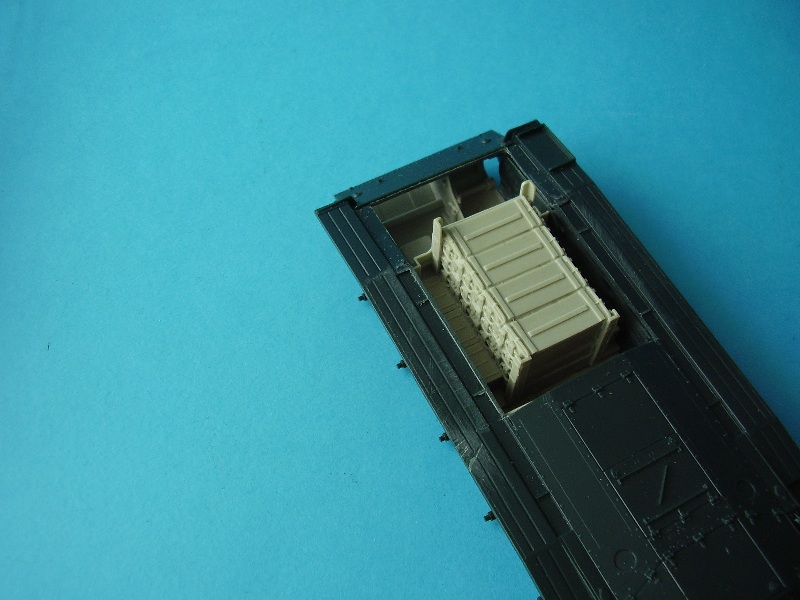
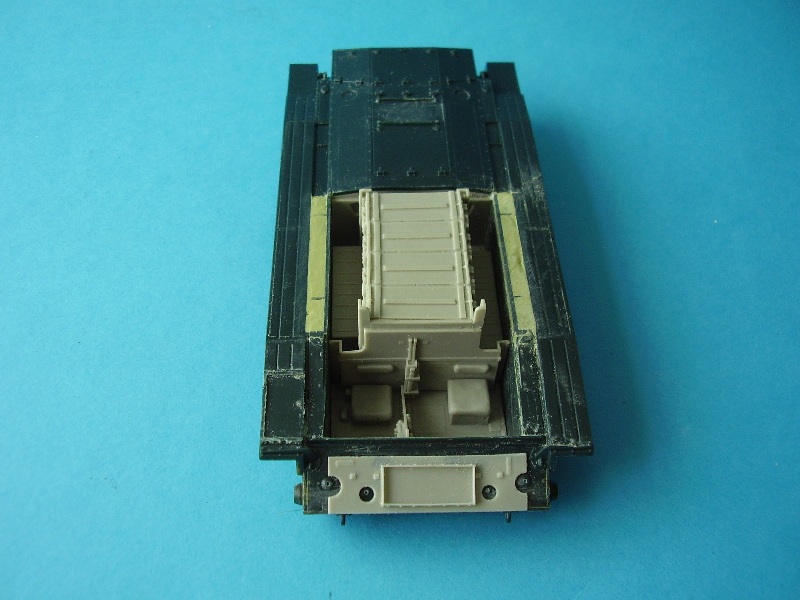
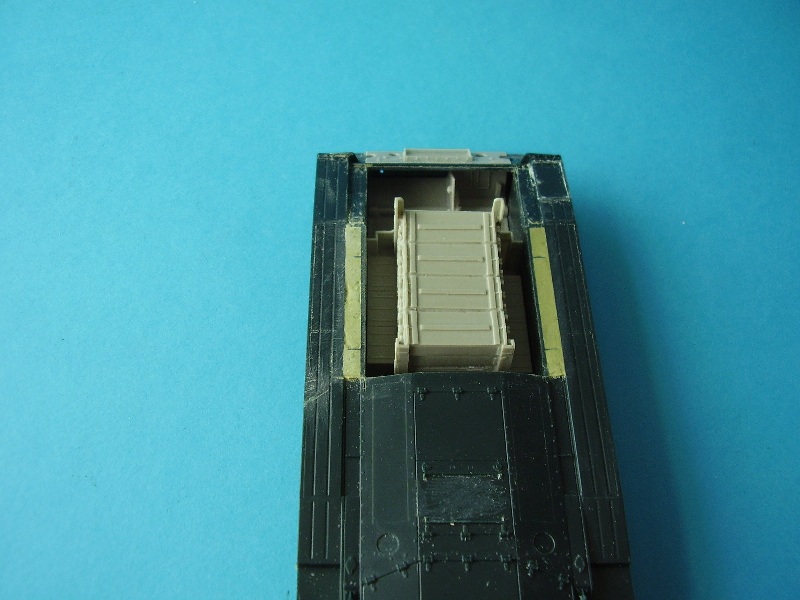
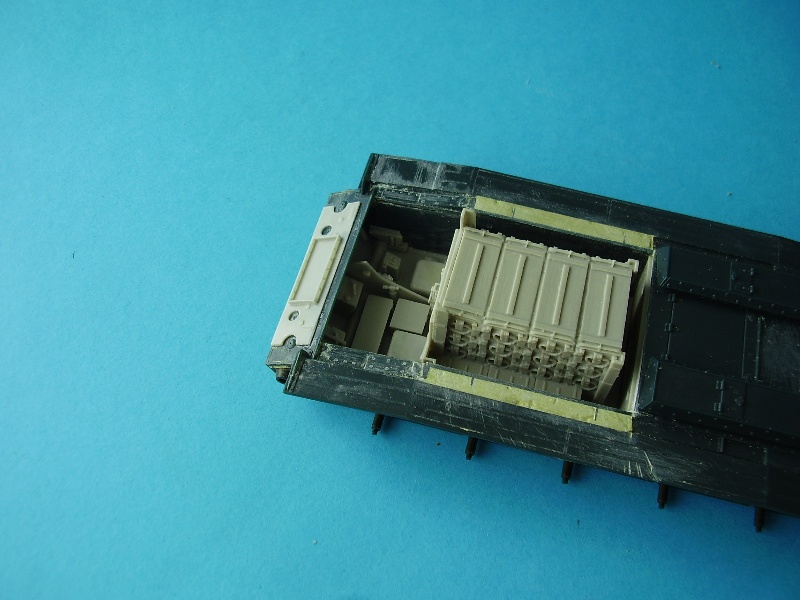
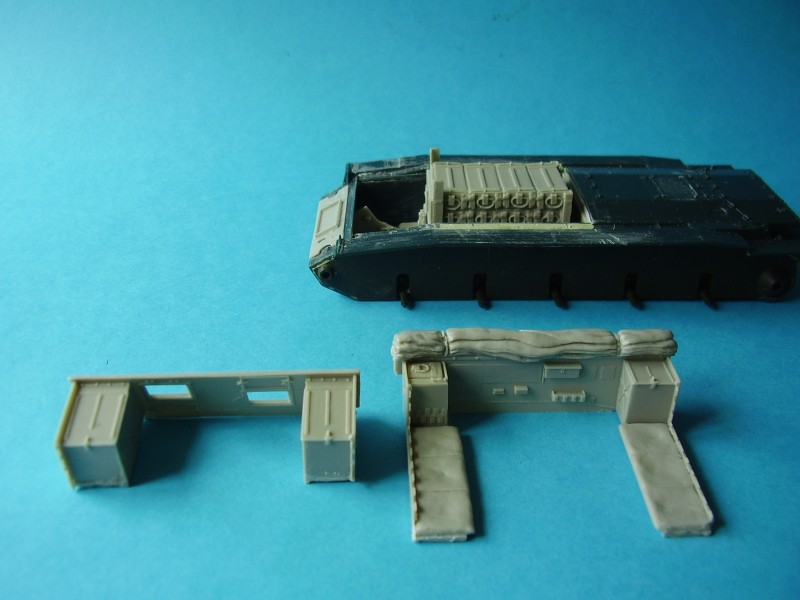
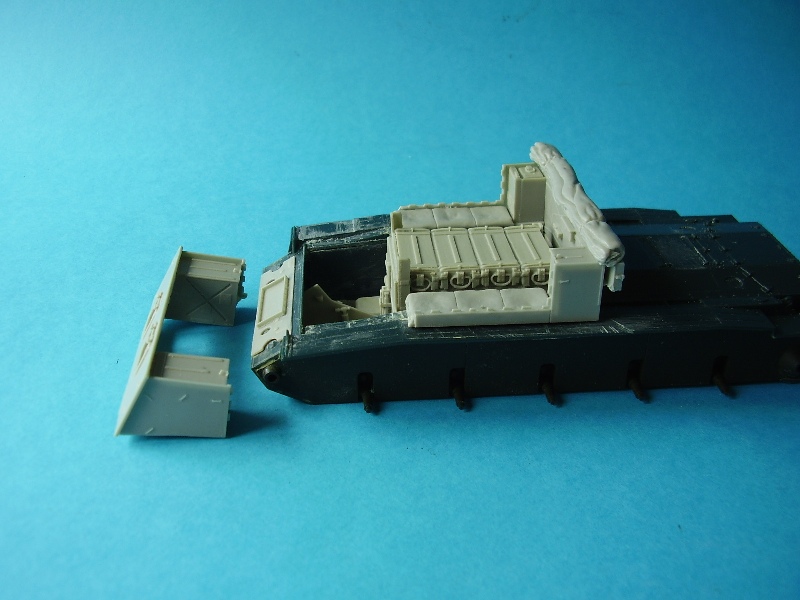
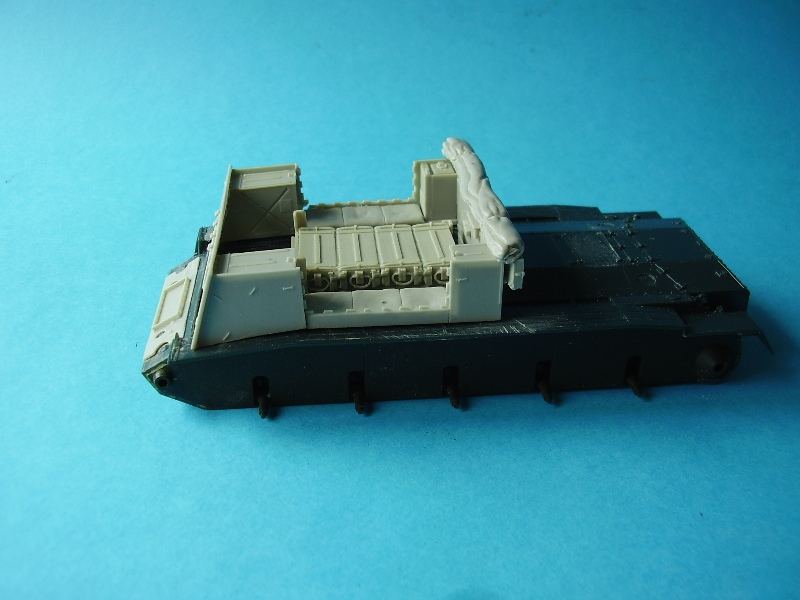
As with any build read the instructions first. I took me a little time to feel confident enough to start as with many conversions the first thing that comes out is the saw and of course if you make a wrong cut, things could be over before you start. As it turned out there was little to worry about the main alteration to the kit is the removal of the turret ring and front portion of the upper hull from the Crusader kit. You make the cut immediately behind the raised platform and then cut forward on either side to immediately behind the angled bracket at the top of the glacis plate. Once that has been successfully removed you lower any of the remaining side walls to the level of the track guards. With the top hull dealt with you can then add the suspension fixings to the lower hull. Once set in place remove any locating pins that enter into the lower hull. You also need to remove all the rivets from the glacis plate including those beside the tensioner holes then remove the diagonal bar form the jacking block location. Remove the rear light detail from under the louvers, remove the middle tow bracket flanges on the rear plate, and on the lower nose plate remove the upper and lower bolts immediately left and right of the centre line. Finally remove the spare track holder from the front left track guard. Once youve done all that then you can start to clean up and test fit the replacement parts. The Testors kit was my first experience of the older style kits with the slightly harder plastic parts and un-numbered sprue parts. Removing the detail was not that easy and took more effort than I thought it would be so I take my hat off to those who built through that period, not only is the dark green plastic hard to see detail on but having to jump around the instructions as the sprues were unnumbered was a pain. Fortunately all the replacement parts are well marked for identification. The build itself is a fairly straight forward one, you build and add a drop in crew deck for the driver/commander and a rear bulkhead. After that you add the drop in bulk 17pdr stowage, and add the frontal armour and rear top plate. All seems fairly simple but of course nothing ever quite is, so a look at how thing went together.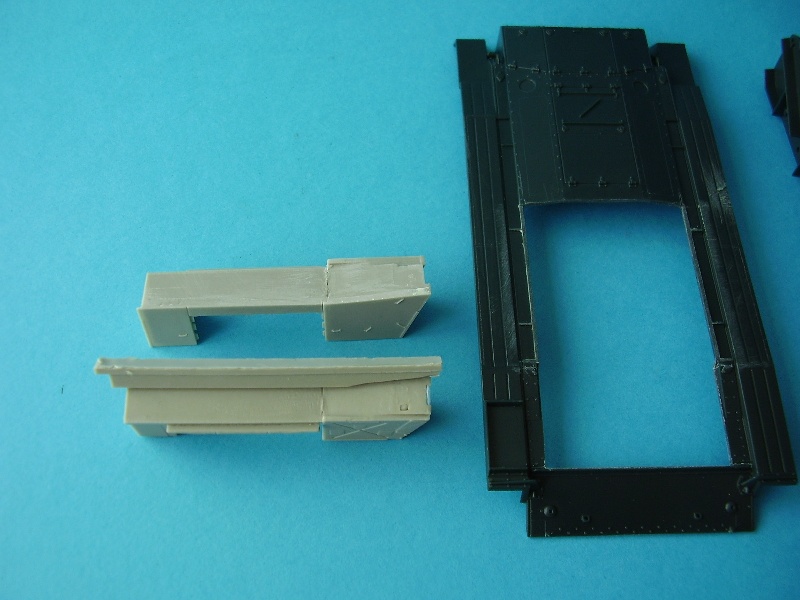
About the Author


FROM: ENGLAND - EAST ANGLIA, UNITED KINGDOM
Greying slightly, but young at heart. I've been teaching adults off and on for most of my life. Left the services in 85 and first started modelling in about 87 for a few years. Then I had a long spell when I didn't build anything (too busy) and really just got started again during the summer of ...
Comments

Hi John, Ken and Bill,
Thanks for dropping in folks and the comments.
John, you have to move away form the dark side
Cheers
Al
AUG 02, 2011 - 06:01 AM

Im assuming the base is only a temorary affair then? Who makes it and also the same question regarding the figure. Theres no mention of either of them in the article.
Nice build again Alan .... pulling the 17 pdr will really give this the edge. Its good to have this as an article ... Im sure when the 17pdr is readily available, more will be looking for something suitable to pull it!!
AUG 02, 2011 - 07:21 AM
Hi Frank,
Yes, just a temp base. It's from SB Models one of Stewarts SB Scotia Range. I've review some of his products here.
https://armorama.kitmaker.net/modules.php?op=modload&name=Reviews&file=index&req=showmaker&makerid=428
The figure is the RA Officer in Greatcoat from Resicast for the 25pdr, just added for scale, again review the fig here:
https://armorama.kitmaker.net/review/6043
I have a couple fo the SB Scotia bases I just use for fast pics, always better to have something to hand rather than my blue background.
Thanks for looking in, and glad you found the article useful.
Cheers
Al
AUG 02, 2011 - 11:33 AM
Alan, nice job, as always. Very good and informative feature. Looking forward to it with 17 pdr.
Cheers!
Stefan
AUG 02, 2011 - 07:24 PM
Hi folks,
Just for info. If you happen to be looking for a donor kit I was over on the Italeri web site this afternoon. I see they have re-released their Crusader Mk III under their 'Vintage Collection' label.
Al
AUG 06, 2011 - 03:41 AM
Not too bad a price at £23 too. I might just get one to replace the old one I did years ago. I can add the Eduard fenders too.
AUG 06, 2011 - 11:53 AM
Hi Ken,
I haven't built this one as a Gun Tank yet so I may well get one to add to the collection too.
Al
AUG 07, 2011 - 02:03 AM
This is probably the fourth or fith time I've read this article. A lovely building job and an entertaining text. Well done, Alan! Well done, indeed!
This build is certainly going into my To-Do list. (Hoping that Bronco and HB, keep up bring plstic kits of such off-the-beat-track kits).
Cheers,
Guido
NOV 03, 2011 - 08:27 PM
Hi Guido,
Thank you for the kind comments, and I'm glad you enjoyed the build and article.
You probably raised a question many are wondering, will there be a 1/35 plastic version. I haven't heard of anything yet but with the increased interest by palstic manufacturers in all things British it is possible. Still they have yet to produce any new trucks to tow this new line of artillery but I am hopeful there.
The AA conversion is quite an old kit but Italeria have just re-released the Gun Tank at a reasonable price so it should be affordable and do-alble by many.
Cheers
Al
NOV 04, 2011 - 12:45 AM
Copyright ©2021 by Alan McNeilly. Images and/or videos also by copyright holder unless otherwise noted. The views and opinions expressed herein are solely the views and opinions of the authors and/or contributors to this Web site and do not necessarily represent the views and/or opinions of Armorama, KitMaker Network, or Silver Star Enterrpises. All rights reserved. Originally published on: 2011-07-31 00:00:00. Unique Reads: 20509

WEB HOSTING BY


Copyright ©2021 Armorama and Kitmaker Network, a subsidiary of Silver Star Enterprises
All Rights Reserved. Please read our Conditions of Use and Privacy Policy.
All Rights Reserved. Please read our Conditions of Use and Privacy Policy.