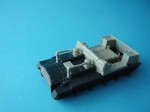
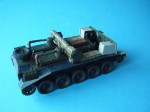
1⁄35Crusader Mk II Gun Tractor Mk I
15
Comments
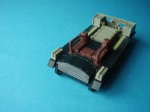
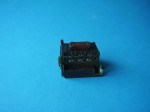
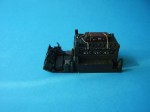
Drivers Compartment
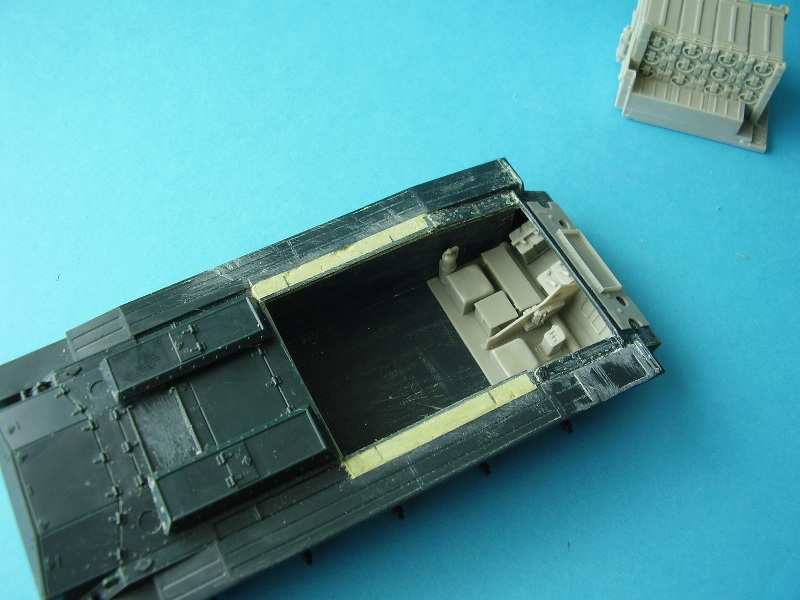
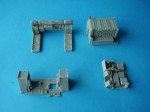
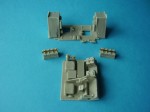
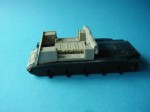
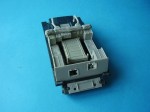
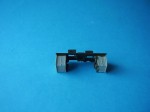
Accurate Armour provide a nicely detailed drivers area, this build up easily and fitted in with no problem. The only thing to watch out for here are the small driver control handles, it is very easy to break these off when test fitting the sub assembly. I destroyed two, strangely enough the inside one, and ended up using a Bren gun handle to replace my losses.17pdr Ammo Load
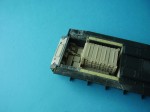
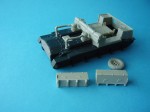
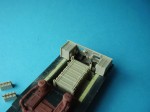
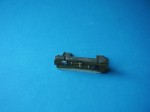
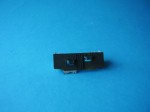
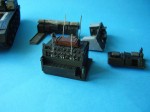
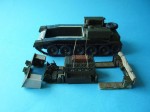
This is a bulk load, again nicely detailed but youíll need to remove a fairly wide pour plug so a good sharp razor saw is required. The detail on the load is good and to it you add a surround PE metal cage (again no major problems here). Accurate Armour provide nice PE tie down straps to complete the load and a loose 17pdr ammo box that sits on top. I opted to add straps made form lead wire with buckles from Resicast as I want to show the straps undone.Things to watch out for
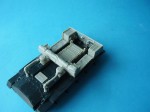
Both the load and the drivers compartment need to butt up closely when fitted into the vehicle. The only issue here came when I fitted both into the hull and added the top back plate. There was insufficient room to add in the 4 rifles provided with the set that sit behind the ammo load on the rear bulkhead. Initially I thought this was my error but others have experienced the same problem, despite having pushed the whole assembly as far forward as possible. The answer to this issue may lie with the particular donor kit you use, as itís possible there are slight variations in the size of the kits. This is something to bear in mind in any build you might do and with knowledge make any adjustments necessary, if possible to compensate for this. Obviously the kit contains some small parts so be careful, this is particularly true of the two Thompon SMGs supplied for the front compartment. The barrels are joined to the sprue by a thin piece of resin and I only managed to remove one successfully loosing the other with a broken barrel. You get 3 driving leavers though and 3 opening arms for the hatches so you do have spares.Frontal Armour, Side Bins/seats and Rear Plate
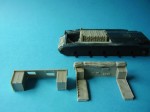
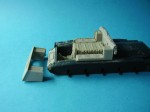
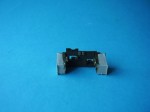
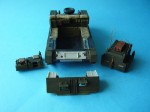
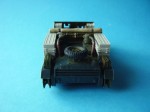
These four parts make up the new additional armour added to the kit and form the square around the open interior. There was a slight warp in the rear plate and the frontal armour and this made fitting slightly more difficult. The slight bend in the frontal armour was not so much of a problem as it is thin enough to be flexible. The rear plate however is very thick having additional detail cast on the rear. The side bin and additional side seating come as one part with a join between the seating and the bin. This is a weak area of the mould and I managed to snap off one set of seats whilst doing one of the many test fits I carried out. This in fact proved to be useful and I separated both front bins from the seats. I then joined the front bins to the frontal armour and the rear bins and seating to the rear plate. This gave me some additional flexibility when fitting these parts as I was able to deal with setting the front plate and bins correctly and then deal with setting the rear plate and seating correctly allowing me to get rid of the slight warp at either end. The bins sit at a slanted angle and you may need to build up a little under them with Milliput or similar. You will also need to chamfer the rear of the front glacis plate to accept the sloped angle of the frontal armour. This is not as difficult as it might sound. If you look at some pictures of the actual vehicle the bins donít sit flush with the side hull but have a slight gap underneath so with some test fitting you should get the angle about right. The front armour plate has excellent interior and exterior detail allowing open or closed hatches and there are fitting and fixtures that will need added before you set the front plate in place. Just note here that the centre picture on page 4 of the instructions shows the part upside down!Comments
Hi John, Ken and Bill,
Thanks for dropping in folks and the comments.
John, you have to move away form the dark side
Cheers
Al
AUG 02, 2011 - 06:01 AM
Im assuming the base is only a temorary affair then? Who makes it and also the same question regarding the figure. Theres no mention of either of them in the article.
Nice build again Alan .... pulling the 17 pdr will really give this the edge. Its good to have this as an article ... Im sure when the 17pdr is readily available, more will be looking for something suitable to pull it!!
AUG 02, 2011 - 07:21 AM
Hi Frank,
Yes, just a temp base. It's from SB Models one of Stewarts SB Scotia Range. I've review some of his products here.
https://armorama.kitmaker.net/modules.php?op=modload&name=Reviews&file=index&req=showmaker&makerid=428
The figure is the RA Officer in Greatcoat from Resicast for the 25pdr, just added for scale, again review the fig here:
https://armorama.kitmaker.net/review/6043
I have a couple fo the SB Scotia bases I just use for fast pics, always better to have something to hand rather than my blue background.
Thanks for looking in, and glad you found the article useful.
Cheers
Al
AUG 02, 2011 - 11:33 AM
Alan, nice job, as always. Very good and informative feature. Looking forward to it with 17 pdr.
Cheers!
Stefan
AUG 02, 2011 - 07:24 PM
Hi folks,
Just for info. If you happen to be looking for a donor kit I was over on the Italeri web site this afternoon. I see they have re-released their Crusader Mk III under their 'Vintage Collection' label.
Al
AUG 06, 2011 - 03:41 AM
Not too bad a price at £23 too. I might just get one to replace the old one I did years ago. I can add the Eduard fenders too.
AUG 06, 2011 - 11:53 AM
Hi Ken,
I haven't built this one as a Gun Tank yet so I may well get one to add to the collection too.
Al
AUG 07, 2011 - 02:03 AM
This is probably the fourth or fith time I've read this article. A lovely building job and an entertaining text. Well done, Alan! Well done, indeed!
This build is certainly going into my To-Do list. (Hoping that Bronco and HB, keep up bring plstic kits of such off-the-beat-track kits).
Cheers,
Guido
NOV 03, 2011 - 08:27 PM
Hi Guido,
Thank you for the kind comments, and I'm glad you enjoyed the build and article.
You probably raised a question many are wondering, will there be a 1/35 plastic version. I haven't heard of anything yet but with the increased interest by palstic manufacturers in all things British it is possible. Still they have yet to produce any new trucks to tow this new line of artillery but I am hopeful there.
The AA conversion is quite an old kit but Italeria have just re-released the Gun Tank at a reasonable price so it should be affordable and do-alble by many.
Cheers
Al
NOV 04, 2011 - 12:45 AM
Copyright ©2021 by Alan McNeilly. Images and/or videos also by copyright holder unless otherwise noted. The views and opinions expressed herein are solely the views and opinions of the authors and/or contributors to this Web site and do not necessarily represent the views and/or opinions of Armorama, KitMaker Network, or Silver Star Enterrpises. All rights reserved. Originally published on: 2011-07-31 00:00:00. Unique Reads: 20509


