

1⁄35Snow Panzer
2
Comments
build
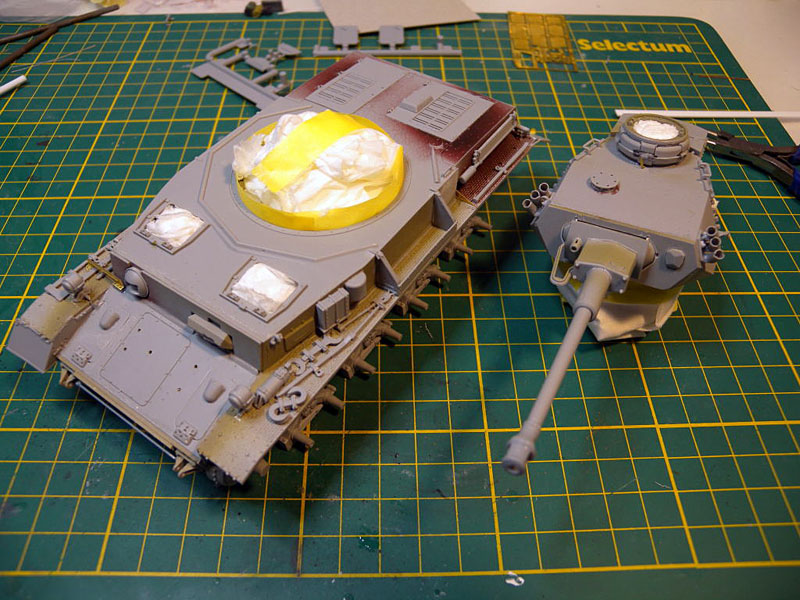
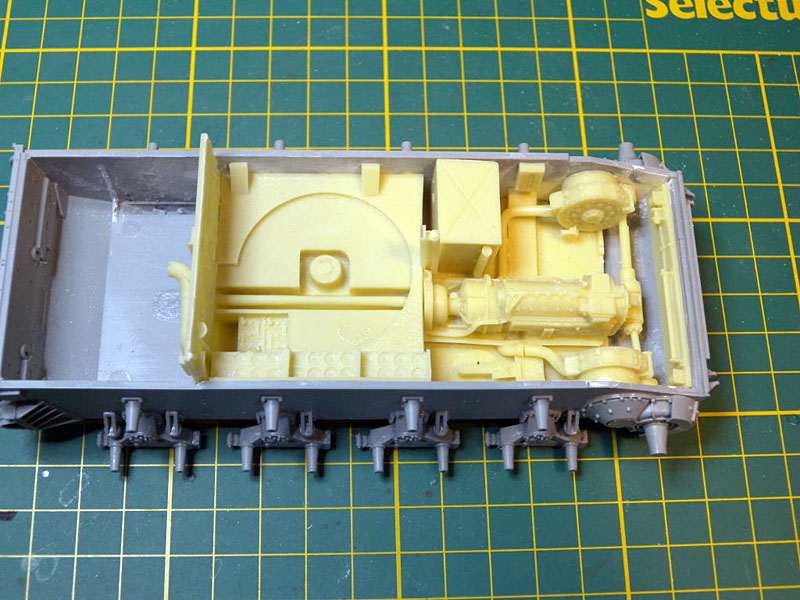
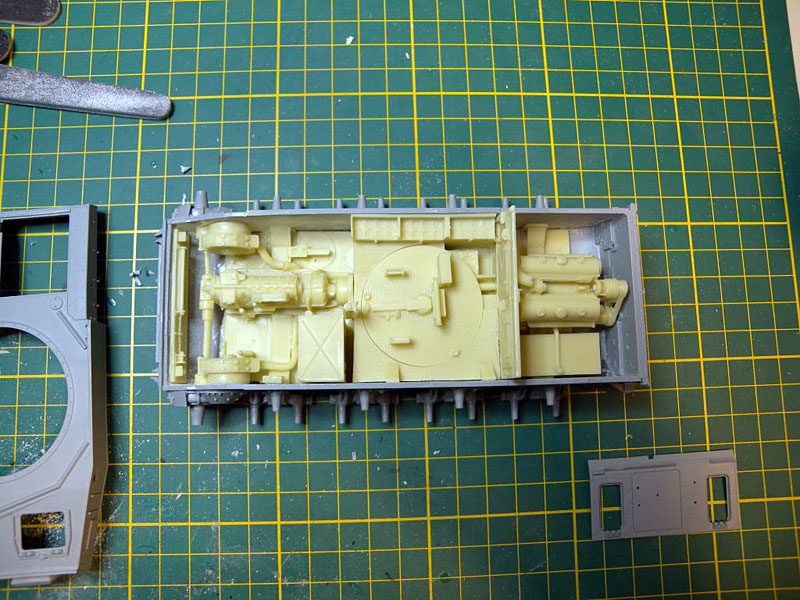
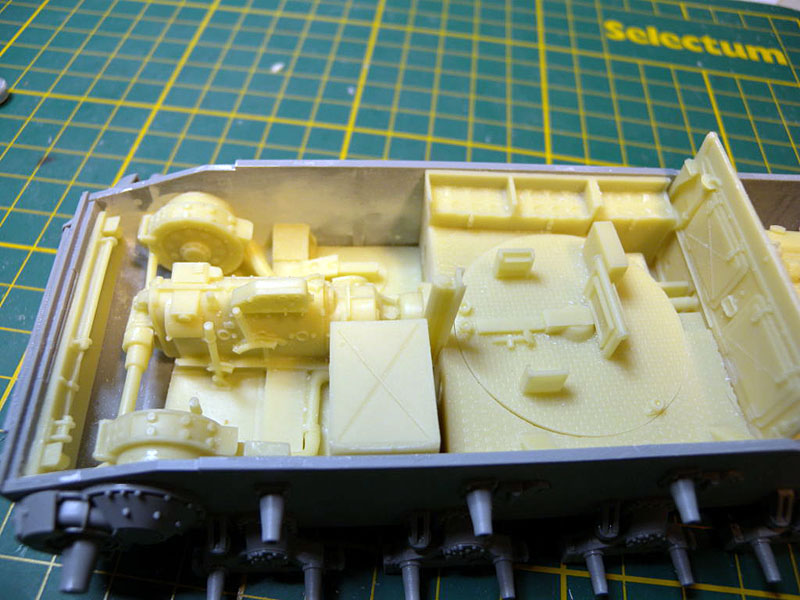
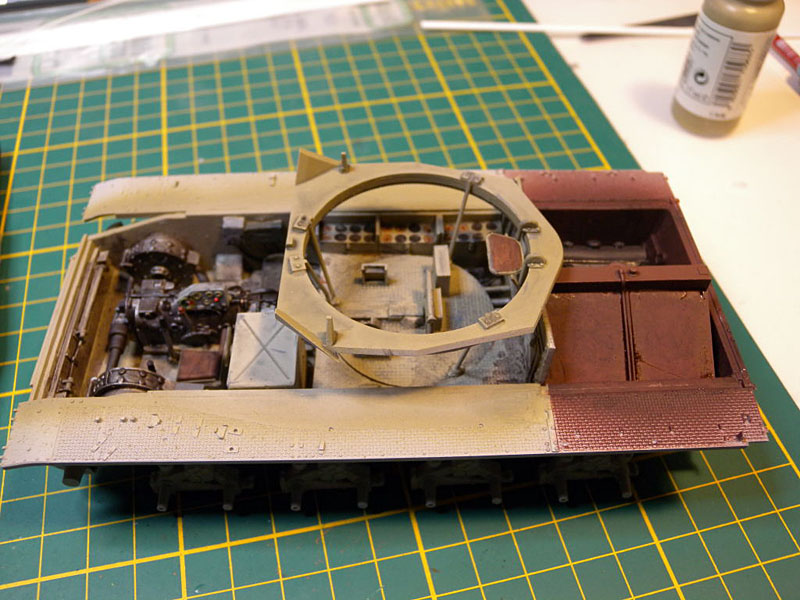
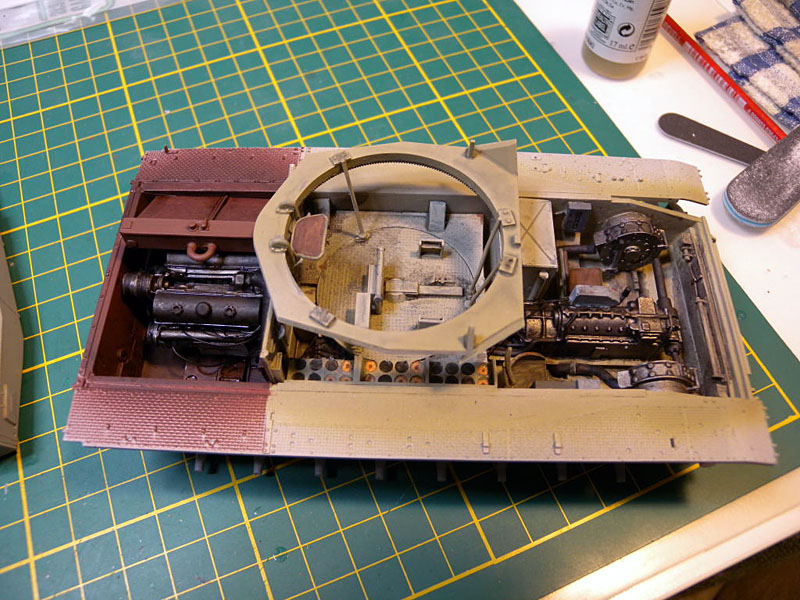
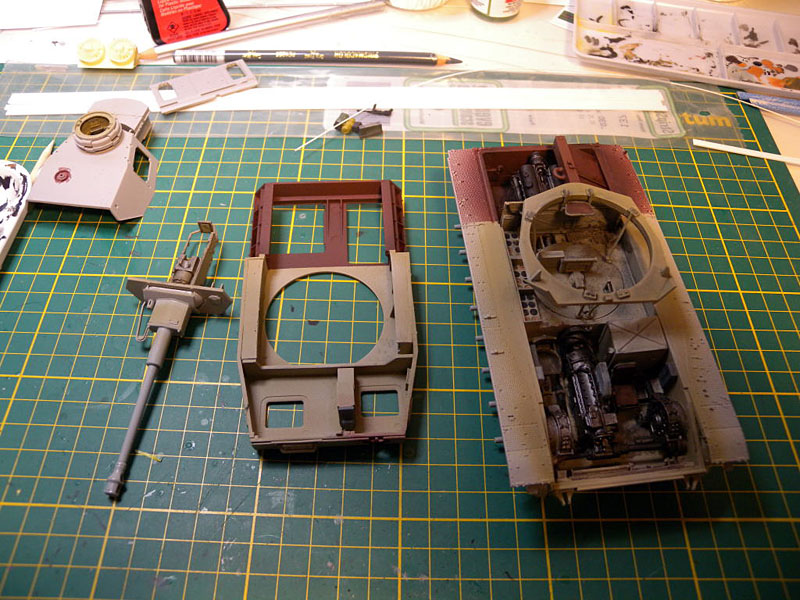
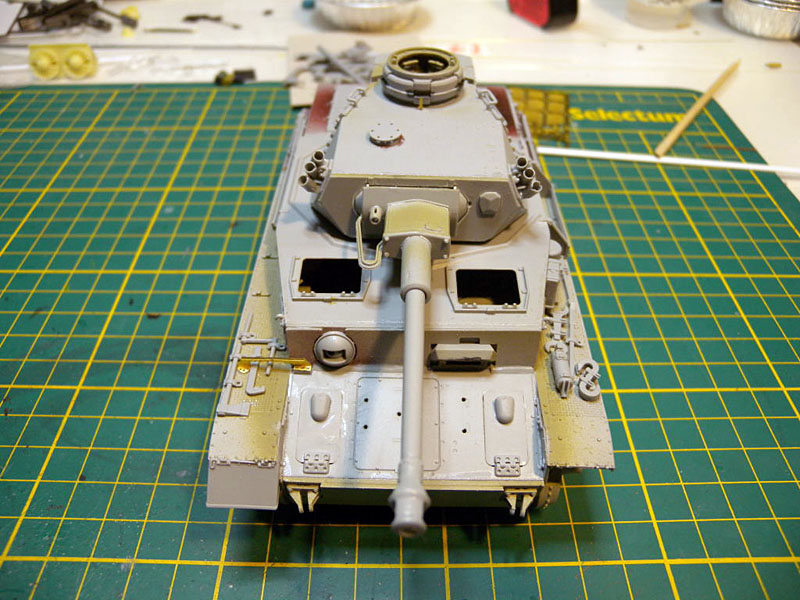
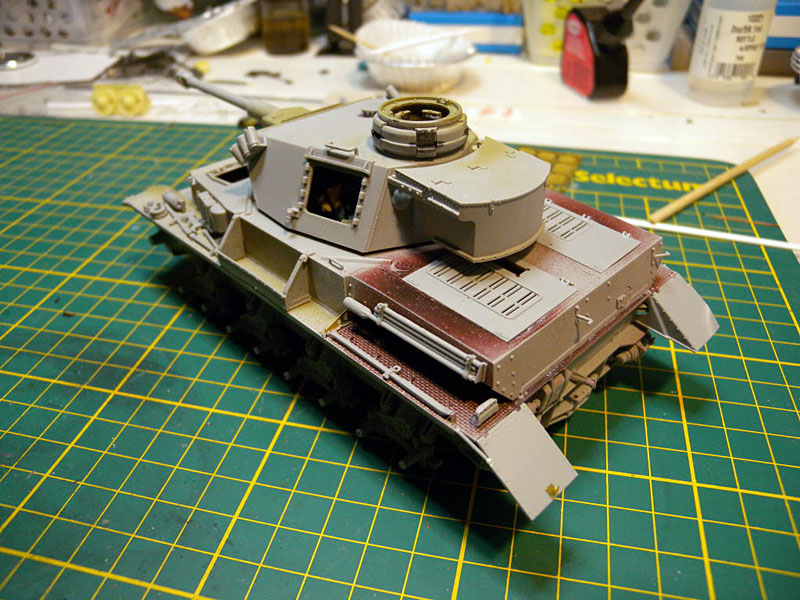
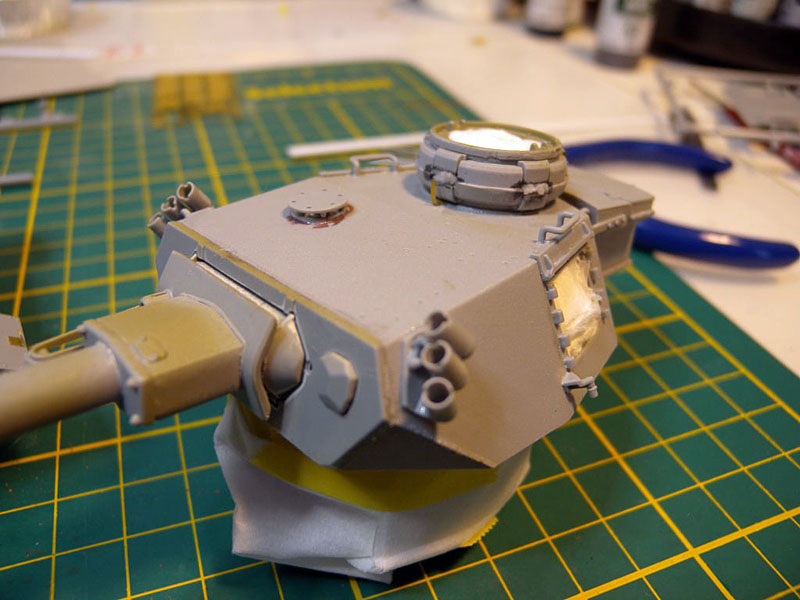
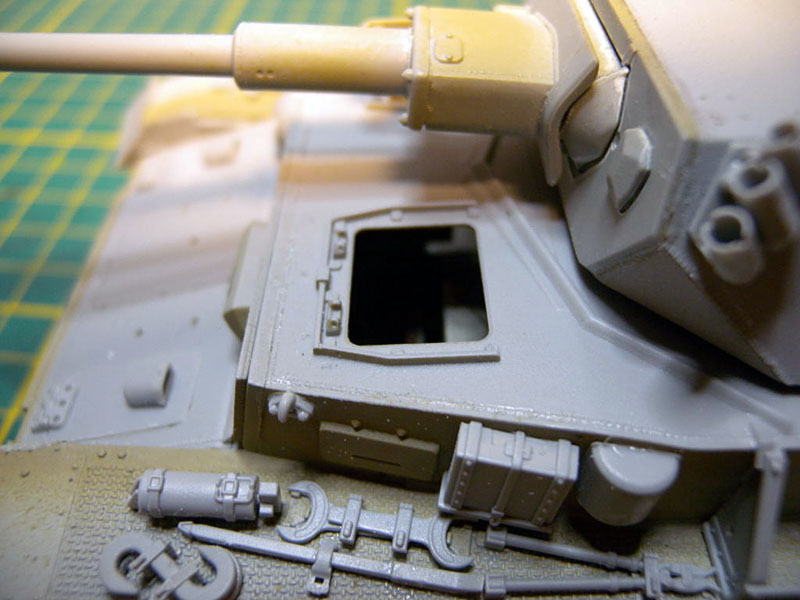
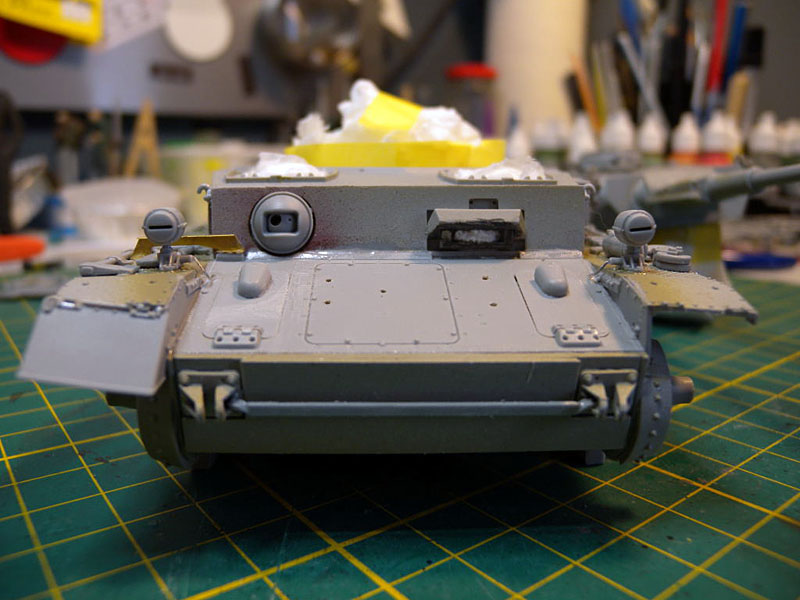
I started with the lower hull and interior. To get the interior parts to fit, the inside plastic bracing needed to be removed. I did this with a #10 blade and a sanding stick. I then pre-fit the interior, locating where the pieces went and marking the interior. I then started work on the driver and radio operators compartments, this includes the transmission. The parts were cleaned up with a sanding stick and washed the parts and dried in Sunlight. I then used CA to start putting the pieces together and attaching them to the lower section of the hull. I added wires using fine jewellery wire and attached with CA. The pieces included in the Verlinden kit for the mounting the turret floor to the turret did not look right, so I used plastic rod I had on hand and I scratch build the turret mounting brackets with styrene stock, I also had on hand. I decided to build and place the engine, not sure why, as I was not planning on opening the rear hatches. Once everything was in place, I gave it all a coat of Tamiya Fine Primer. Once the primer was dry, I airbrushed the crew section with a coat of Vallejo Air Hemp, and the engine compartment with Vallejo Air Oxide Red. I then gave the crew compartment an overspray of Tamiya White to lighten it up a little. The gearbox was then hand painted using Vallejo Oily Steel and dry brushed with Vallejo Steel and Silver. I used Vallejo paints to pick out the rest of the detail, including the console. I then gave the interior a wash of Mig Cold Grey Wash, followed by some dry brushing to bring out the detail. The engine was painted with Vallejo Oily Steel then washed with Mig Dark Wash and some Mig Engine Grease Oil. Again detail was hand painted using Vallejo paints. Once all dry, the interior was given a couple coats of Testors Dull spray. The rest of exterior went together pretty well following the instruction. I did leave the hatches off as the plan was to show them open. For glue, I tend to use a 50/50 mix of Tamiya Cement and Tamiya Extra Thin for most parts, and CA for PE parts. I left the wheels off and mounted them on tooth picks. I build the Magic Track in two sections for easy installation after.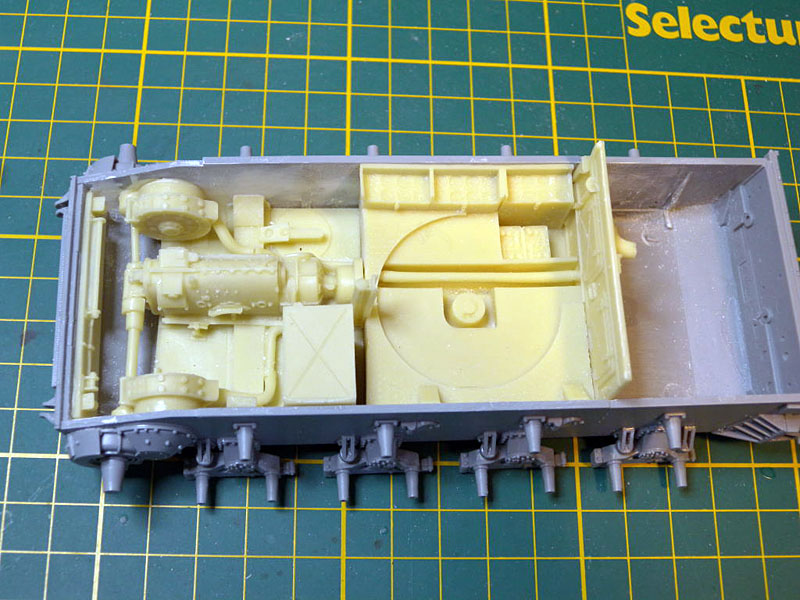

About the Author

FROM: ONTARIO, CANADA
I am an IT Consultant and father, with a passion for plastic models. I mostly prefer 1/35 Armor and 1/48 Aircraft. My main interests are anything Canadian, as well as WW2 German and British Armor and Aircraft. I have been building models since I was a young kid, got away from it for awhile, but r...
Comments

Kevin, thanks and well done for sharing your first attempt at the hair spray technique, especially as you say that you felt some trepidation about attempting it at all! Having spent the time building the kit and then applying the base colour, it is always tempting just to play safe for fear of ending up with something that you don't like.
I must say I think you have been somewhat daring as well to use dark grey as the base colour, although I am not necessarily saying that it is wrong... You have included some nice touches and details however.
This would be very nicely complemented by some figures, maybe some ground work?
NOV 19, 2011 - 12:46 AM

Kevin:
Excellent and a beautiful job done, particularly for your first time of doing a snow scheme!
One thing I might suggest is muddying up the treads and wheels more than they are. Perhaps some careful brushing on the wheels, treads and inside the outer frame walls of some very thinned out Quikrete solution would give the entire area a well traveled and weathered look once the Quikrete solution dries.
Cheers!
RoyaleTiger
APR 11, 2012 - 12:07 PM
Copyright ©2021 by Kevin Brant. Images and/or videos also by copyright holder unless otherwise noted. The views and opinions expressed herein are solely the views and opinions of the authors and/or contributors to this Web site and do not necessarily represent the views and/or opinions of Armorama, KitMaker Network, or Silver Star Enterrpises. All rights reserved. Originally published on: 2011-10-30 00:00:00. Unique Reads: 20680

WEB HOSTING BY


Copyright ©2021 Armorama and Kitmaker Network, a subsidiary of Silver Star Enterprises
All Rights Reserved. Please read our Conditions of Use and Privacy Policy.
All Rights Reserved. Please read our Conditions of Use and Privacy Policy.