

1⁄35Bringing The Ammo - Panzer I Munitionsschlepper
1
Comment
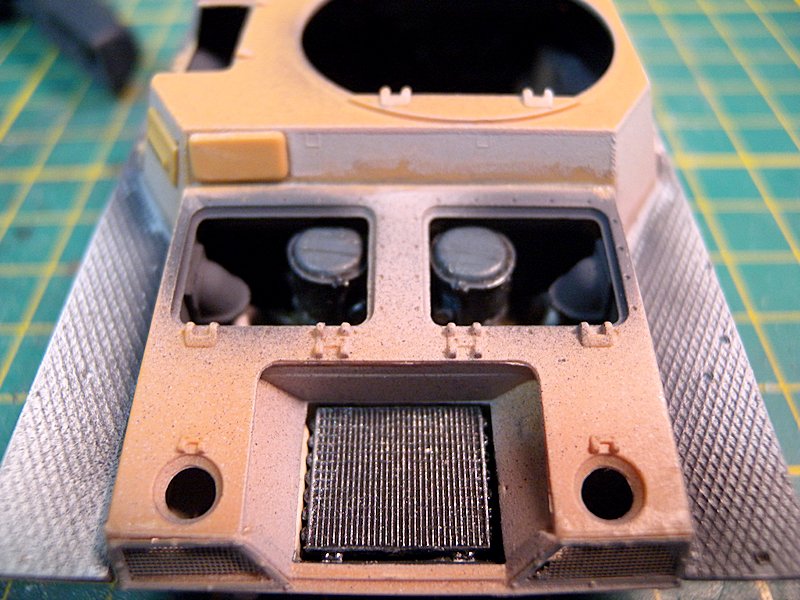
Exterior detail
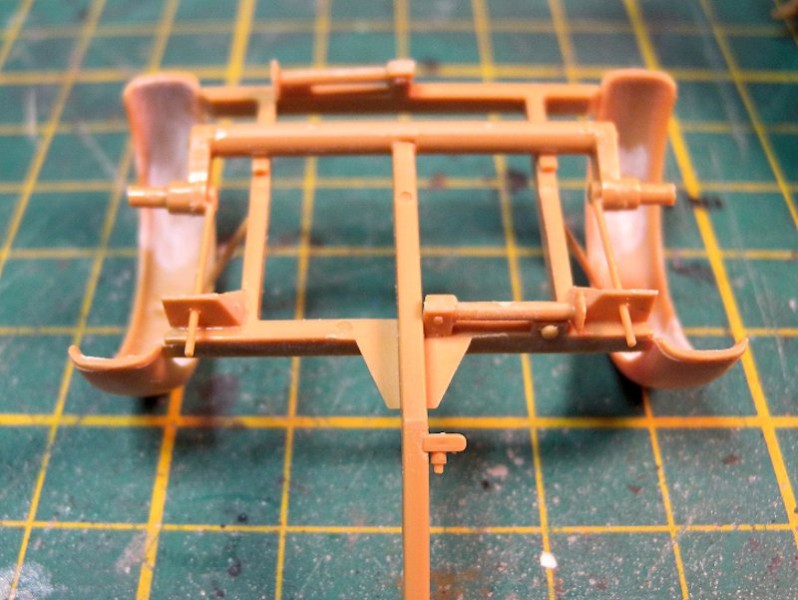
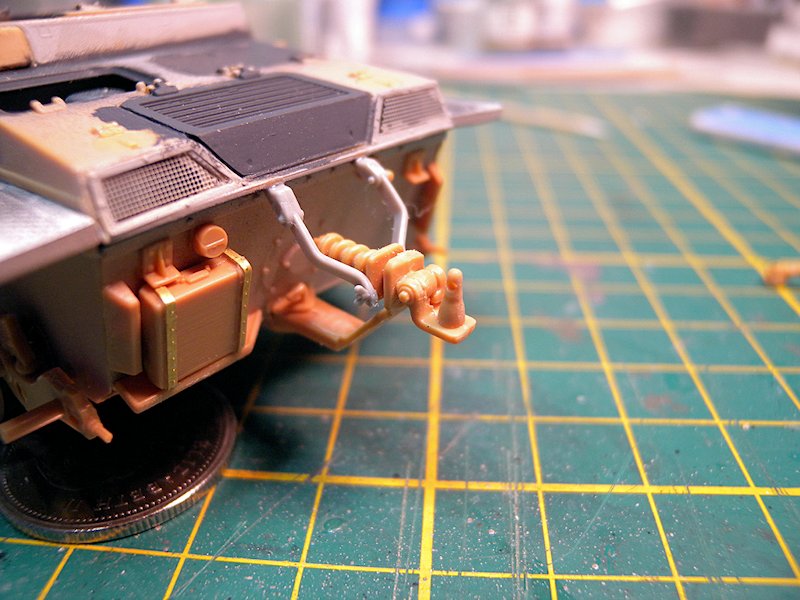
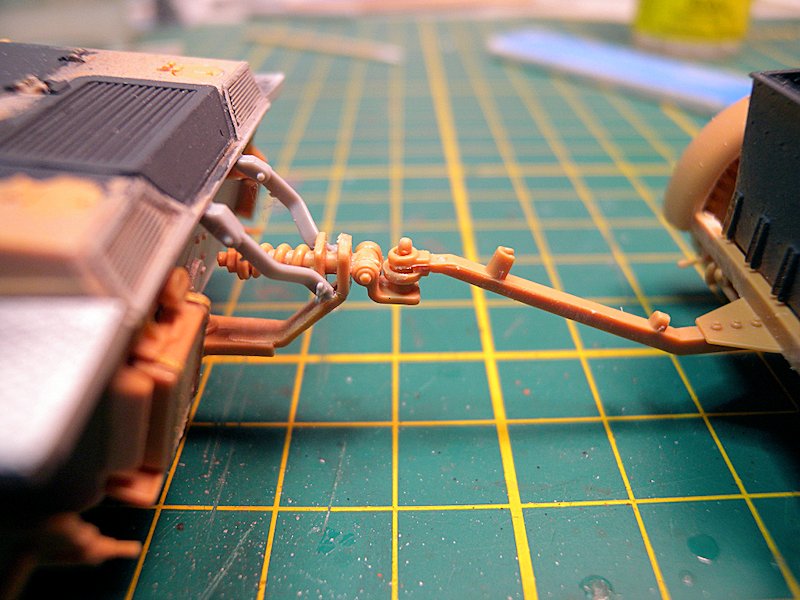
The rest of the exterior is pretty straight forward: upper hull, a couple of hatches, and view ports. I added all the tools, including the PE detail for the tool tie-downs. Now it was time to complete the running gear. Before starting, the ejector marks on the suspension arms were filled and sanded; the suspension parts then went together perfectly, with no issues. On to the rear hitch, it should be noted that part E-49, the hitch brace, called for in the instructions is missing. I did email Tristar, and received no answer. So doing a little research on the Internet, where there is not much information on this vehicle, I decided to look through my parts box to see if I could find something that looked ok. A couple of old kit parts were located, added, and looked like they belonged.Trailer
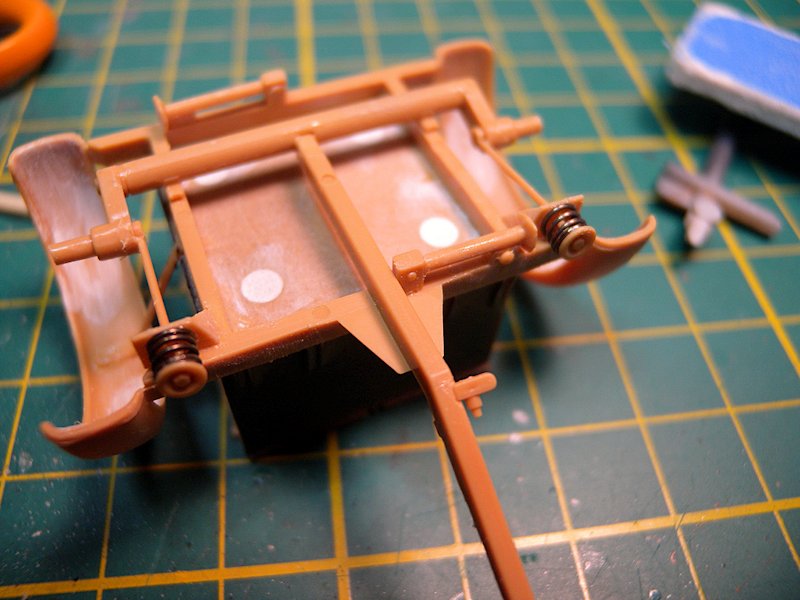
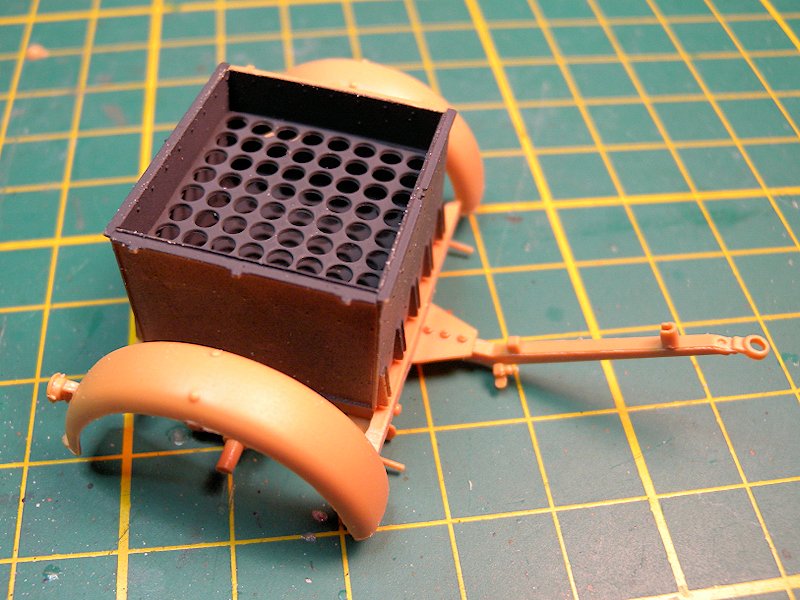
The trailer goes together well, and with great detail. The detail starts with the trailer undercarriage and suspension, and Tristar supplies two metal springs with which to detail the suspension. There are a few ejector marks on the inside of the trailer that need to be filled if youre planning on leaving it open. All the ammunition comes in strips, which I cut apart, as I found this made it easier to fit them into the ammo rack. A couple of pieces of the ammunition were used to help line up the ammo rack and keep things square during construction.Exterior paint
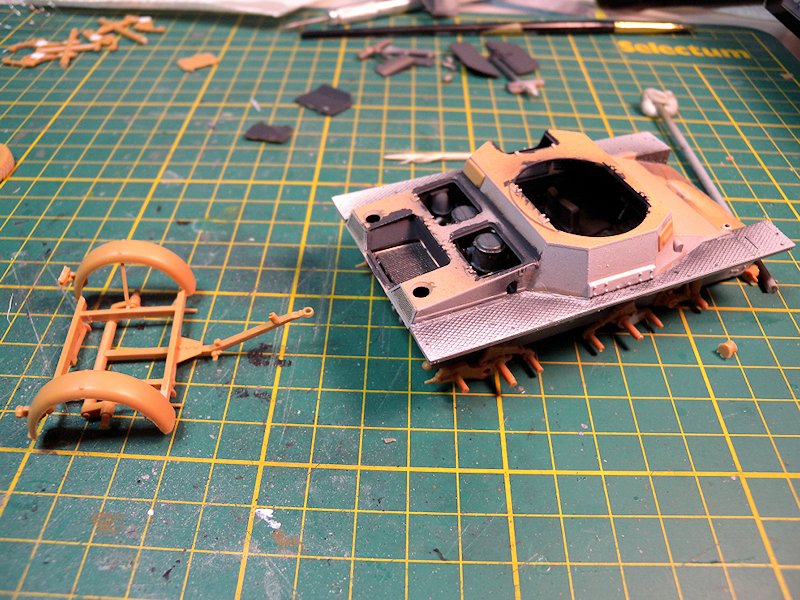
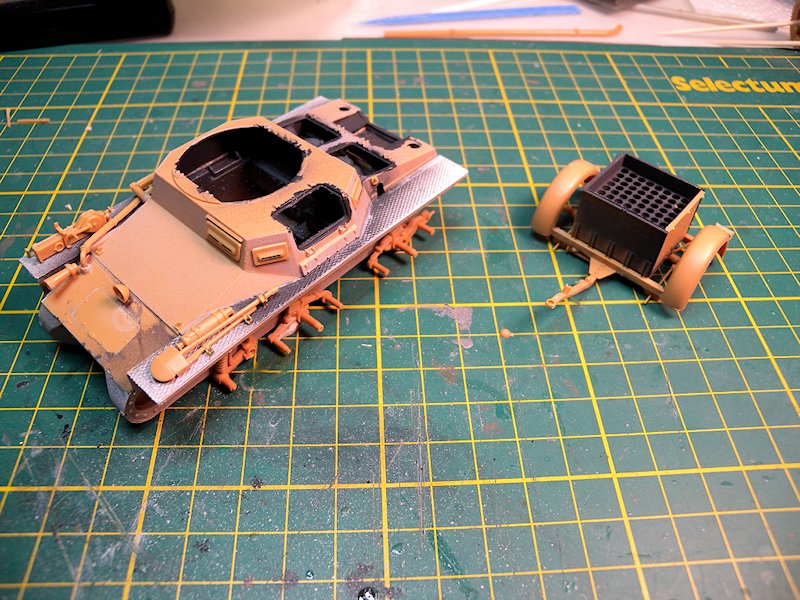
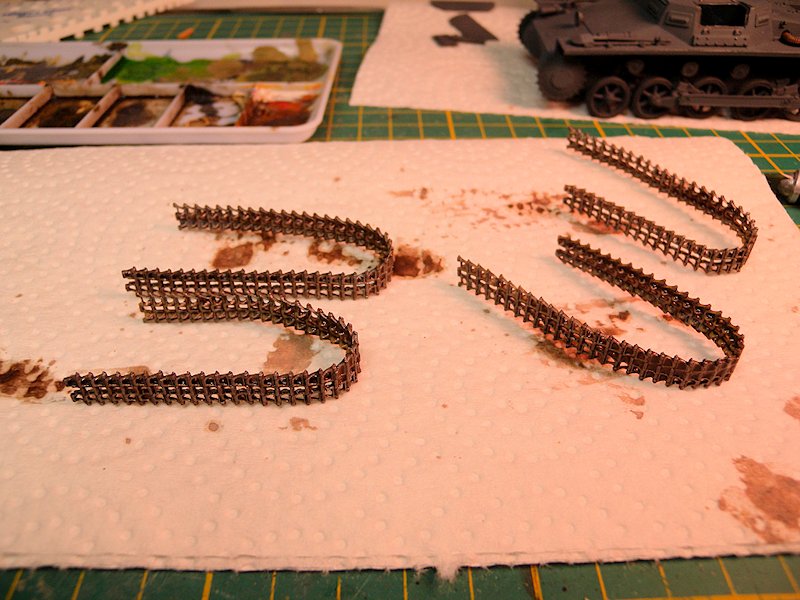
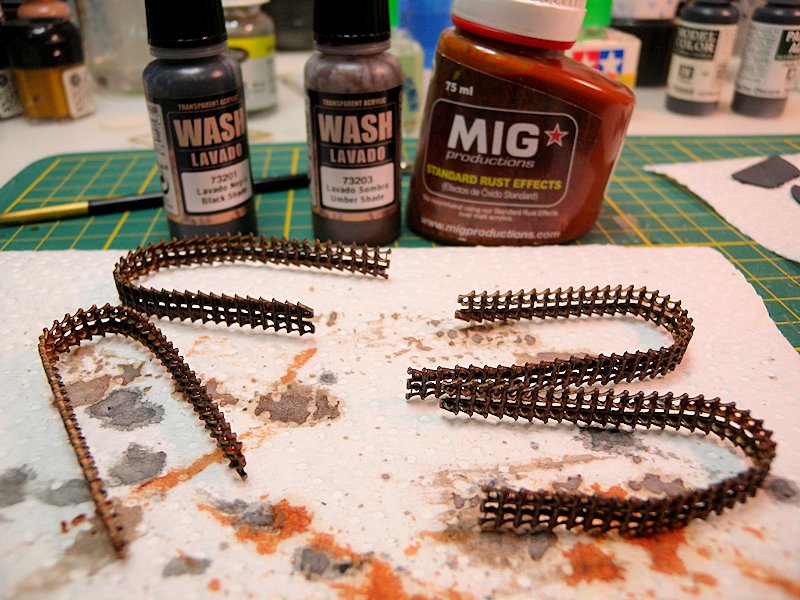
Now it was time to paint the exterior, the tracks and wheels being left off at this stage. After closing all the hatches, with a VERY small amount of white glue to keep them shut, I applied a coat of trusty Tamiya Fine Primer. I then added about 20% Tamiya Black to German Grey and airbrushed the lower hull and running gear. I also pre-shaded some of the upper hull. Moving to straight German Grey, light coats were applied to the upper hull and the outline of the running gear. This was followed by mixing about 20% Tamiya Light Blue to German Grey, then highlighting all the raised edges, and some of the flat surfaces. All the painting was done with my Paasche airbrush at about 18-20 psi. With tank and trailer painted, the rubber parts of the road and trailer wheels were hand painted using Vallejo Dark Rubber. Track assembly was next, a time consuming job due to the size of the individual treads; I assembled the tracks in two part-runs per side, dry fitted them onto the tank and then removed them for painting. The tracks were spray painted with Tamiya Gun Metal, then washed with Vallejo Umber Shade and Mig Dark Rust. Using a pencil, a slight graphite color was applied to the insides and hinges of the tracks. Now they were mounted onto the tank.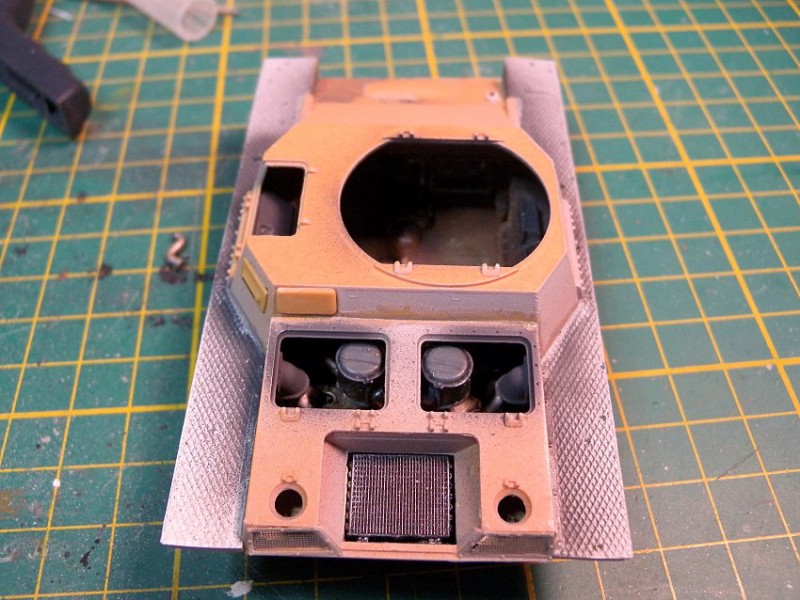


About the Author

FROM: ONTARIO, CANADA
I am an IT Consultant and father, with a passion for plastic models. I mostly prefer 1/35 Armor and 1/48 Aircraft. My main interests are anything Canadian, as well as WW2 German and British Armor and Aircraft. I have been building models since I was a young kid, got away from it for awhile, but r...
Comments

Hi Kevin,
Thanks for the review and the build article. I alwasy wondered what this kit was like and it looks preyy neat. Excellent job.
Cheers
Al
MAR 23, 2012 - 02:08 AM
Copyright ©2021 by Kevin Brant . Images and/or videos also by copyright holder unless otherwise noted. The views and opinions expressed herein are solely the views and opinions of the authors and/or contributors to this Web site and do not necessarily represent the views and/or opinions of Armorama, KitMaker Network, or Silver Star Enterrpises. All rights reserved. Originally published on: 2012-03-17 00:00:00. Unique Reads: 17316

WEB HOSTING BY


Copyright ©2021 Armorama and Kitmaker Network, a subsidiary of Silver Star Enterprises
All Rights Reserved. Please read our Conditions of Use and Privacy Policy.
All Rights Reserved. Please read our Conditions of Use and Privacy Policy.