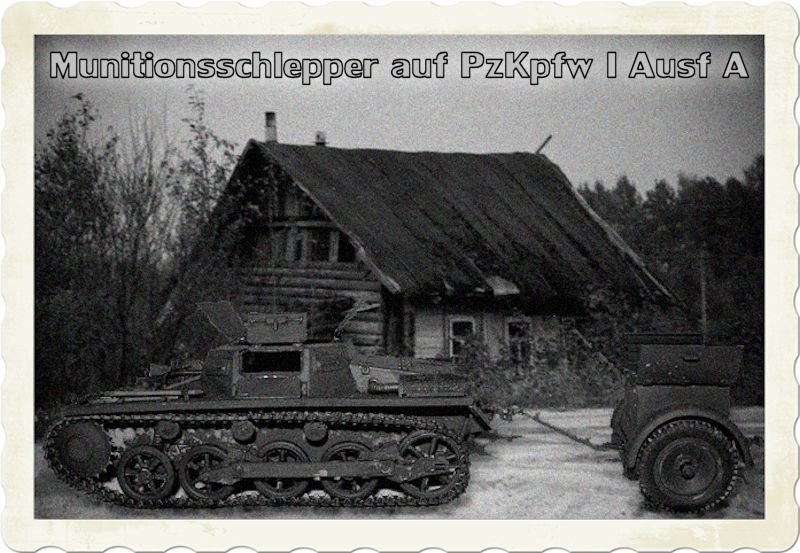
1⁄35Bringing The Ammo - Panzer I Munitionsschlepper
1
Comment
Weathering
With everything dry, the tank and trailer were given a coat of Future, the decals applied, then another coat of Future. It was now ready for the weathering process. Weathering started with some selective washes of Mig Dark Wash and Mig Cold Steel. This was then sealed with a coat of Testor Flat Clear spray. Chipping was done using graphite and aluminum color pencils, with some Vallejo Black Brown and a fine brush. Rust was added using Mig Rust washes and Vallejo Pigments. Dirt was applied by mixing pigments with water then applying with a brush; once this mix is dry, most of it is removed using a stiff brush. I applied another coat of flat, then continued with dry pigments until I achieved the effect I was looking for. The track treads were dry brushed with Vallejo Steel and highlighted with a lead pencil. Ammunition was airbrushed using Alclad Brass.and finally. . .
This was a very enjoyable kit to build, especially having all the details included without having to buy any expensive aftermarket parts. Although quite an unusual tank in my collection, I already have plans to team it up with a StuG III in a reloading diorama, taking place during the initial summer push on Stalingrad. I recommended this kit in my review, and I am still recommending it. Background image in black and white montage by Ilya Dobrych, some rights reserved.Comments
Hi Kevin,
Thanks for the review and the build article. I alwasy wondered what this kit was like and it looks preyy neat. Excellent job.
Cheers
Al
MAR 23, 2012 - 02:08 AM
Copyright ©2021 by Kevin Brant . Images and/or videos also by copyright holder unless otherwise noted. The views and opinions expressed herein are solely the views and opinions of the authors and/or contributors to this Web site and do not necessarily represent the views and/or opinions of Armorama, KitMaker Network, or Silver Star Enterrpises. All rights reserved. Originally published on: 2012-03-17 00:00:00. Unique Reads: 17316


