

1⁄35Assault Infantry Platoon
5
Comments

so...
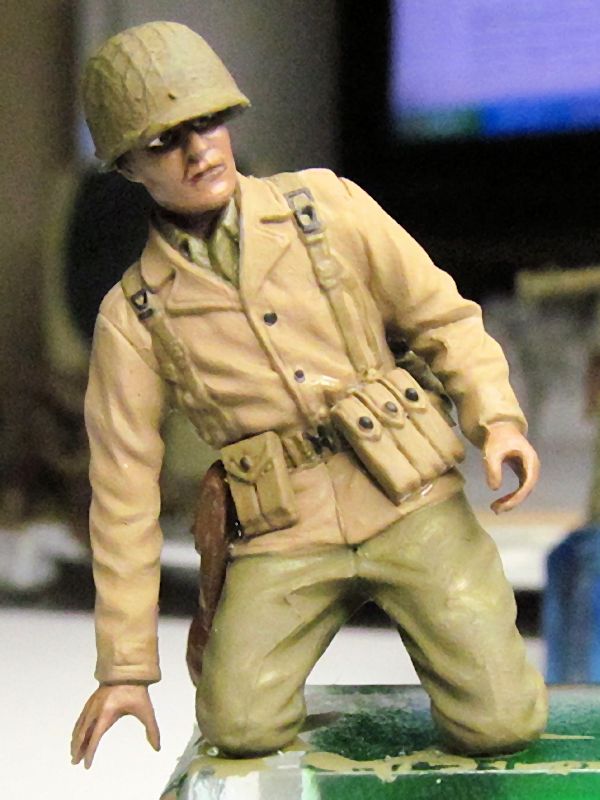
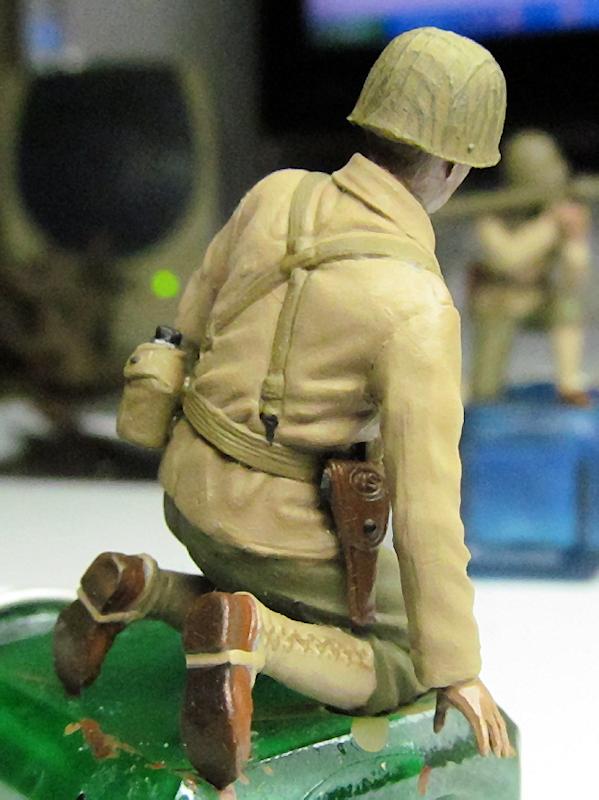
With all that said, lets take a look at some of the troops to be dedicated to my miniature battle on the West Wall, and how a few of them came together. Had to commandeer my regular work desk and stay inside a 2 ft square area to build these guys, which in my case is just SO not my style at ALL I like to spread out stuff all over the table. Couldnt do that this time. I have built and painted a few of the German troops I will need, but ran short of a few necessary pieces, so Im waiting on a couple more kits to continue that. I do have all I need for my US unit, so thats where were going in this episode. US Troops. Well get into the Germans later on At this stage there are no straps or slings attached, or tiny things like grenade pull rings. Some figures are shown in final dirty / worn / faded finish, while some were not at that stage yet. All of this will be in the final finish and sealed with Testors DullCoat.squad leader
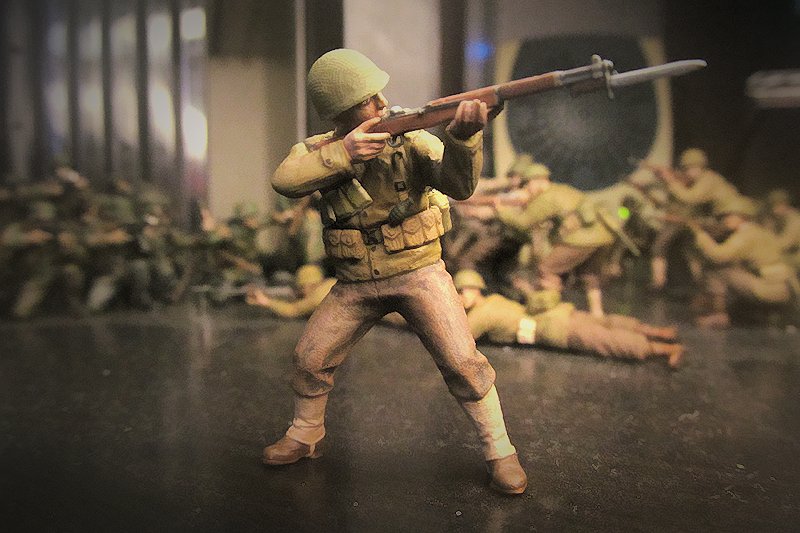
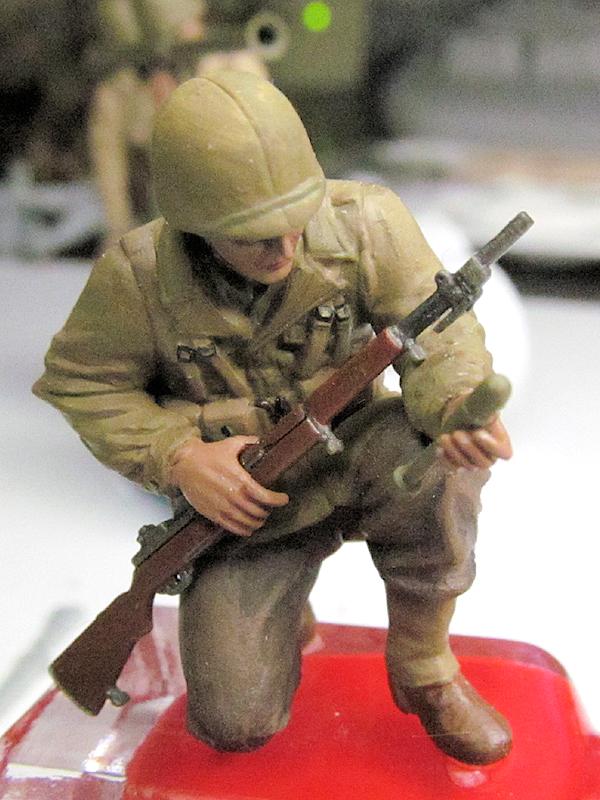
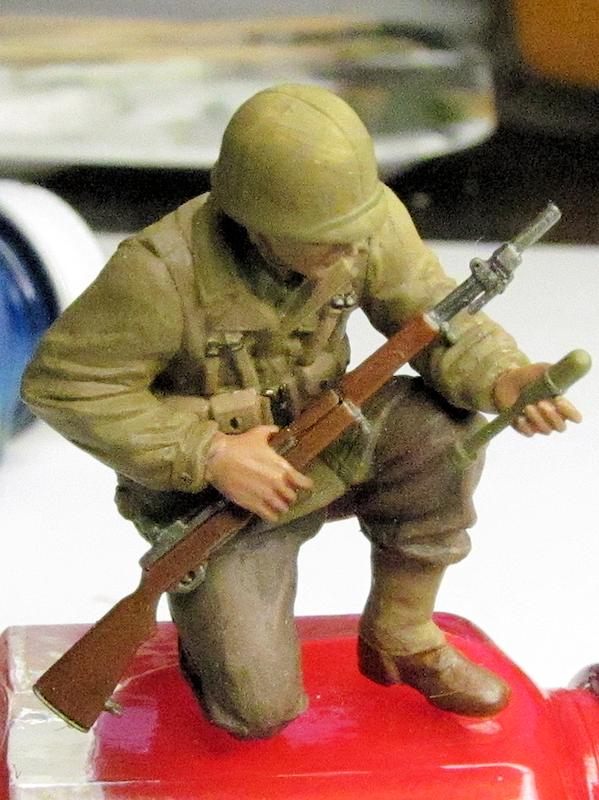
Photos above. I do use some OOB (out of the box) figures when they fit my needs. An example of this would be the figures for a section of the diorama where I will depict a squad on the brink of charging around a corner to advance on a bunkers rear entrance. Not all of the soldiers for this vignette are yet constructed, but here are the first few. Ive used the MRC / Tamiya US Army Assault Infantry kit for my Squad Leader figure, OOB except for his helmet. His second in command is from the Dragon US Armored Infantry kit and is also OOB. I have a kneeling soldier with M1 Garand and live grenade ready to toss in, again from the Dragon Armored Infantry kit. These have virtually no mods or mixed parts except for the squad leaders helmet for some reason, helmets vary wildly from brand to brand, so I use Gen2 Dragon helmets on everyone. I paint exclusively with Testors Model Master enamels. Ive not gone acrylic yet, nope. Old habits die hard. OK, so I like the smell of mineral spirits! Its what Im used to. I use plastic 6 cup paint trays, I mix and paint with my brush like an oil painter would, dabbing and mixing as needed. Almost nothing in these figures is paint out of the bottle, it always has a mix of something my tan / khaki is three colors mixed, my brown trousers are two colors, and I use no flesh colors at all. I prefer to use tan, dark tan, burnt sienna and white to mix skin tones as I need them. One cup of my tray always has white talc powder in it. A dip of this mixed in to the paint gets an ultra-flat finish, with a texture in larger doses, while smaller dips just flat the finish nicely. Enamels dont always dry perfectly flat, so this gives them some help. Overall, I like the look, although I am constantly looking for improvements.bazooka team
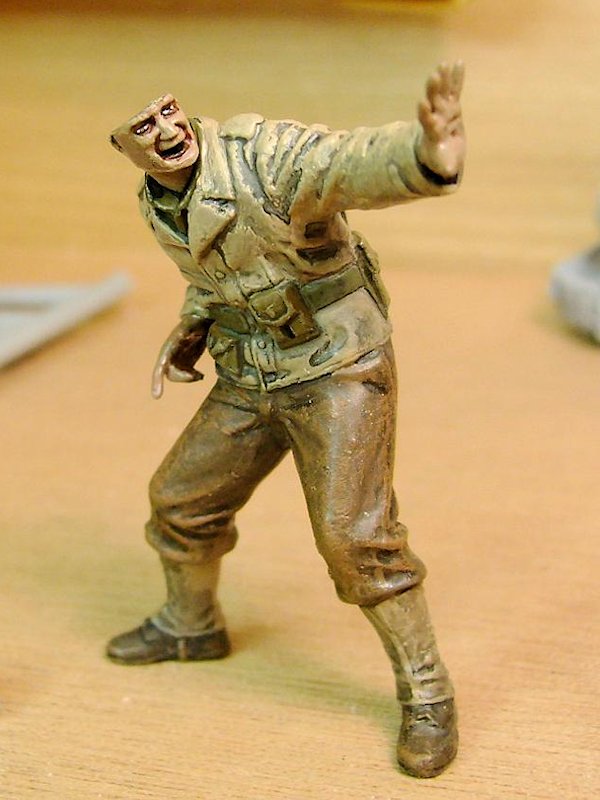
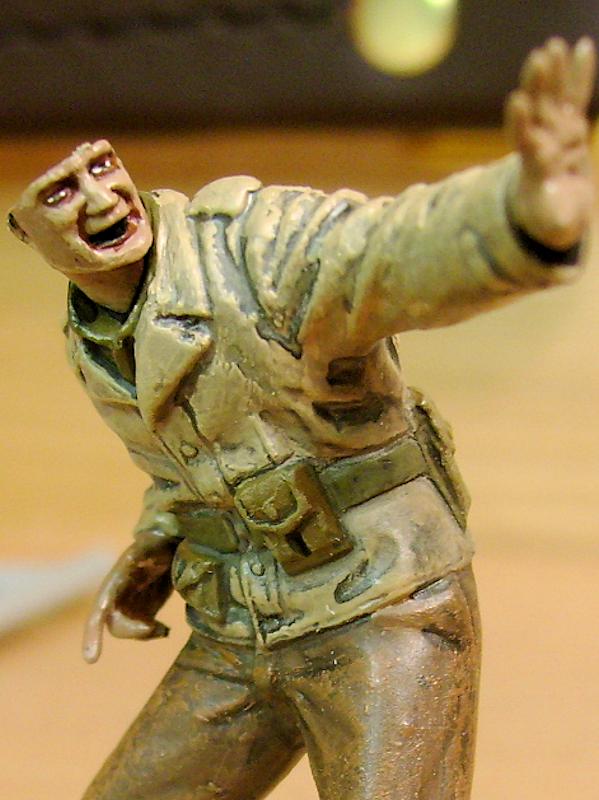
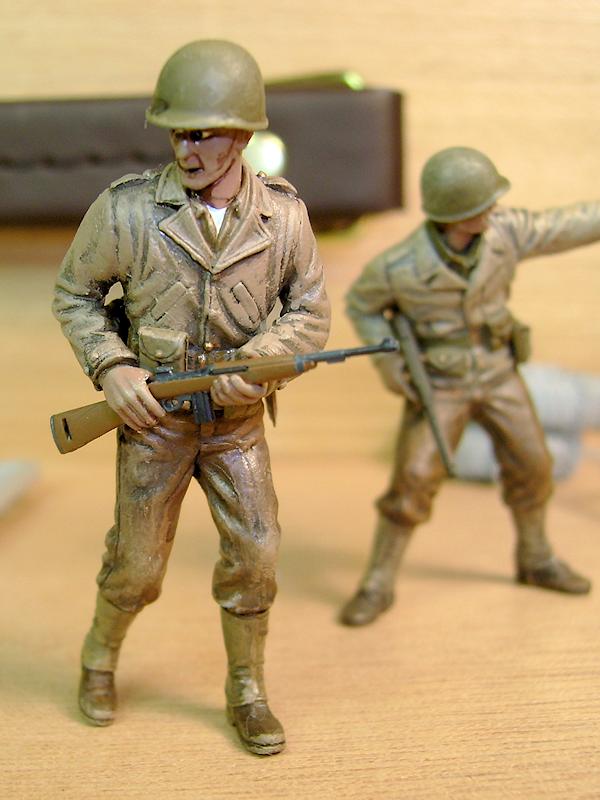
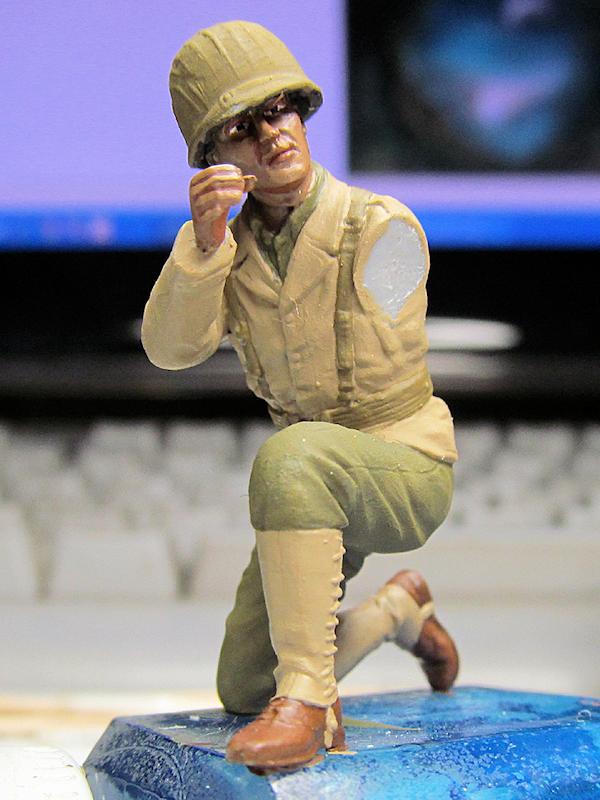
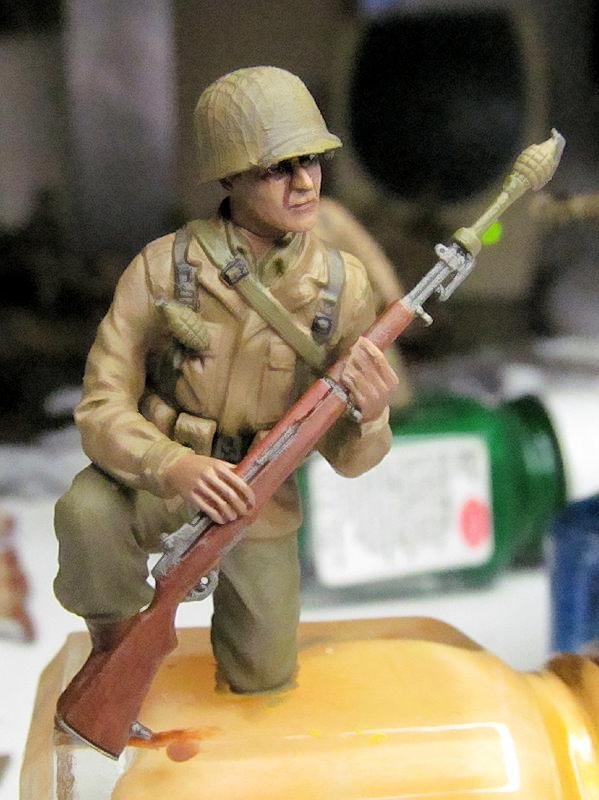
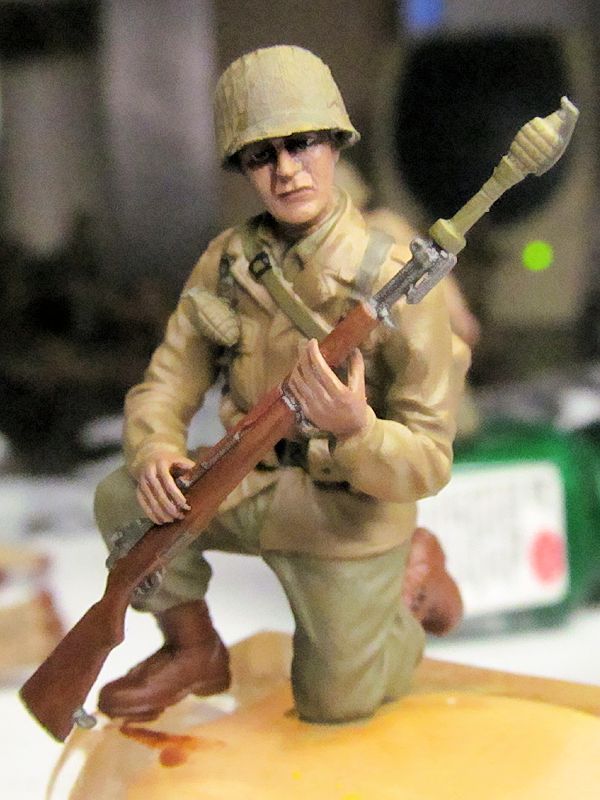
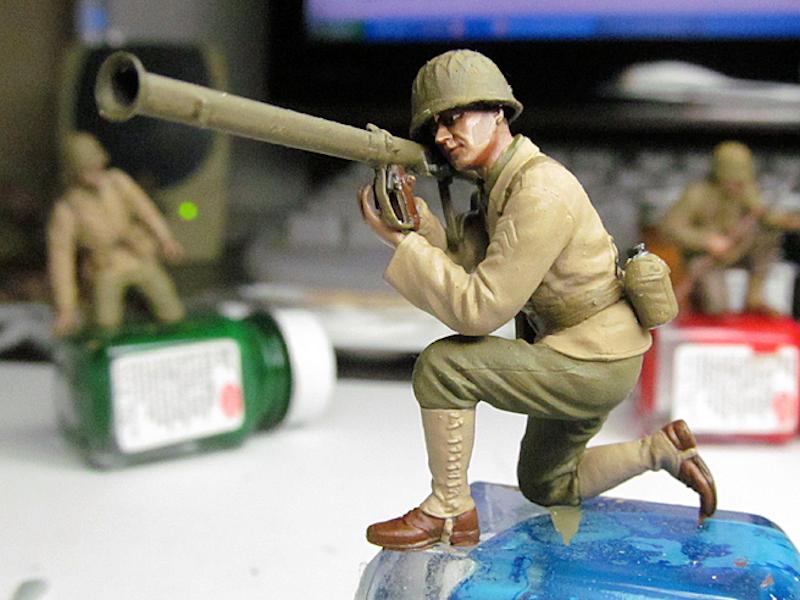
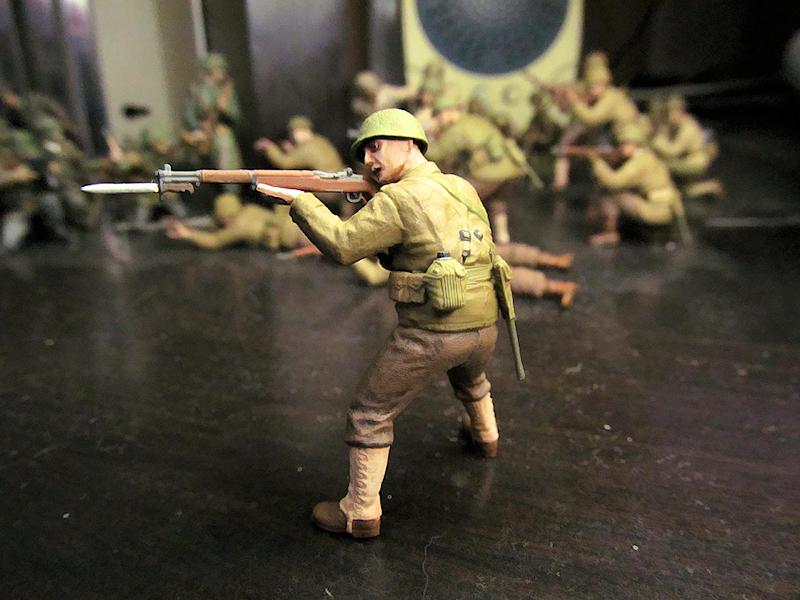
Photos on right. Other figures in the diorama which are mostly OOB are my soldier with M1 garand and grenade launcher, my rifleman throwing a grenade, the standing rifleman with M1, and my bazooka team. The Dragon US Army Anti-Tank Team provided the kneeling soldier with M1 and grenade launcher, plus the bazooka team. At this stage they are in basic paint with no fine details. Rifleman throwing grenade and standing rifleman with M1 are from Master Boxs US Infantry, July 1944. The Dragon figures are almost 100% OOB except for the grenade launcher on the M1 for the kneeling soldier. In 1944, the US introduced a grenade tail section to attach to the standard pineapple frag grenade, making the rifle grenade much more effective and deadly. I used Dragon M1 Garands exclusively, but had to piece together these grenade launchers using parts of the Tamiya Assault Infantry kit... the weapons and gear sprue is actually quite good in that kit, and I used the shovels, packs, parts of the weapons, and the frag grenades from it in order to get the late issue rifle grenade. The frag grenades on all figures are from the Tamiya kit. The Master Box figures are OOB except for weapons and some gear, which are of course Dragon Gen2. My bazooka team (essential for pillbox assaults!) is also OOB. A note on the US weapons: the color gunmetal does not exist. All US military weapons of that period were finished in an electroplated finish called Parkerizing. Its color is basically grey, but varies from having a slightly pale greenish tint, through to a dark grey-green finish. I get this color with a mix of aluminum, flat black, and a spot of OD green flat, mixed by eye to the desired tone. It is not a metallic finish. It is closer to a semi-gloss or satin tone, and distinctly grey. I own several US issue WW2 weapons and none of them look like any paint manufacturers idea of gunmetal. So, I mix my own.hybridized
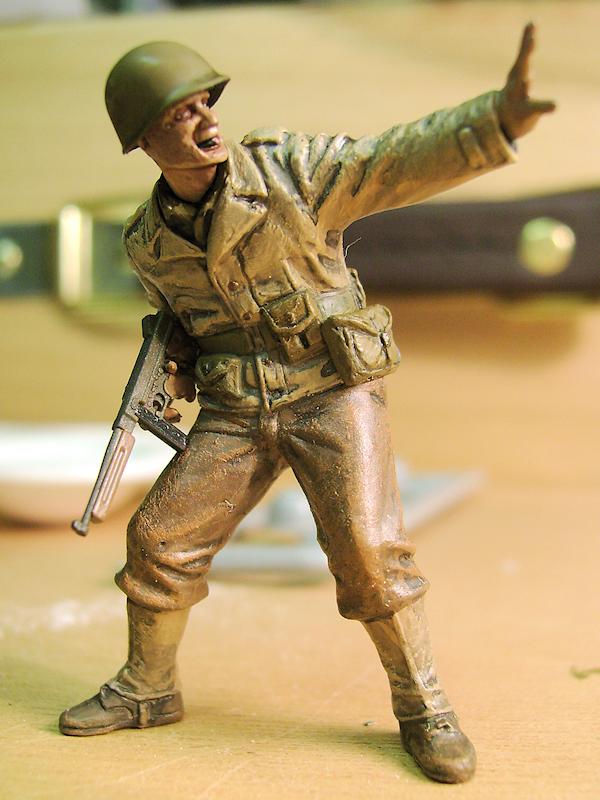
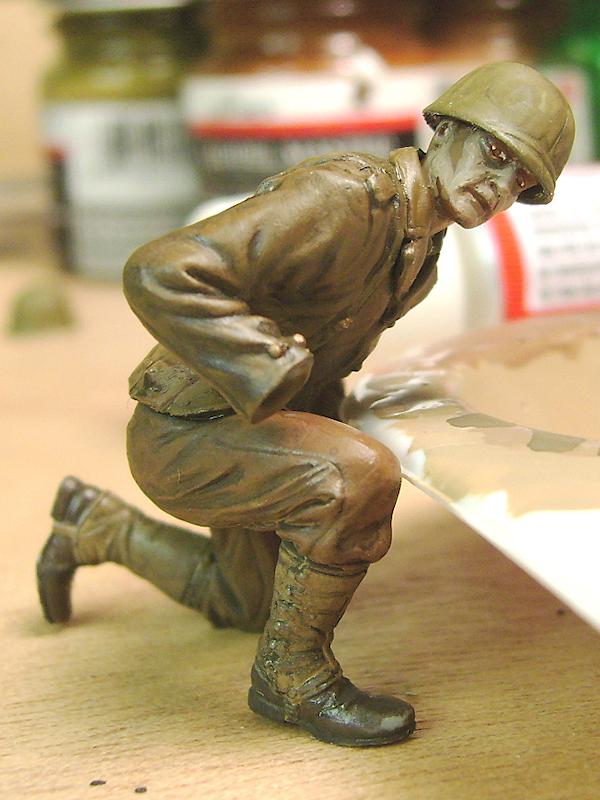
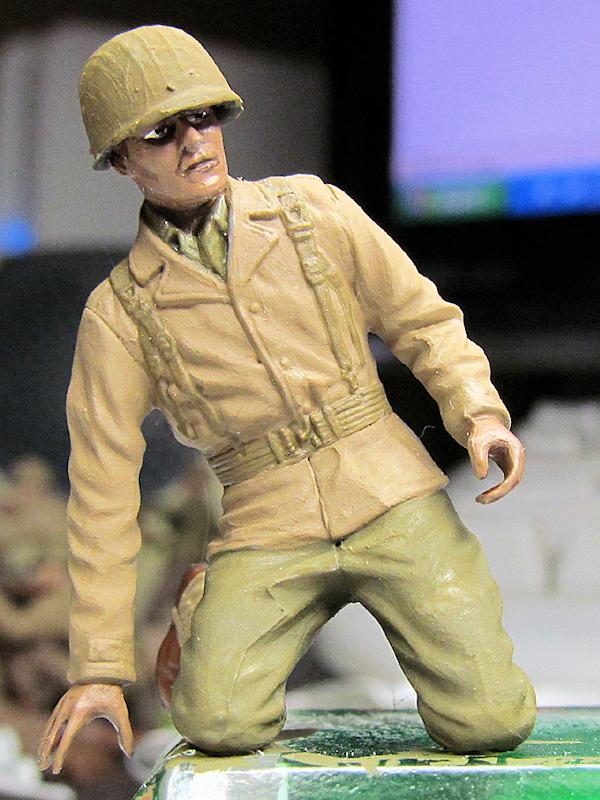
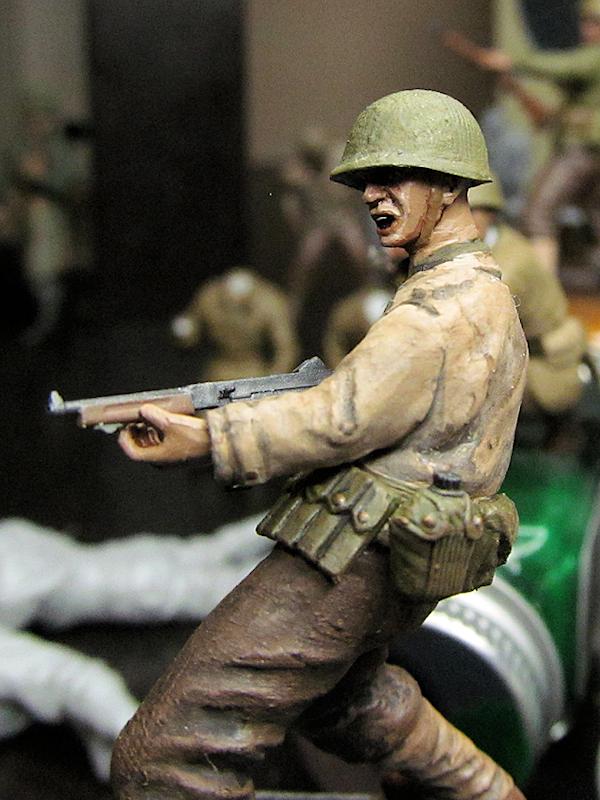
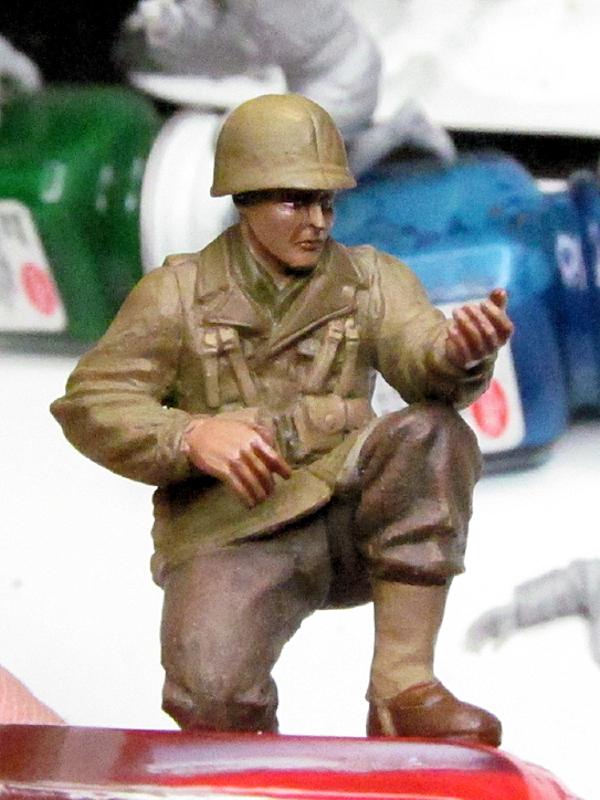
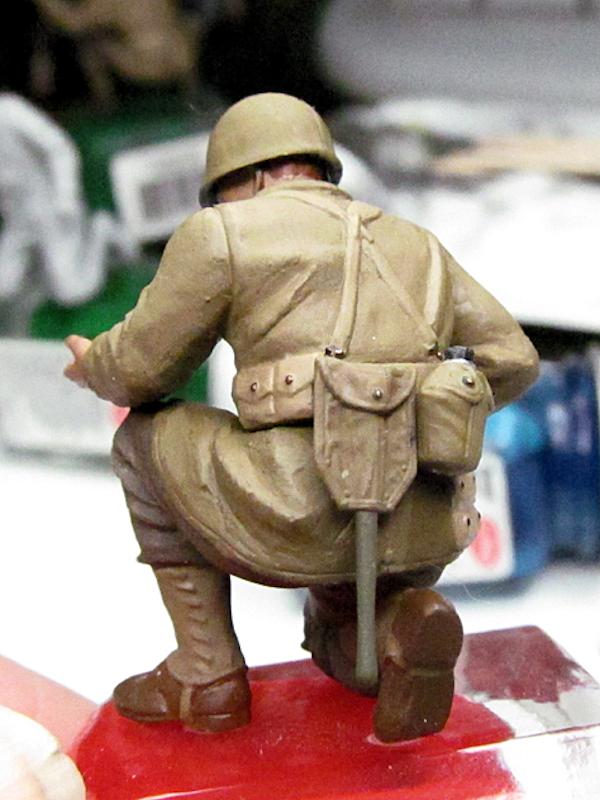
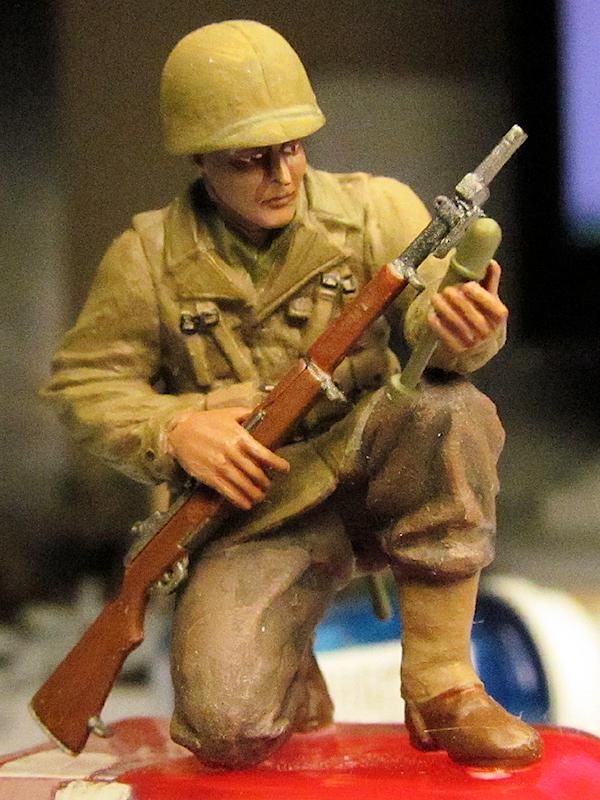
Photos below. Now we get into some hybrids. My NCO with M1A1 tommy gun, and another kneeling soldier with M1, loading a rifle grenade. MRC / Tamiyas US Infantry-West European Theatre kit provides a lot of the body parts for my figures in this particular project, but the heads and hands and all the gear from that kit are fairly useless, so I use the bodies and just choose hands heads and gear as I see fit, mostly Dragon. Both figures depicted here are that mix Tamiya with Dragon heads and hands and the really good Gen2 gear. My NCO with tommy gun is wearing his dirt and grime but is not completely finished. I havent done the mud and the faded highlights on him yet. The grenade launcher and grenade are pieced together from Tamiya parts, again from the Assault Infantry set, mounted on the Dragon M1.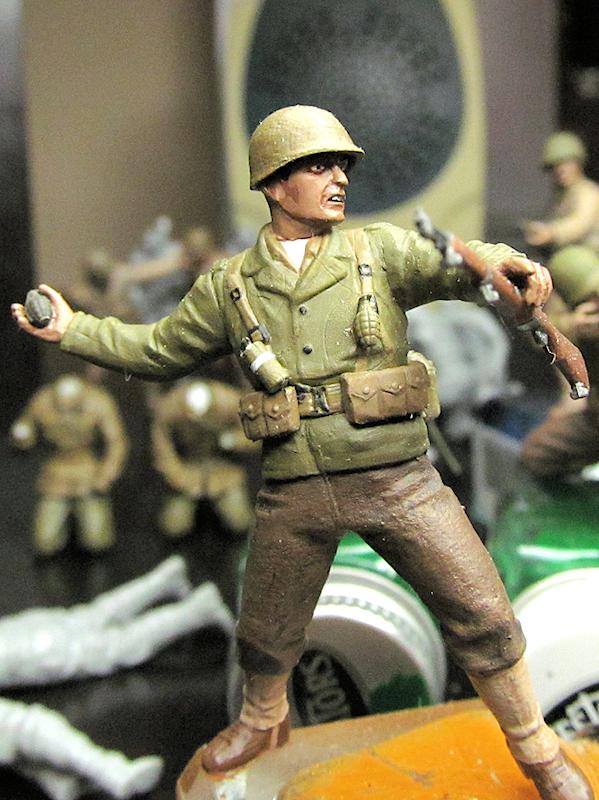


About the Author

FROM: JIHOCESKY KRAJ, CZECH REPUBLIC
I am one of the fortunate ones who has been gifted all my life with the Charm of Making..I am professionally an Artist / Illustrator at this stage of my life, and am or have been a Musician, Commercial Artist, Movie Effects Tech, Set builder, Mechanic, Machinist, Motorcycle Racer and Builder, and ev...
Comments

thank you SO much Matthew, and thanks James..forgive my overwhelming you with so many pics to edit! I think it worked out well. Hope you guys enjoy my ramblings and efforts at 1/35 action poses!
MAY 22, 2013 - 11:04 AM


Being so familiar with this text, having been over it several times during the editing, I know the answer!
At this stage there are no straps or slings attached, or tiny things like grenade pull rings.
Top of Page 2.
MAY 22, 2013 - 08:00 PM
Yes, thanks again Matthew... in truth, NONE of the figures pictured here are "finished"...my method goes in stages...I get a number of soldiers assembled, then do the basic paint on them all at once..when the entire unit is at that point, then I'll do the dirt, mud, wear, fading on all of them to be consistant with the diorama..the LAST thing is the tiny details like rifle slings and helmet straps and grenade rings etc., those being the most fragile and hardest to work around if attached too soon.
MAY 22, 2013 - 08:21 PM

Gary,
Great work! For 58-year old eyes your uniforms are sharp and cleanly painted. Your seam lines are all but invisible. Great looking set with !
AUG 19, 2013 - 04:42 AM
Copyright ©2021 by Gary Roberts. Images and/or videos also by copyright holder unless otherwise noted. The views and opinions expressed herein are solely the views and opinions of the authors and/or contributors to this Web site and do not necessarily represent the views and/or opinions of Armorama, KitMaker Network, or Silver Star Enterrpises. All rights reserved. Originally published on: 2013-05-22 21:04:23. Unique Reads: 14792

WEB HOSTING BY


Copyright ©2021 Armorama and Kitmaker Network, a subsidiary of Silver Star Enterprises
All Rights Reserved. Please read our Conditions of Use and Privacy Policy.
All Rights Reserved. Please read our Conditions of Use and Privacy Policy.