

1⁄35Assault Infantry Platoon
5
Comments


cross-breeding
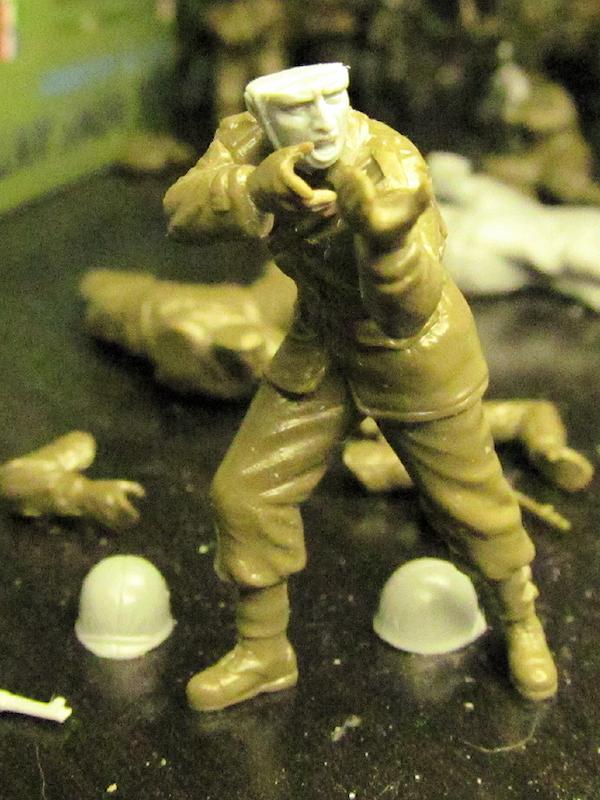
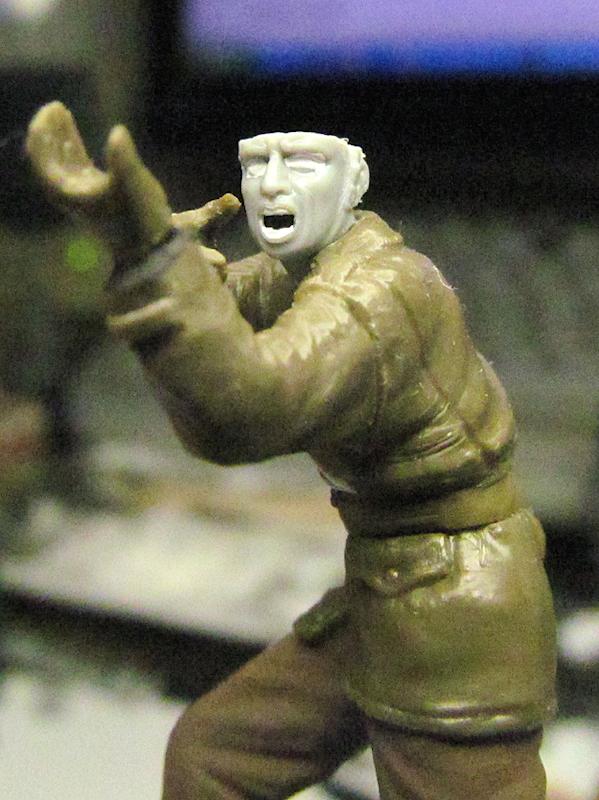
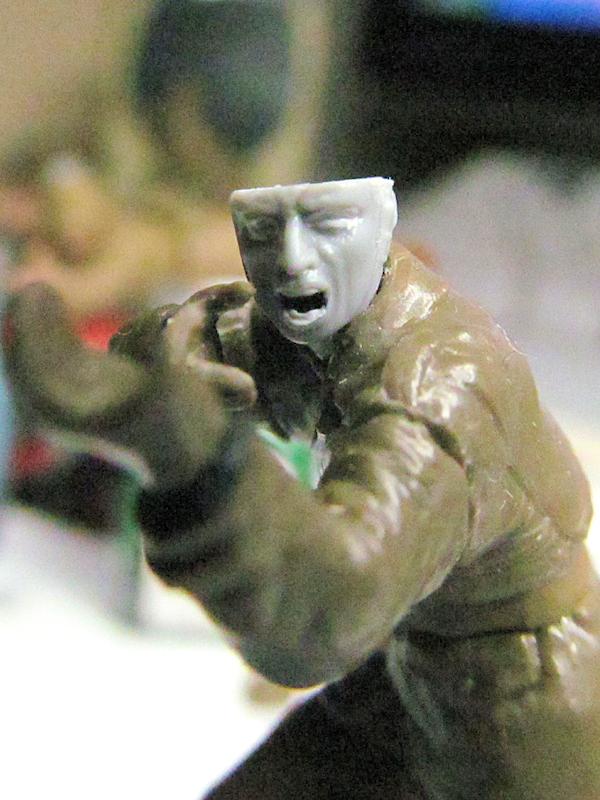
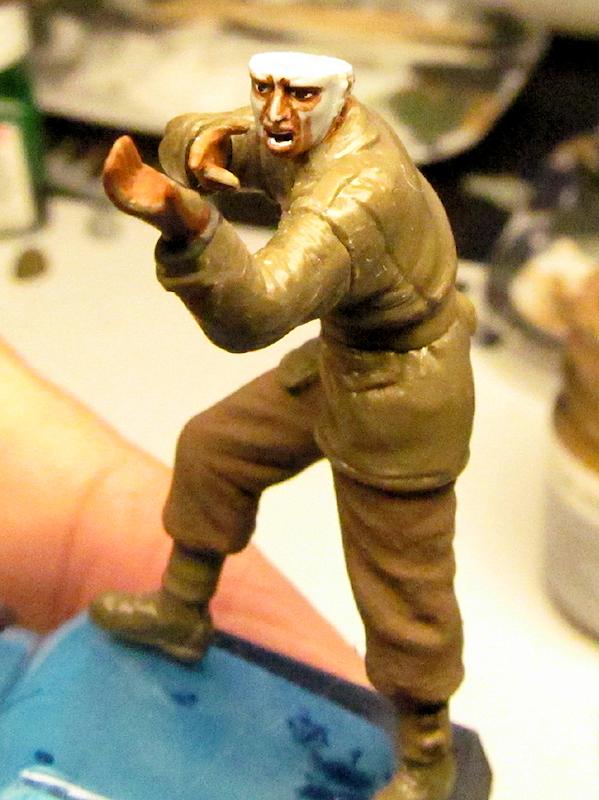
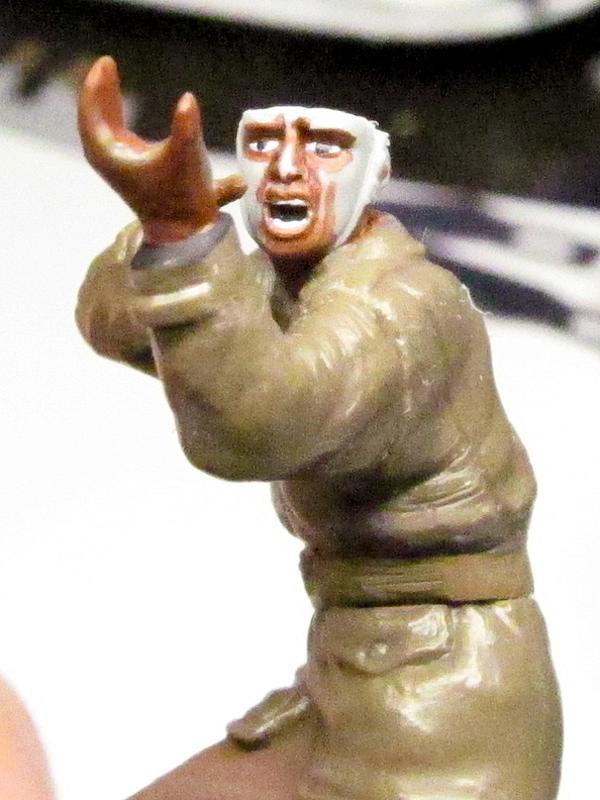
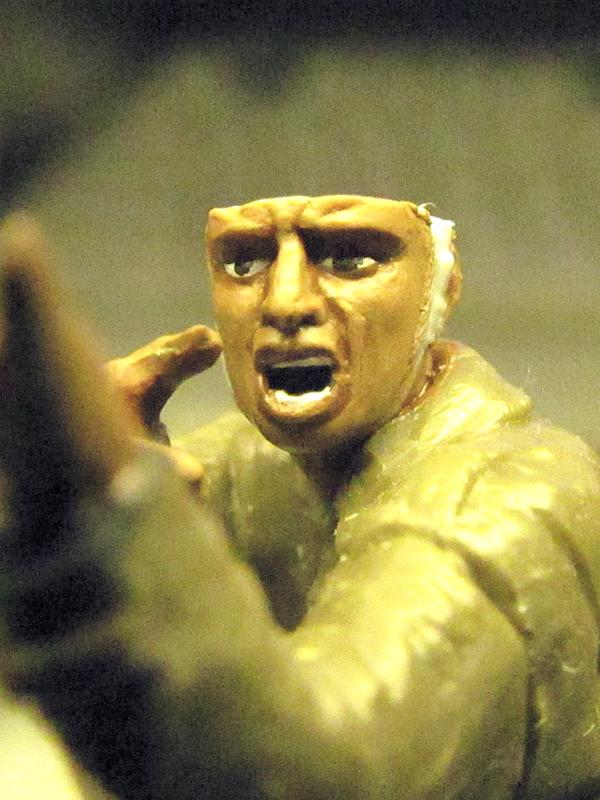
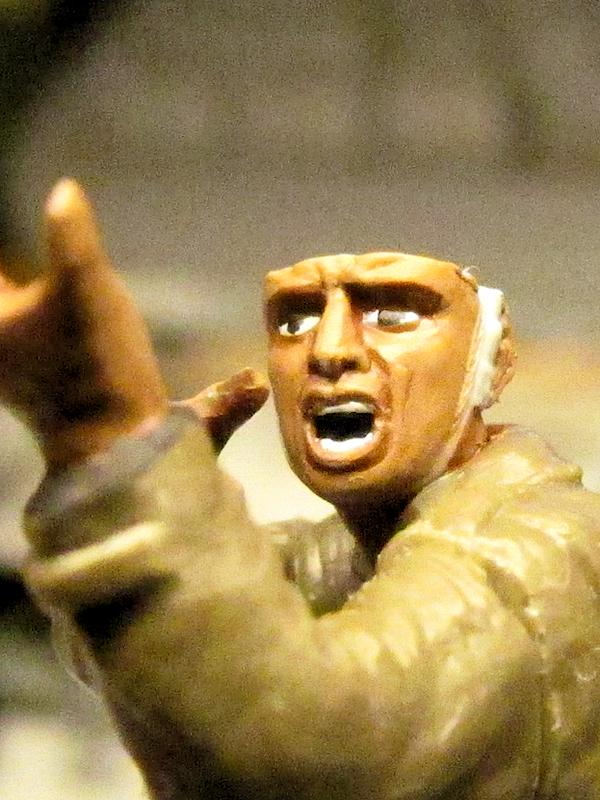
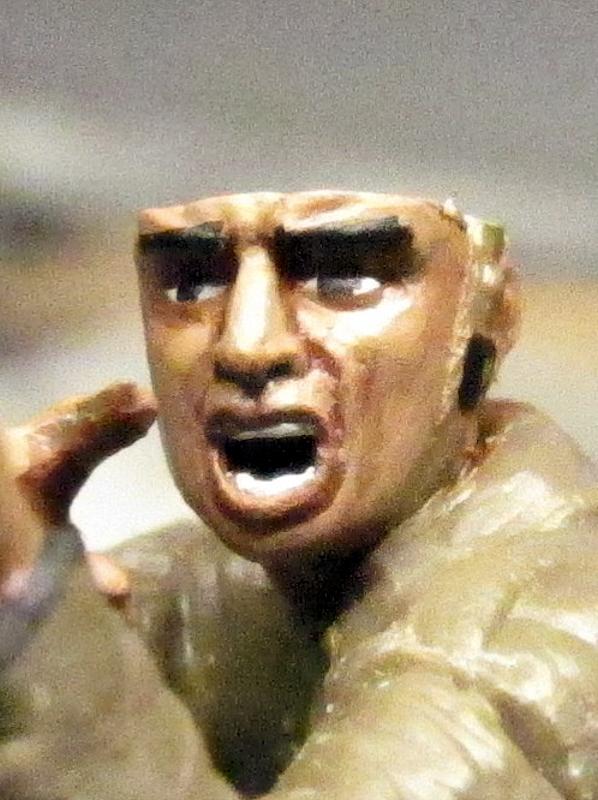
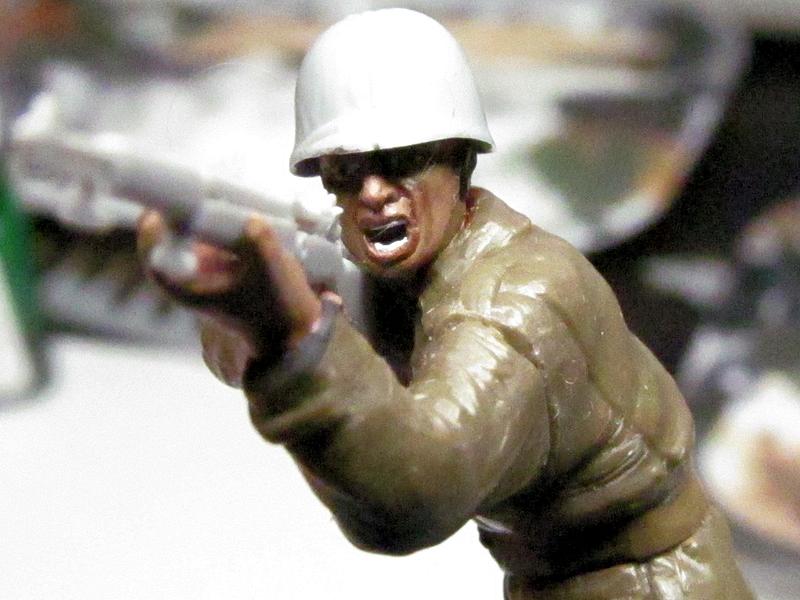
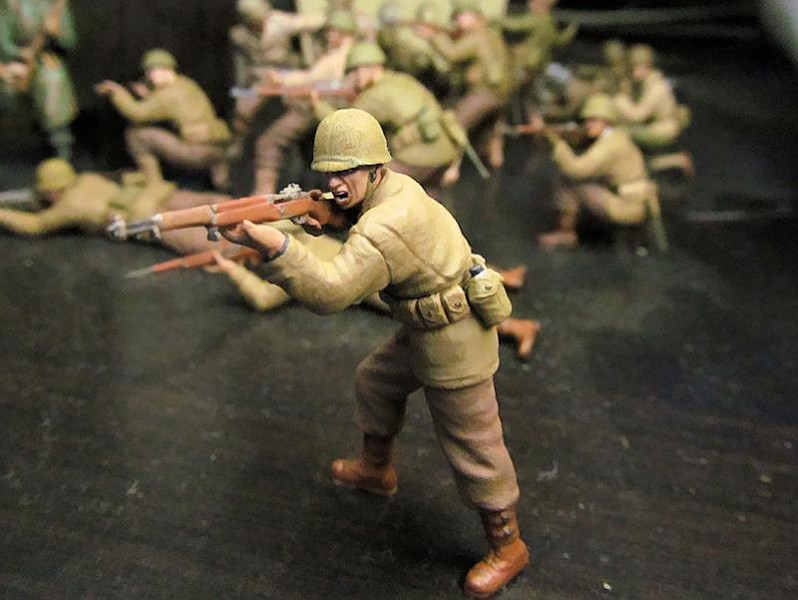
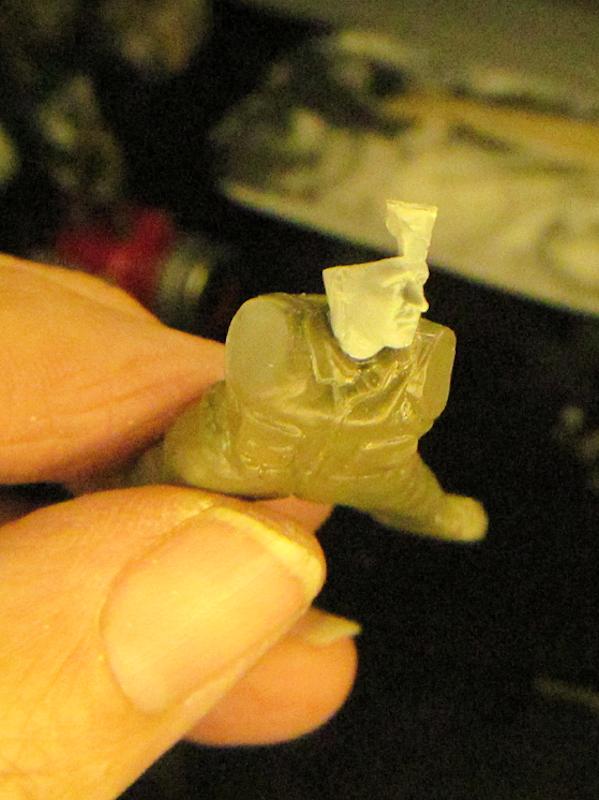
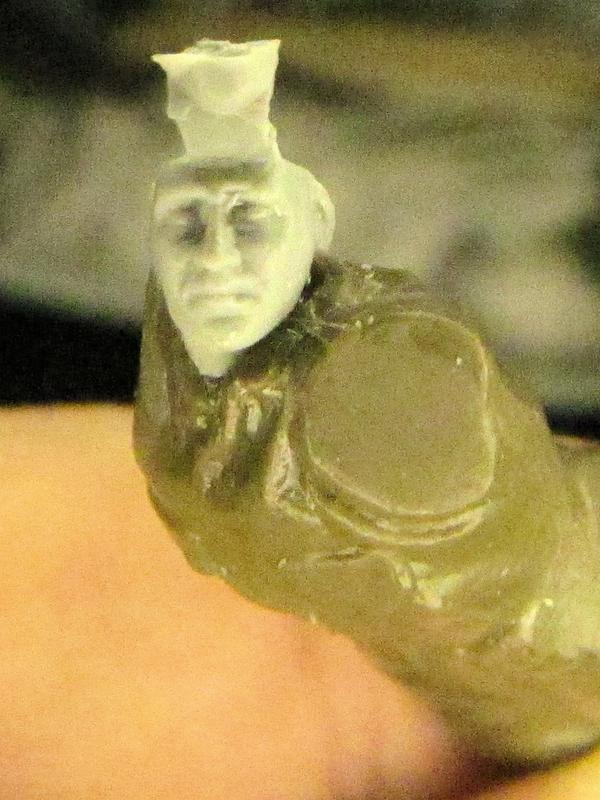
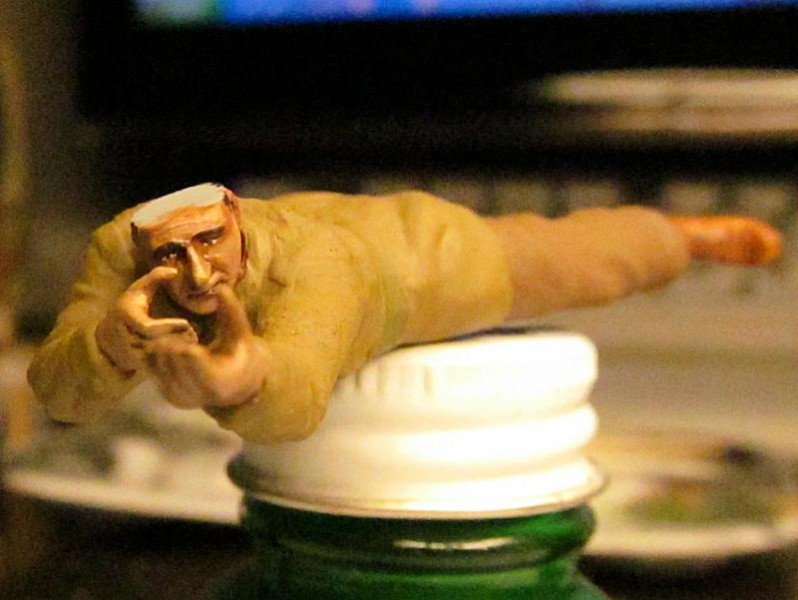
Photos above. A slightly more hybridized figure is this standing rifleman with M1 hes all mixed up. So much so, I hardly remember the pieces I used for him. Upper body and arms from one Tamiya figure, lower body from another Tamiya of a different kit, head from a German soldier in a Dragon kit, and Dragon weapon and gear. Oh my. In this series I did take pics of my very basic face painting sequence, which is certainly NOT museum grade or contest-winning, but effective and real enough in a big diorama full of soldiers in action. Its basic. If the mouth is open, flat black in there, then white teeth and whites of the eyes. Then the pupils go in the eyes. Burnt sienna slightly darkened with black goes in the deep lines and undersides of the eye sockets. Lighter shades come out beside the nose, define the lips, cheekbones at times, then a dark tan on all the high surfaces. Basically paint from the deepest recesses out to the highest point, going darkest to lightest. Its not amazing, but its impressive enough for my needs.on the ground
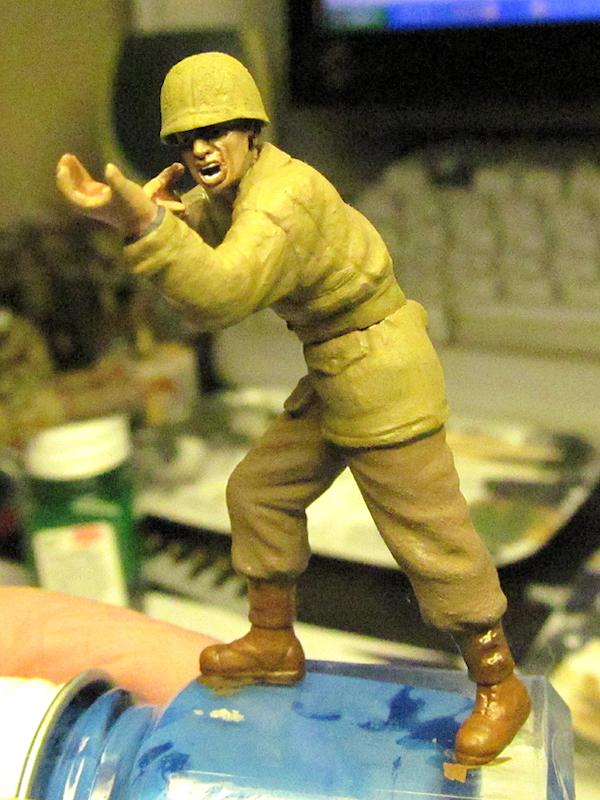
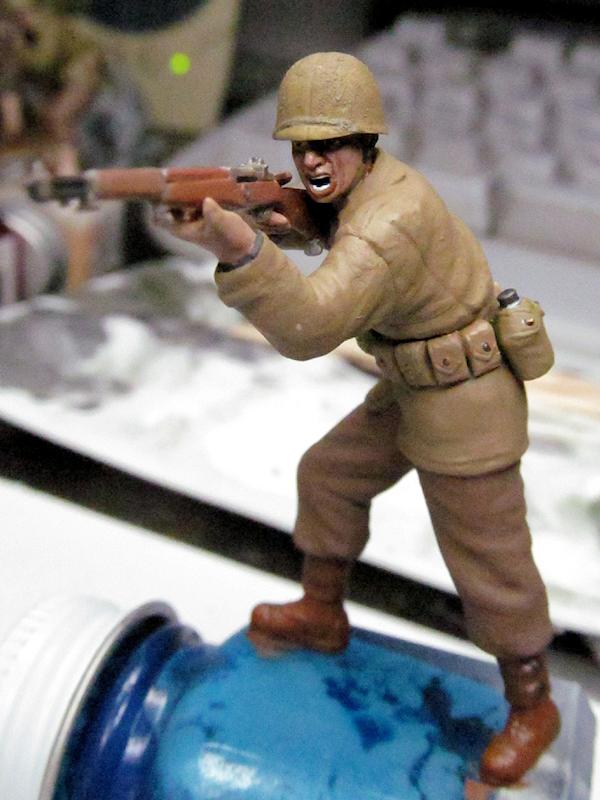
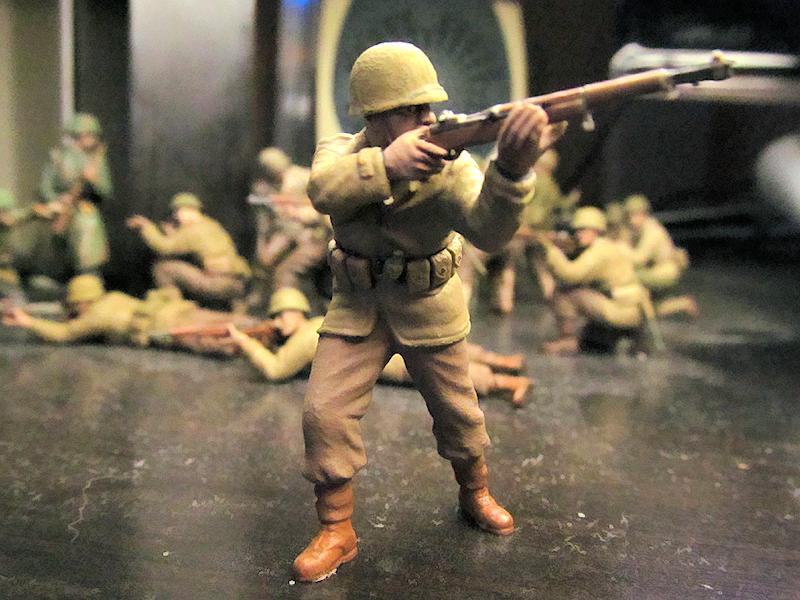
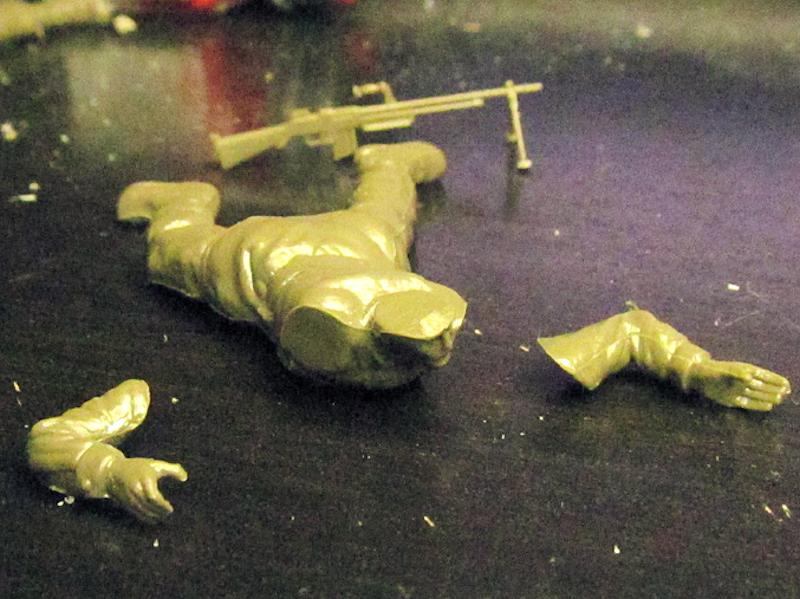
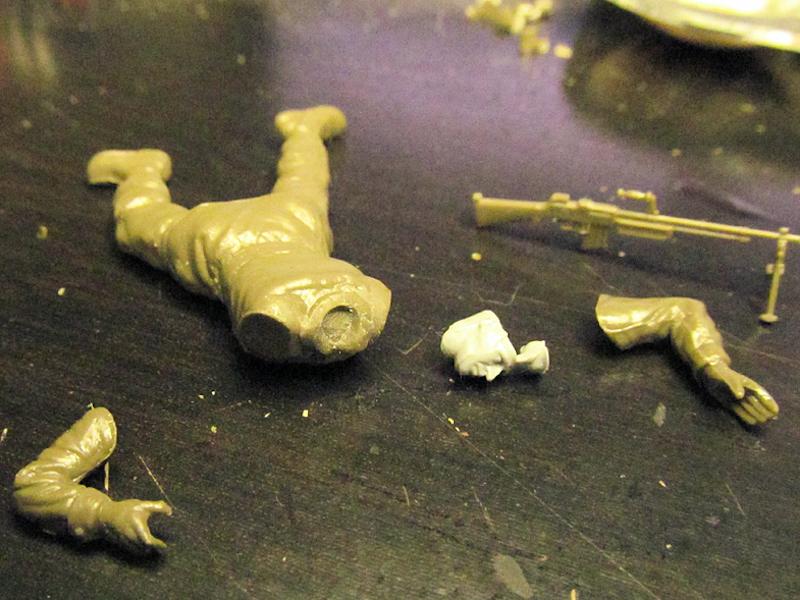
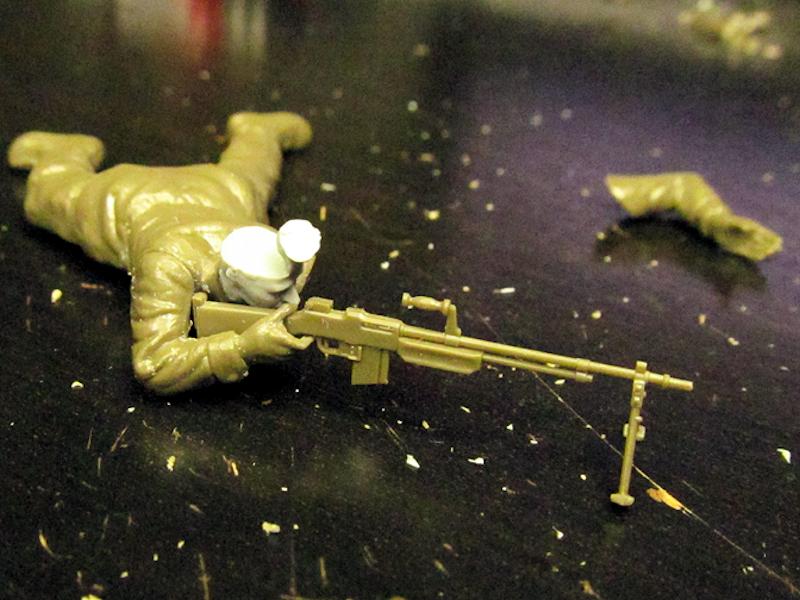
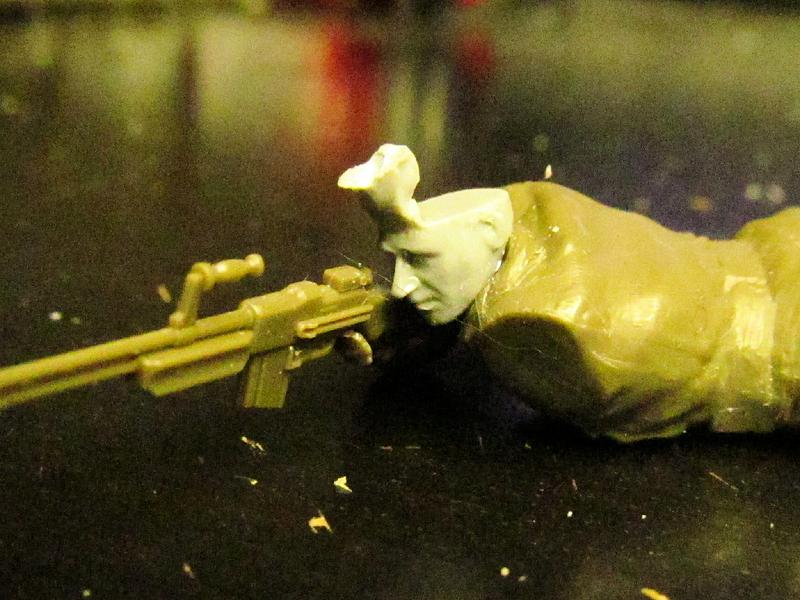
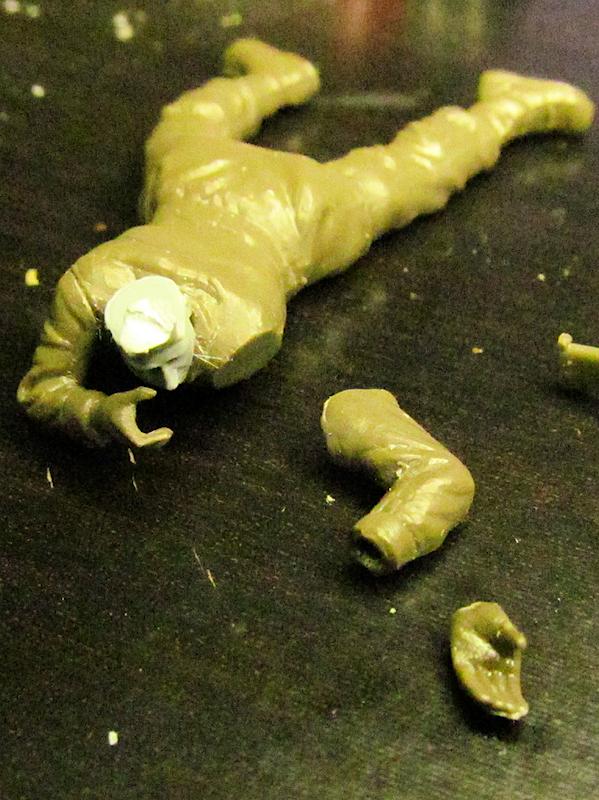
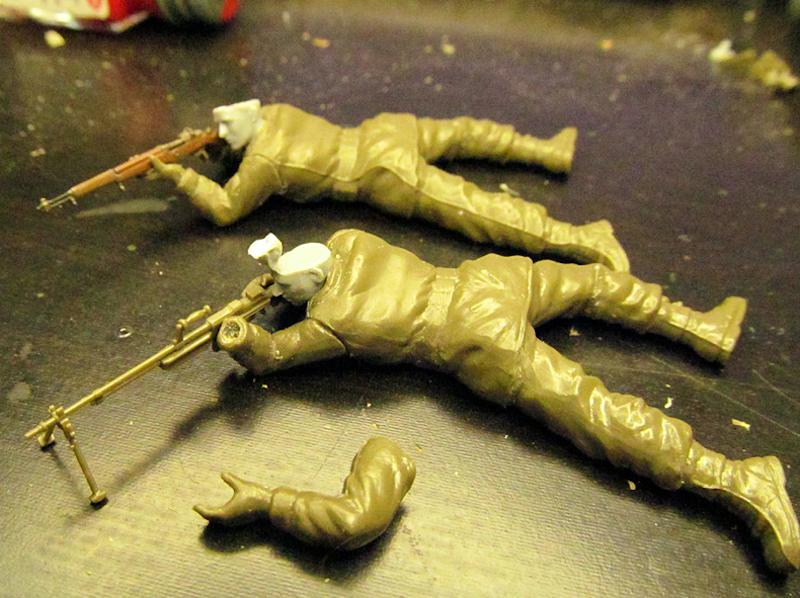
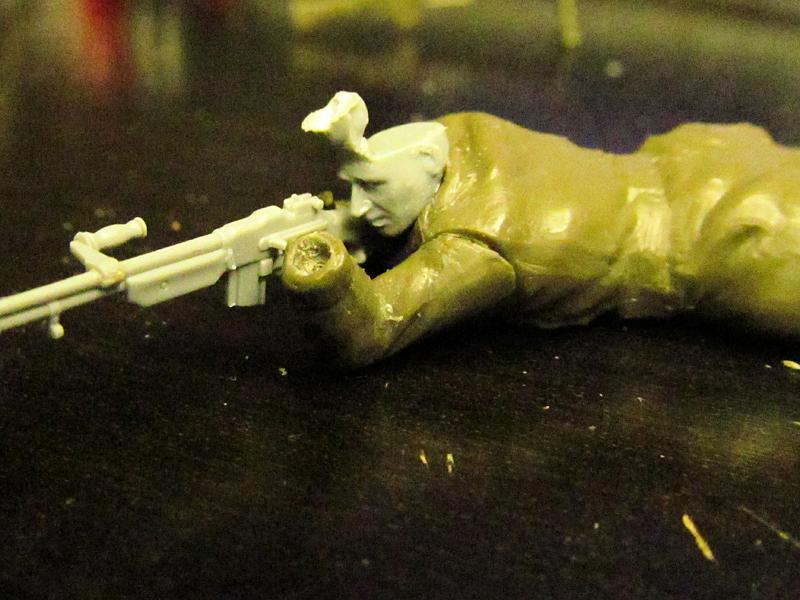
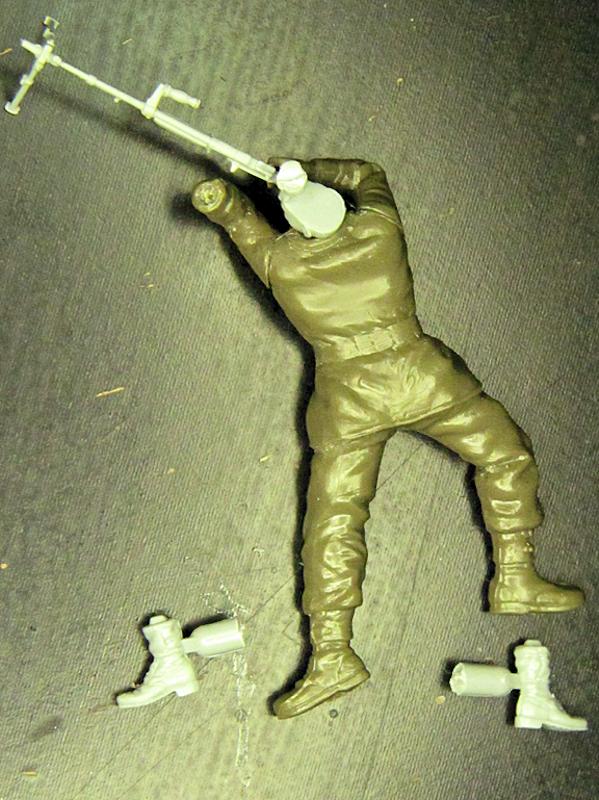
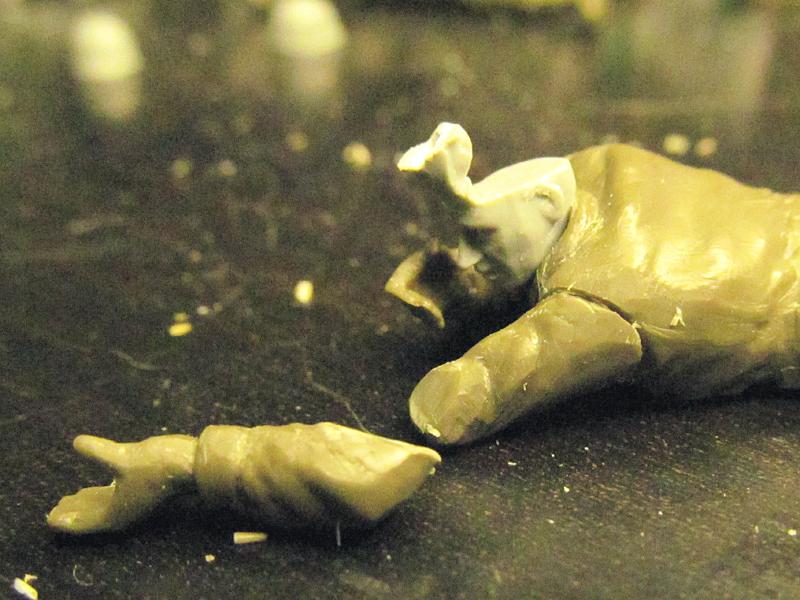
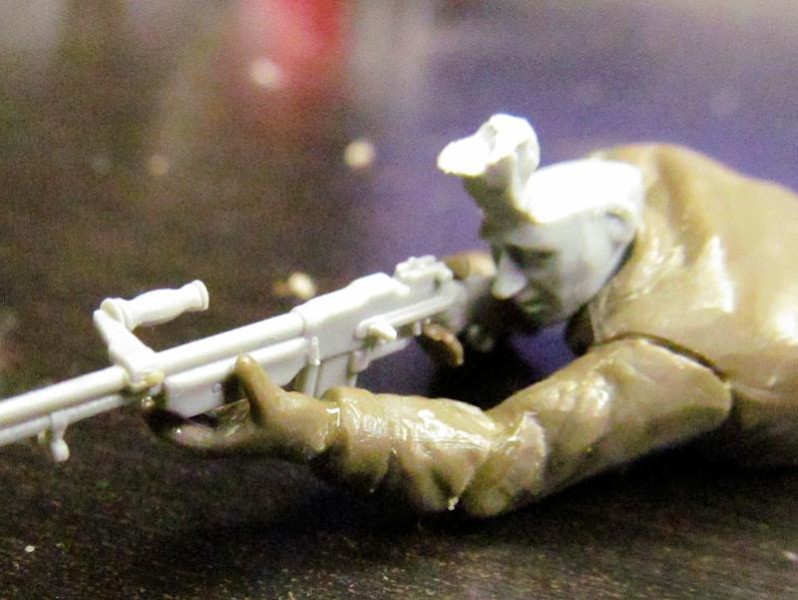
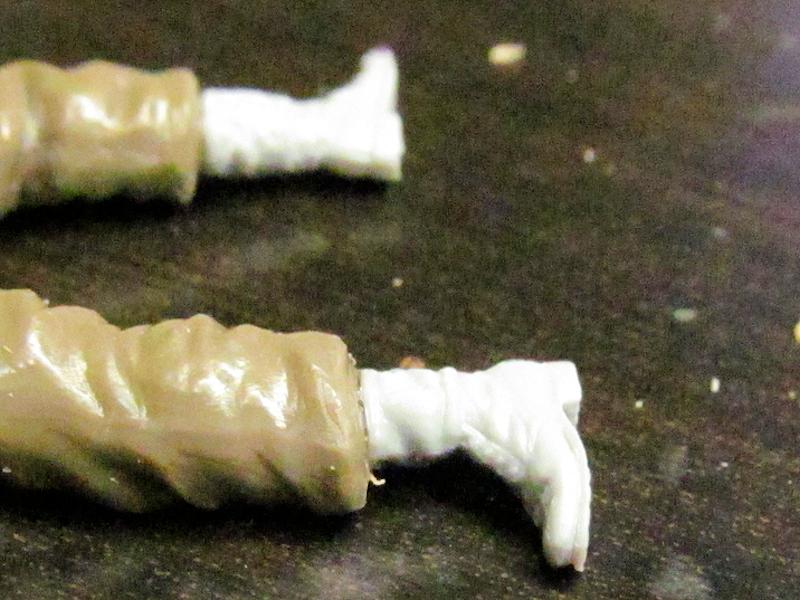
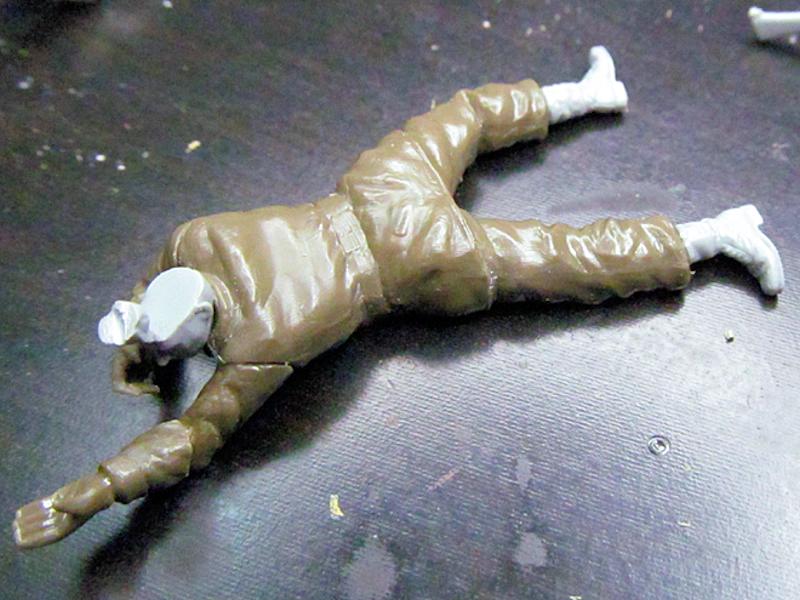
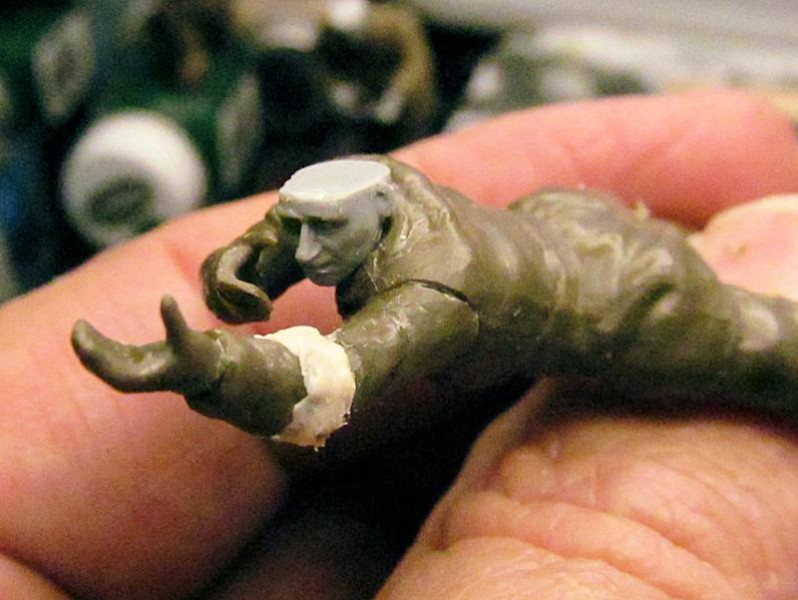
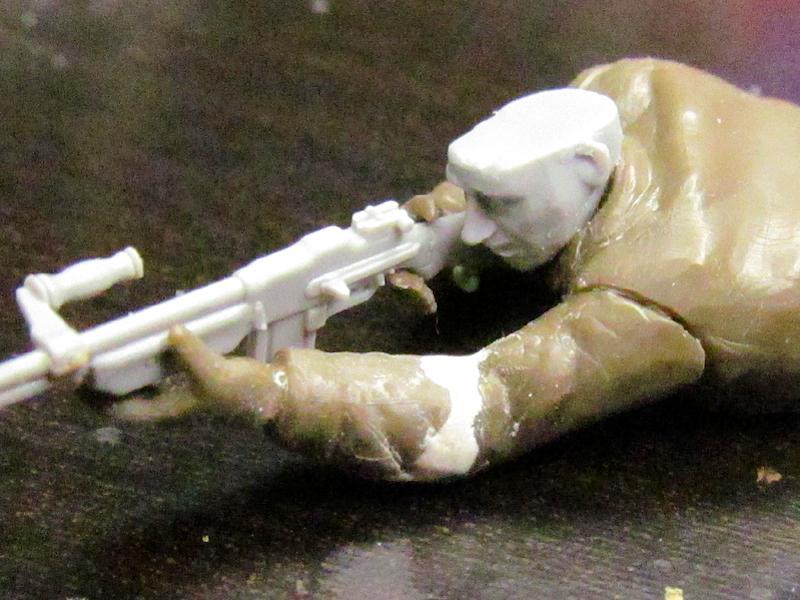
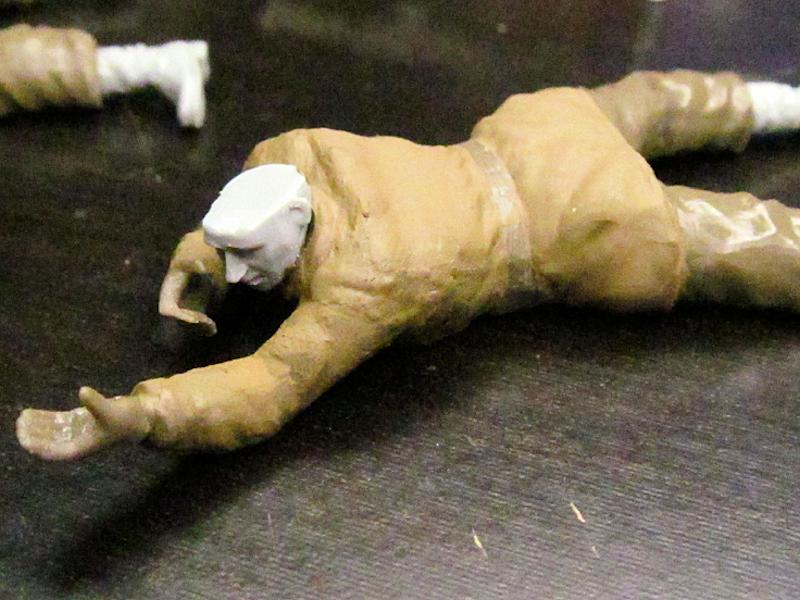
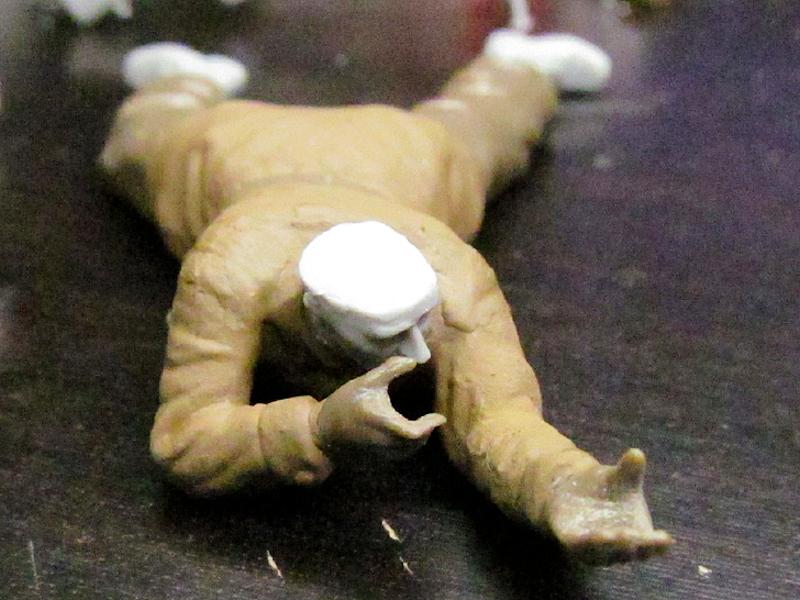
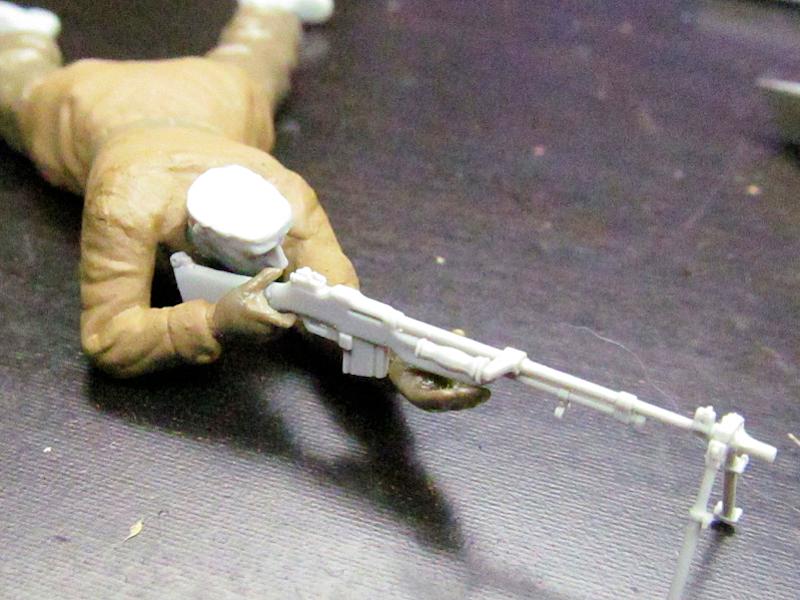
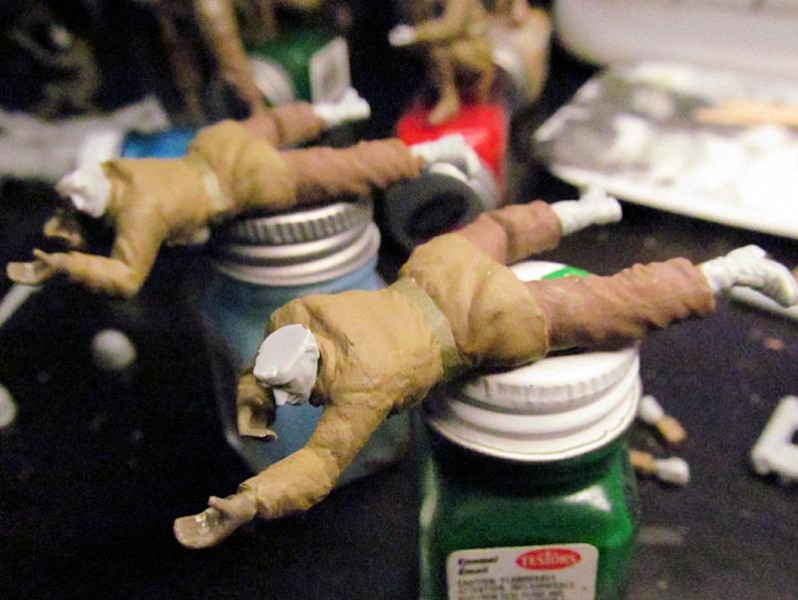
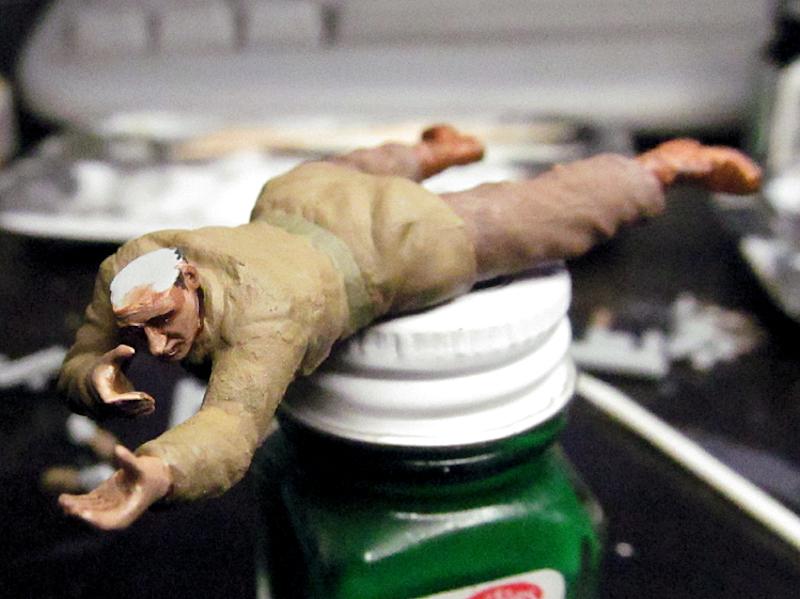
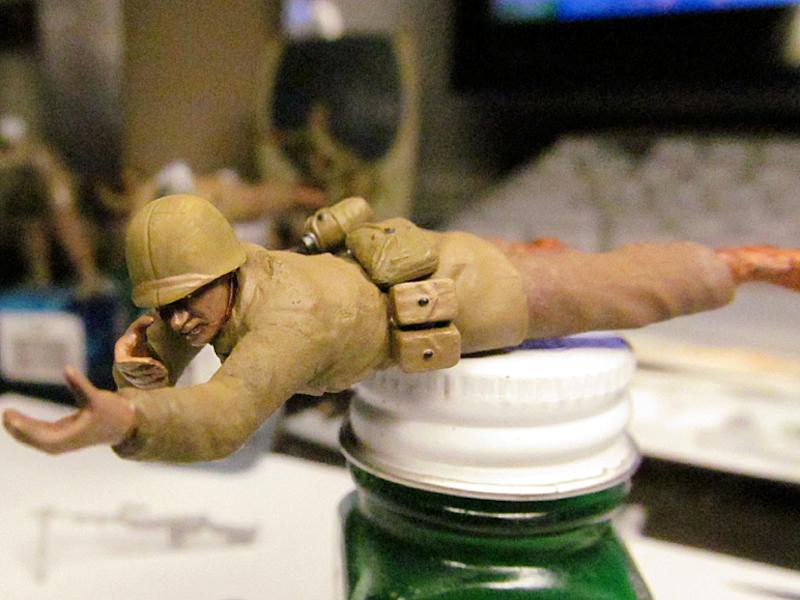
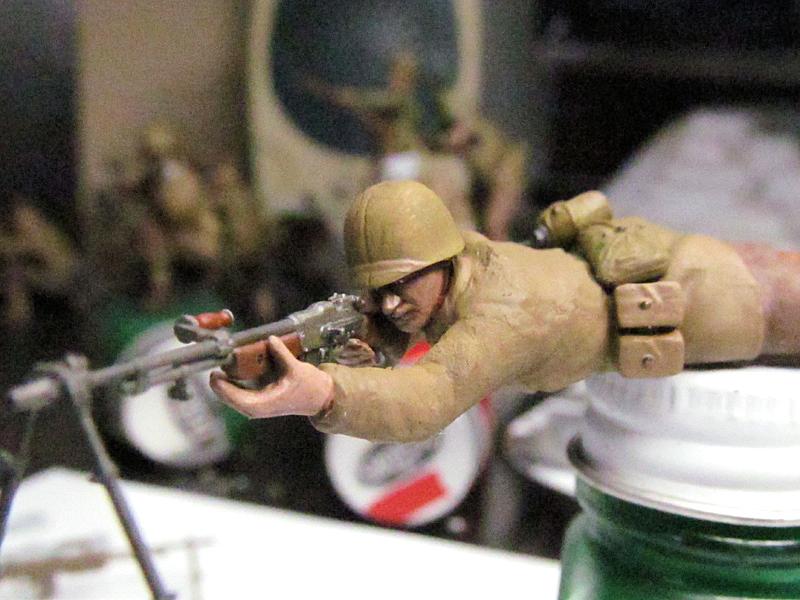
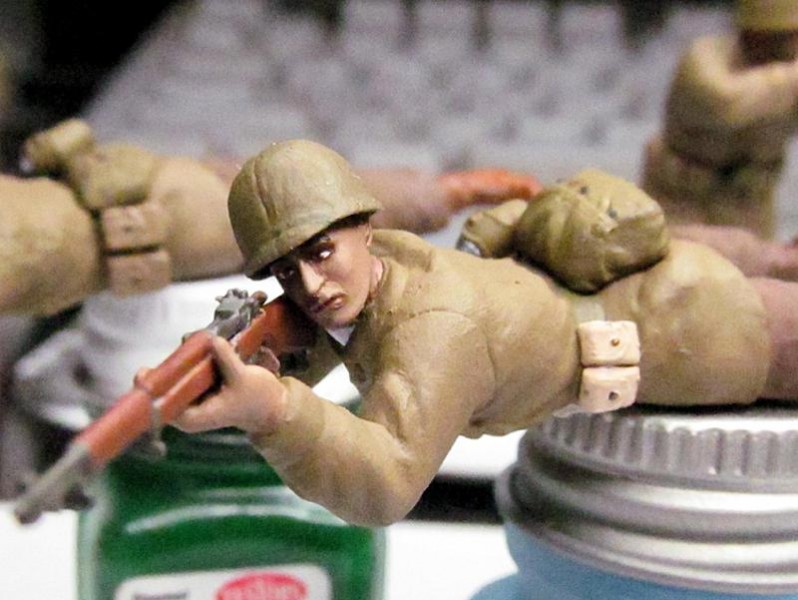
Photos on right and below. Now well look at two prone soldiers, one firing his M1, one firing his BAR. Both these bodies are from the Tamiya US Infantry-West European Theatre but with heads from Dragon kits and feet / boots from Dragon also. I didnt have a kit with the correct hand positions for firing rifles at these angles at this time, but have since located a couple of Dragon kits that look promising, and Ill look into them for later use. Right now, the hands on these prone figures arent great, but they dont bother me too badly. Documented in these photos are the steps taken to adapt the heads, set the correct arm positions to the weapons, and modify the BAR gunner. His problem was overall height, as the BAR tripod sets the height in stone. So it was necessary to cut the arm and change the reach and elbow angle to fit this weapon. After long consideration I chose to use Dragon feet / boots, the feet on the Tamiya figures were just horribly huge and bulbous, worse than ANY others I used, so I had to change them. Dragons US Tank Riders provided boots flattened on one side for a lying /sitting / prone look. The steps I took from a pile of parts to the semi-finished basic paint stage is illustrated in this series of pics, and so far the BAR gunner involved the most modification. As usual, Gen2 weapons and gear, with some Tamiya... I also like the M1 bayonets from the Tamiya Assault Infantry gear / weapons tree, and use them exclusively. These two soldiers, being in the same basic pose, obviously will go to different areas of the diorama and be involved in different actions so their similarity is not too obvious. I also vary the colors from soldier to soldier, trying to not get any two exactly the same shade of anything this also happens in reality. Youll find that a lot of WW2 M1 rifles ended up with slight variations in the 3 pieces of the wood stock, so I try to represent this also. Belts, gear, pouches, helmets, all may have come from different contractors, be different ages, have been in the field for different periods, and they just all dont look the same at all. I own a lot of WW2 weapons and canvas field gear and can see hands-on just how different it is from piece to piece, even when looking at the same item. Well guys, I hope you pros arent too rough on me, and I hope even more that the amateurs find a LOT of useful ideas in here that they can apply to their projects so as to add a little more life and action to the scenes theyre working on. Art is a constant learning process, and this is, after all, an art. Any artist who claims to know everything has simply stopped learning. Never stop learning. I wont.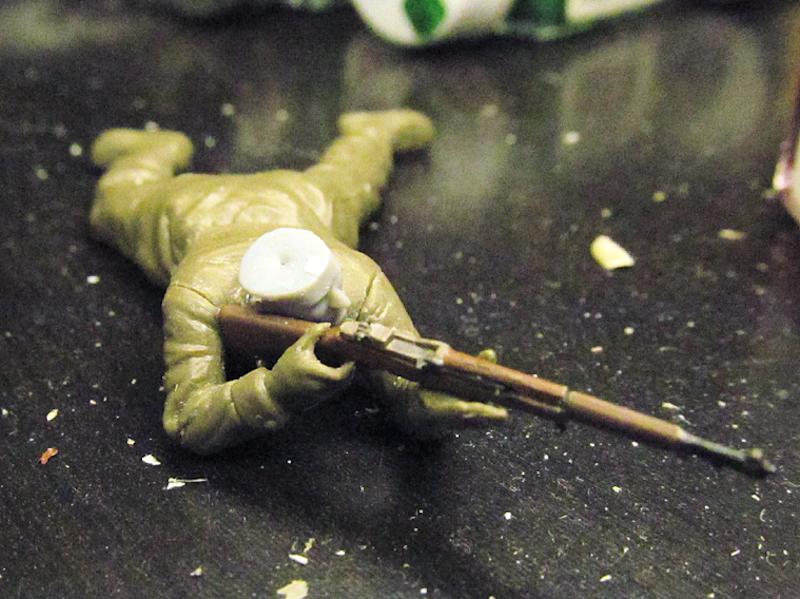


About the Author

FROM: JIHOCESKY KRAJ, CZECH REPUBLIC
I am one of the fortunate ones who has been gifted all my life with the Charm of Making..I am professionally an Artist / Illustrator at this stage of my life, and am or have been a Musician, Commercial Artist, Movie Effects Tech, Set builder, Mechanic, Machinist, Motorcycle Racer and Builder, and ev...
Comments

thank you SO much Matthew, and thanks James..forgive my overwhelming you with so many pics to edit! I think it worked out well. Hope you guys enjoy my ramblings and efforts at 1/35 action poses!
MAY 22, 2013 - 11:04 AM


Being so familiar with this text, having been over it several times during the editing, I know the answer!
At this stage there are no straps or slings attached, or tiny things like grenade pull rings.
Top of Page 2.
MAY 22, 2013 - 08:00 PM
Yes, thanks again Matthew... in truth, NONE of the figures pictured here are "finished"...my method goes in stages...I get a number of soldiers assembled, then do the basic paint on them all at once..when the entire unit is at that point, then I'll do the dirt, mud, wear, fading on all of them to be consistant with the diorama..the LAST thing is the tiny details like rifle slings and helmet straps and grenade rings etc., those being the most fragile and hardest to work around if attached too soon.
MAY 22, 2013 - 08:21 PM

Gary,
Great work! For 58-year old eyes your uniforms are sharp and cleanly painted. Your seam lines are all but invisible. Great looking set with !
AUG 19, 2013 - 04:42 AM
Copyright ©2021 by Gary Roberts. Images and/or videos also by copyright holder unless otherwise noted. The views and opinions expressed herein are solely the views and opinions of the authors and/or contributors to this Web site and do not necessarily represent the views and/or opinions of Armorama, KitMaker Network, or Silver Star Enterrpises. All rights reserved. Originally published on: 2013-05-22 21:04:23. Unique Reads: 14792

WEB HOSTING BY


Copyright ©2021 Armorama and Kitmaker Network, a subsidiary of Silver Star Enterprises
All Rights Reserved. Please read our Conditions of Use and Privacy Policy.
All Rights Reserved. Please read our Conditions of Use and Privacy Policy.