1⁄35Opel Kadett K38 Build
6
Comments
Painting
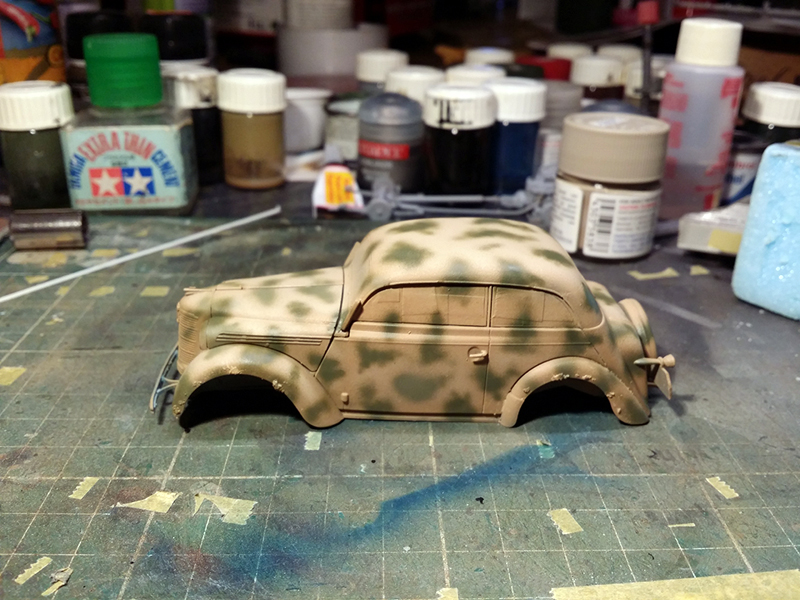
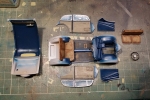
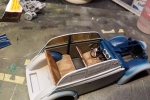
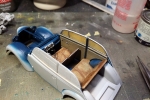
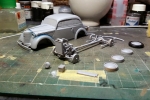
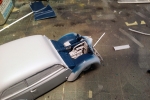
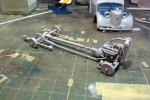
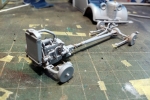
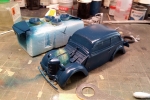
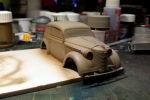
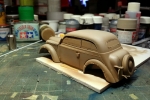
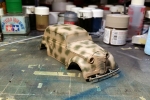
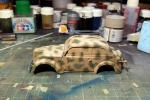
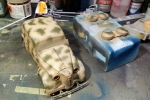
And then came paintÖ Actually you have to paint the interior before everything no matter if you decide to go with the surgery to open the doors or not. Because you canít reach most of it once the roof is on. I decided I want to do things a bit differently. And I wanted to try to show the history of the car through the war. I wanted my car to have started out his life as a civilian car. Eventually being drafted into the military of the third reich as a luftwaffe vehicle to become liberated by the American army in France in 1944. So to say, a car with a rich background. To start of I had to give the car itís civilian colors. I decided to go with a glossy midnight blue which the whole interior got painted in. Painted the dash in a creamy white with some detail striping. Added the really nice dial decals. When they were fitted I added a good drop of gloss lacquer to simulate the glass front on them. The floor got a coat of dark grey which got smothered with dust colored pigments. Because of the long life of the car I did rather battered and scuffed leatherwork on the seats with Humbrol khaki and burnt sienna oilpaint wash which got partially wiped off in the high traffic areas. After all details on the interior were painted it was time to close off the body and shoot some primer at the exterior. When the primer was dry the exterior also got a treatment with the midnight blue color. It was at this point I decided to go with the above outlined idea and wanted to give the idea that the soldiers responsible for overpainting the car could not be bothered to do a decent job. And really only resprayed the outside leaving the inside of the engine bay and the interior in itís blue coat. I also wanted the blue to come through the camo job through flaking paint and stone chips. So I had another go at the hairspray technique mixed with salt. First the midnight blue got a coat of clear to protect it. Then I added rough seasalt with water for the bigger chips on the fender edges. Then a coat of hairspray directly from the spraycan. When that was dry I sprayed the whole body with Tamiya Acrylics. First panzer Yellow which got highlighted with Buff on the horizontal surfaces . Then I added the cloudy olive green camo spots. Again Tamiya Acrylics. When that was dry I picked off the salt with the help of some warm water and with that same warm water and a toothpick I attacked the camo coat to create scratches and chips that revealed the blue coat underneath. Details were painted with Humbrol acrylics and the metal bits painted with Citadel paints.Weathering and Markings
When all the airbrush actions were done and the paintfumes had settled. It was time for weathering and decals. The details and seams were picked out with a pinwash with a diluted dirty dark brown made by mixing some black and dark brown oilpaints. The grille openings in the nose and the bonnet halves got a pinwash with pure black. The luftwaffe decals were one of the options that came with the ICM kit and allthough they were nice and thin they were quite brittle and had to curve around some impossible bends. This was mostly a problem for the 2 white shields with the owl which on pressing them into place cracked a bit; quite a large amount of decal softener was needed to get them looking decent. The white stars came from an old Italeri kit. I think it was a dodge they were from. Pigments were used in wet form on the engine and the suspension parts. The tires were made of rubber and were black as soot. I use Slate grey pigments from Vallejo to lighten the color and make them a bit more greyish in appearance like tires that have been in use fors ome time. Slate grey pigments were also used to add dust to the front window. Simply mask off everything you donít want covered in pigments. Dust on the pigments dry. You can control the amount of dust on your window by wiping off more or less pigments. And you donít have to clean your airbrush afterwards. Donít touch it afterwards or you will have fingerprints in it.Comments
Ola guys
@ Daren
Thanks for the lightning fast publication. Sterling work as usual.
@ Christopher
Thanks for the compliments. Yeah I'm kinda on a roll lately. And the build for feature 4 is already halfway. Allthough I don't think I will get the feature finished this month. But it will be a nice start for march.
FEB 25, 2014 - 02:58 AM
Hi Robert,
Another cracking build article and a great finish to the kit. Lovely work and I like the cross over of use.
Cheers
Al
FEB 25, 2014 - 07:14 AM
Cheers mister McNeilly for the compliments.
Was a really enjoyable built.
FEB 26, 2014 - 01:11 AM
Copyright ©2021 by Robert Blokker. Images and/or videos also by copyright holder unless otherwise noted. The views and opinions expressed herein are solely the views and opinions of the authors and/or contributors to this Web site and do not necessarily represent the views and/or opinions of Armorama, KitMaker Network, or Silver Star Enterrpises. All rights reserved. Originally published on: 2014-02-25 07:36:02. Unique Reads: 13952


