

1⁄35UN M109A2
6
Comments
The gun is a turned aluminium barrel, very nicely detailed, but the gun muzzle requires some filler. Surprisingly there is a spring to mount the gun barrel. Maybe one can build it in recoil position, but the instructions don´t say anything about doing it.
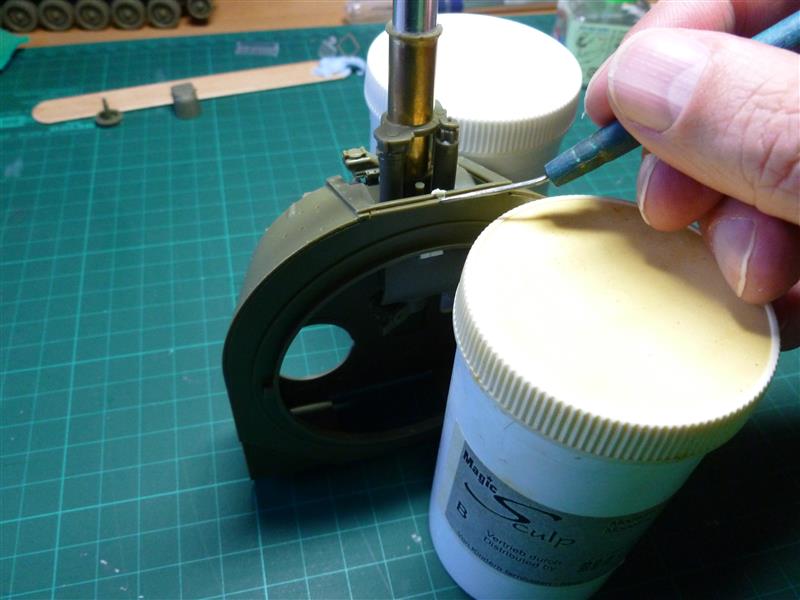
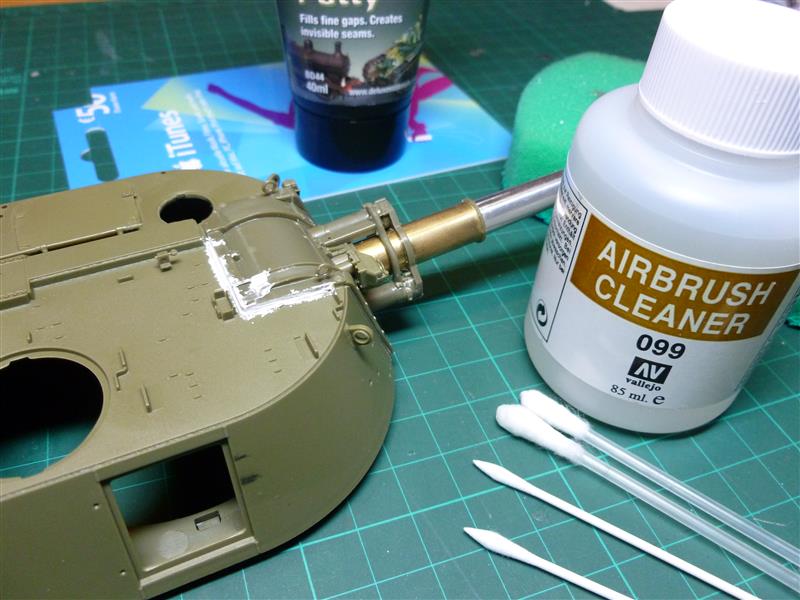
So far the build went well and was easy, but with step 18 and Part D22 I had some trouble getting the parts correctly aligned, as D22 was heavily warped. Because of this the geometry of the axle was spoiled. Part D36 was cut in the middle and the gap there was filled with Magic Sculp. There were also gaps to fill on the upper part of the turret. I used Perfect Putty which has minimal shrinking and is easily removable with Vallejo Airbrush Cleaner and Q-Tips. Unfortunately I had to glue the barrel in a fixed position as every movement bent the mounting around, which was not good.
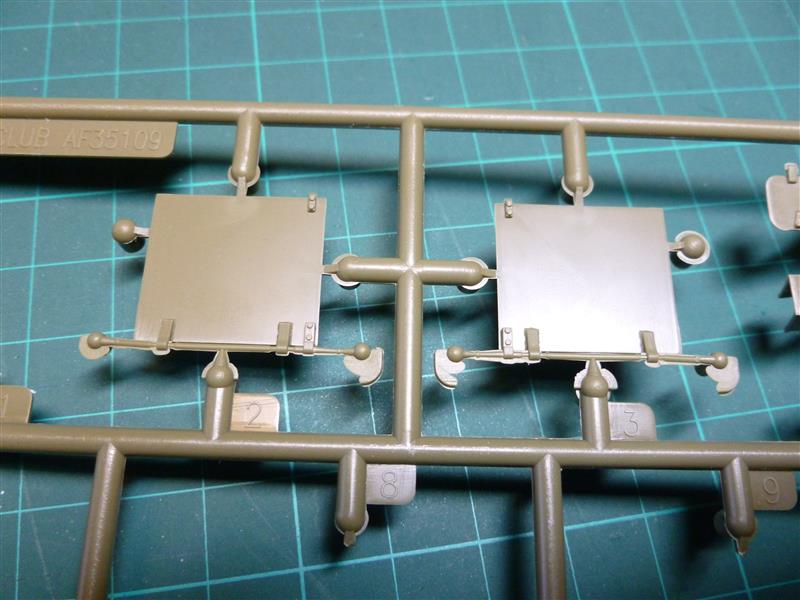
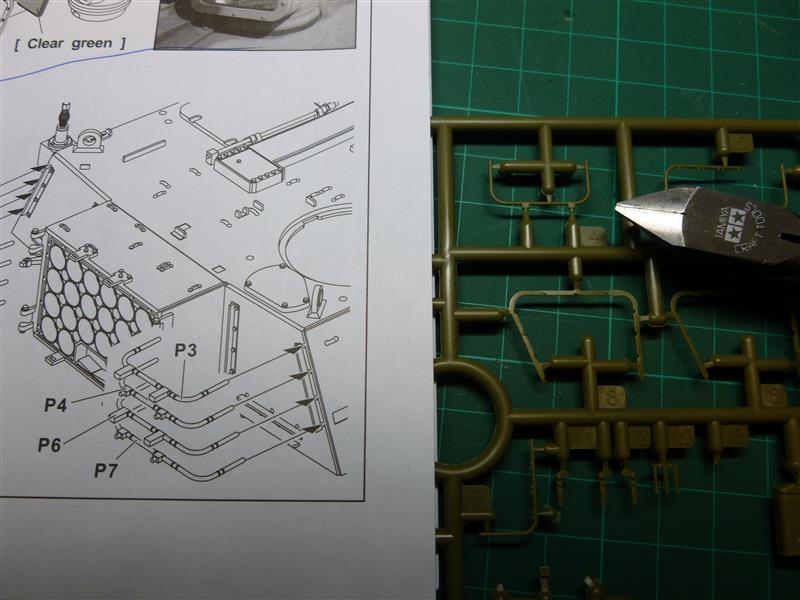
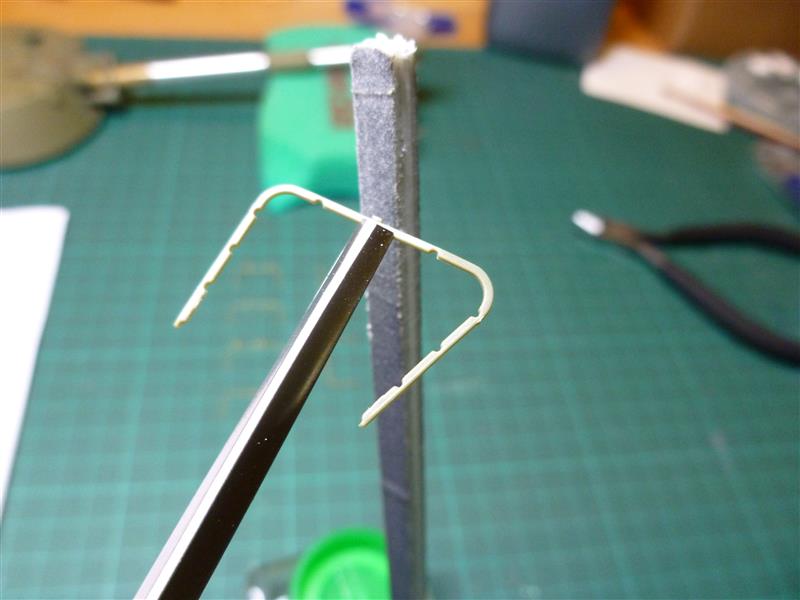
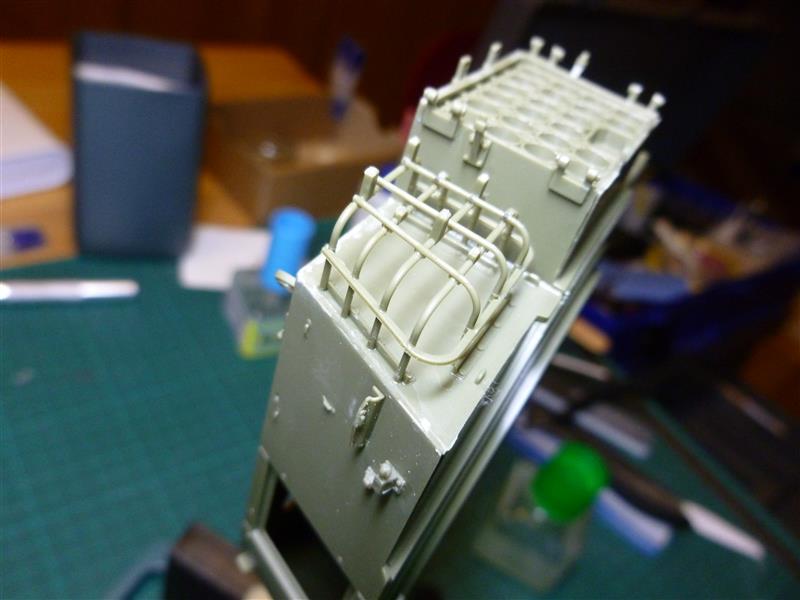
On sprue C there is a bit of nasty flash which has to be sanded away very carefully. Generally sanding is the key issue with this AFV kit. You get great and excellent details with it, but you must spend a lot of time carefully microsanding. For example, the turret baskets are great, and although the assembly seems really complicated, the fragile basket parts fit together perfectly, but cutting them from the sprue and sanding them (with flat nose pliers and skinny sanding sticks) definitely makes you hold your breath. After that you are rewarded with a wonderful stowage basket, and all without any use of PE of wire.
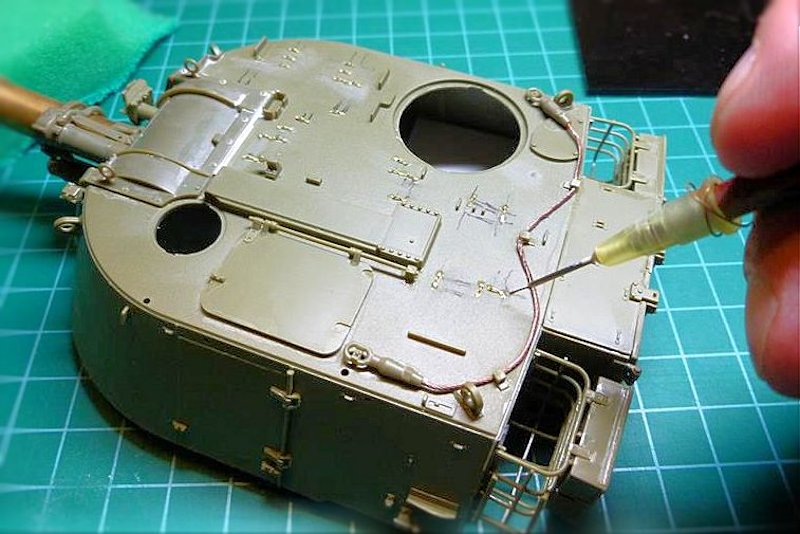
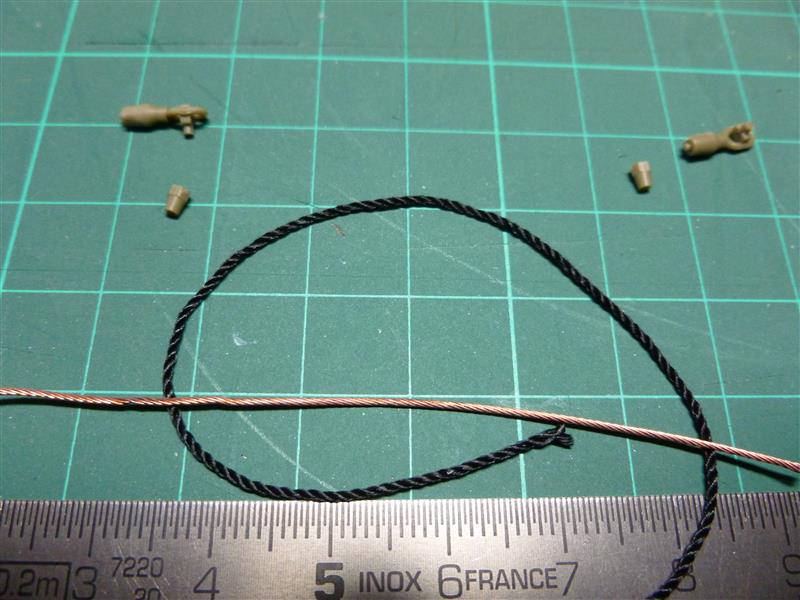
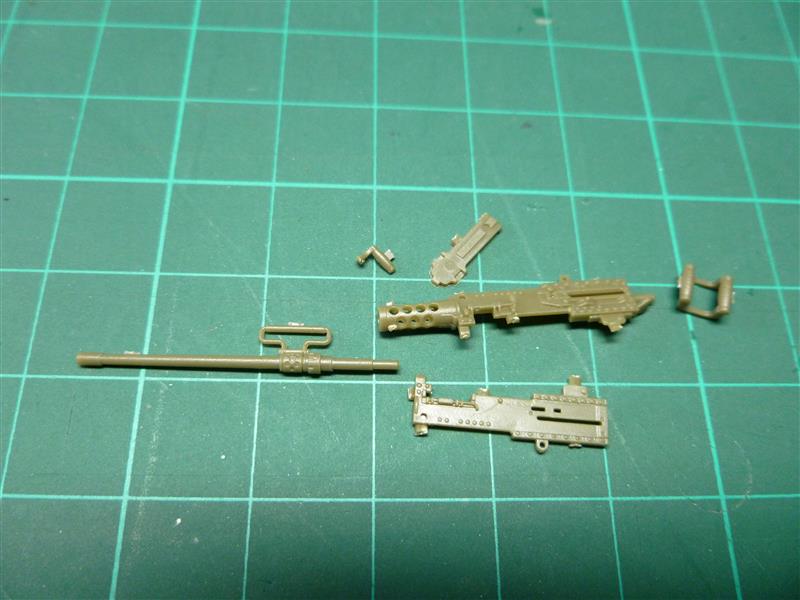
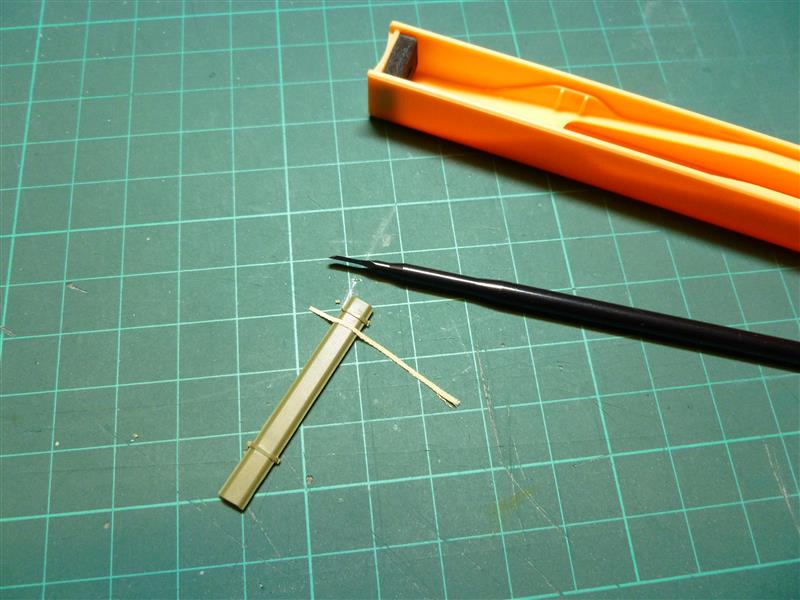
Another highlight from the great details in the kit is the .50 cal MG. Even the barrel is hollow, no need to drill it out. Then again, there are 18 sprue attachments for this MG (without gun carriage). I´ve never built a model before which required that much sanding. There is a thread to represent the tow cable, which I replaced with a tow cable from Karaya. Be careful with the length of the tow cable: instructions call out 75 mm, but after cutting and gluing I found it was a little too long; 65 mm fits much better. I had to cut the already glued tow cable and hide it somehow.
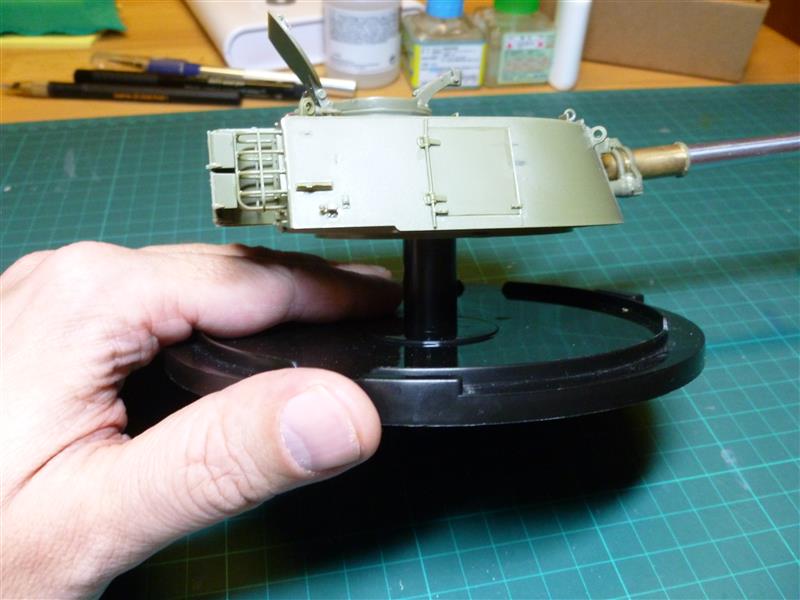
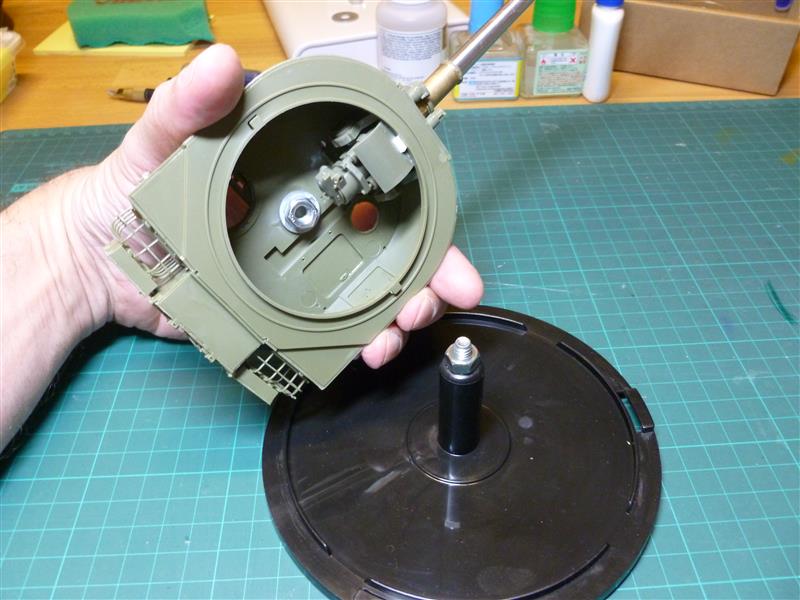
After a while even the turret becomes packed with fragile parts so that handling needs to be more delicate. The heavy barrel doesn't make it easy at all, so I built another little handling jig made from an old DVD spindle box, screw and nut. I drilled a hole into the spindle and the screw was glued into the hole. Into the turret I glued a corresponding nut so I can screw the turret on to the jig. It's now very stable and I can easily manoeuvre it around without damaging fragile parts.
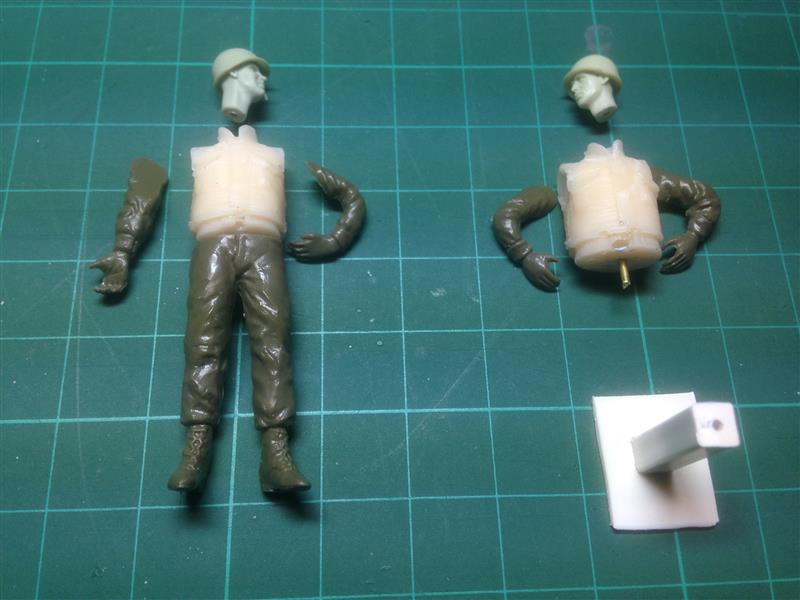
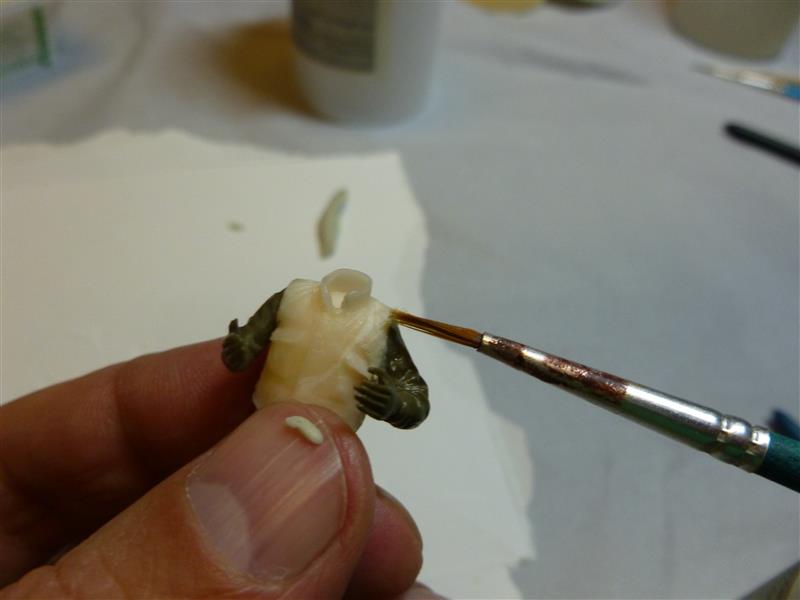
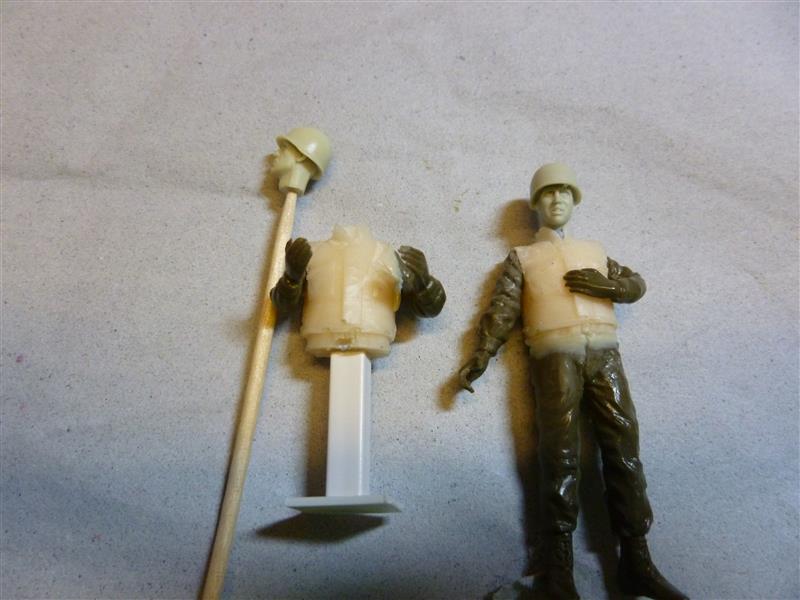
CREW FIGURES
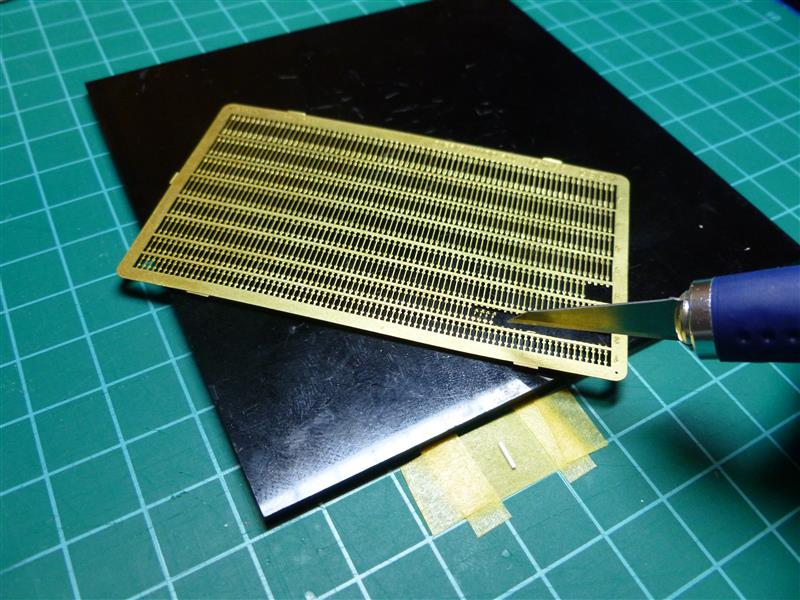
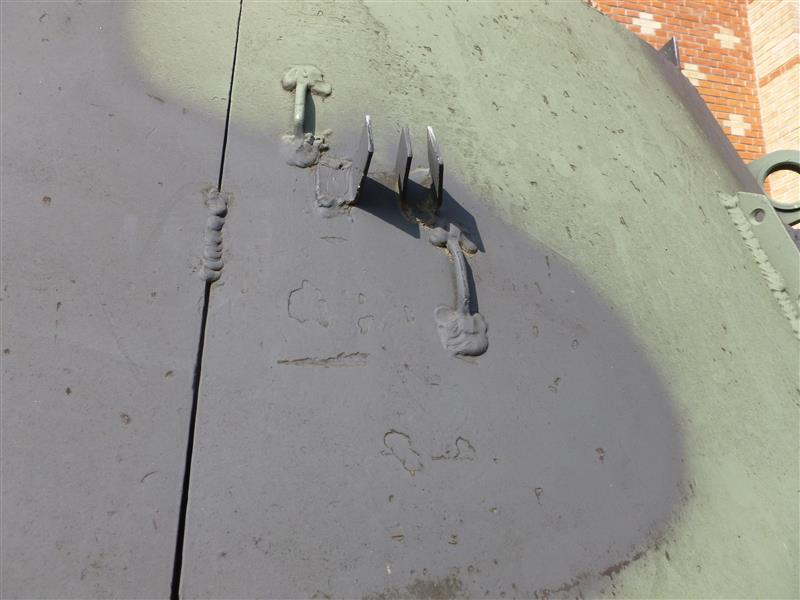
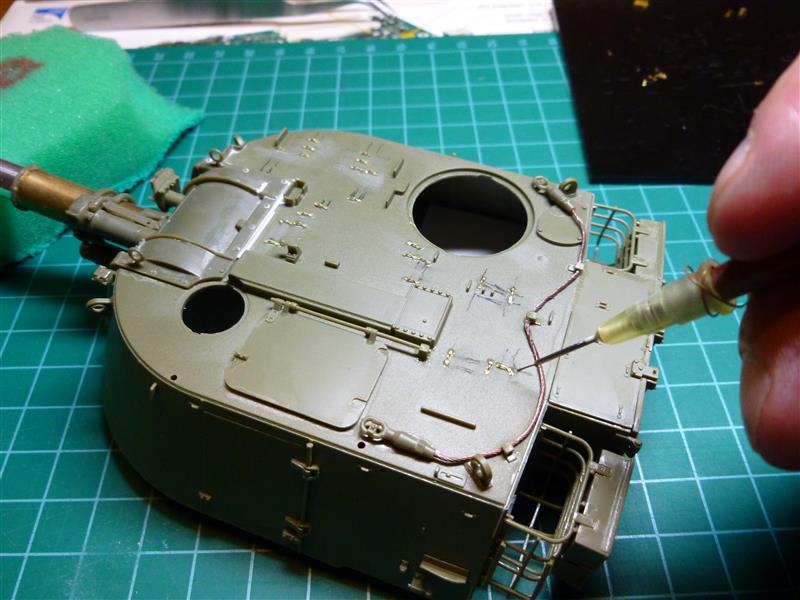
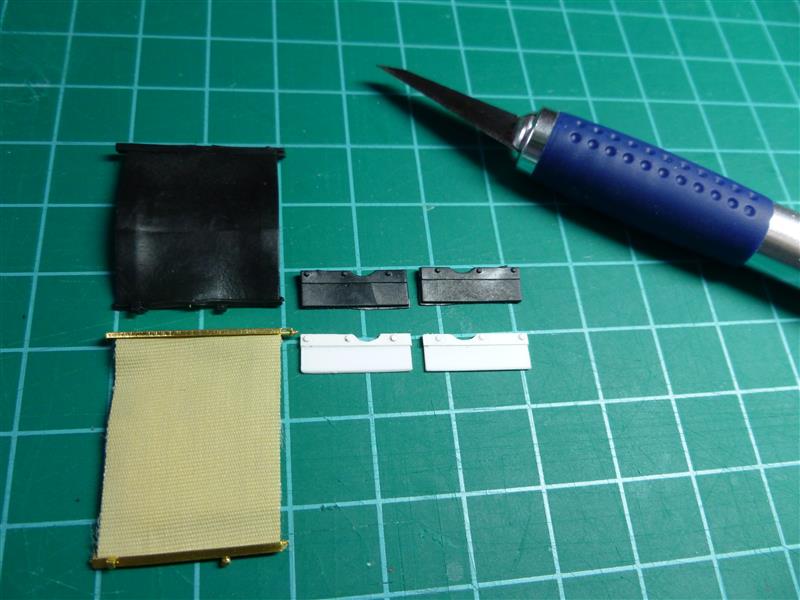
I like to put crews on to my models. It shows the size of the real thing compared to humans and it makes the model that bit more interesting. The Jordanian M109 crew in my reference photo, even the driver, wear M1 helmets and some sort of flak jackets. I took some Hornet heads with M1 helmets, but unfortunately their size didn't fit most of the figure sets in my stash. The heads looked much too small and completely out of scale. After quite a while I found some hands, legs and a torso in my spares box. The torso is from a US soldier in Vietnam. It has a similar flak jacket and I made two resin copies for my crew. The hands and legs came from an old Academy Mortar Crew Set. After some minor modifications the gaps were filled with Magic Sculp, smoothed with a brush moistened in alcohol. The little pedestal helps the driver to look out of the hatch. I decided to replace the straps for the tools on the turret with Leukosilk (medical tape). Therefore I had to remove the moulded straps from the tools. I found the chisels from MasterTools very helpful for this job. They are available in various forms and sizes and the scraping was a lot easier than with a scalpel blade as I had used before. I also had to replace some tie down cleats (footman loops). It would have been much easier to do this before assembling the turret, therefore I didnt put in too much effort and removed only the necessary cleats for the straps. (I know, I am lazy.) For the replacements I used PE Cleats from ABER (Tie Down Cleats 35A59). Their various sizes makes it easy to find a proper fit. The PE parts were bent over a strip of Evergreen and then glued into place with CA glue. Don´t forget to mark the correct locations. For gluing I use my own tool - a thin wire put into a hypodermic needle and into that I plugged a shaft from an old paintbrush. Don´t worry about messy CA glue... on the real thing the welding spots are quite chunky, as you can see on the image of an M109 I took at the Historical Army Museum in Vienna. There are some vinyl parts in the kit (mudflaps and a tarpaulin) which I replaced, the mudflaps with scratch-built Evergreen parts, and for the tarpaulin I used PE parts from the Voyager M109 set and Leukosilk tape.DECALS
There are no aftermarket decals available for this UN M109A2, and although I´ve got a lot of UN decals in my stash, as always, I couldn´t find markings in the proper shape and size. So I decided to print my own. On the reference photo for this UN M109A2 you can only see the right and front side of the vehicle. On the door the UN marking in black letters is clearly visible. Because many soldiers are biased to symmetry, I suppose there was the same marking on the door on the left turret side. Also a licence plate and a sticker with numbers is visible on the vehicles front.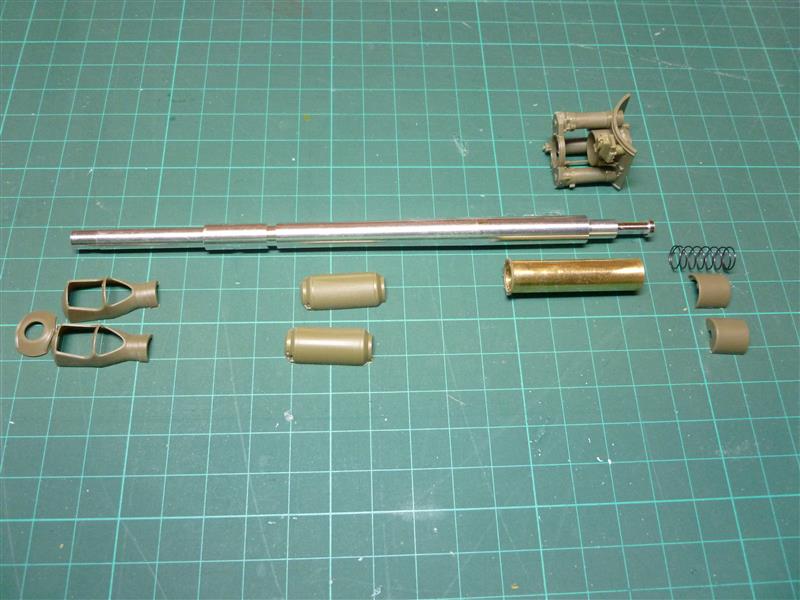


About the Author


FROM: LOWER AUSTRIA, AUSTRIA
I've been building models since I was a child. I took several off-times (military-duty, un-services, occupational career, my family, set up my company e.g. ) but never lost interest. I am stuck with modern armor - especially white un-vehicles - but also with early aviation from austro-hungarian empi...
Comments

Impressive work Walter and the weathering is first rate as white is a pain to get to look right.
MAY 05, 2014 - 06:27 AM
Great job on the white paint. Subtle and very effective weathering. Thanks for sharing!
MAY 05, 2014 - 03:58 PM

This is a fantastic build and a beautifully finished paint and weathering job- very inspiring work Walter.
MAY 06, 2014 - 10:14 PM

Hi Walter, I really like your subject and the way you turned it into a beautiful miniature. I think I would have kept the white a bit more white but this is just personal preference. The weathering is very convincing and the figures add the right touch to it. I suppose I am not the only one who would love to see that vehicle on a little vignette.
Looking forward for the campaign.
MAY 06, 2014 - 10:24 PM

Hi Gents! Thank you very much for stopping by and your comment. Appreciate it and it is a lot of motivation to do even better in the future .. maybe with a vignette in the UN campaign ;-)
MAY 08, 2014 - 05:29 AM
Copyright ©2021 by Walter Lampel. Images and/or videos also by copyright holder unless otherwise noted. The views and opinions expressed herein are solely the views and opinions of the authors and/or contributors to this Web site and do not necessarily represent the views and/or opinions of Armorama, KitMaker Network, or Silver Star Enterrpises. All rights reserved. Originally published on: 2014-05-05 12:56:31. Unique Reads: 12497

WEB HOSTING BY


Copyright ©2021 Armorama and Kitmaker Network, a subsidiary of Silver Star Enterprises
All Rights Reserved. Please read our Conditions of Use and Privacy Policy.
All Rights Reserved. Please read our Conditions of Use and Privacy Policy.