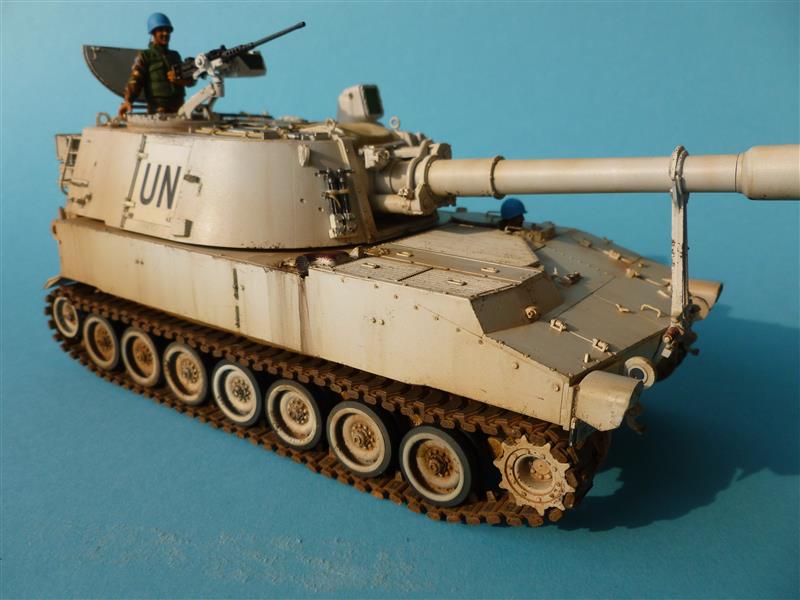
PAINTING A UN VEHICLE
I want to show you how I paint my white UN models. This is my planned painting / weathering sequence for this UN vehicle:
- Cleaning the model
- Priming
- Basecolor white (Tamiya XF-2 white + Tam Buff)
- Semi gloss acrylic coat overall (better flow for filter and washes)
- Decals
- Semi gloss acrylic coat over decals
- Painting details with variations of white color
- Filter overall (orange enamels or oils)
- Chipping with sponge and fine paintbrush - acrylic colors
- Pinwash with dark brown enamels or oils
- Mounting tools, details and straps
- Streaking with "Balkan-Streaking-Mix" enamels
- Dusting with highly diluted "Balkan-Dust-Mix" Tamiya XF-57 und XF-52
- Dirt on lower hull, road wheels and tracks with MIG pigments
- Grease, oils streaks and wet areas
Quite scary this to-do list... but lets go on:
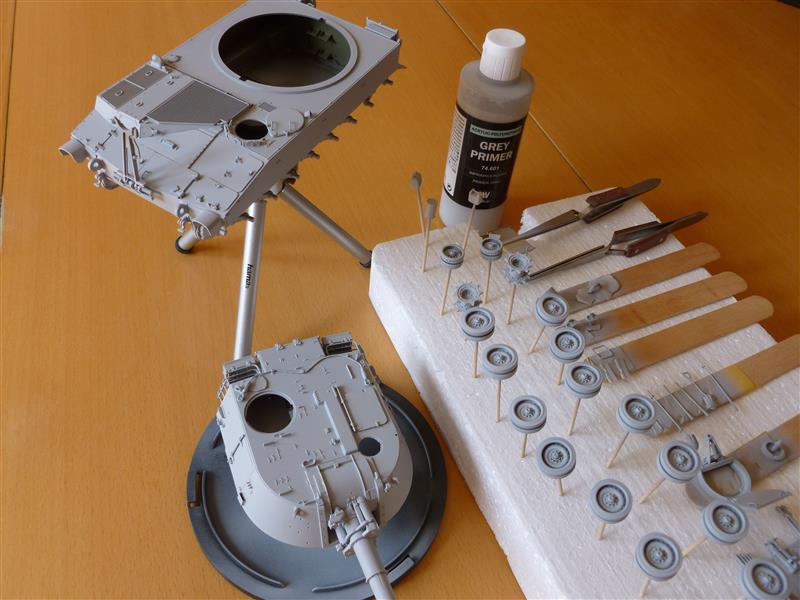
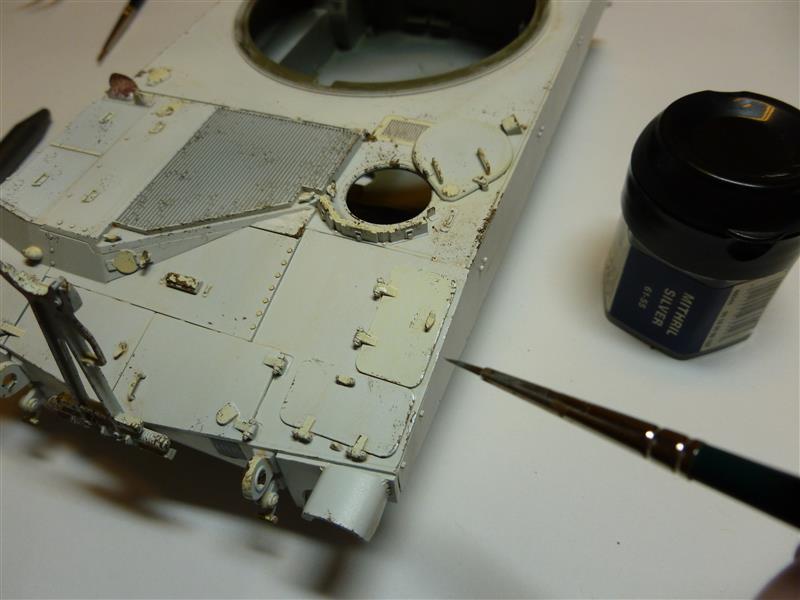
Priming
After a good clean with isopropyl alcohol I primed the model with Vallejo Polyurethane Primer Grey. I sprayed it straight from the bottle and received a smooth finish. VERY IMPORTANT when using this primer: you must let it dry at least 48 hours or more to get it completely hard. If it has not dried enough you can peel it like a latex skin and you cannot sand the model if necessary.
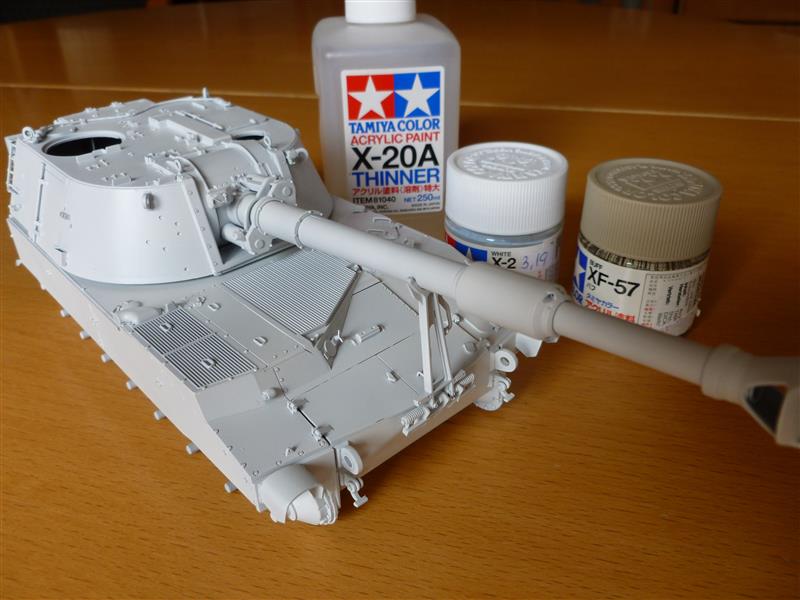
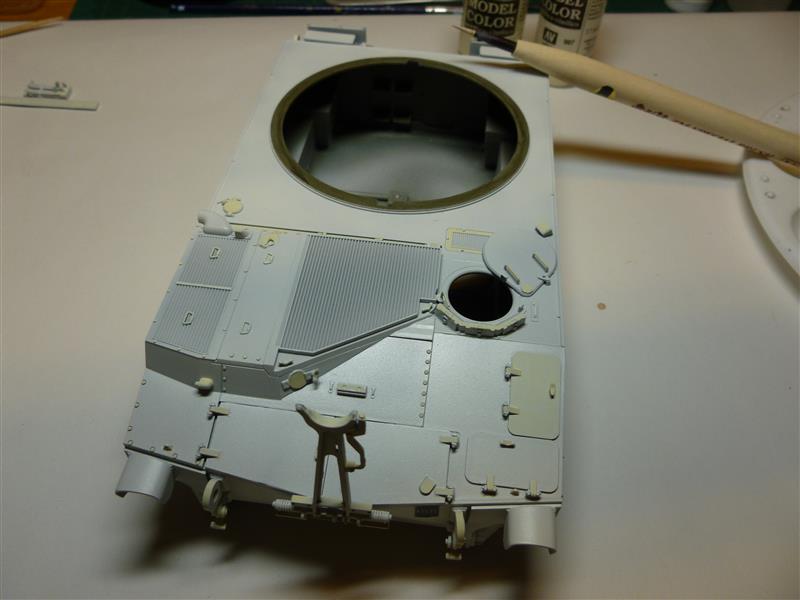
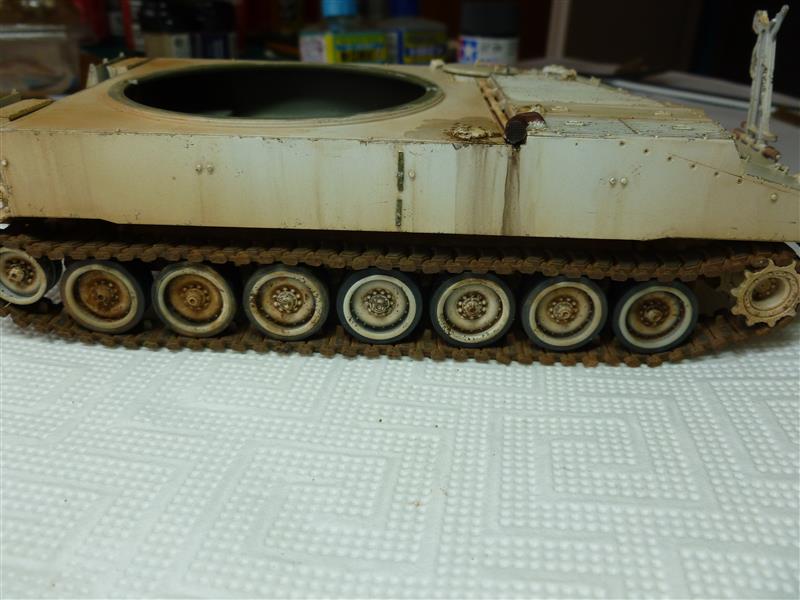
Base color UN white
For my basecolor I mix Tamiya XF-2 flat white with a little bit of Tamiya XF-57 buff to break the bright white. Be careful not to use too much XF-57 otherwise your color will be too creamy and look like vanilla ice cream.
Semi-gloss acrylic coat
To protect the base color and get a smooth finish (for the decals and a better flow for washes and filters) I spray the model with a semi gloss acrylic coat (Gunze Aqueous Hobby Color H 20 and H30 thinned with Tamiya X-20A thinner).
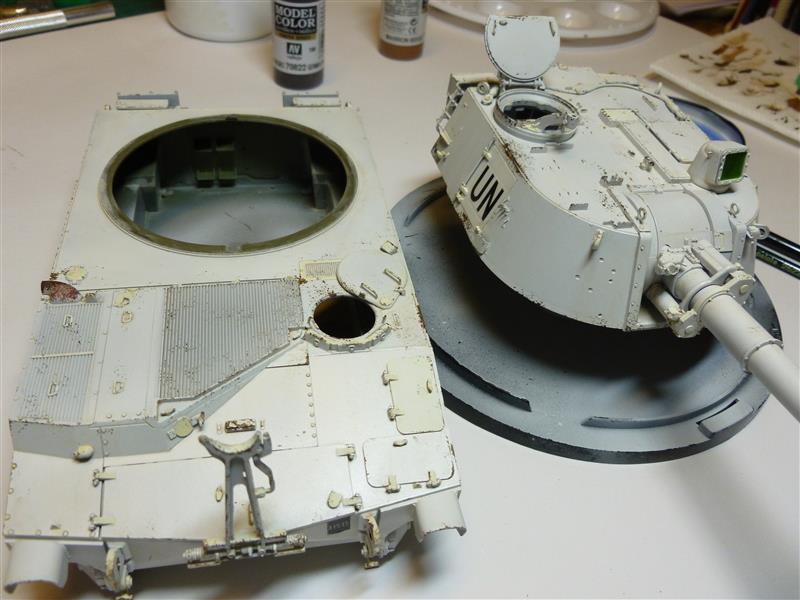
Decals
Put the decals on the model with help of Microscale Micro Set and Sol.
Semi-gloss acryl coat
After drying I sealed the decals with the semi gloss clear coat.
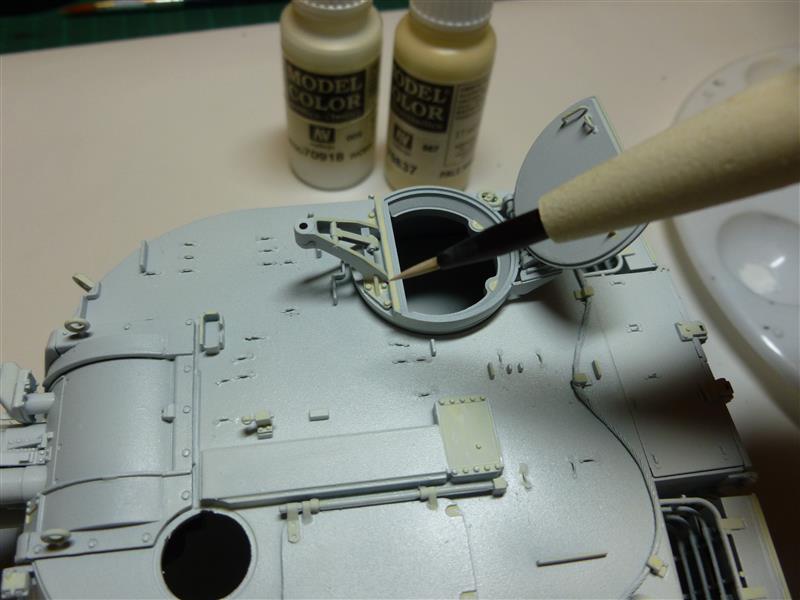
Painting details with variations of white
I used Acryl Vallejo 918 & 837 with a fine brush to repaint some details with different beige colors. At the moment it looks ugly but after the following sequence of filters and washings it should look pretty good... hopefully ;-)
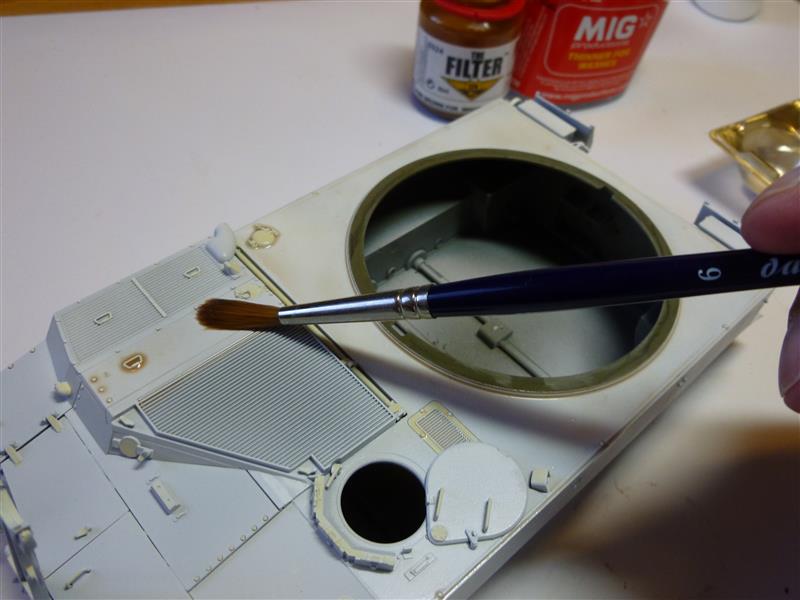
Filter overall
To tone down and unify the different previous colors I used a thinned mixture of orange or sand enamels / oils. In this case I used a ready to use filter product from SIN.
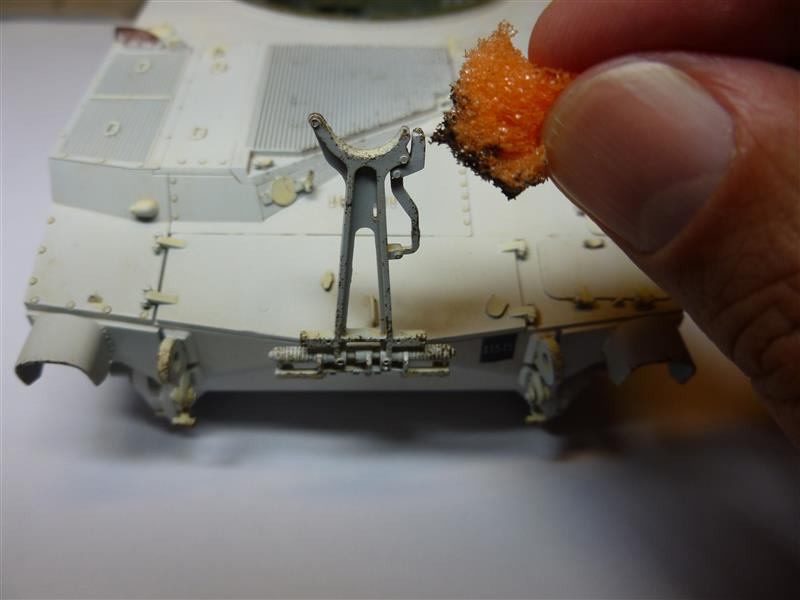
Chipping with sponge and fine paintbrush
For a fast and fine chipping I first dipped pieces from a kitchen sponge into an acrylic color, removed the excess and dabbed it on the model. Then I repainted some areas with a fine brush.
First I made light chips with sand color but that didn´t look nice. So I used a darker mix (Acrylic Vallejo Beige Brown & 822) for the chips, and it looked better then. Deeper chips were made with Citadel Mithril silver, because aluminum is used for the M109s hull and turret. You can´t find much rust on these vehicles I suppose.
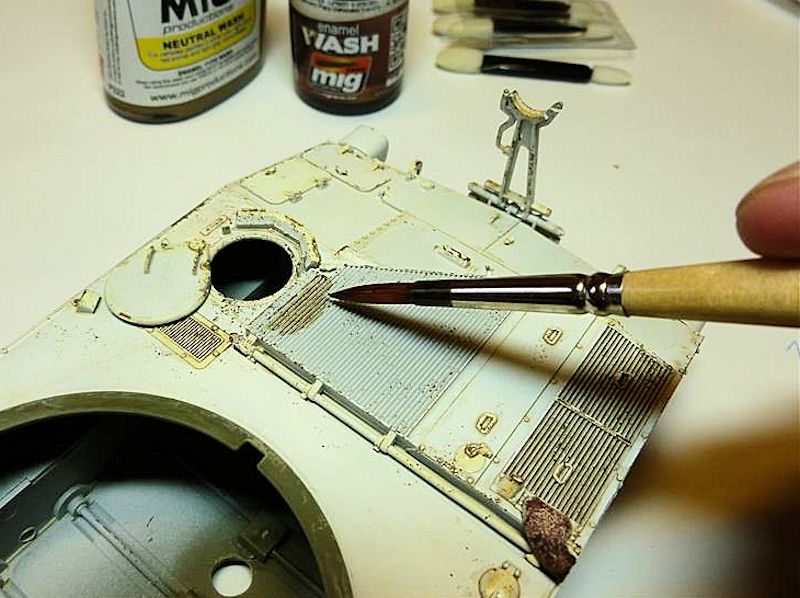
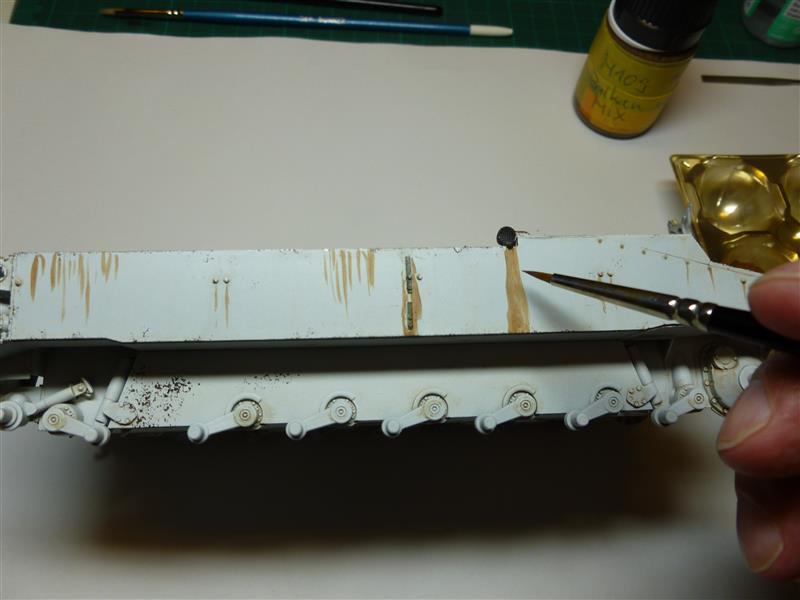
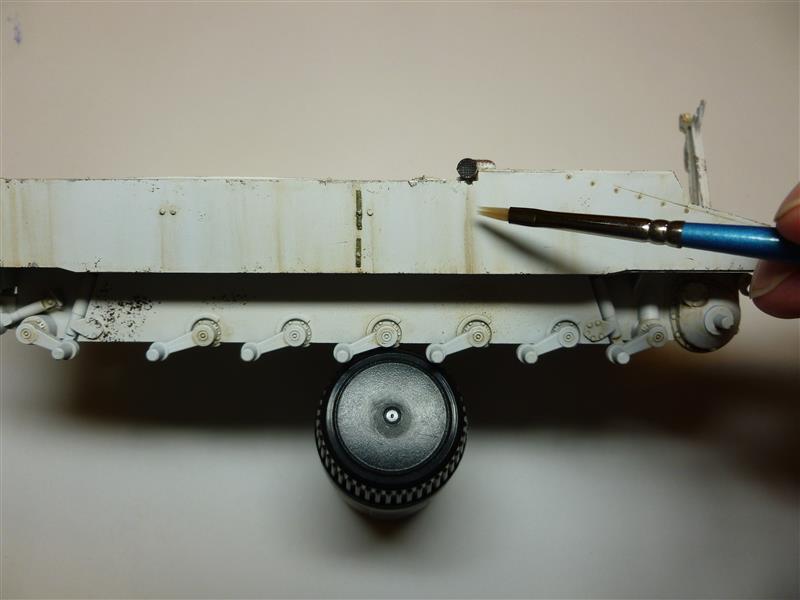
Dark pinwash
Next step was to bring more depth to the model. I did a dark pinwash with a dark brown enamel mix from MiG / Ammo diluted with white spirit. Seams, gaps, grilles, handles, bolts etc. were reworked with this pinwash. After the pinwash had dried for some time (10 - 20 minutes) I used a clean flat brush moistened with white spirit to clean up and blend it. I also tried a make-up sponge for cleaning up with good results. You can "borrow" it from your wifes / girlfriends / sisters vanity case or make-up-box ;-).
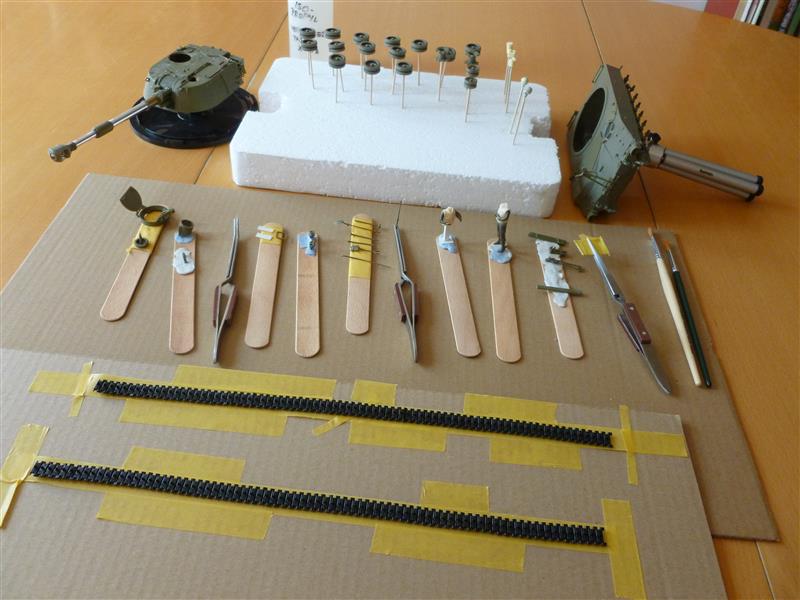
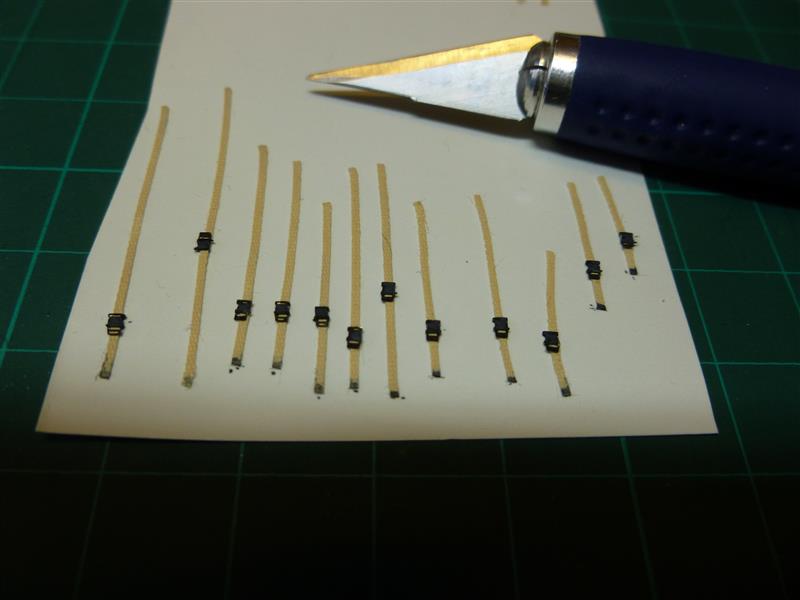
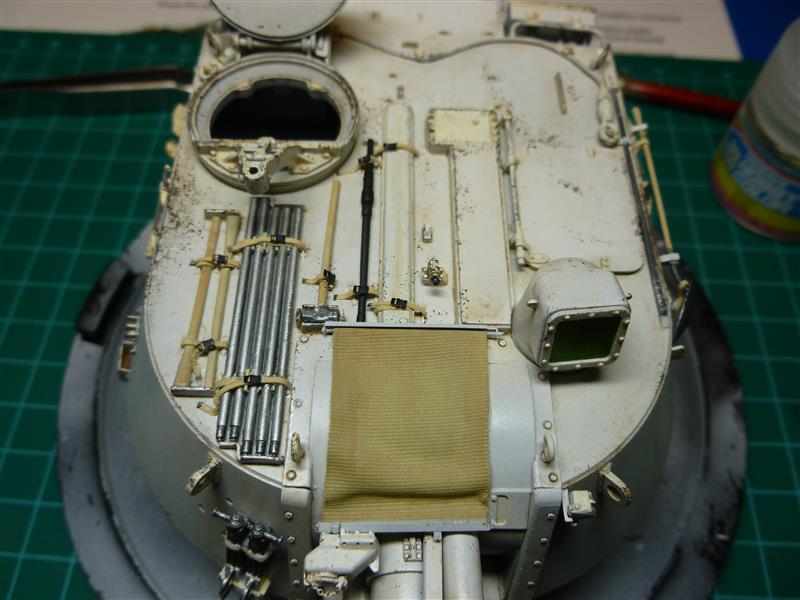
Mounting tools, details and straps
I painted all the tools with different acrylic colors from Vallejo, Andrea and Citadel. For the mounting straps I used medical Leukosilk tape because of its nice texture. I painted it with sand color and cut thin strips. Fasteners were made from PE (Black Dog Fasteners and Buckles E35001) - a very useful set.
Unfortunately the Leukosilk tape strips are a little bit too thick and very sticky. So it was not easy to get them through all fastener openings and through the footman loops. I had to improvise a lot ... note for my next build: Tamiya Tape is much easier to handle :-).
First gluing the straps in to place, then gluing in the tools and finally wrapping the straps around. I think the straps look much better than the chunky cast on plastic straps. Also the dust cover of the gun is substituted with Leukosilk tape.
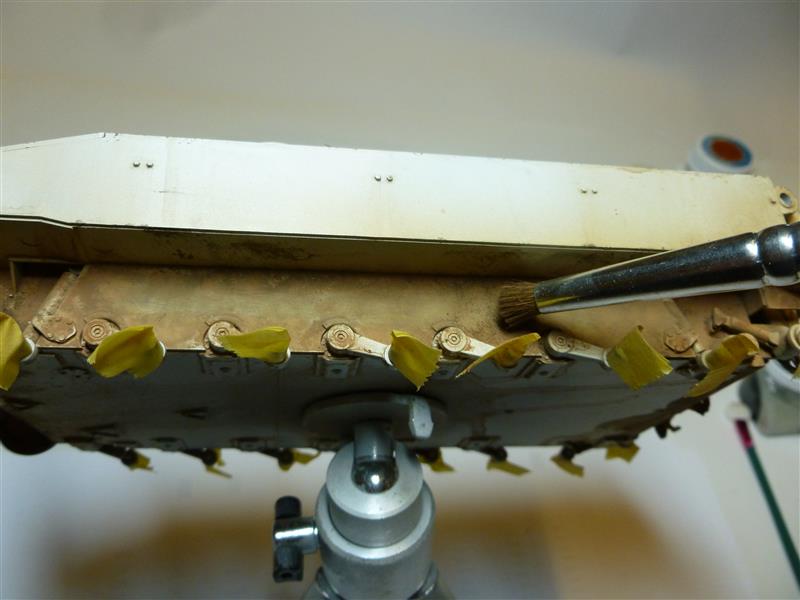
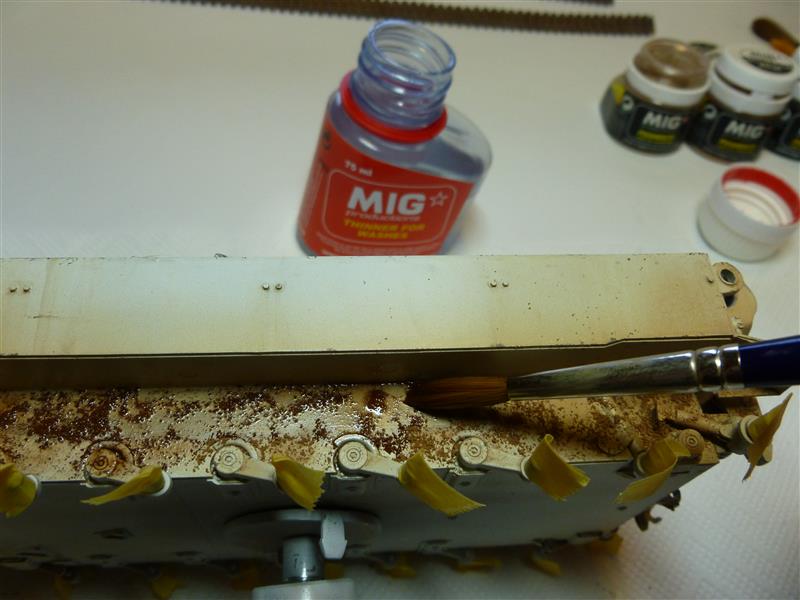
Streakings
I made my own "Balkan-Streaking-Mix" from dark brown and reddish enamel colors. First I painted thin lines on the hull and turret. After some drying time I blended the streaks with a clean flat brush moistened in white spirit. Make your brushstrokes downwards and make sure its not too dark for the white UN vehicle.
Dusting
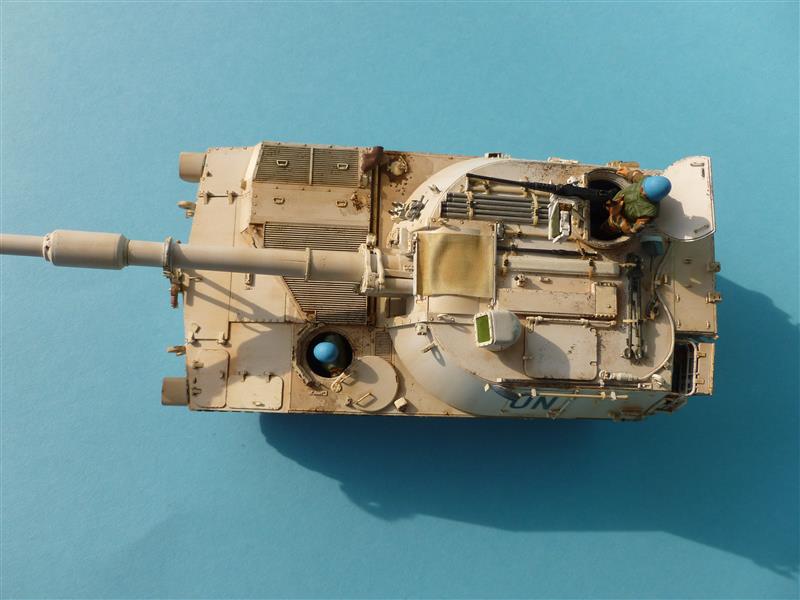
After the streaks were dry I airbrushed the model with a highly diluted mixture of Tamiya XF-57 and XF-52 (I call it Balkan-Dusting-Mix). Pay special attention to the hull sides, turret rear sides, the accumulation around hatches etc.
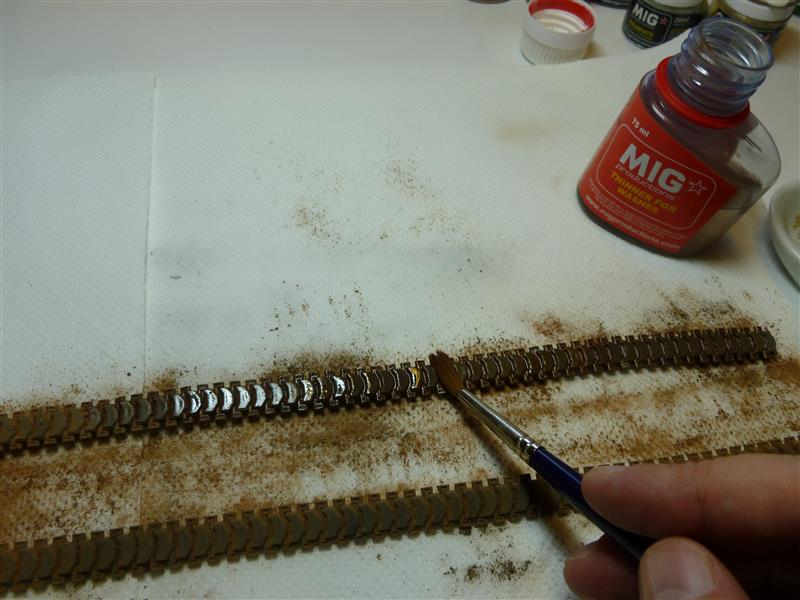
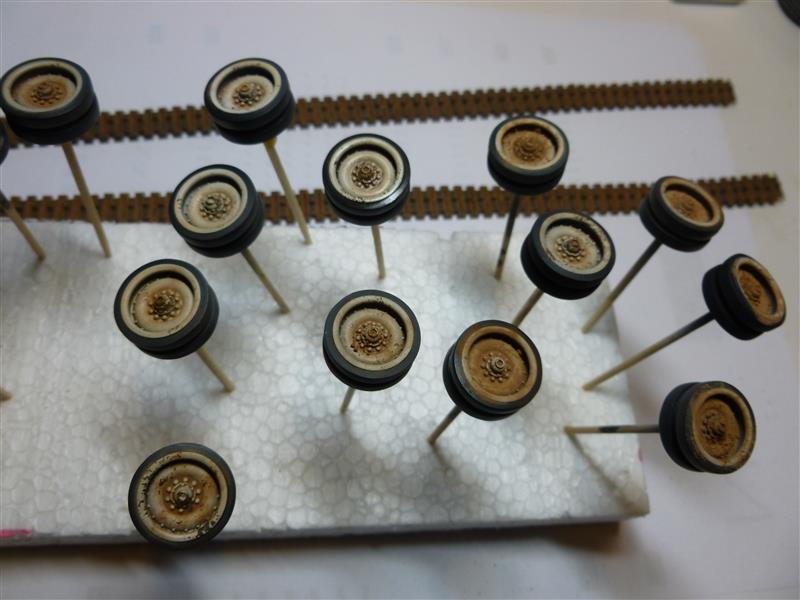
Dirt on lower hull, road wheels and tracks with pigments
Now its time for some pigments. I used some different brown and reddish colors from MIG. First I brushed them with some color variation dry on to the model. Then I fixed the pigments with a brush and white spirit. After the pigments dried I reworked them with an old stiff brush. It is important not to forget the tracks and road wheels. I used the same pigment and color mixes as I used before on the lower hull.
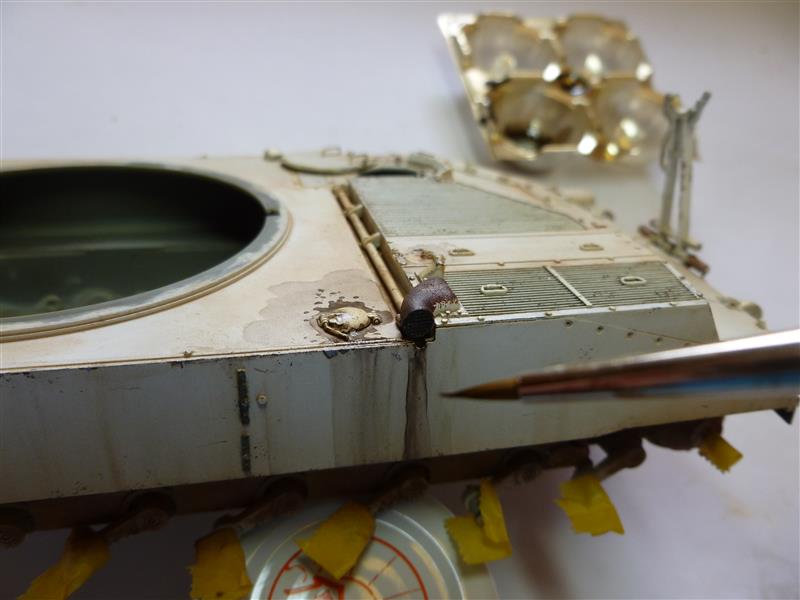
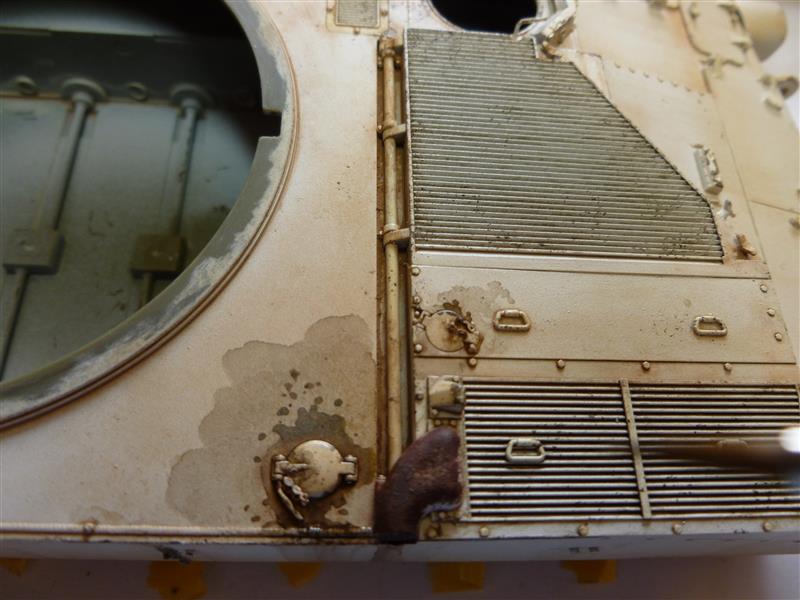
Grease, oil streaks and wet areas
In this case I used a mixture of brown + black + gloss enamel colors thinned with white spirit. First I make a more thinned mixture and paint older spilled oil and fuel around the caps. When dry I use a less thinned mixture for new and fresh spilled areas. Make sure the newer spills are irregular and smaller than the older ones.
Last Details
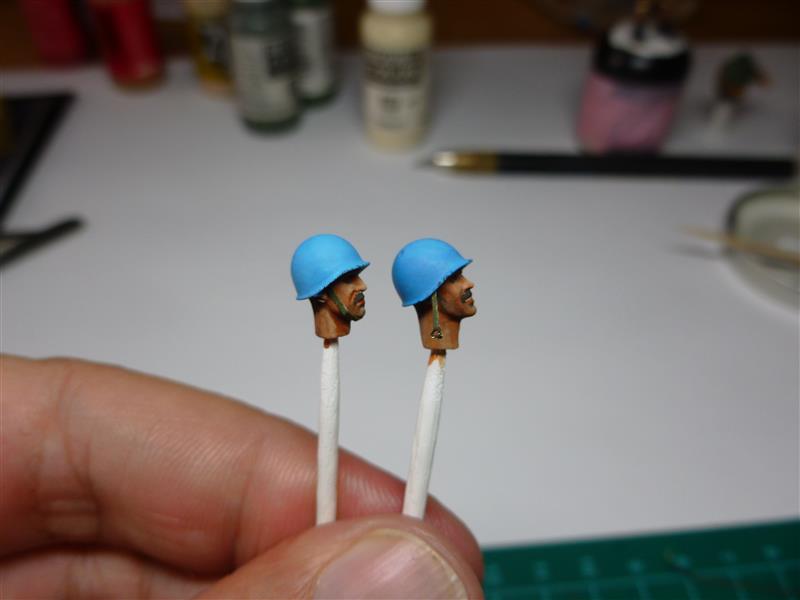
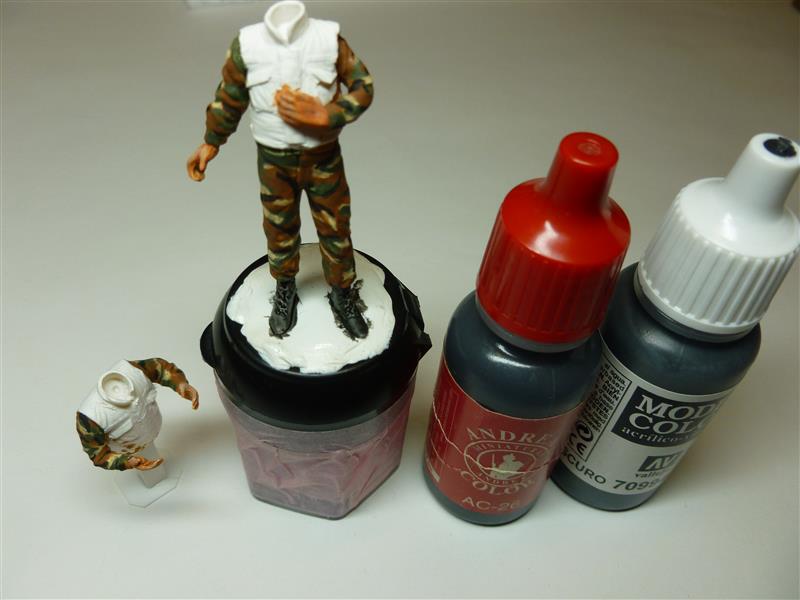
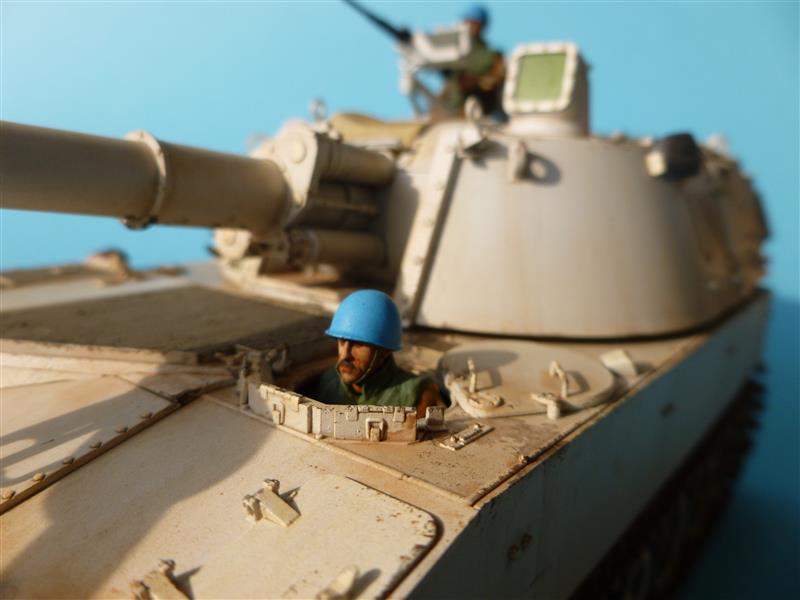
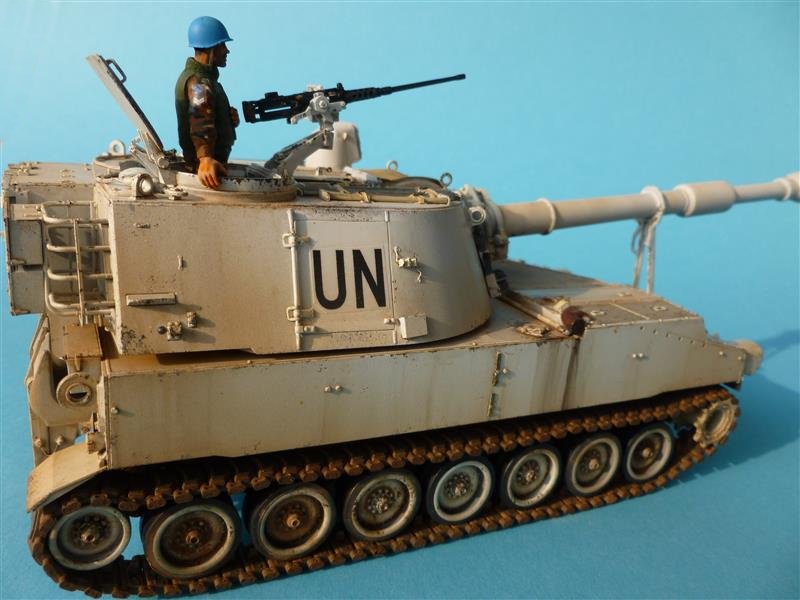
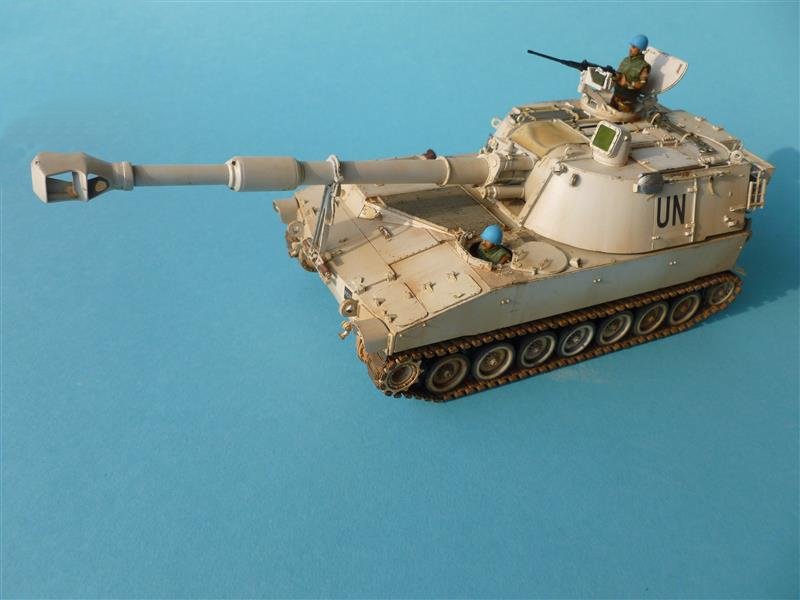
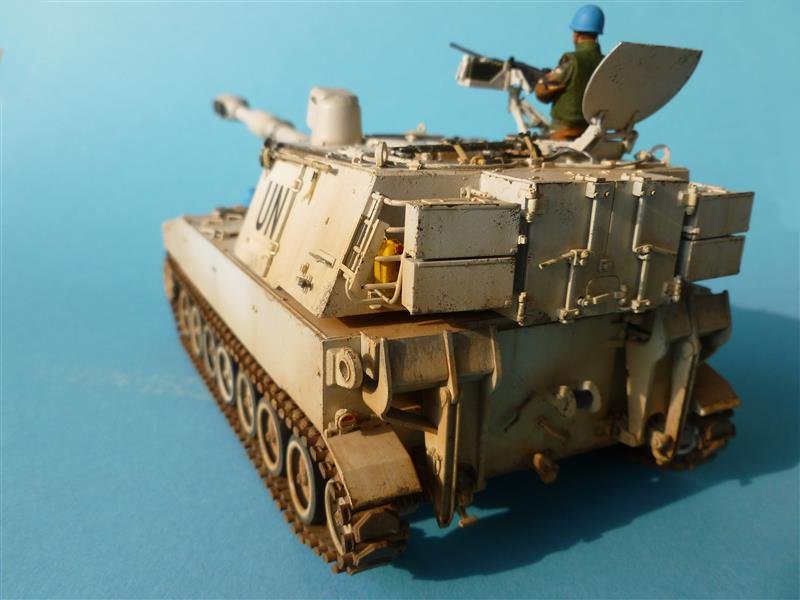
After finishing the painting and weathering sequence I carried on with the crew figures which I primed with Citadel Skull White from a spray can. I painted the figures with acrylic colors from Vallejo, Andrea and Citadel. I'm not that good and patient in figure painting, but anyway I still always try to add some figures to my models. The Hornet heads were painted with middle-eastern type skin tones and received typical Arab style moustaches for the Jordanian M109 crew. Chin straps for the helmets were made from Tamiya tape.
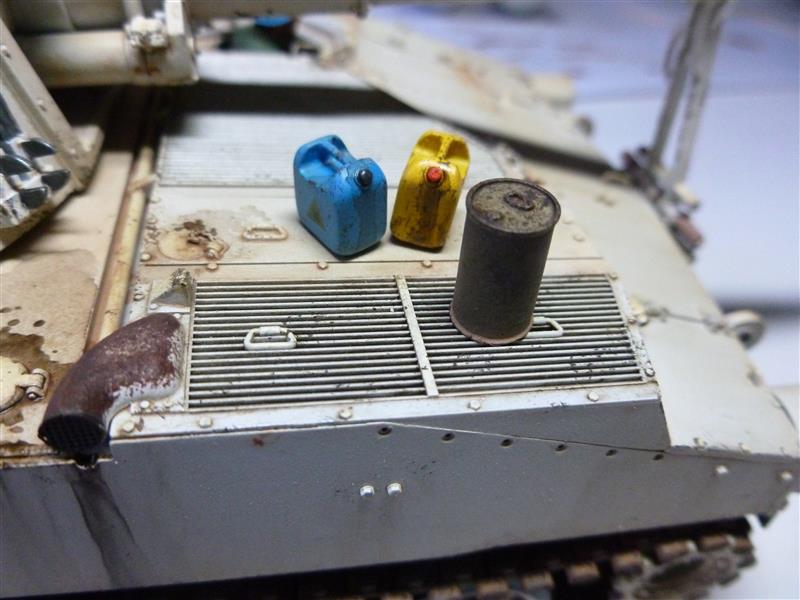
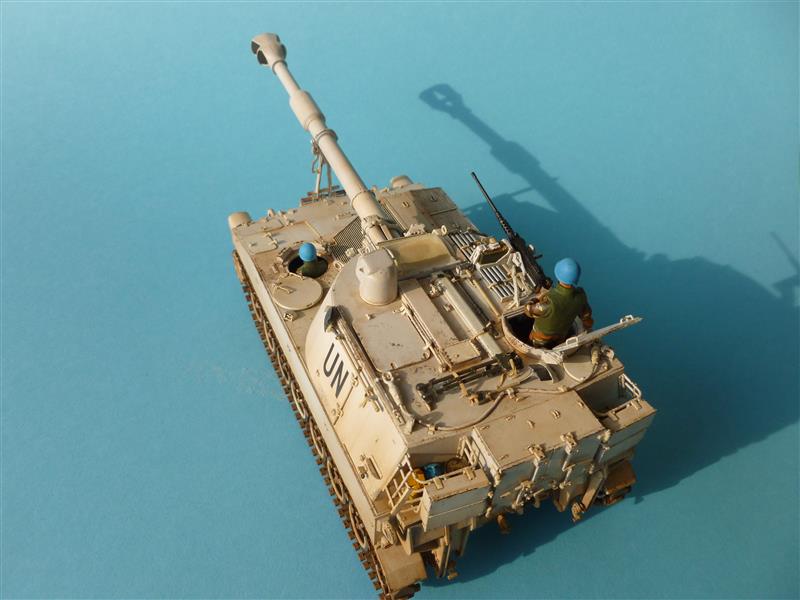
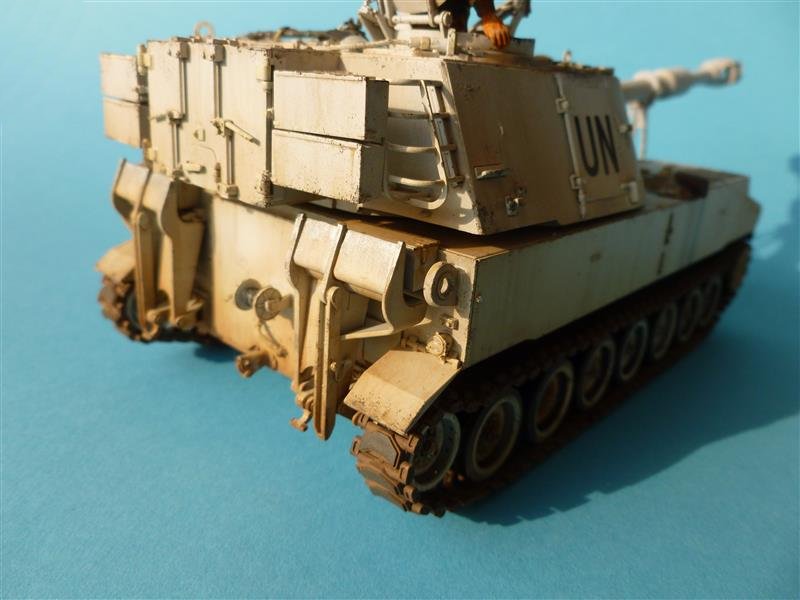
As discussed in some threads about the M109, there is not much stowage stored in the rear turret baskets (at least in non US vehicles). However I painted some cans and placed them in the stowage basket - but you can't see much of them. After the crew entered the vehicle, the project was finished.
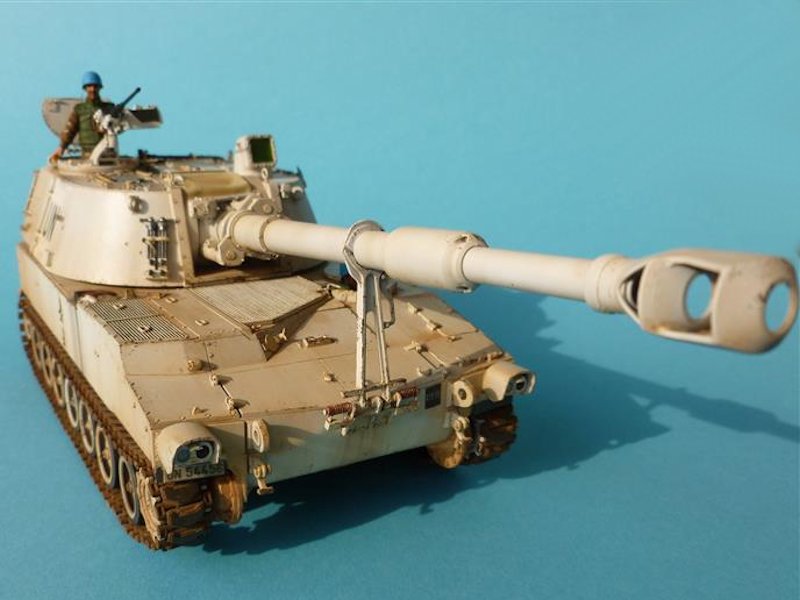
CONCLUSION
This kit from AFV Club is great, with lots of details. The fine details make it not too easy to assemble and there is a lot of delicate sanding to do. I wouldn't recommend it for a beginner modeller, but an experienced modeller will have a really enjoyable build with this kit.
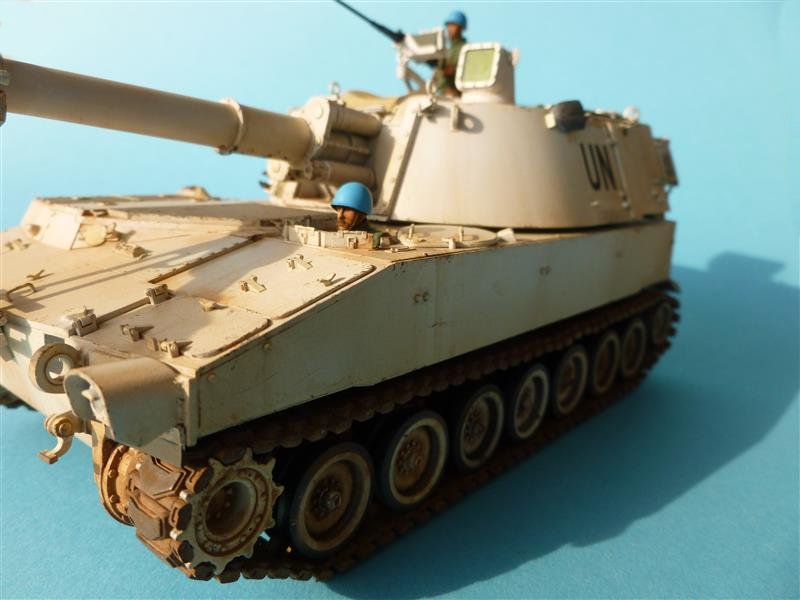
As you can see, painting a weathered UN vehicle is not that complicated, as I always said. There is an Armorama UN Campaign planned for November 2014...
Enlist here and let's build a UN vehicle together!
Thank you very much for following my build. I hope it was interesting and a little bit inspiring, and I wish you all the best for your own modelling projects.
Best wishes
Walter Lampel