

1⁄35Accurizing the DML USMC M1A1HC
The hull
This is the easy part of the job. The anti-slip coating is present and has been a template for my Tamiya kit.
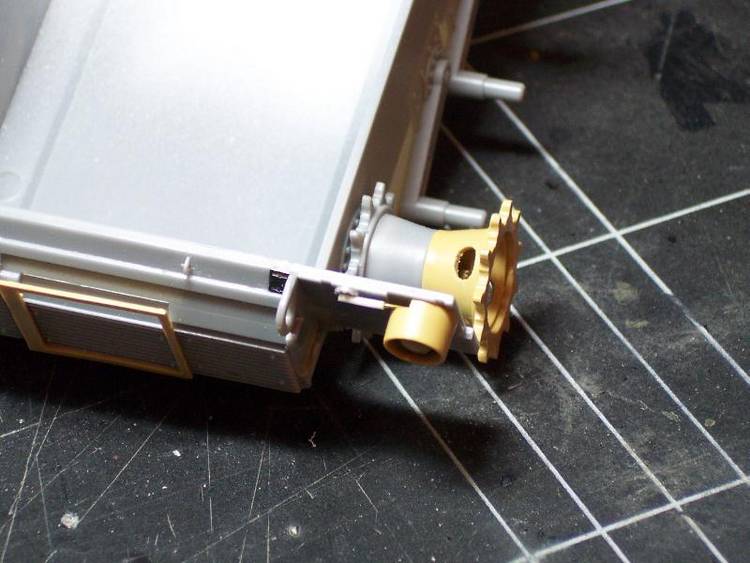
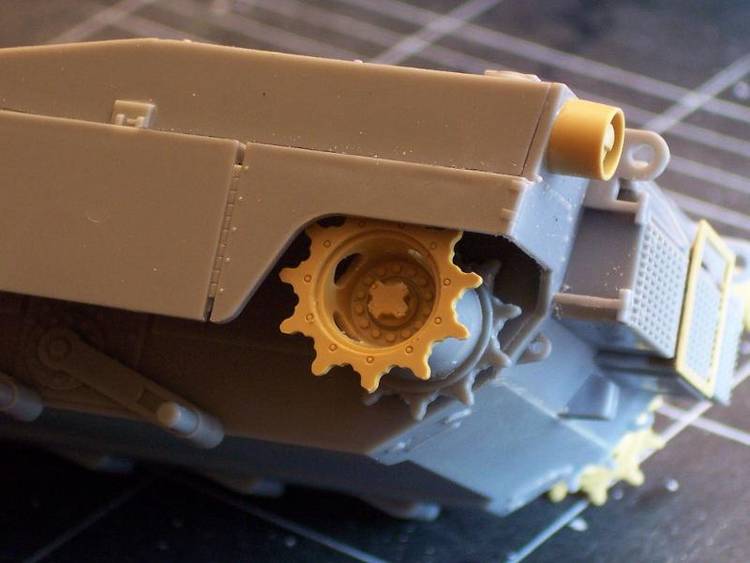
The chassisAs no skirt portion is represented missing, I did not detail the chassis that much. I just drilled out the mud relief holes in the sprockets.
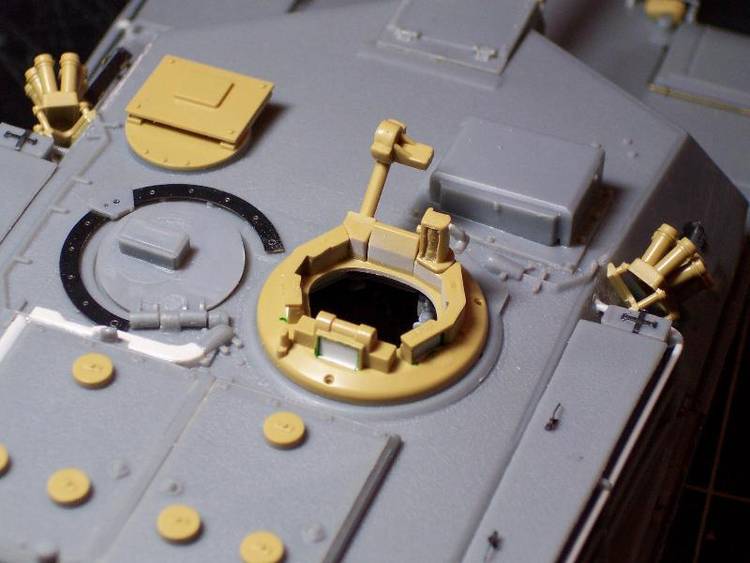
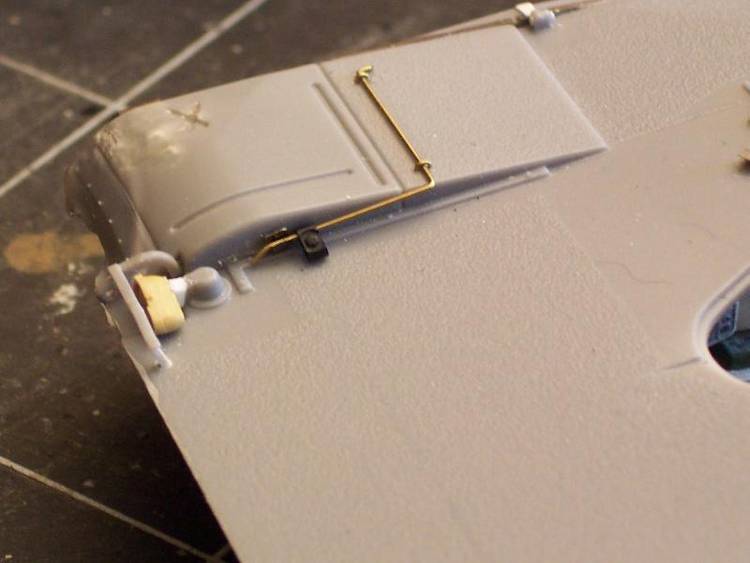
The frontThe front fenders are improved with their retaining system. The right one is thinned from inside to simulate a damaged part. I added one track connector to the retaining rod as seen on numerous pics. The gap between the headlight and the junction box is filled. A bolt is added on the protection horizontal bar. A hollow line under the front slope is filled and the weld seam is added. The left side gas tank cap is modified and its retaining pin re-located. The driver ports are PE parts as well as the wipers of the central port. The grab handle beside the driver on the left sponson is re-located forward and the positioning holes filled.
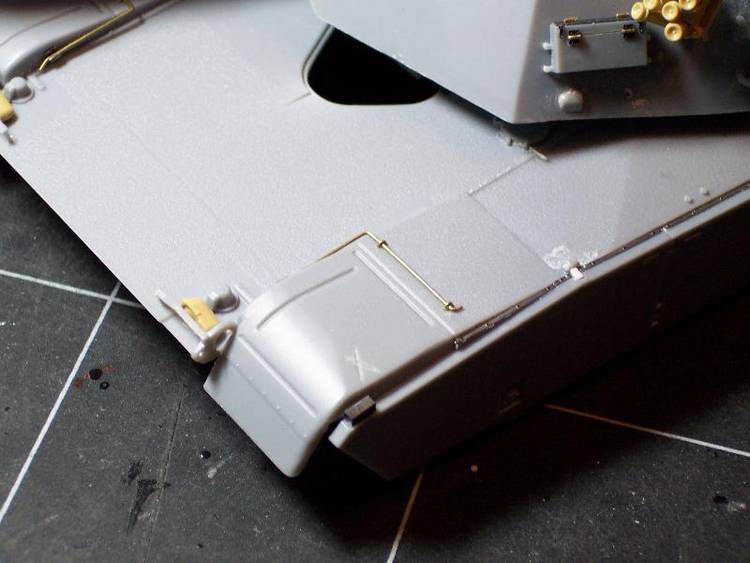
The sidesThe skirts are detailed with their rubber strips from Eduard and have their angled supports made from styrene strip. The retaining pins are done with plastic rod. The last skirt received the PE chain of the pin joining the skirt and the rear mudflap. The exhaust in front of the NBC compartment is drilled to give it some more depth. The right side sponson box has new handles made of plastic strip instead of the PE parts, these being too high and preventing the turret to rotate. One padlock is added.
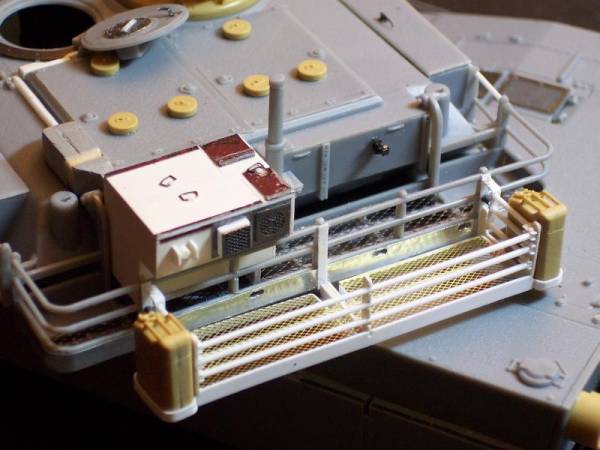
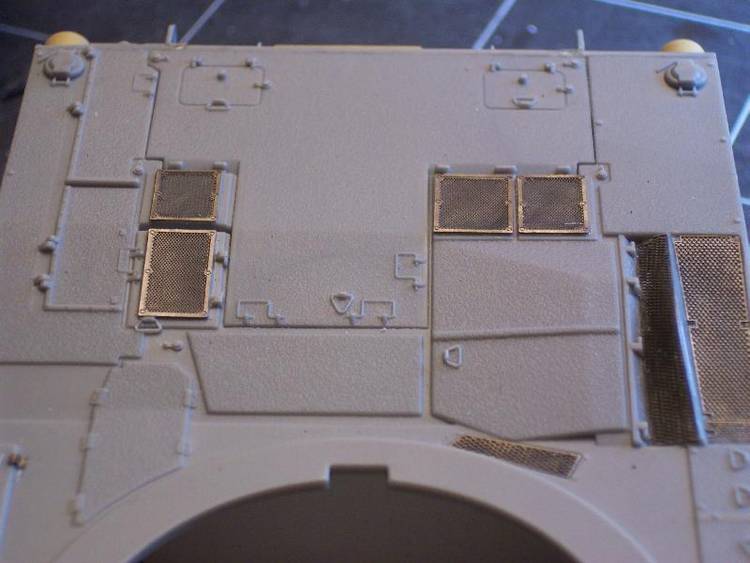
The engine deckThe only improvement is the replacement of the grilles by PE ones. The various handles are provided in the PE set but I let them apart.
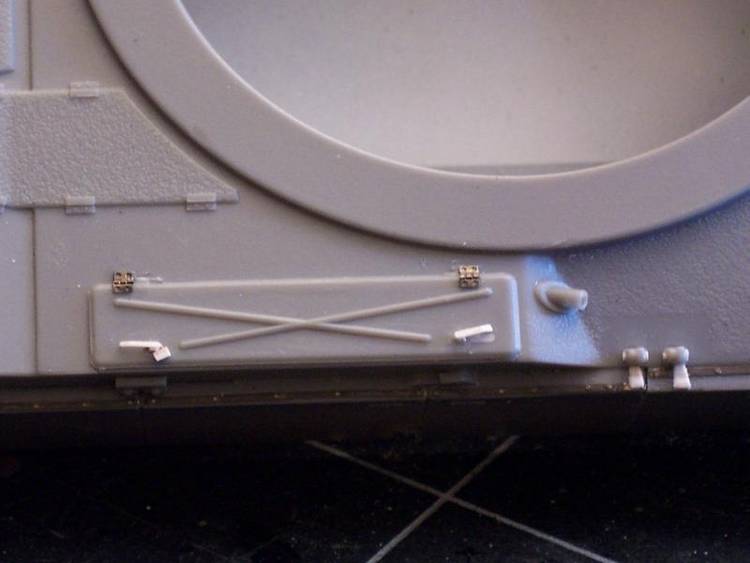
The rear deckThe taillights are replaced by Tamiya ones much more accurate. The wire conduit on the right side is sanded and replaced by a piece of plastic rod which is drilled out to fit the brass wire simulating the electric cable being connected to the back of the light. The various towing eyes are drilled out. The towing hook is detailed to give it a more realistic look.
The tracks
The kit ones are set apart and replaced by the AFV club set which provides beautiful links. These need a little sanding to remove the ejector pin marks. After assembling both tracks, several links and connectors remain.
The accessories
I mainly used those provided by the Tamiya M1A2 and Humvee kits. The canisters and jerrycans come from a Plus Model reference. The antennas are made from piano string.
About the Author


FROM: CORREZE, FRANCE
I have been in the hobby for years and I'm still learning. As a modeler, I only build 1/35 modern military vehicles, mainly armored ones. I also run a website where I share a lot of walkarounds. Just click on my banner to pay a visit to it.


All Rights Reserved. Please read our Conditions of Use and Privacy Policy.