1⁄35Making the Emhar 1/35 Mk.1A Whippet
Step 4 : Making and finishing the base
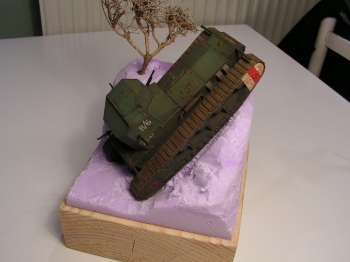
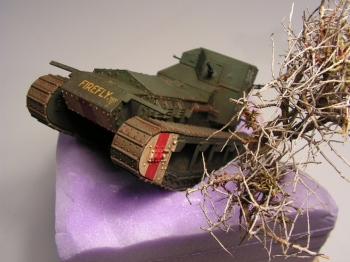
The wooden base was cut into shape.
The isolation foam was cut into 3 squares, dimensions were 1 cm less than the dimensions of the wooden base.
I glued these pieces into place and once dry I cut out a rough form to simulate the rough terrain.
Next step was applying a mixture of sifted sand from the garden, plaster, white glue and some water.
Once dry it's time for the real fun part, getting the model on the base, making the mud and attaching the nature products...exciting isn't it ??
The mud was made by mixing sifted sand from the garden with pigments, little stones, twigs,...,water and white glue. The Whippet was put into place while this mixture was still wet. This is important to achieve the sunken effect of the tracks due to the weight of the tank in real life! The tracks received a coat of the same mixture to get the muddy effect. All of this will dry matt but that will be taken care of in the next steps.
The trees were put into place after receiving some pili-pili for leaves. These were sprinkled on on a coat of white glue applied with a small brush. Some adjustments were made by gluing on some individual leaves using tweezers and strong glue.
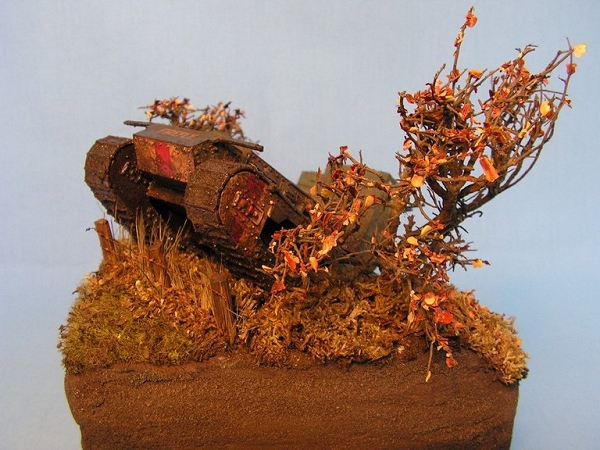
After that I carefully put on the moss and the heki-grass with some white glue. Some pili-pili leaves were added to get that nice autumn look. I also gave the moss and heki-grass a simple dark brown wash to tone it down a little bit.
The barbwire was home made, rusted with pigments and put in place on 3 small sticks using cyanoacrylate glue. The sticks (and also trees) were just pushed in the base, making a sharp point at the end of the sticks makes this easier.
Now, once everything had dried for about a day I got to the most important part... ...making that mud look wet and fresh and that was simply done by painting on some clear Humbroll varnish. The lower parts of the tank also got some of this same varnish and off course don't forget those tracks!


After varnishing the lower part of the base and attaching the nameplate this was the end result:
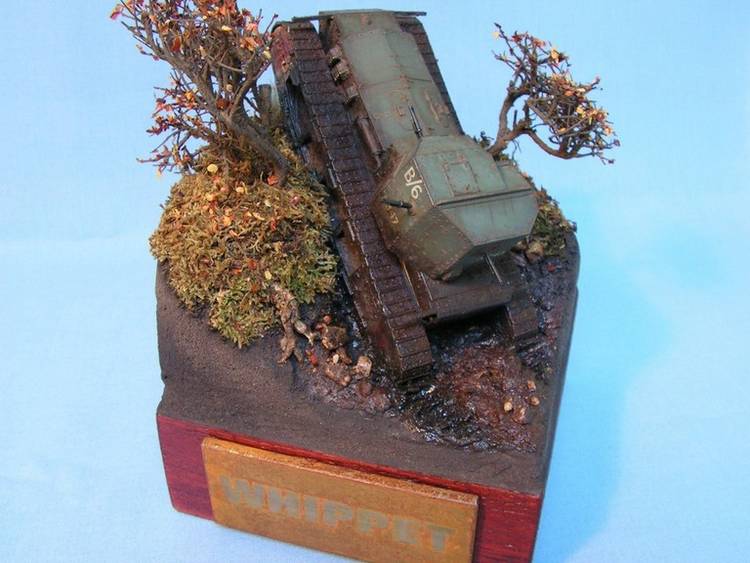
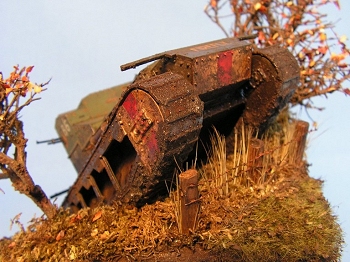
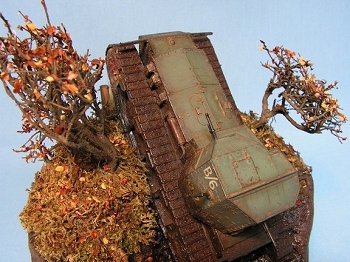
Finally let me say that no dry brushes were applied to this model. I only added some rain marks, painted on with a ultra-fine brush... ...and that was it :-)
hope you all got some information about this article hope you learned something ...
it was a pleasure writing this stuff down for you !!
cheers Dominique


