1⁄35Washing & Drybrushing Armor
I’d like to address washing and drybrushing armor kits. I know I touched on this topic briefly before but I’d like to discuss armor specifically before I get into seam work. I realize I’ll be repeating myself, but I feel it’s important to discuss these techniques as they pertain to armor.
 |
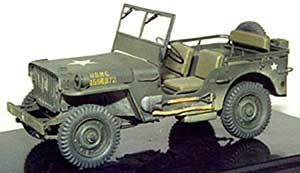
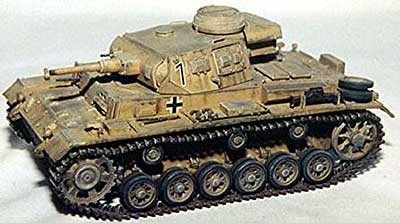
Let’s consider that you have your kit assembled and the finished paint scheme is applied. Give it a good coat or two of future to gloss it up and set it aside to dry (about an hour). Now that your kit has a nice sheen the wash will be able to “flow” around surface detail. For armor I use a reasonably dark brown wash-never black! You may want to use a slightly lighter shade on desert vehicles. We don’t want the tank to look like the details are “outlined” just to look like there’s an accumulation of grime. Take your wash and a fine brush and let it flow around the details like antennae mount bases, hatches, rivet heads and so on. Remember, if you get a bit too much, you can clean it up later with a q-tip moistened with thinner. I like to do the wheels before they’re attached. This allows me to lay them flat so the wash doesn’t puddle at the bottom. German armor with zimmeritt is the only exception I have to my “never wash the entire vehicle with a big brush principle”. You need to wash in the pattern of the zimmeritt so using a medium sized brush give those areas a wash. When it’s dry lightly remove any excess with a cloth dampened with thinner.
 |
When drybrushing armor I differ from my aircraft technique by using shades of tan instead of lighter shades of the base color. This lends to a “warmer” look. The color of the piece is not a factor. Begin with a drybrush of medium tan-whatever color you may happen to have on hand. For desert vehicles look for a color a few shades lighter than the base but not too light. Subsequent drybrushes should be with incrementally lighter shades of tan while drybrushing with lighter pressure. Your last session should be with your lightest shade and only accenting the highest spots. Areas that have “battle damage” can then be drybrushed with a dark metallic (I like Model Master exhaust), and finally with a rust color. I also paint my tracks with exhaust then drybrush with aluminum followed with an airbrushed mist of rust. I’d like to see some questions or comments?


