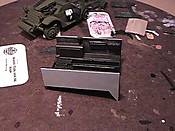
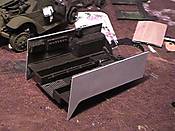
1⁄35Fixing the Halftrack

Researching the model
All I can say is thank goodness for the Internet and my local library. I found literally hundreds of photos of halftracks and many of them contained wonderful detail. Now, I’m not a rivet-counter. I wanted to convey the “look” of accuracy.Getting the materials together
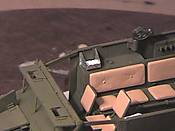
I was already starting to get ideas of how I was going to modify this beauty with minimum expenditure. I had to use everyday items; the trusty spares box and lots of imagination to do this. I cannot afford aftermarket items, period. For this model, I used tongue depressors, bottle rocket stems, muffler tape, aluminum foil, string, aluminum wire, empty ballpoint pens and plastic sheet. I cannot stress how much I like muffler tape. It is workable, very thin, and gives a metal finish that I love to work with. I simply remove the adhesive (by balling it up with my fingers) from one side and then it’s ready to work with. Even if it dents or warps slightly, it looks more realistic by representing damage or everyday use.
The engine
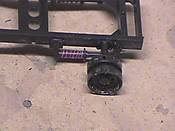
I cleaned off the frame and decided that I would try to build the engine first. That way, if I messed it up too bad, I could always close the hood. Luckily, the bottom pan of the engine was molded in to the frame and it gave me a pattern of the size of the engine block. I built up the block from wood and added plastic sheet on top until I had the right height of the engine. I was only concerned in conveying the shape of the block, not an exacting copy of it. Once the block was done, I sanded it down to shape. I made the exhaust manifold out of string by drawing a picture of the manifold on wax paper, soaking the string in white glue and pinning it to the wax paper. After it completely dried, I removed it from the paper, covered the manifold in green stuff, and sanded it to shape. I then glued the engine block to the pan molded into the frame.I was then able to add all the small things, like the brake master cylinder (plastic card rolled up and super-glued), the starter (bottle rocket stem), the alternator (plastic sprue) and the radiator (plastic card with the radiator screen scribed into it with a hobby blade). If you look close enough, the spark plug wires don’t line up perfectly on the top of the engine, but again, the impression of spark plug wires is what I’m looking for. The radiator fan is a plastic washer with scraps of plastic card glued around it. The firewall is plastic card, and the wires are either aluminum wire or stretched sprue. The distributor cap was quite an experience. I cut six wires very long (for ease of handling), melted a piece of sprue over a candle, and then jammed the ends of the six wires into the sprue. Then I trimmed the wire and sprue down to size. It took me 3 tries, but I got it.


