

1⁄35Dragon Fires Again - Flak 37
13
Comments
Assembly Stages 10 to 17
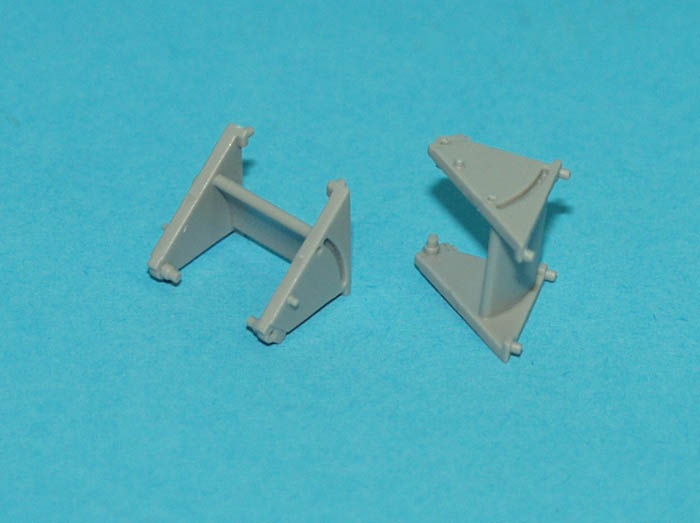
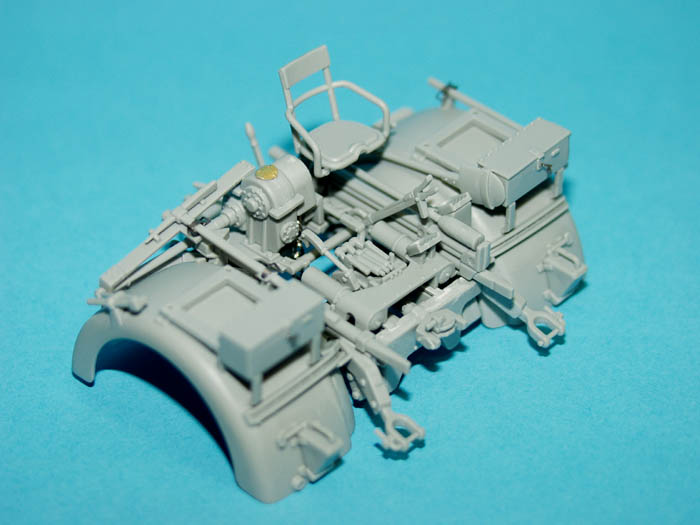
These stages instruct the construction of the cruciform base for the gun. Again, there are different parts to be used according to whether your gun will be depicted in firing or travel mode, so take care to use the correct parts. Everything fitted well, the only major problem being again, the joins between each half of each leg. These will take some time to correct, but if you dont they will be very noticeable indeed on your finished model, so I thin its a necessary step. Before joining each half, make sure that you have sandwiched parts D13 and E12, and that they are orientated the correct way! You will not be able to insert these later. The best way I have found for covering long seams such as on these parts, is to first use styrene cement in the normal way and then to allow them to dry for a short while. Next, run a very thin bead of superglue gel along the join and then drip some accelerator on to it. Baking powder will do. This has the effect of instantly curing the superglue, but in such a way that it remains soft for a short while, and this allows you to use some very fine wet and dry to sand down until smooth. If youre careful, this gives perfect results.I left the metal stakes, which are used to firmly hold each leg down when firing, unattached for separate painting, as they would be pretty banged up from being hammered into the ground.
Assembly Stages 18 to 33
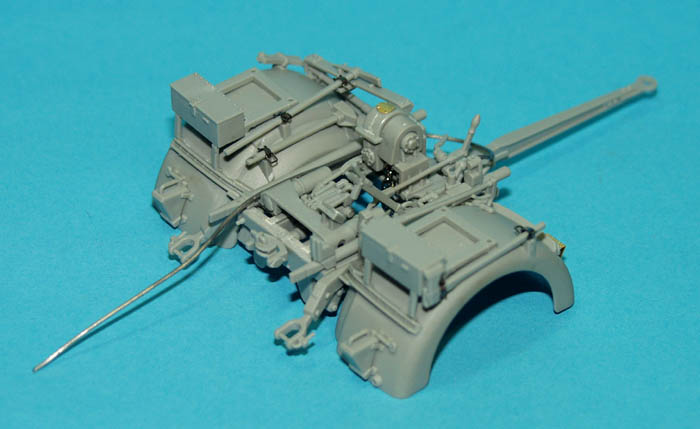
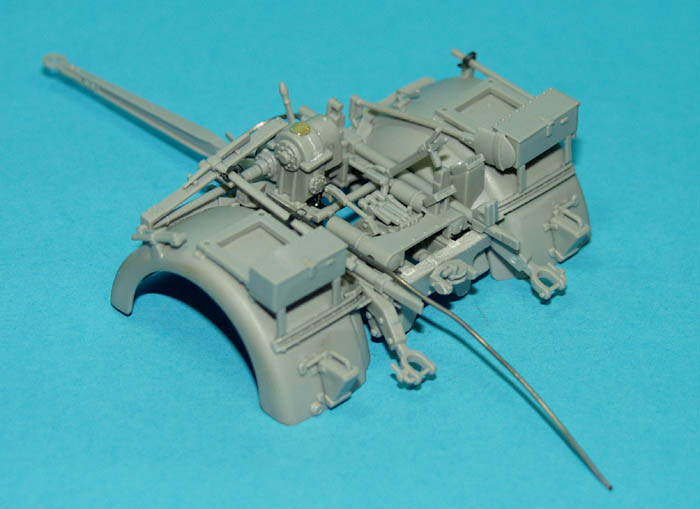
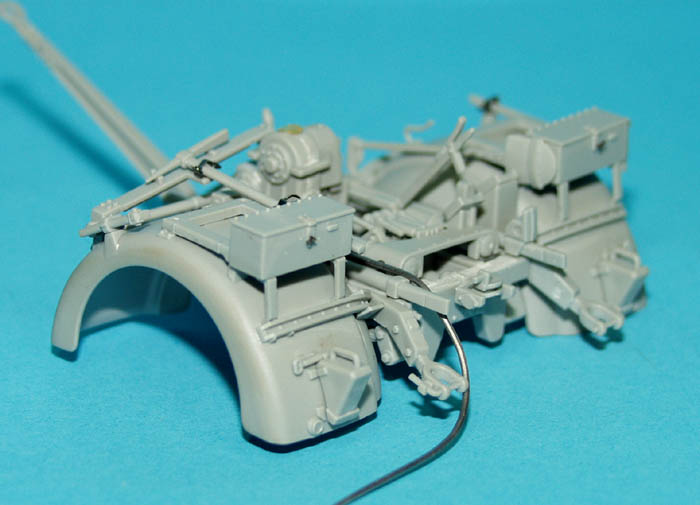
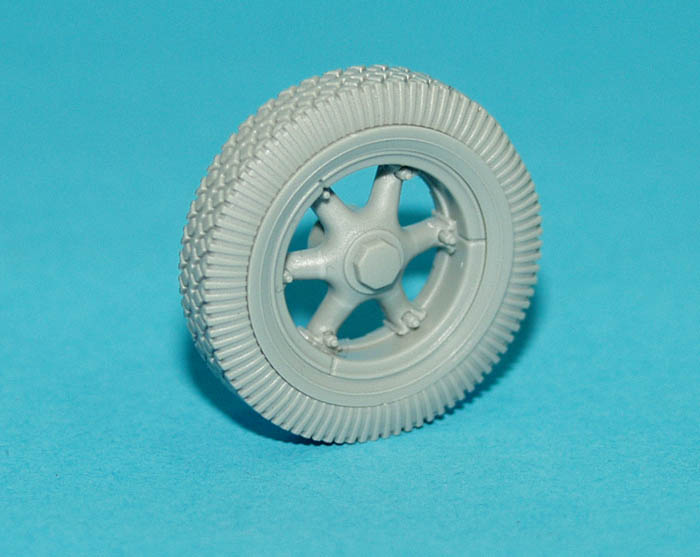
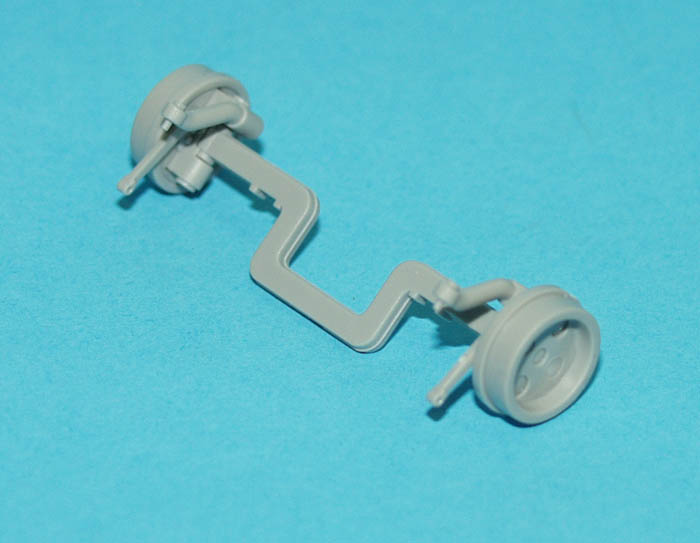
All these stages are concerned with constructing the two wheeled units that carry the gun for transport. Each of the two is a complicated kit in itself, with only slight differences between the two.Stage 18 is the construction of the wheels, and unlike the first Dragon kit, these do not come in slices, but with complete styrene tyres. I liked the innovative thinking that resulted in the sliced tyre of the Flak 36 kit, and the results looked great, but it was a complicated way of doing it and the potential for making a mistake was there I suppose. By way of compensation, these tyres are supplied with a tiny bulge to represent the weight of the gun, which looks great, but you make sure later to position the bulge correctly, for example, if attached to the gun, the bulge would be at the bottom, but if in firing mode and therefore unattached, the wheeled unit would be laying at an angle and therefore the bulge would be off to one side. I inserted part G8, which is the sidewall of the tyre, and then left the tyres off the wheel for later painting. I encountered no major problems during these stages, but with hindsight, there are a few things you should watch out for.
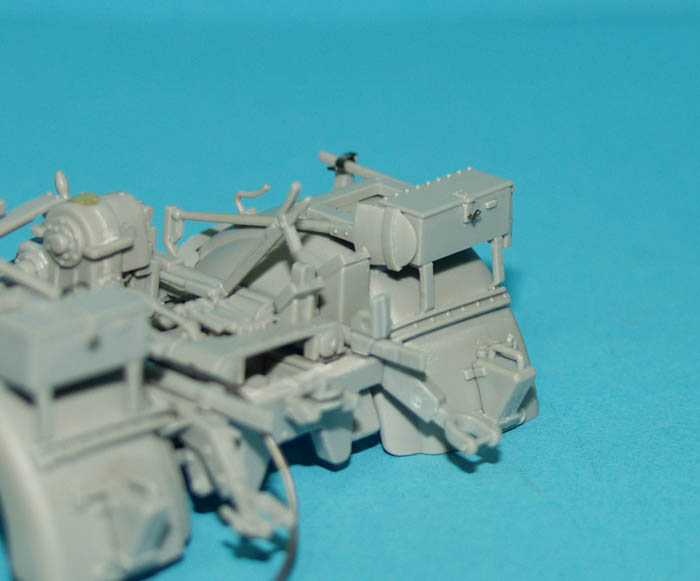
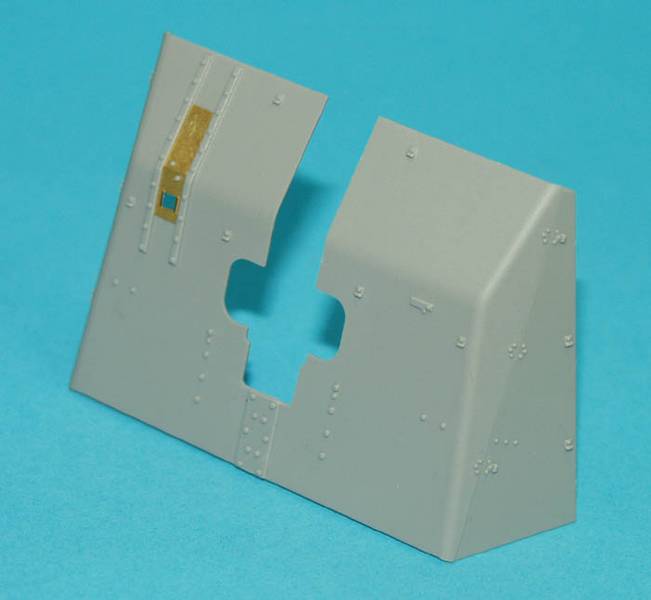
Parts F32 & F33 are the brackets for holding the cable reels. If youre going to use the cable reels remember to drill out the holes as indicated in the instructions. There are some very heavy mould seams on the fenders which should not be there...take your time to clean these off before assembly, theyre very difficult to reach afterwards. Make sure that you leave parts E6 free to rotate on part F21, theyre vital when you come to attach the wheeled units to the gun later. Whilst I was trying to find references for the wiring of parts E16 (the lights) I couldnt actually find a Flak 37 with these fitted, so I took the easier option of leaving these off completely. If you do this remember to remove the small locating points for them.
Part F57, the towing arm had a really bad seam along its length caused by a slight misalignment of the mould, since no other part on the same sprue was affected, I can only assume its a fault and therefore present on all kits. This might be something Dragon should check.
I replaced some of the moulded on clamps on the tools. The method of attachment of some of the tools meant that not all could be replaced, so if you are going to use photo-etched clamps (not supplied in the kit), examine closely how the tool attaches before shaving the moulded on clamps off!
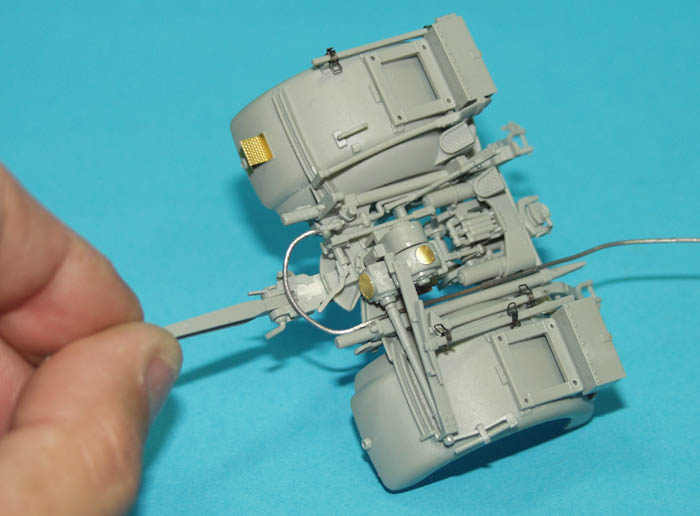
On the unit that carries the tow bar there is a cable connection to be represented, that Dragon suggest you use the black hose supplied in the kit. I had the same trouble with this that I had in the first Flak 36 kit. It frays quite badly, and no matter what I tried I couldnt stop it from fraying. I used the same solution for this as I had with the other kit, and used lead wire instead. I also used this to represent the cable on the reels. It holds shape better, attaches more strongly and is much easier to work with...just remember to wash your hands after using it, remember lead is classed as a poison these days!


About the Author


Comments

I agree with the others intirely! What a work.
What should I say?? I love to see your work. This one should be in a dio.
A salute for you!!
NOV 30, 2005 - 01:02 AM

Hi Vinnie,
Fantastic job on the flak gun, you're a constant source of motivation.....
Frank
NOV 30, 2005 - 05:34 PM

Excellent review, Vinnie. Looks like an outstanding model of the 8.8cm Flak 37. Think I might just have to check one out myself
I have the Dragon 8.8cm Flak 36 kit, and that is amazing as well, but have yet to build it. After reading your review, and seeing all the in-progress shots of your kit, I would like to get one.
I wonder why they didnt include a crew with this kit ? Maybe Dragon has a future plan to help us with this ?
Cheers !!
Alpen
DEC 01, 2005 - 12:44 AM

Beautiful work Vinnie, thanks for sharing with us! I must say, I've not had any interest in this kit until seeing yours. I'm now more interested in getting this kit, you're as much an asset to Dragon as you are to Armorama. lol
DEC 01, 2005 - 05:29 AM

Great build/review Vinnie. Your work always is something to behold. I hope you do not give your students as much homework as you seem to enjoy with your building!
Patrick
DEC 01, 2005 - 07:23 AM

great buildup article, Vinnie..
and well presented,too
keep up the nice work..
Best,
Nick
DEC 02, 2005 - 04:41 AM

This is the only Axis kit I have ever had an eye on. I built the ancient Tamiya one many years ago. This new one from DML looks like it would fit quite nicely on the DW Trailer.
Very nice job there Vinnie. Now, either one of two things, get back to work... err never mind, carry on.
DEC 02, 2005 - 01:56 PM

Really, really great build... If only mine looked like this.
The reason I write at all is that I studied a lot of photos (archive and recent), and saw a gun in life.
The chains as I found out on the gun are for chaining the legs when in travelling position - only after building my kit did I saw that particular photo. Also: there is a seam running along in the middle of all legs on the real thing as well (at least on one I actually saw.) - so eliminating them might not be necessary.
I didn't find much photos on Africacorps guns, and the reference books are not much help either in this respect, but I think the real guns were never as worn and weathered. Only after sitting 50 years in front of a museum do they get so battered. (It's just a personal opinion, and doesn't mean I don't awe you and look for all the builds you publish...)
FEB 12, 2006 - 12:53 AM

Hi Vinnie. You really do fantastic work. You know what would set those clear dials off? A little hazyness around the very outside edge. If you ever look at dials on real eqipment that operates outdoors you'll see what I mean. A good place to look is any forklift or construction equipment that work in dirty out in the weather conditions. Just a tip. Your work is very inspiring. Thanks
BH
FEB 12, 2006 - 02:11 AM

Fantastic piece of Artillery there! (Is it possible to even fit one more detail on this thing!) Great job man! I'm at a loss for words...
(I'd love to know, what exactly is your wash made up of...The rust is just so realistic!)
MAR 04, 2006 - 10:04 AM
Copyright ©2021 by Vinnie Branigan. Images and/or videos also by copyright holder unless otherwise noted. The views and opinions expressed herein are solely the views and opinions of the authors and/or contributors to this Web site and do not necessarily represent the views and/or opinions of Armorama, KitMaker Network, or Silver Star Enterrpises. All rights reserved. Originally published on: 2005-11-30 00:00:00. Unique Reads: 24440

WEB HOSTING BY


Copyright ©2021 Armorama and Kitmaker Network, a subsidiary of Silver Star Enterprises
All Rights Reserved. Please read our Conditions of Use and Privacy Policy.
All Rights Reserved. Please read our Conditions of Use and Privacy Policy.