

How to make a metal plate
12
Comments
Step Three:
In order to hold the pigment together so it does not rub off when you handle it, you need to spray it with a sealant of some kind. Matt varnish comes to mind. This also protects the fine patterns you made using the pigments Then again. The patterns may just as well change to the combination of the thinners, regardless. If you are not going to do much handling then you can just as well skip this step. It is not totally necessary.1. Spray the entire cardboard with the Vallejo Matt varnish from the can and let the whole thing dry thoroughly (I guess you can probably use any Matt varnish spray for this; even your airbrush if you have one. I have not tried other brands. I just used what I had on hand. The results after using the spray were satisfactory to me. Another plus to using the Matt varnish, is that it reacts to the pigments and enamel thinner making the odds and those random patterns you will see when it dries. This is one of the underlying tricks to getting those random variable patterns you see on my steel plates. Sometimes you just got to let the chemical interaction do its thing. When it has completely dry you give it another coat of spray when the first coat dries. This is just to make sure everything has combined properly. Otherwise one coat should be enough if youre not going to handle it.
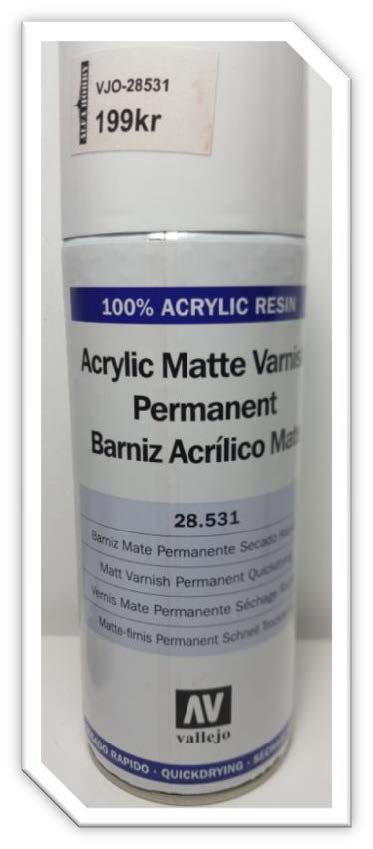
Matte Varnish Spray (click to expand)
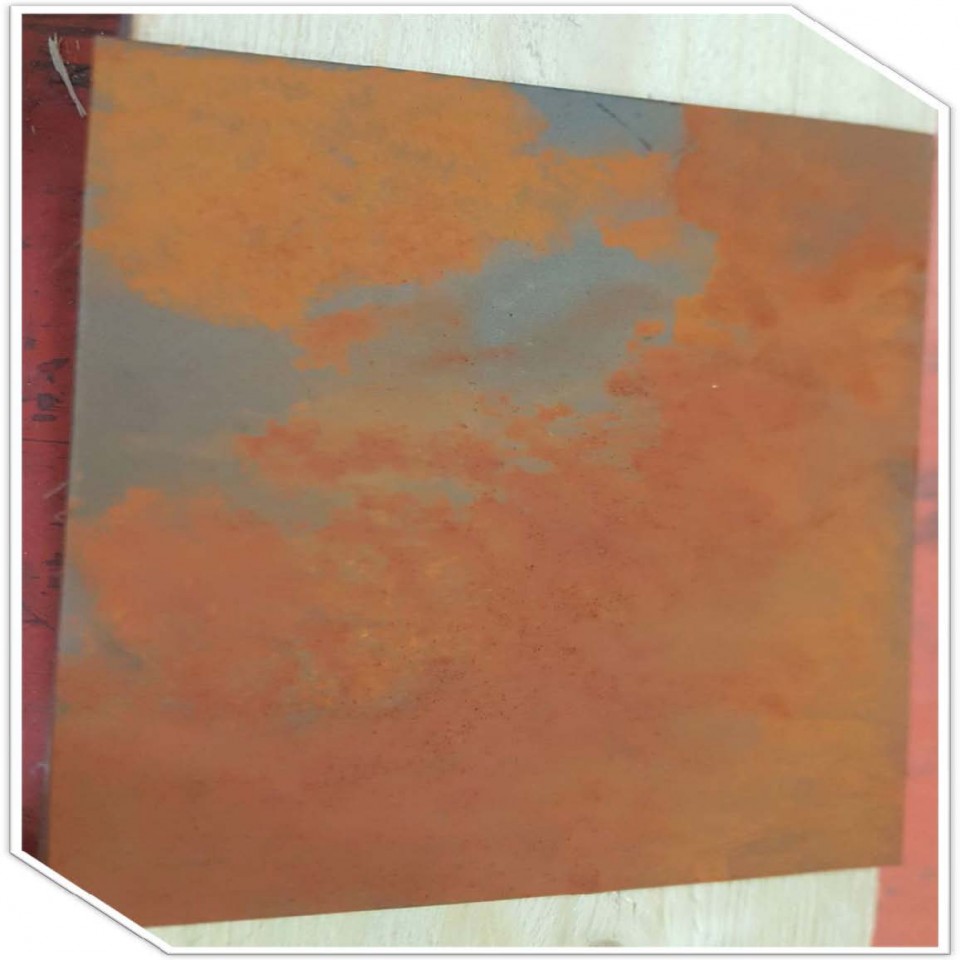
The result after the varnish has dried (click to expand)
About the Author


FROM: DALARNAS, SWEDEN
Charles King hails from Sweden. He has been interested in modeling since he was 12; though there was other interest that took priority at the time, he would eventually fall into the modeling soon enough. Not until recent,in 2002 that his interest was rekindled. While browsing the Internet, he ca...
Comments

Is there any advantage to using cardboard, or is it just because it is cheaper?
JUL 24, 2019 - 11:11 AM
I can think of a some:
1. Cheap to come by. AKA, easily available.
2. light weight
3. Easy to work with, in terms of application.
4. Does not need a lot of tooling
JUL 24, 2019 - 08:53 PM


The markings you see could be hand written in usually white or yellow paint stick, and may be the plate identity or tracking number, a heat number, order number, grade of steel, and maybe the gauge/thickness and also length x width.
Some places may line mark that information down the length of the plate, with what is essentially an inkjet printer (or some places use a set of stencils on a wheel - thats old school)
Or there might also be a printed tag/sticker attached to an end with ID/Heat/grade and probably some bar code.
Not all plates would be scaled up and rusty. Stainless steel or other specialty metal plates like nickel or titanium alloys would be pickled clean, and would be somewhat shiny, or even ground and would be very shiny and clean.
If its regular carbon steel and fresh off the rolling mill, I think the metal with have a more blue/gray coloration from the mill scale/oxide. If they sit out for a long time the oxide/rust will grow and it becomes the red/brown.
And plated unless they are belt ground are rarely totally smooth. There will be some pits (would be small in most models), there could be some firecrack pattern from the rolls that may repeat - many other things get transferred from the rolls or vacuum lifters etc.
AUG 14, 2019 - 01:52 PM
Copyright ©2021 by Charles King. Images and/or videos also by copyright holder unless otherwise noted. The views and opinions expressed herein are solely the views and opinions of the authors and/or contributors to this Web site and do not necessarily represent the views and/or opinions of Armorama, KitMaker Network, or Silver Star Enterrpises. All rights reserved. Originally published on: 2019-07-24 16:57:22. Unique Reads: 16478

WEB HOSTING BY


Copyright ©2021 Armorama and Kitmaker Network, a subsidiary of Silver Star Enterprises
All Rights Reserved. Please read our Conditions of Use and Privacy Policy.
All Rights Reserved. Please read our Conditions of Use and Privacy Policy.