I have a nother small update tonight.
Step 11- Assembly of .50 cal machine gun and completion of turret details installation
Assembly of .50 cal:
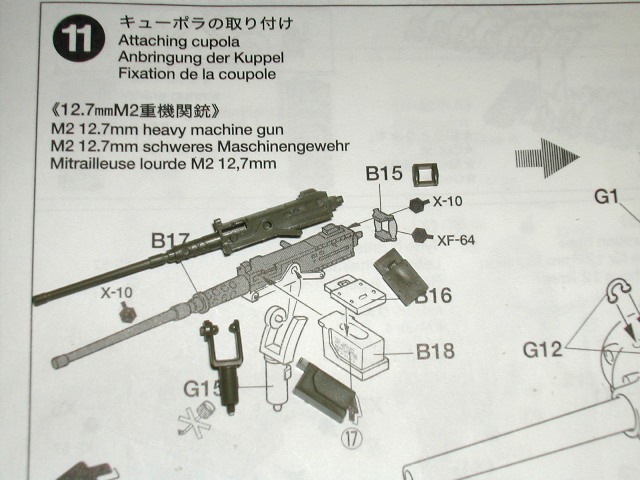
The mold lines on the parts for the M2 .50 cal were heavier than what I've had to deal with on the last few models that I've built. It took a bit of time to clean the parts up. This mainly the result of going slowly in order to not damage the detail on the machine gun.
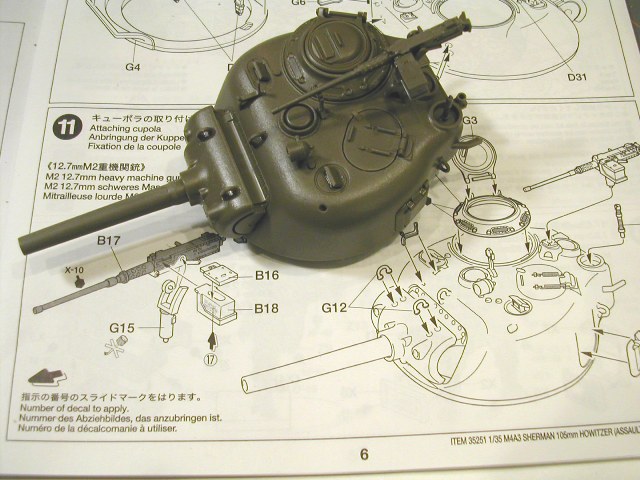
Installation of additional turret details/fittings:

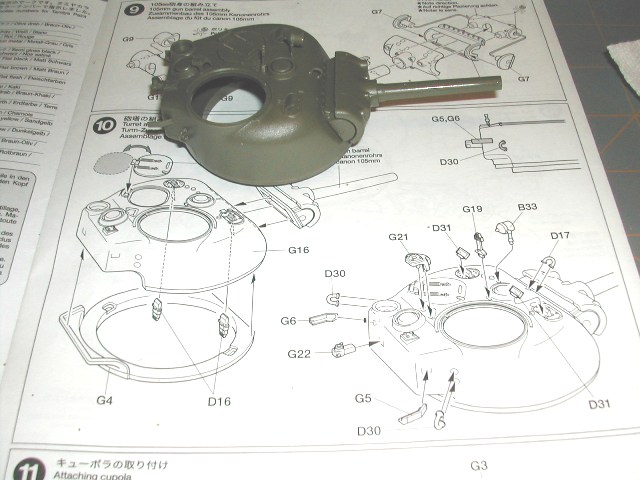
Installation of the remaining turret fittings was mostly trouble free. It was a bit of a challenge cleaning the mold seems off of parts G12 (lifting rings). The seams were not large but removing what was there was difficult because of the tiny size of the parts and the odd angles that I had to work at to get my xacto blade at a proper angle to remove the seams.
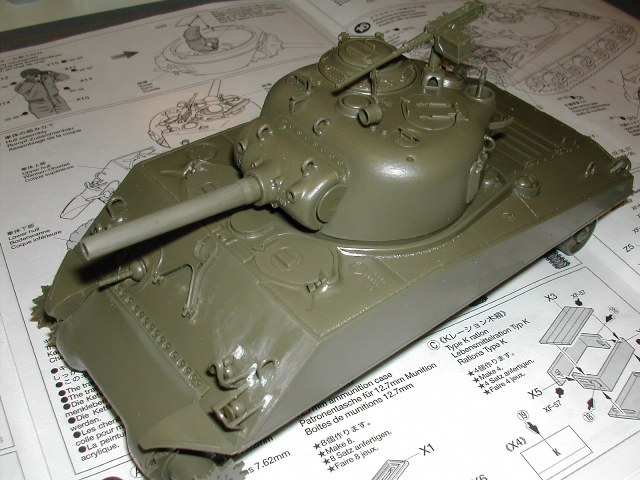
This photo show the completed turret as it appears at the end of Step 11
Step 12- Step 12 is the assembly and installation of the commander figure in the turret. I am skipping this step. This Sherman is going to be cargo on a Dragon Wagon so the commander figure is not being used.
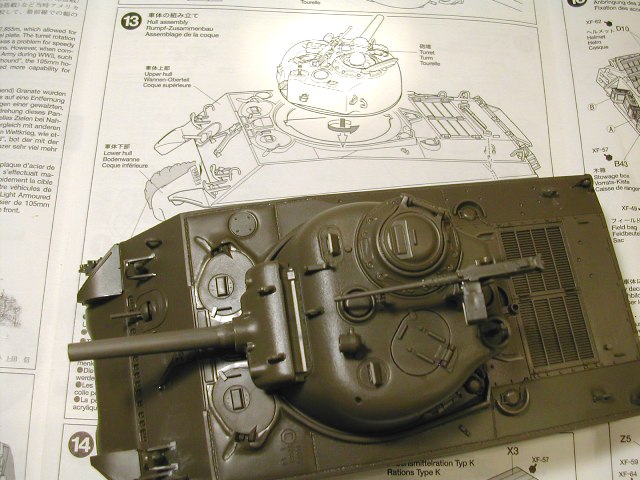
Step 13-This step is attaching the completed upper hull to the completed lower hull. However, I have to complete some sub-steps from Steps 1 through 8. I placed the upper hull and the lower hull together for a couple of quick pictures.
A summary of what will transpire for the remainder of the build:
1. Painting and assembly of the suspension system
2. Priming of the model
3. Application of pre-shade, base coat and shading coats
4. Painting and detailing of pioneer tools and additional hull/turret details
5. Assembly and finishing of tracks. I can't decide if I want to use kit tracks or a set of Fruils that I have.
6. Application of gloss coat, decals, gloss coat
7. Application of flat coat
8. Final application of weathering, pastels, etc.
So, stay tuned for future updates.


 ).
).


 Your Sherman deserves a top notch base