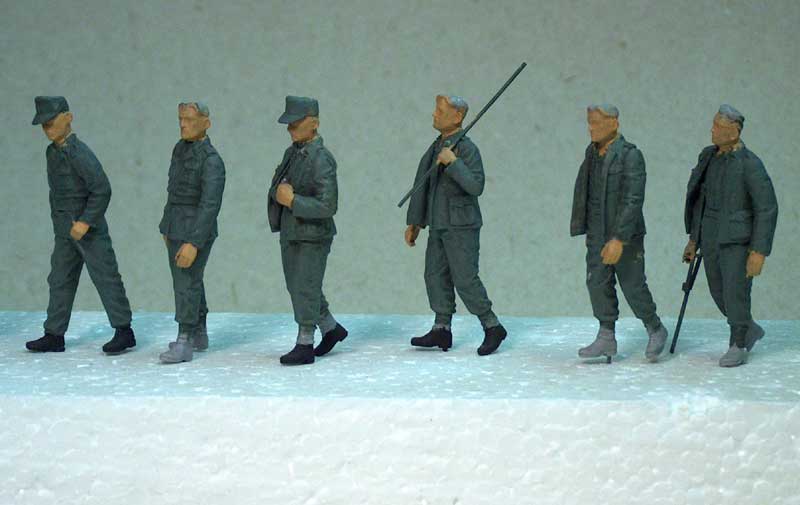
"Bring ém back alive" ETO 1944
Aarhus, Denmark
Joined: July 18, 2003
KitMaker: 3,377 posts
Armorama: 1,088 posts
Posted: Monday, April 14, 2008 - 08:30 AM UTC
It“s happy days for modellers...
Maryland, United States
Joined: May 04, 2007
KitMaker: 1,132 posts
Armorama: 1,123 posts
Posted: Monday, April 14, 2008 - 08:41 AM UTC
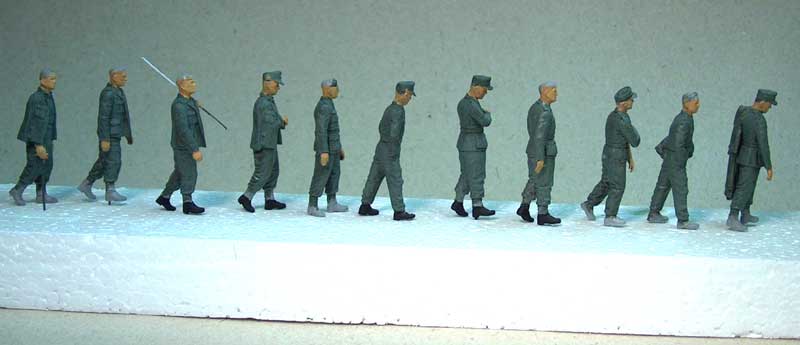
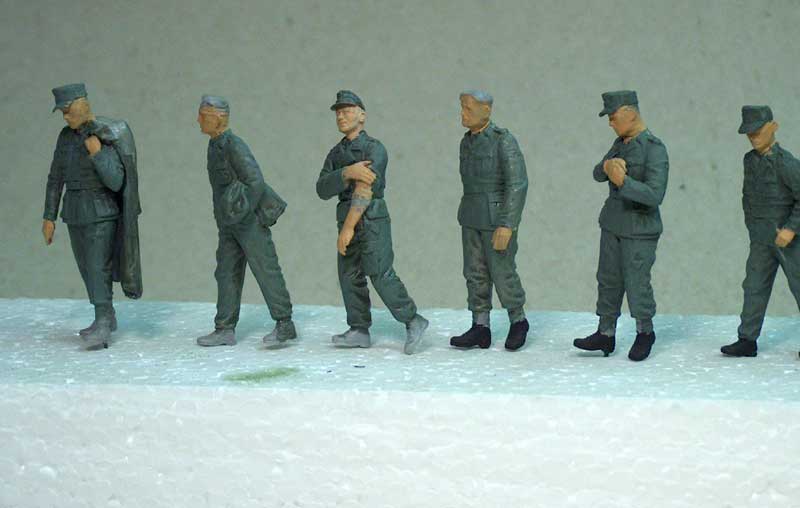
Cool! Great work so far on your building, nicely done! Like your line of POWs as well, very neat idea. Looking forward to watching your progress, thanks for sharing!
Cheers -
Tim
Current projects:
AFV 8.8cm Flak 18 (35088) (paint stage)
Academy Warrior MCV (OIF) (final touches...then paint)
Next up:
Revell A-6E Intruder (?)
Joined: February 18, 2005
KitMaker: 4,303 posts
Armorama: 1,051 posts
Posted: Monday, April 14, 2008 - 10:35 AM UTC
Great idea for a diorama Jan!
Very convincing POW's.
I keep watching this one!!!!
Paul

New Jersey, United States
Joined: February 02, 2008
KitMaker: 1,388 posts
Armorama: 1,325 posts
Posted: Monday, April 14, 2008 - 10:51 AM UTC
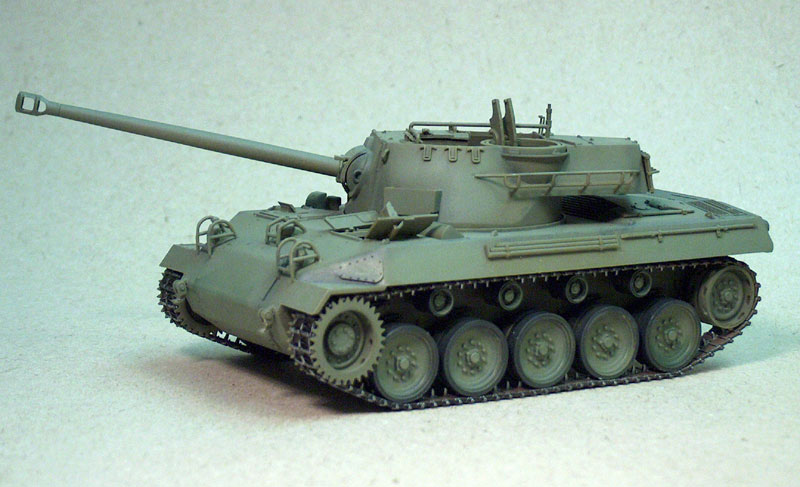
What brand of tank is that?
Modelling is not just a hobby, it's an addiction.
North Carolina, United States
Joined: February 22, 2002
KitMaker: 11,718 posts
Armorama: 7,138 posts
Posted: Monday, April 14, 2008 - 12:03 PM UTC
Looking forward to this one. Very nice use of spackle over cork.
This has feature written all over it.
North Carolina, United States
Joined: June 26, 2007
KitMaker: 2,116 posts
Armorama: 1,080 posts
Posted: Monday, April 14, 2008 - 01:38 PM UTC
Cool Idea... Nice work so far, cant wait to see the finished Dio. Do you have a reference for that Carlos Cork building technique? I'd like to try it. Thanks & Keep On Modeling !
Aarhus, Denmark
Joined: July 18, 2003
KitMaker: 3,377 posts
Armorama: 1,088 posts
Posted: Monday, April 14, 2008 - 07:28 PM UTC
Goodmorning Gents, and thanks for the replys.
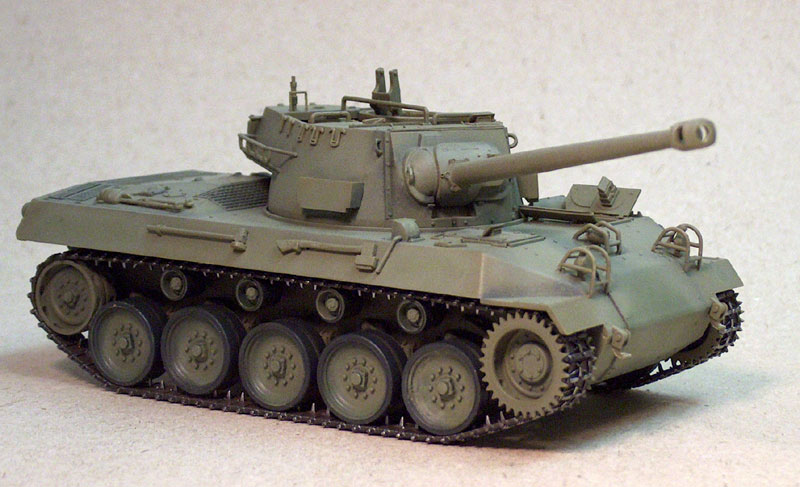
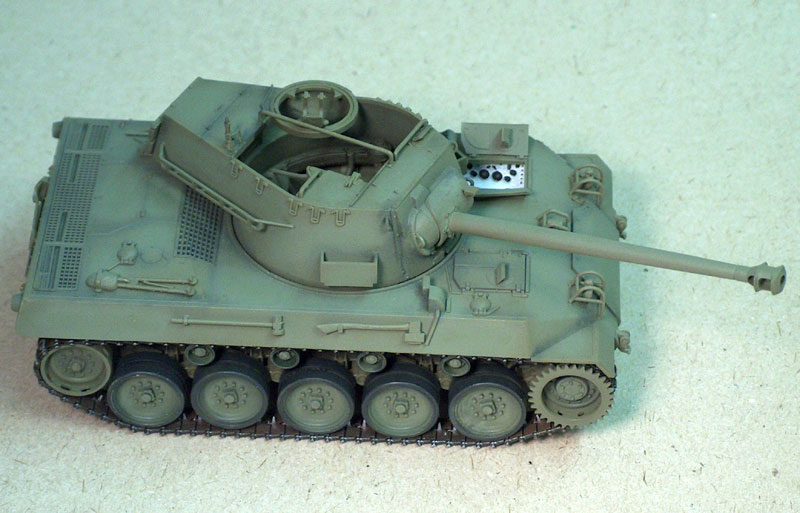
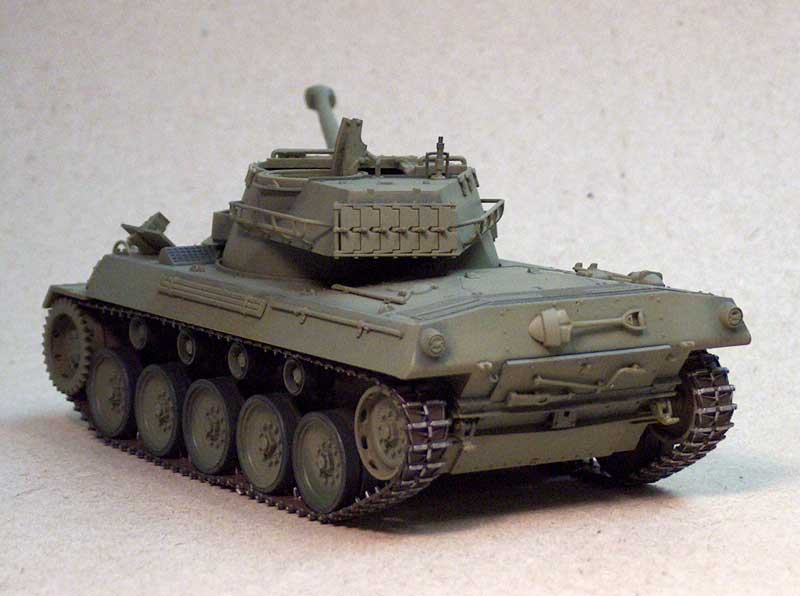
The M18 is AFV Clubs offering, Acadamy does one too, they are both less than perfect, but in different ways

- I got a good deal on the AFV so thats it....
The "Carlos technique" - do a search on our member "Blockhaus" and check out his posts, he is the man when it comes to scratchbuild houses etc.
Scott, you might be right - if I remember to take enough in-progress shots.

It“s happy days for modellers...
Kobenhavn, Denmark
Joined: January 16, 2005
KitMaker: 878 posts
Armorama: 697 posts
Posted: Monday, April 14, 2008 - 11:50 PM UTC
Det ser godt ud!
It looks really good - I like the building and that'll come out nicely no doubt. Also the line of POW. Keep us updated.
Simon
Aarhus, Denmark
Joined: July 18, 2003
KitMaker: 3,377 posts
Armorama: 1,088 posts
Posted: Wednesday, April 16, 2008 - 02:52 AM UTC
No update - just a quick question to anybody who knows french - if the building is going to be a blacksmith, would it say "forgerie" or "forge" on the facade ?

It“s happy days for modellers...
Dublin, Ireland
Joined: November 27, 2004
KitMaker: 6,048 posts
Armorama: 4,619 posts
Posted: Wednesday, April 16, 2008 - 10:48 AM UTC
Pat
work to become not to acquire
Virginia, United States
Joined: September 22, 2004
KitMaker: 108 posts
Armorama: 102 posts
Posted: Wednesday, April 16, 2008 - 11:42 AM UTC
Great start! I look forward to seeing this project unfold. Thanks for sharing your work. Dave
Dave O'Hara
Sherman Geek,
Airborne Freak,
General all 'round armor/figure builder.
England - West Midlands, United Kingdom
Joined: January 05, 2007
KitMaker: 263 posts
Armorama: 228 posts
Posted: Thursday, April 17, 2008 - 06:46 AM UTC
Great original work there dude. I am looking forward to seeing how this one pans out.
Stuart
Porto, Portugal
Joined: November 01, 2005
KitMaker: 199 posts
Armorama: 197 posts
Posted: Thursday, April 17, 2008 - 07:19 AM UTC
Very good job so far,keep sending

Aarhus, Denmark
Joined: July 18, 2003
KitMaker: 3,377 posts
Armorama: 1,088 posts
Posted: Thursday, April 17, 2008 - 08:37 AM UTC
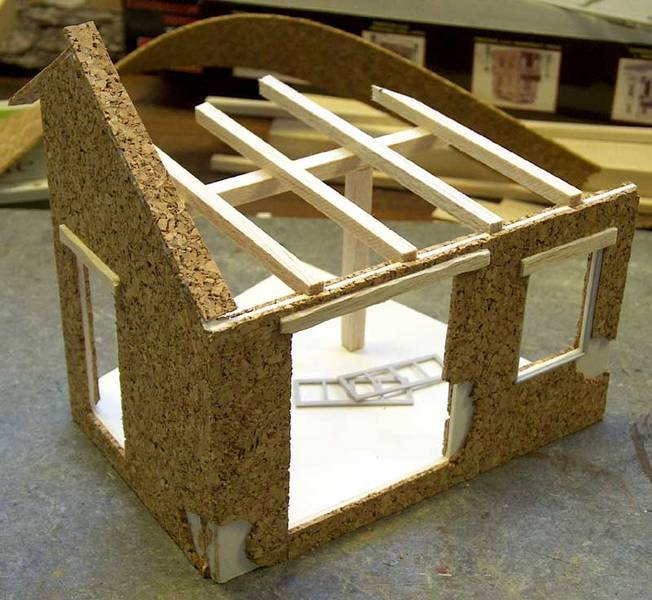
A bit of woodworking, roofconstruction in balsawood. I“m going to keep the rear of the building open, so it calls for a little more detailwork.
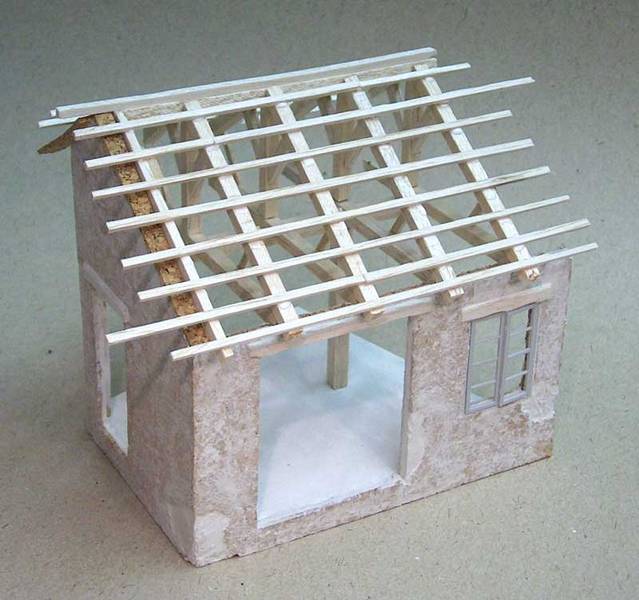
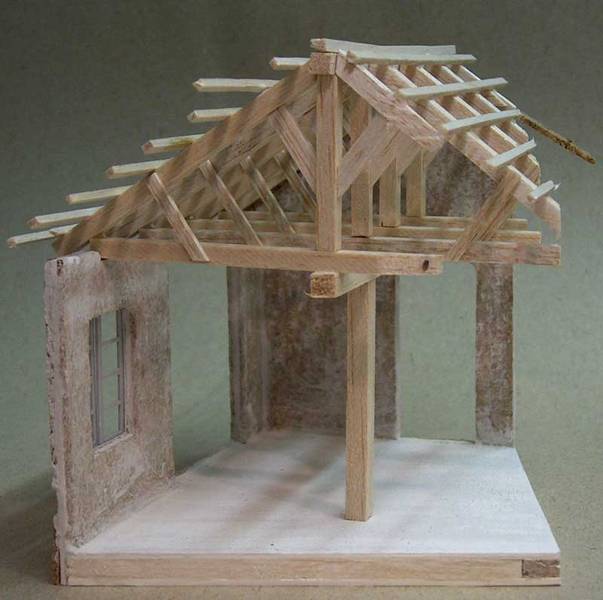
It“s happy days for modellers...
Aarhus, Denmark
Joined: July 18, 2003
KitMaker: 3,377 posts
Armorama: 1,088 posts
Posted: Tuesday, April 22, 2008 - 04:52 AM UTC
A little progress, going slow due to the fact that spring and warmth finally has come to Denmark, so the garden takes first priority

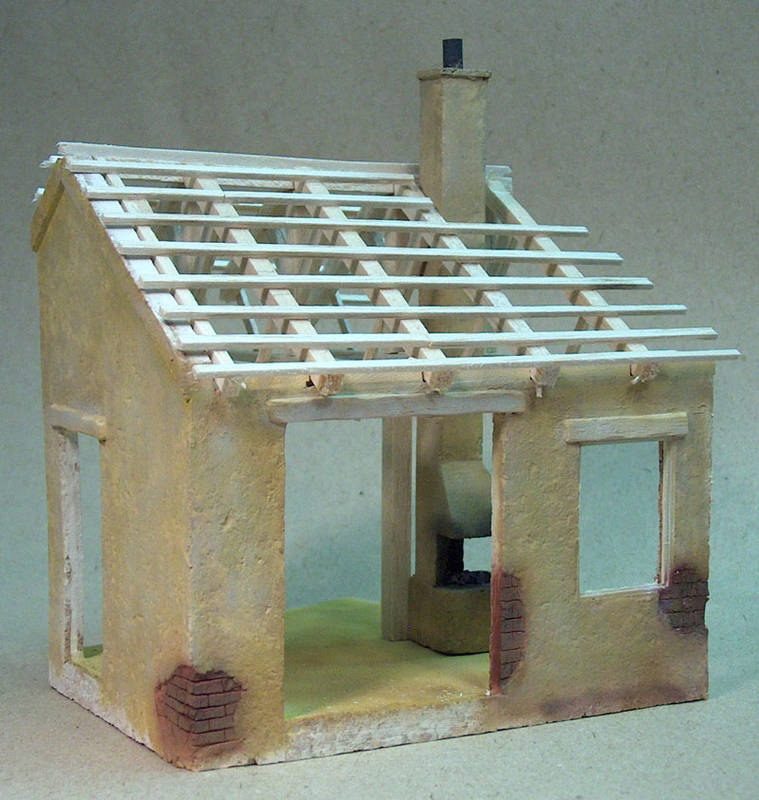
The tools of a blacksmith the anvil still needs some tiedown to secure it to the wooden stub:
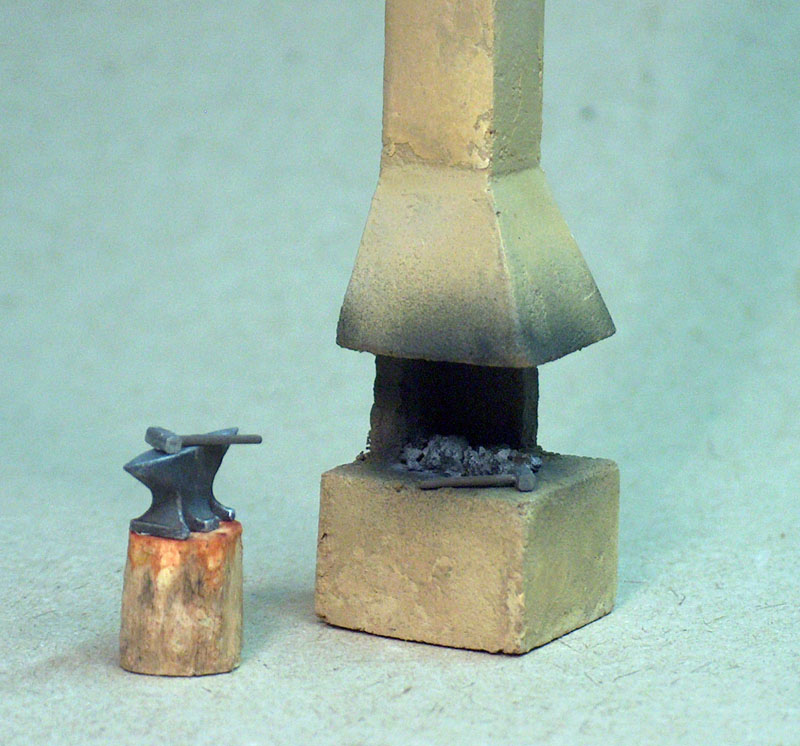
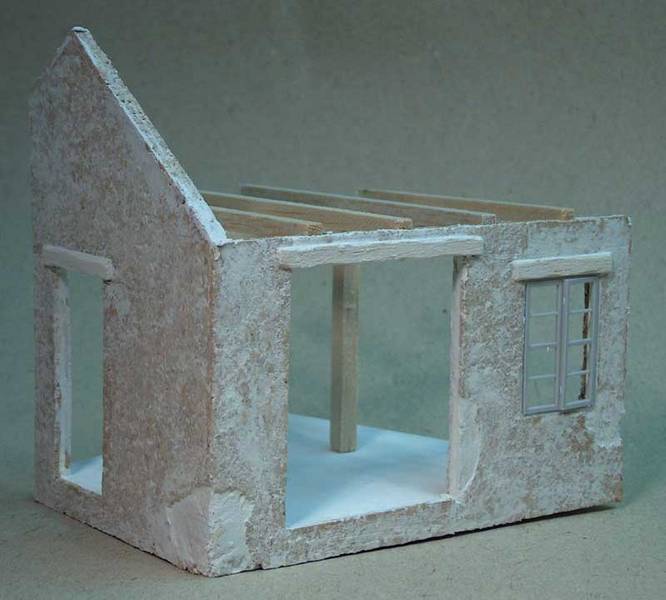
And its place in the shop, have given the house a basic paintjob.
It“s happy days for modellers...
Virginia, United States
Joined: February 05, 2002
KitMaker: 6,149 posts
Armorama: 4,573 posts
Posted: Tuesday, April 22, 2008 - 07:26 AM UTC
DJ Judge
COL (R), USA
"Tanker Boots do not a Tanker Make."
North Carolina, United States
Joined: February 22, 2002
KitMaker: 11,718 posts
Armorama: 7,138 posts
Posted: Tuesday, April 22, 2008 - 12:54 PM UTC
The detail work on the building is fantastic. Very structurally sound.
I see a feature here.
Zuid-Holland, Netherlands
Joined: April 26, 2004
KitMaker: 5,435 posts
Armorama: 2,762 posts
Posted: Tuesday, April 22, 2008 - 07:43 PM UTC
Very nice Jan. Keep up the good work

1/16th radio-controlled
1/35th static
Aarhus, Denmark
Joined: July 18, 2003
KitMaker: 3,377 posts
Armorama: 1,088 posts
Posted: Wednesday, April 23, 2008 - 06:47 AM UTC
You see features everywhere Scott, have you talked with your doctor about it ?

Anyway, have begun work on the base, this is going to be a true mixedmediamixtogether ..
The base is a 12 mm MDF board, I like MDF for its density and that it dont warp even when you apply waterbased glue, plaster or paint - no need to seal it before use.
First step is the road - its a piece of drywall, plaster encapsulated in carboard.
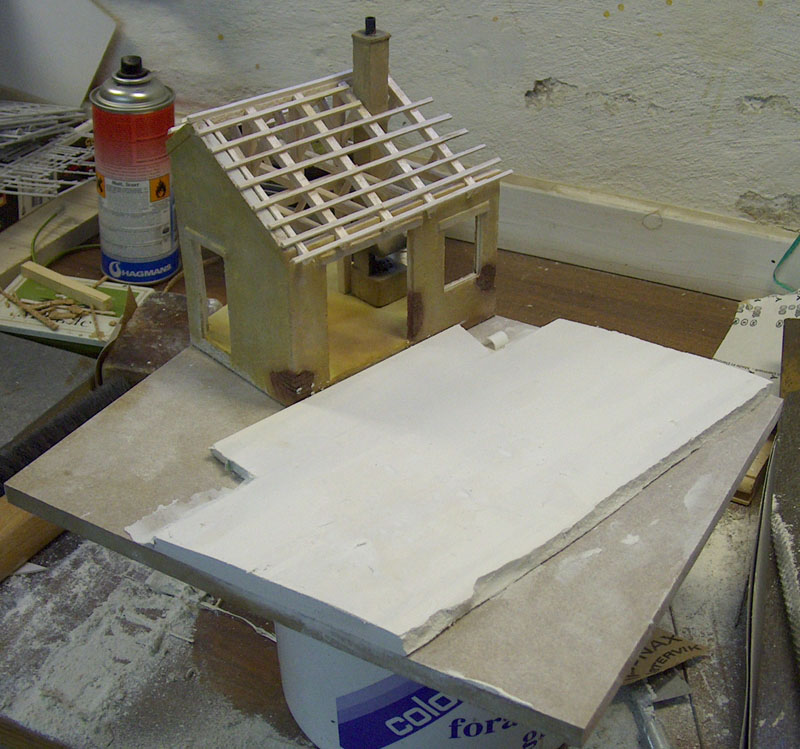
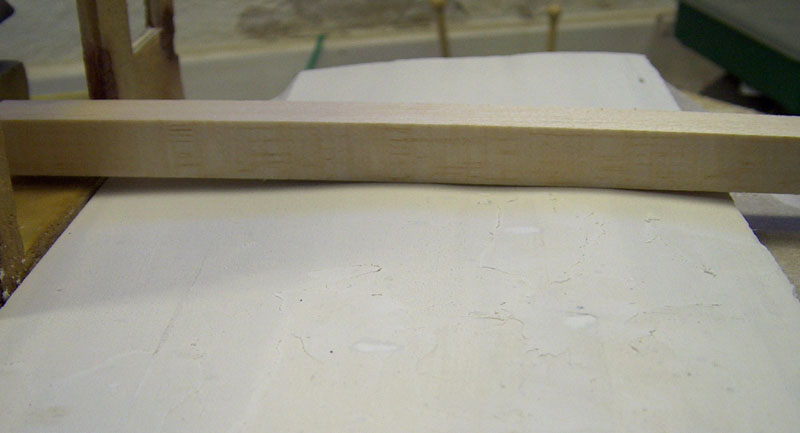
I have removed the paper/carboard on the topside, and sanded/filed it down to shape the contours of the road, I am going to scribe cobblestones into the plaster. Here you can see the contour of the road compared with a strait piece of wood. You can fill any airbubbles - but newer seal the plaster before scribing it, as the paint will make it flake in big pieces.
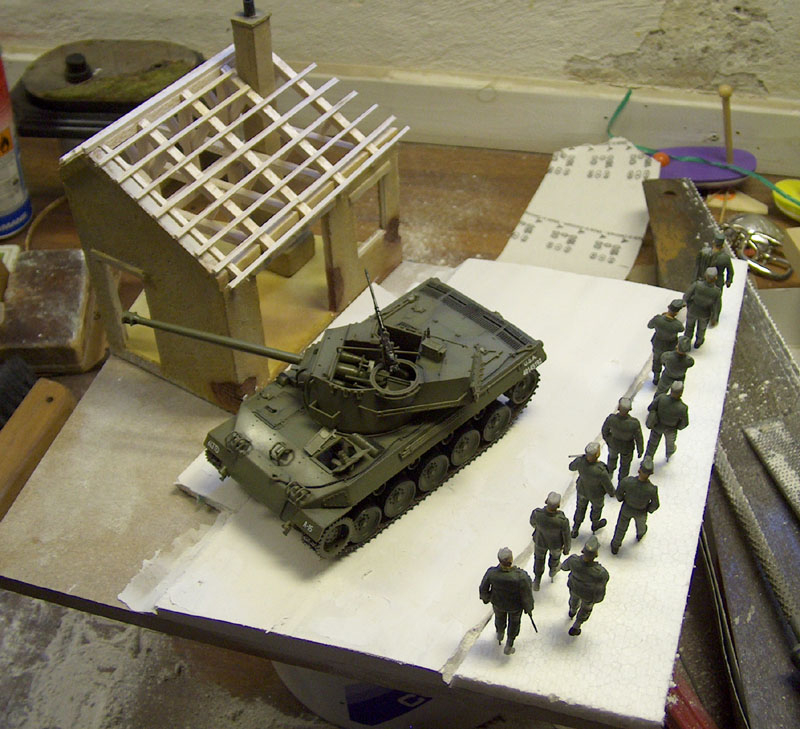
Heres the general layout with some of the figures and the hellcat.
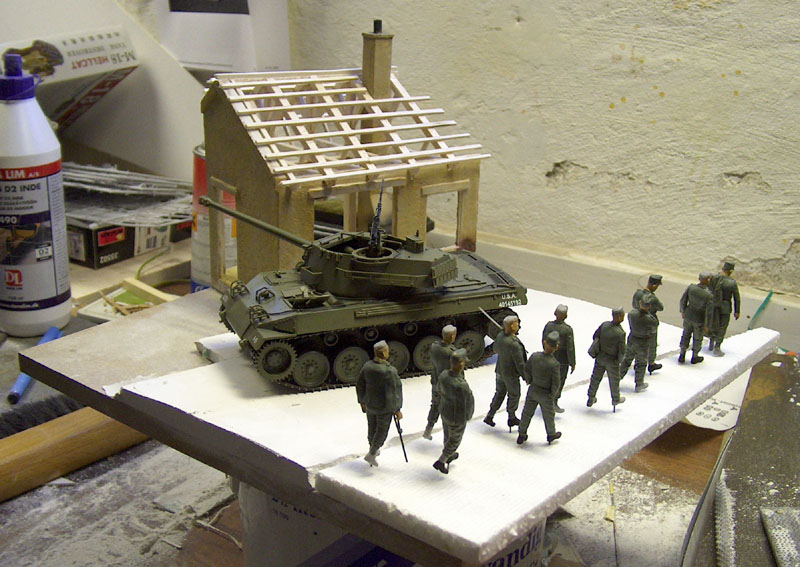
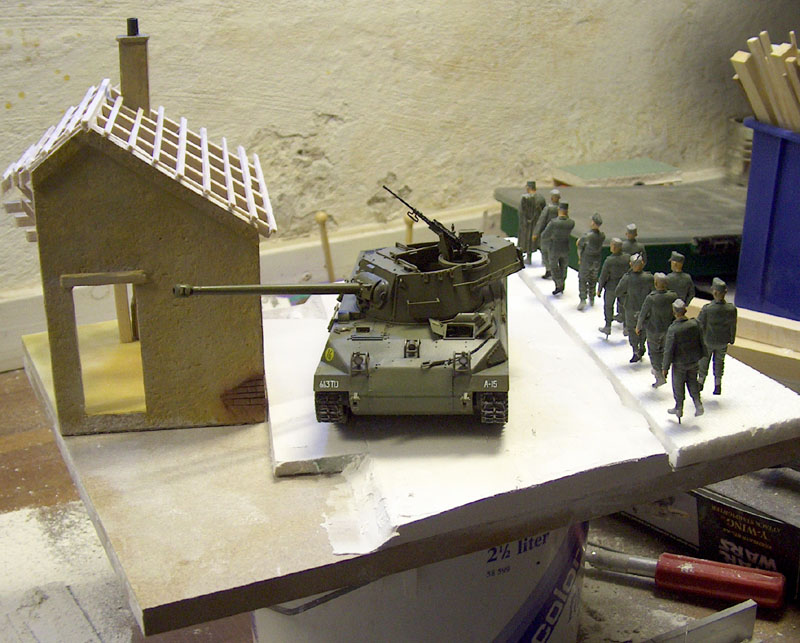
It“s happy days for modellers...
Aarhus, Denmark
Joined: July 18, 2003
KitMaker: 3,377 posts
Armorama: 1,088 posts
Posted: Sunday, April 27, 2008 - 01:49 AM UTC
To build or drink beer in the garden ... thats the question...
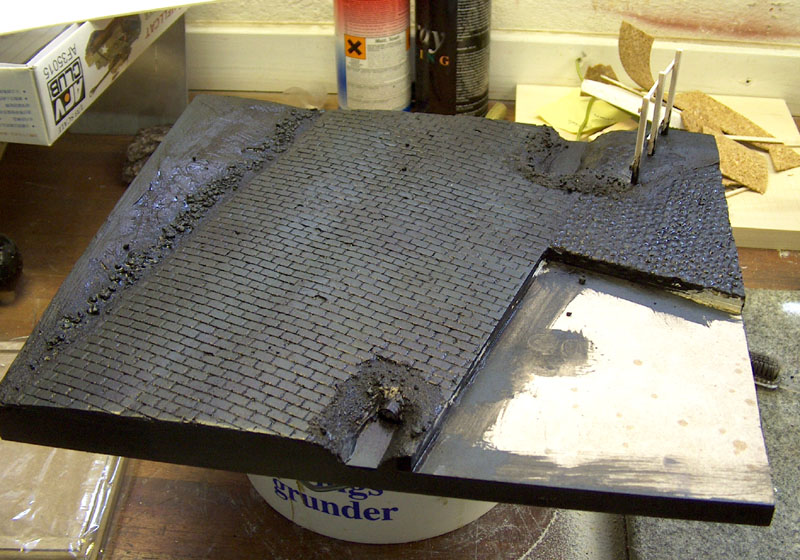
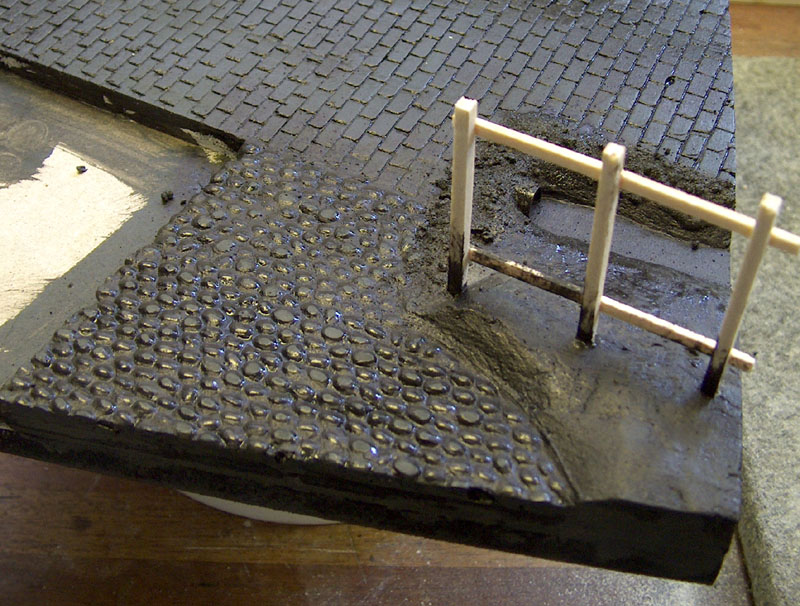
Well, small progress, did the paving on the road, scribed in the stones and laid the stones in the backyard of the shop.
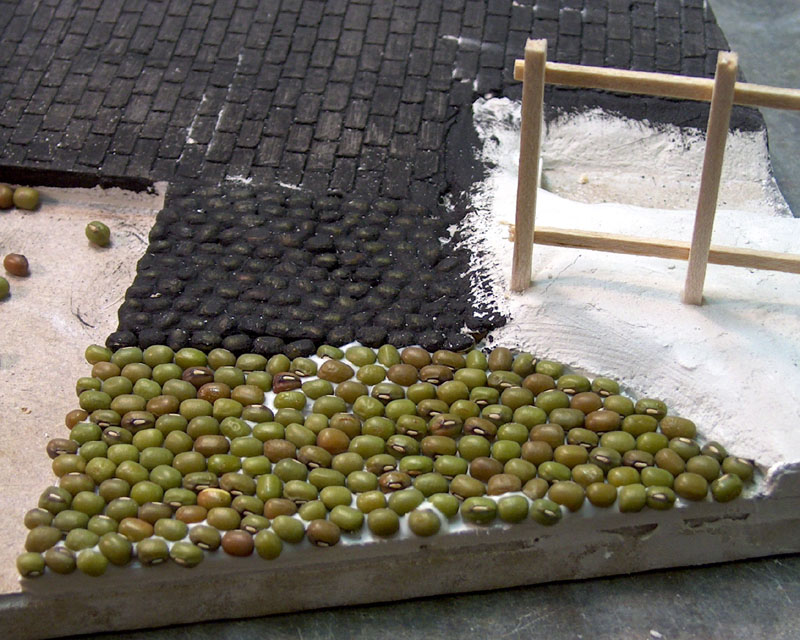
Its done with dried beans - newer had any trouble with them sprouting - just coat them well.
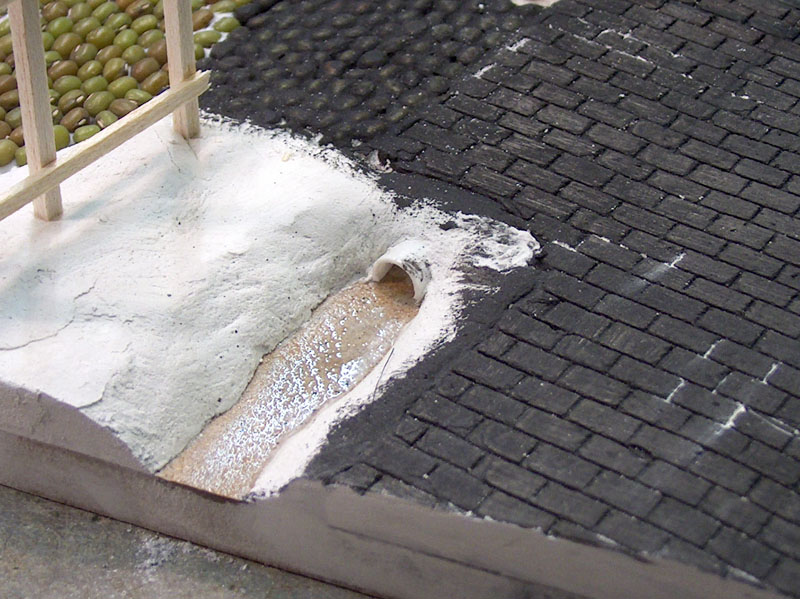
Gave it all a coat of black - ordinary waterbased wall paint - no need to use the expencive stuff for this - just thin it a bit so it doesnt spoil the details.
Keeping the building off for later - much easier to detail seperate.
Now - of to the garden ...

It“s happy days for modellers...
Maryland, United States
Joined: May 04, 2007
KitMaker: 1,132 posts
Armorama: 1,123 posts
Posted: Sunday, April 27, 2008 - 03:05 AM UTC
Jan -
Great progress! Looking spectacular. Thanks for the updated pics. Enjoy your beer...garden!

Cheers!
Tim
Current projects:
AFV 8.8cm Flak 18 (35088) (paint stage)
Academy Warrior MCV (OIF) (final touches...then paint)
Next up:
Revell A-6E Intruder (?)
Aarhus, Denmark
Joined: July 18, 2003
KitMaker: 3,377 posts
Armorama: 1,088 posts
Posted: Monday, April 28, 2008 - 05:07 AM UTC
Thanks Tim, beer was cold and tasty

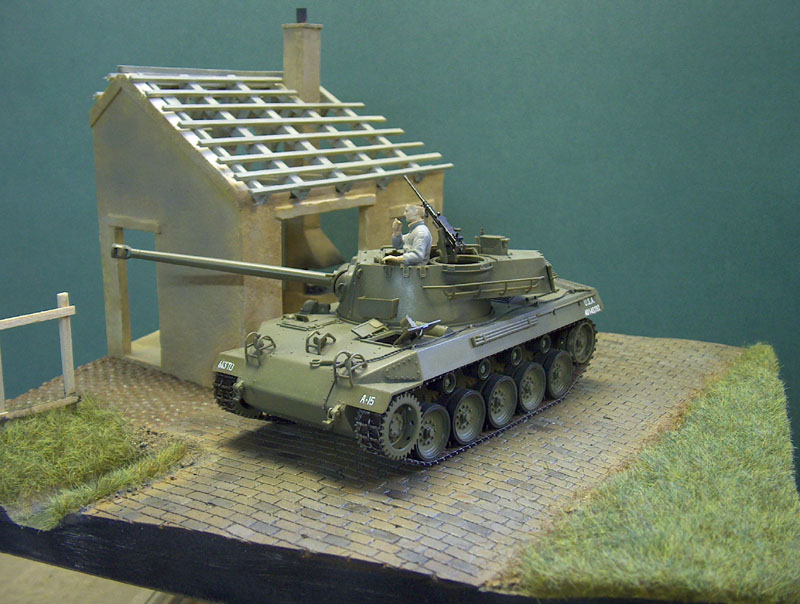
Anyway - painted the grund and road over the day - brownish oversprays for the ground to give a good base for the grass and gray and brown tones for the stones. Handpainted individual stones in different colours and then a quick brown wash to even it out a bit:
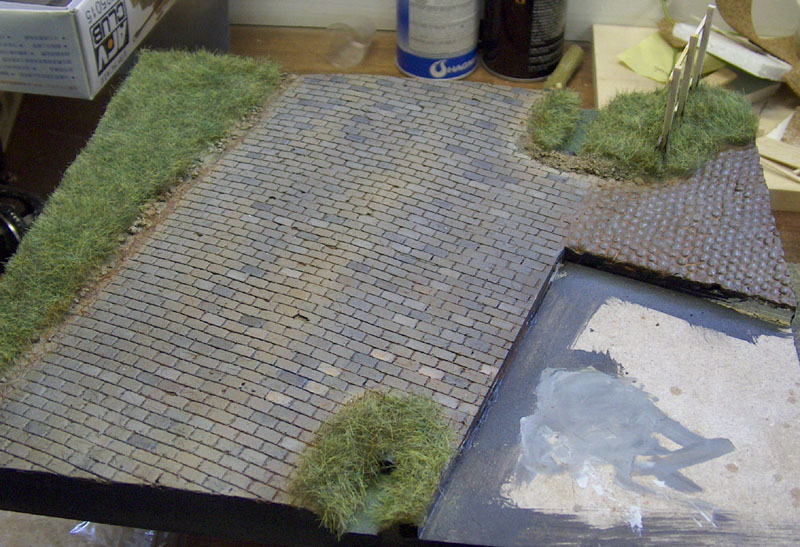
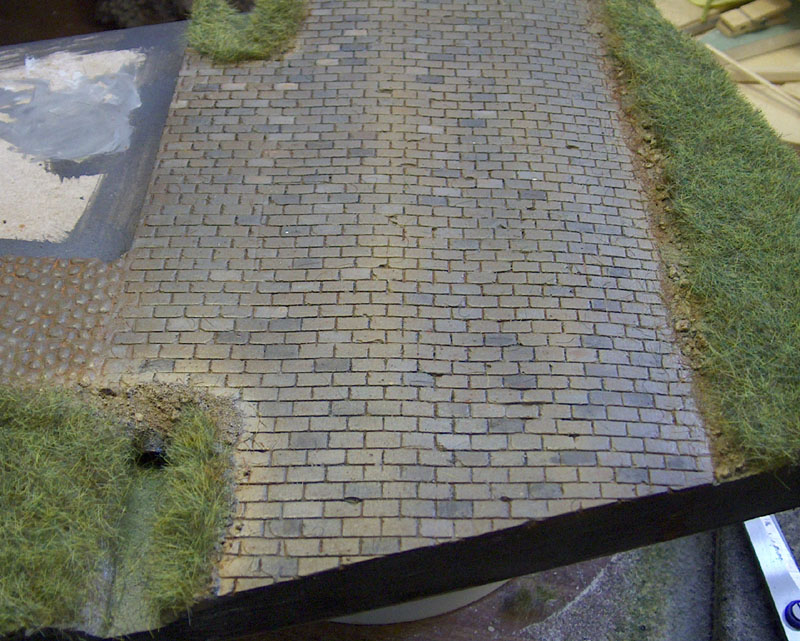
Glued on the Heki grass using ordinary white glue - great product that grass - heres checking the layout - does it fit ?
It“s happy days for modellers...
Maryland, United States
Joined: June 02, 2006
KitMaker: 672 posts
Armorama: 592 posts
Posted: Monday, April 28, 2008 - 05:16 AM UTC
Wow! Really nice work. Great road, the building, etc.
The only thing is that I believe the muzzle break would have been a bit of a rarity in Normandy. Most pics I've seen of M18s don't have them fitted until very late in the war. It's not incorrect, just doesn't show in many photos of the period. Personally, I think it looks a lot better with it fitted, so I think it looks fine.
Looking forward to seeing it complete. I'm trying to improve my work on structures, and I think your building looks great so far.
Rob
Florida, United States
Joined: November 05, 2002
KitMaker: 9 posts
Armorama: 7 posts
Posted: Monday, April 28, 2008 - 05:50 AM UTC
Jan:
Very nice dio. I really like the road. Could you please tell me what color browns and grays you used to paint? I have a town square resin kit that I bought at a model show and your colors was what I was imagining when I bought it.
Thank you for your indulgance andI look forward to your response.
Thanx,
Carl
"If you follow ugly kids home. You'll find ugly parents." Phoenix Fire Chief Alan Brunicini
Aarhus, Denmark
Joined: July 18, 2003
KitMaker: 3,377 posts
Armorama: 1,088 posts
Posted: Monday, April 28, 2008 - 09:00 AM UTC
Thanks!
Robert - the barrel is one of the weak points of the kit, in hinsight i should have gotten a replacement barrel - but i still have to ad stovage for the TD, so some netting on the barrel might help.
Carl - its a bit hard to describe, but as you can see it was black from the beginning - then i airbrushed some Vallejo Barley gray and Us navy gray on randomly - take care not to cover the black entirely. Then it got some light brown - with focus on the sides and hights on the road to create the impression of deposited dirt and dust and areas that is "cleaned" by traffic.
After that it got a coat with future before I painted some of the stones individually - you can se my palette on the pics - its where the house stands

- I mixed som humbrol dark gray, light gray and sand/brown randomly and painted about 1 out of 10 stones in variating colours.
After that and before the humbrol dried completely it got a light brown wash - carefull not to smear out the paint - now it can dry up good for a day or 2 before progressing with pigments.
Hope it helps you, otherwise fell free to ask!
Cheers/Jan
It“s happy days for modellers...
