Thanks guys,
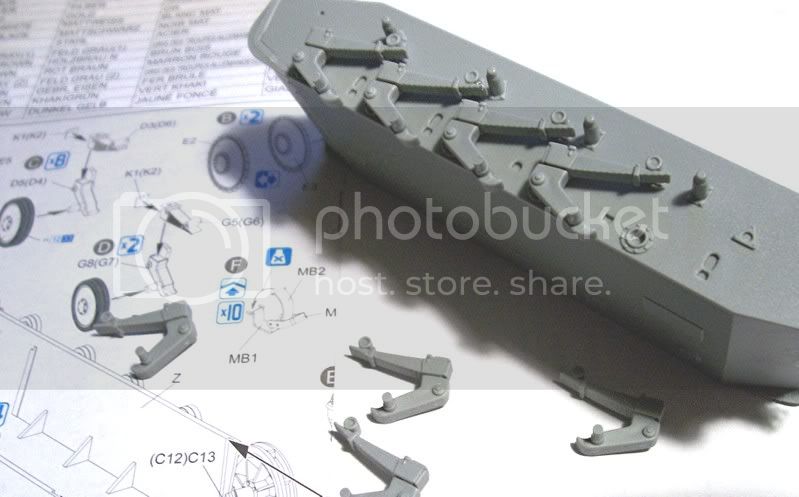
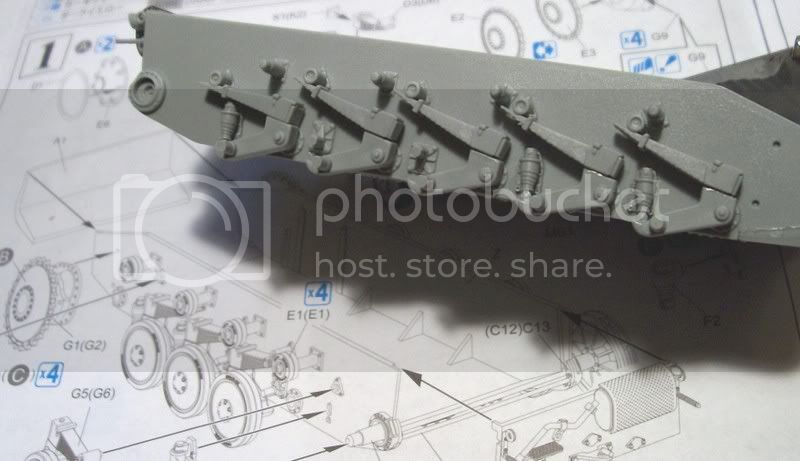
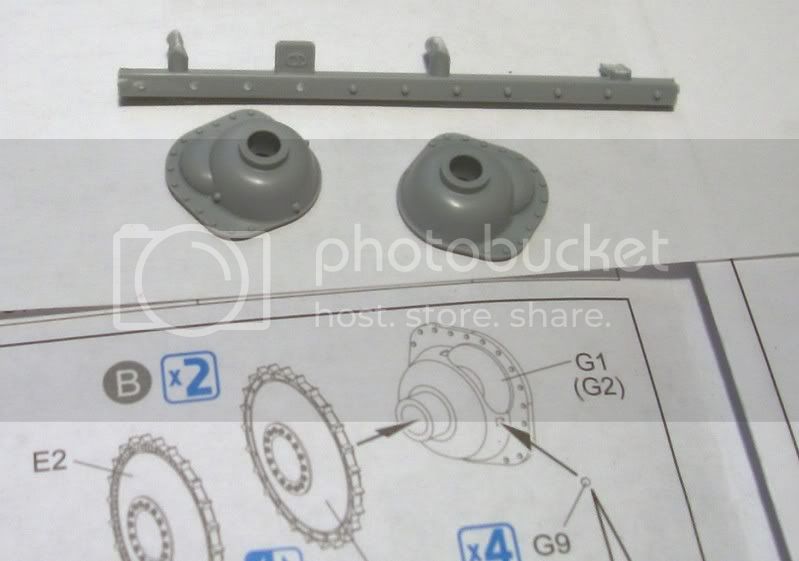
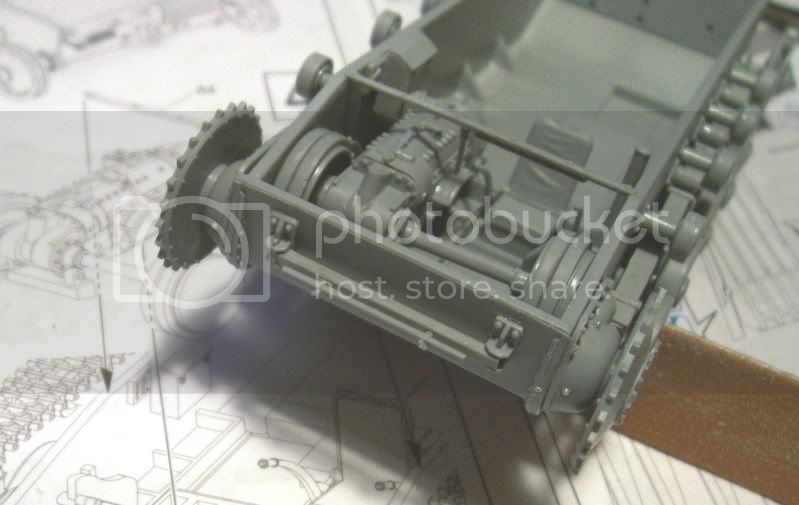
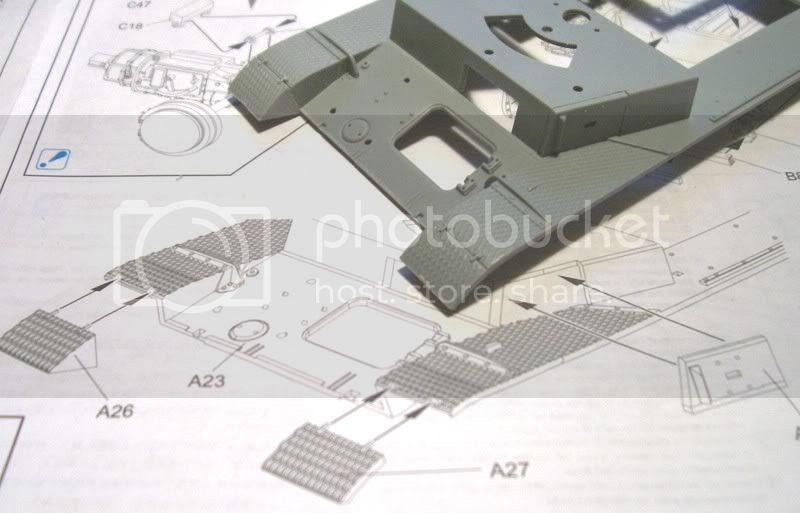
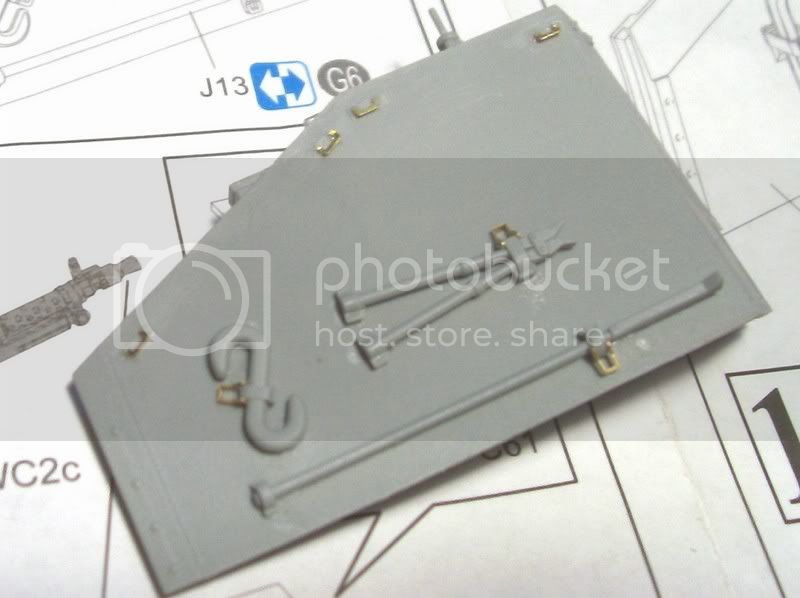
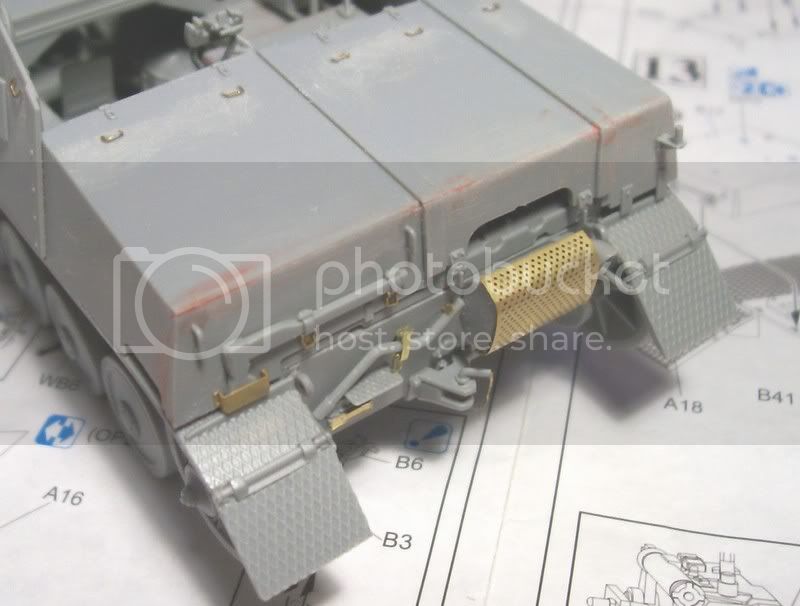
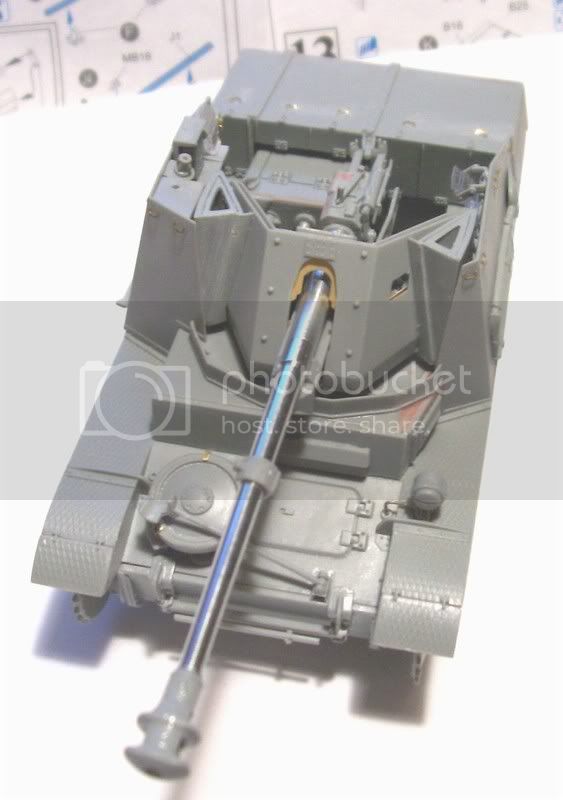
James the kit does supply the PE tie downs seen in my last update but i really didnt like the way they looked so i scrapped them off and sanded the plastic blocks smooth (the instructions suggested they should remain when using the PE) then i found some smaller ones in the spares box which i think look better.
Hi Frank after using the griffon PE on quite a few builds now i am sold on their ease of use and looks, the jury is still out on the paint scheme

Hi Lars, yes i will paint the interior before the hulls are glued i wanted to make sure everything that was going in there was attached first as the steps seem to jump around a bit.
Hey Bob as always i appreciate your comments and following along

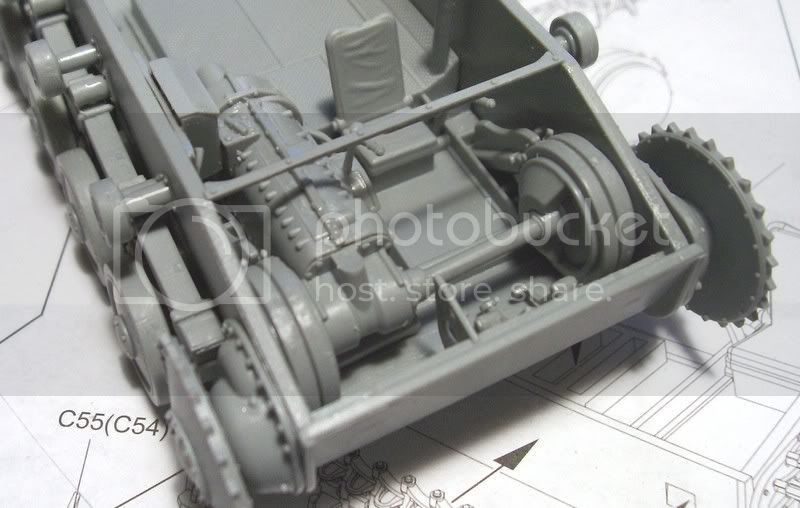
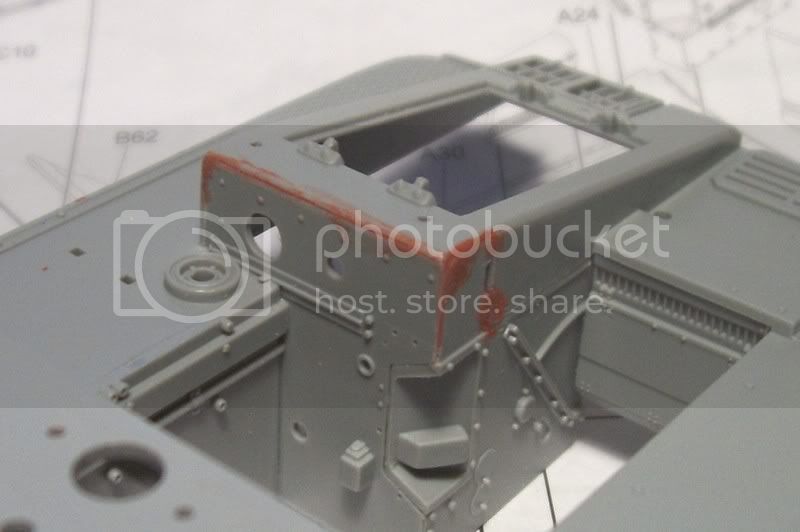
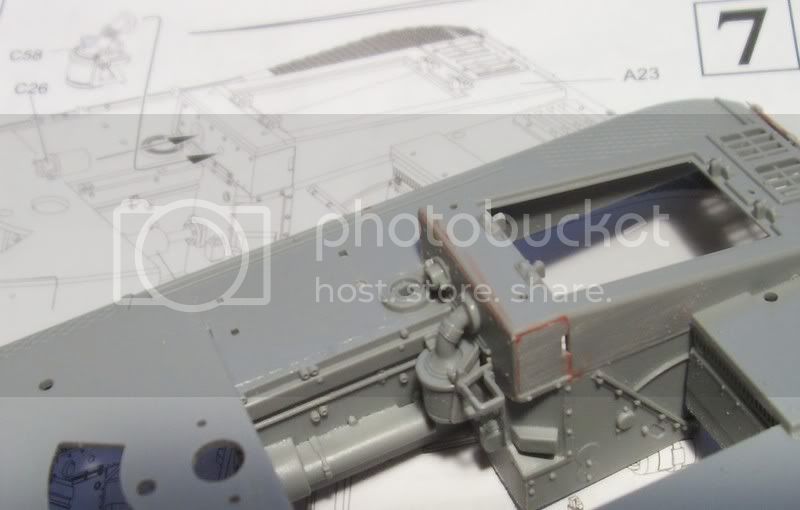
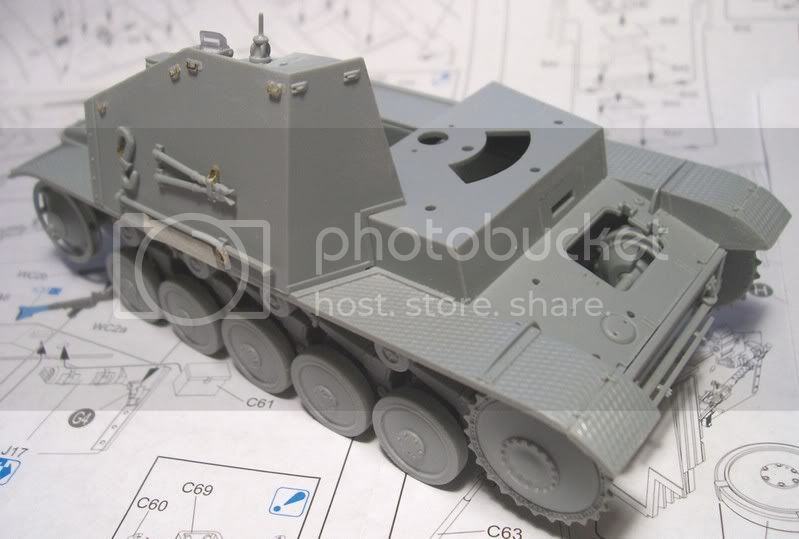
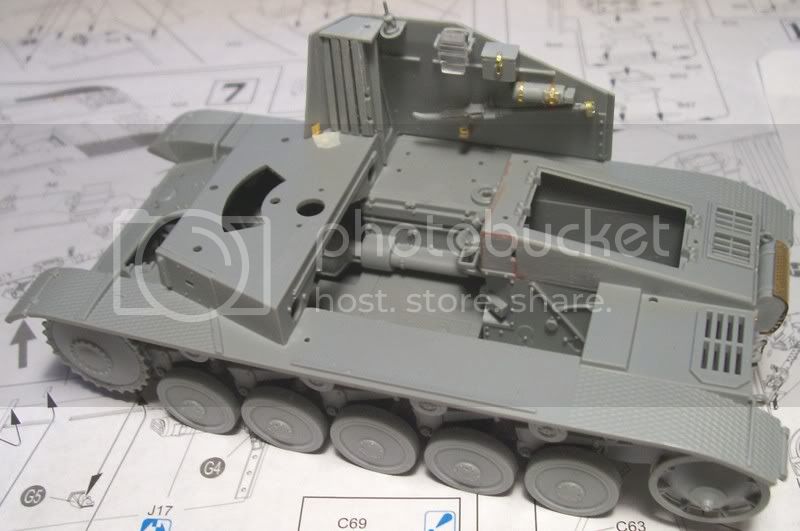
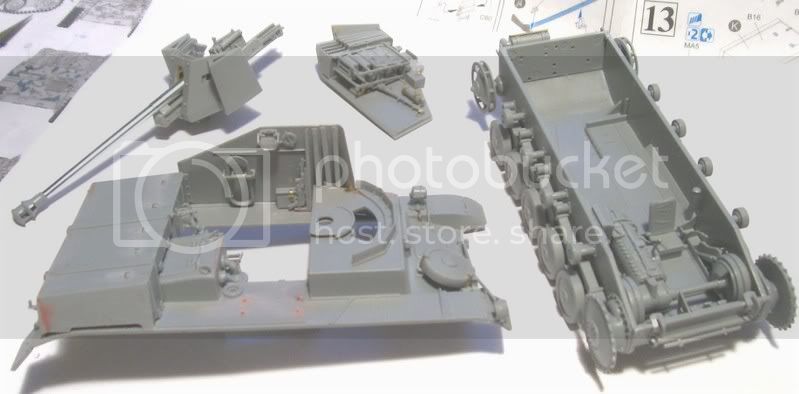
I have had quite a few fit problems so far with the upper and lower hulls needed work to get together right and both left and right side fighting compartment walls have needed work to get correct also the radio rack would not fit where it was supposed to and i have had a couple of seams to fill, this is definatly not an easy build also im not sure how the changes i have made to get these things to fit will effect the parts i add later, basically i am just crossing each bridge as i get there.
moving on a little,,,
I did not like the molded on tie downs or the PE ones supplied so i scraped them back off and found some smaller ones in the spares box.
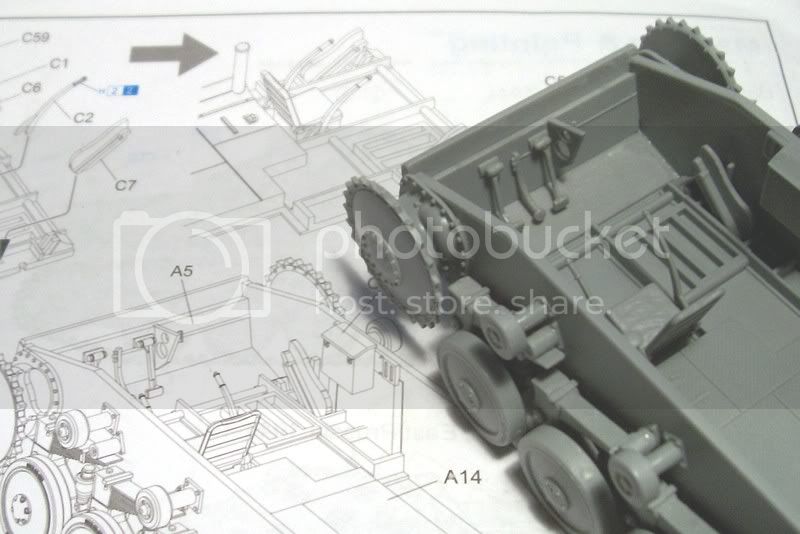
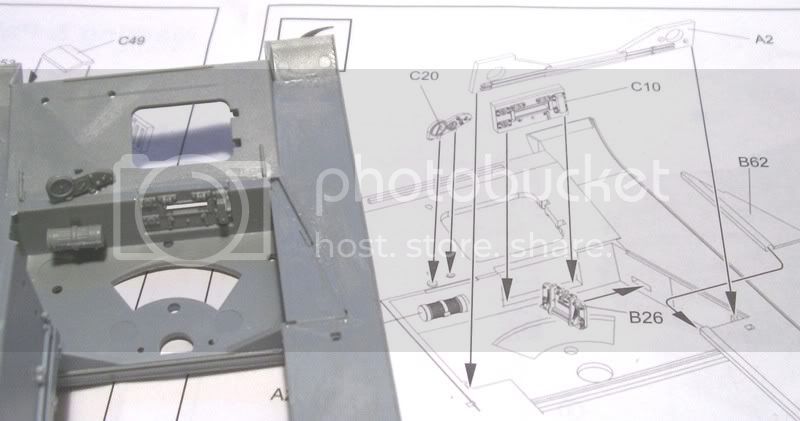
step 9 is the construction of the radio rack which took no less than 22 parts without adding any extras like wiring etc (i may add a little before im done)
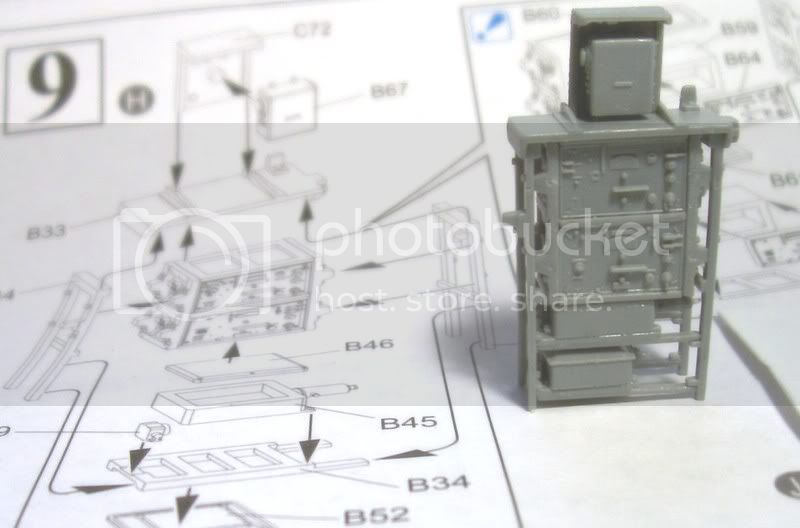
in order to get the radio rack to fit i had to reposition it along with a couple of things already attached to the inside wall, (the optics and the mg) then fill its location holes.
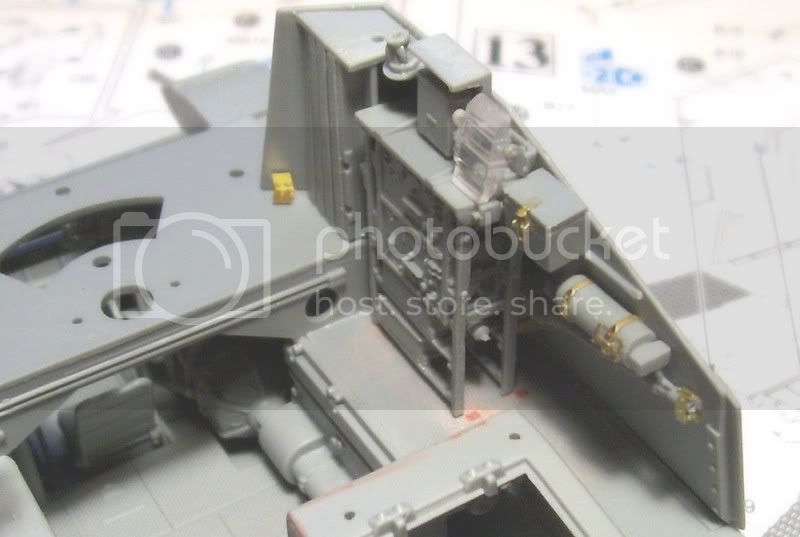
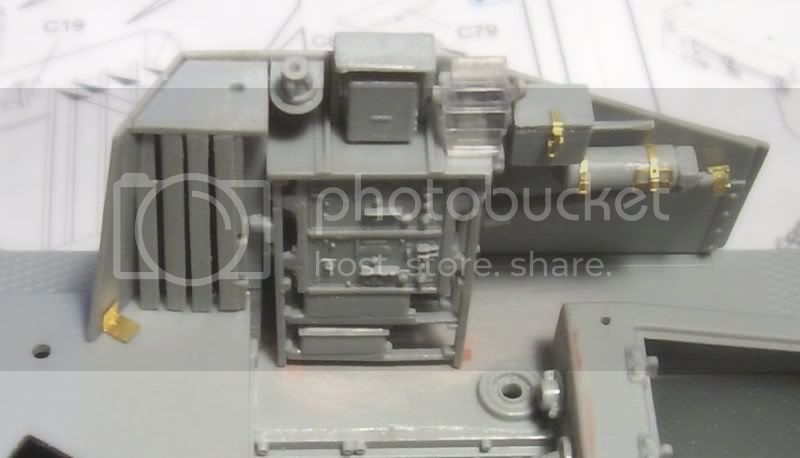
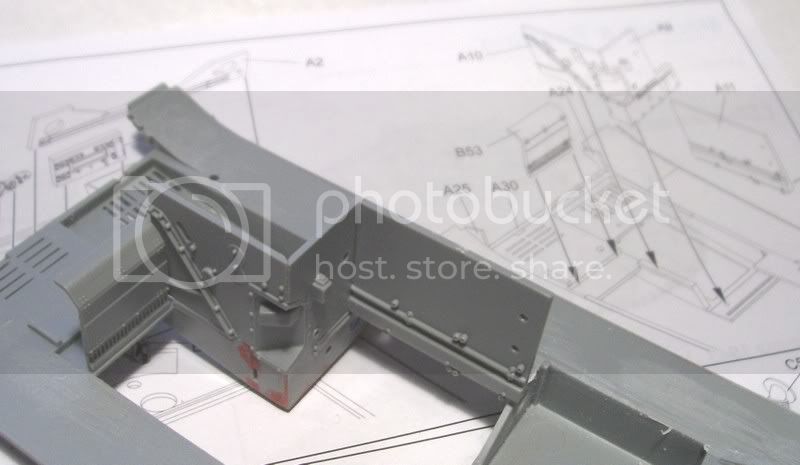
step 10 jumped across to the left hand wall which again i had to sand in several places to get it to fit properly. i noticed in the pic i forgot to add a clasp to the box it will get added.
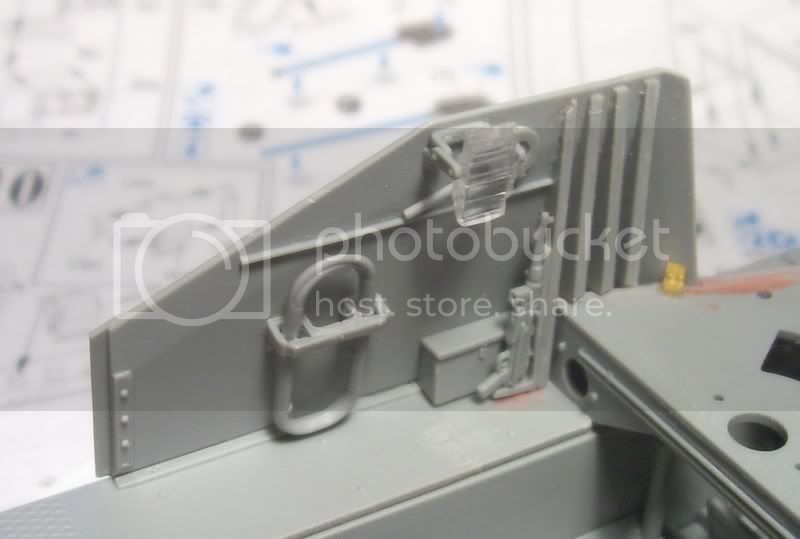
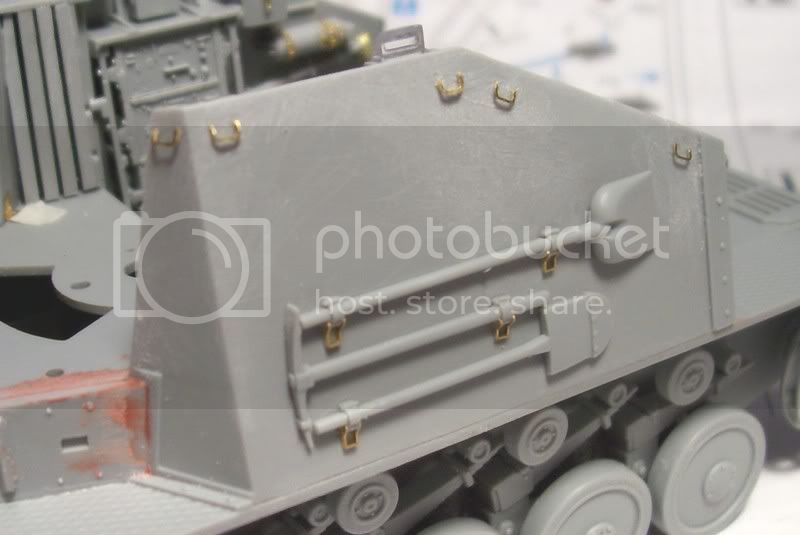
Im not sure if i have done something wrong along the way that triggered this chain of things not fitting or if its the kit itself and although it is taking some extra work im still confident it will be ok in the end.
Ron.
