I apologize for the poor quality of pictures, next time i'll take them with natural light and for my poor english skill, not my native language.
The kit instructions are complex and not very clear, but everything else is amazing
This is actually where i am :

I first started to do the hull as one assembly, and actually i'm working on the left side.
The hull fit is amazing, a little filler was needed, but i have to do some weld seam at the bottom (Like we can see here http://data3.primeportal.net/apc/martin_noorloos/staghound_mk1/images/staghound_mk1_059_of_108.jpg or here http://data3.primeportal.net/apc/martin_noorloos/staghound_mk1/images/staghound_mk1_058_of_108.jpg) and some texturing of the door and machine gun mantle
The suspension springs are a bit strange compared to the rest of the sprue, 2 part and a huge line hole between the 2 parts, so i fill with tamiya putty the aera that will be visible after gluing the mudguards

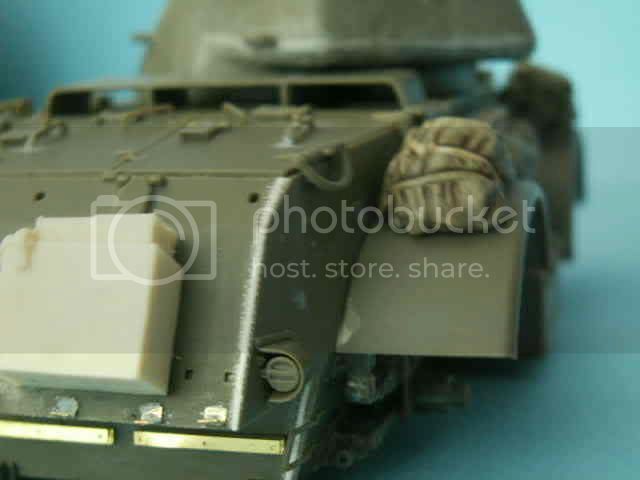
The external fuel tanks need a little filler, but the small PE part with my bigs fingers were a little difficult to bend and to glue

One question i have is for people who have already painted this model, does i have to fix the fuel drum or paint them separatly, i think it will be difficult to spray behind them if I fix them before painting but the PE attachment straps may have their paint removed if i bend them a little after to attach these fuel drums
And another question is for the attachment straps, i bend them and use cyanolite to glue them but i have a hard time keeping them glued, is there a particulary thing to do to glue 2 PE part together ?
And to end my post, i would like to thank everyone here, for the great quality of contents that help me a lot to improve my skill.