For the 'Heavier' most common pattern, I will utilise a gear taken from the inertia mechanism of a venetian blind! (Hi-Tech stuff so far eh!
 )
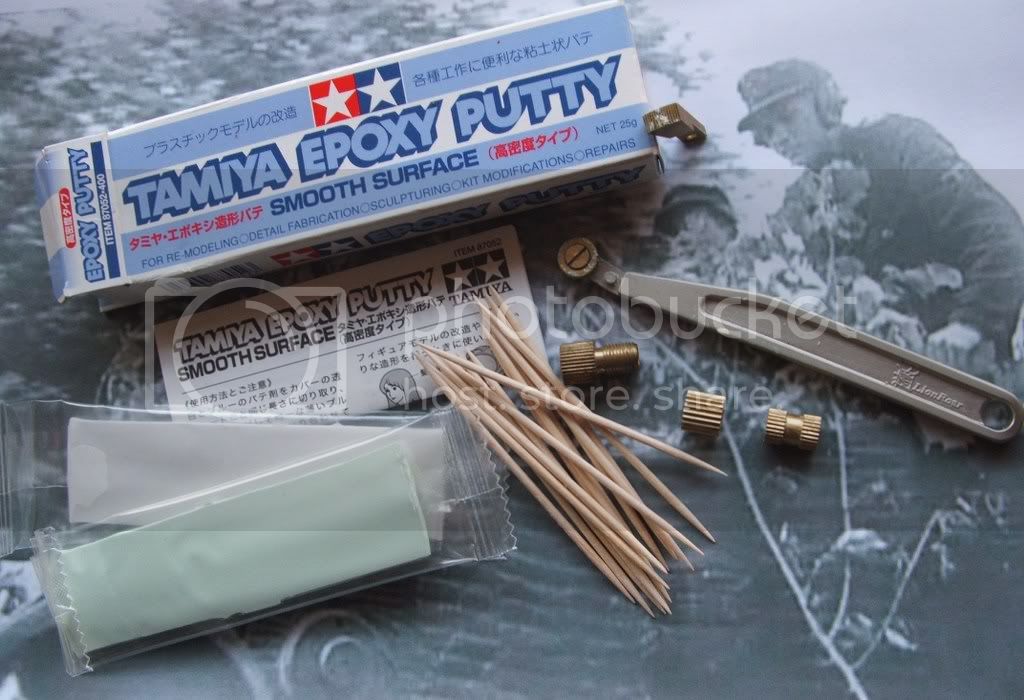
)To replicate the smaller less often observed pattern, I will wield the excellent 'Lion Roar' roller application tool.
Whilst upon the DML pattern, the use of various standard tools and mediums will be used.
My first observations of the pattern on #6383 is that the hull is very crisply sculpted and defined, while maybe slightly to deep and on the large side. Also a bit on the neat side, especialy on the hull rear plate around the track tension covers and other fittings. Remembering that the paste was applied by workers under enormous strains and pressure to achieve production quotas, and not by artisans!
 Moving onto the turret... This has caused me a lot of dead brain cells, that have been expended in reference, research and general 'messing' with pattern depiction.
I really believed that Dragon would be able to deliver, a realistic depiction of the 'standard' turret pattern for the Tiger 1, but alas due to the limits of moulding technology as it stand (though DML seem to lead the field with new techniques and methods used in the industry) this is the pattern that was achieved. I supose a modellers with a wide level of reference, materials, tools, products and shared ingenuity and experience, we have a vast pool to dip into when it comes to 'finding a way around it' that Manufacturer's within a very competive market don't have the luxury of.
Anyways enough of the rambling (you will find this to be one of my most annoying points
 what was it that Oscar Wilde wrote about short notes!
  ) and onto the Tiger Fest.

These are comparison shots, taken in order to show the pattern differences and results achieved using different tools and techniques.
More later back to the photography, I shall endeavour to keep this blog going as smoothly as possible, with regular updates... But as we all know 'Chaos rules it all'!
 Cheers Phil.