@Tony; thanks!
@Matthew; I have no idea what exactly Hotel Sierra means, but I assume it's good! Thanks!
@Brian; Thanks Brian. Unfortunately for your "Tommycooker" the "seats" are allready taken.

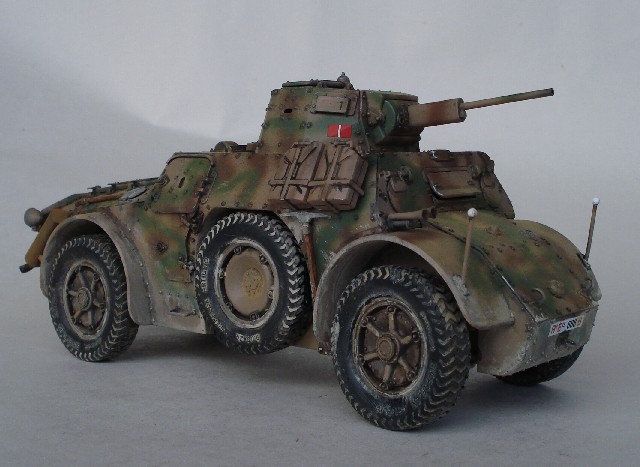
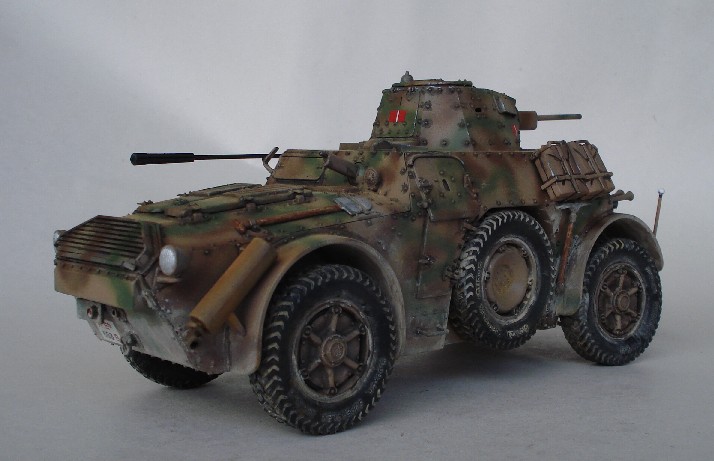
@Tat; nice job on the Pz.II. It should look great when the colours are blended together. But I think that the chipping is sometimes at the wrong places. I think it usually chips the first at the edges and less in the middle of the armorplates.
As for my progress, things are getting more eloborate than I had planned/anticipated.... as usual!!
I got busy on the sewerlid and this is what happened;
I started of by googleing for them and I noticed the old lids often came with a lot of ornaments. This got me digging through my sparesbox to see if I could come up with something to represent that look.
I ended up with a Panther sprocket, a dingowheel and a hatchring from a Crusaderturret. After about 3 hours of turning, sanding, filing, fitting and starting over again I ended up with this:

Inner circel with spokes; the centrepart of a Crusader idler (hence the starting over), than a thin strip of plasticcard. Then the circel with the bolts from the Panther idles, followed by the hatchring. The last ring is a plasticcradring to make the lid fit the underground.
Then I painted the contruction in a panzergrey base, followed by a coat of bronze (both Vallejo)

The 2 washes of lamp black and when dry 2 washes of viridian (green).
I put the lid in it's place and was not satisfied with the result, because the space under the lid lacked depth. I did paint the in lamp Black too, but it still was flat.
I decided to do something drastic and cut a hole right through the entire base!

This was than covered with a piece of firm, black semigloss cardboard, which then was given a decent coat of gloss varnish. I put the lid back in it's place et voilà....


Finally I took some of my own, homemade diorama-soil (your standard backyardsoil, dried, ground and sifted) and I brushed that gently into the slits between the stones. Looks really great and much, much cheaper then pigments!
I added some very small stones and a few tufts of grass and I was a happy camper!


 Show that Bradley and Godzilla some love and finish them up. Again, welcome to the campaign. "Q"


 Ok, I'm starting to ramble. Again, welcome aboard. Looking forward to seeing your work. "Q"