


This is my first build log here. This is also my first build in 15 years, not counting a couple of projects that never made it to completion, I'm hoping this build log will help me to finish this one! I guess this could be categorized as another oob by a noob!
This is Tamiya's old Panther Ausf A kit.
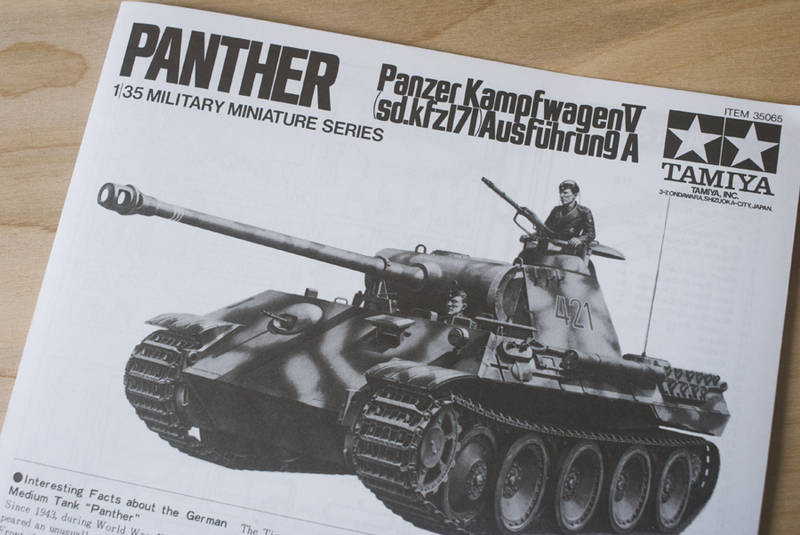
I should note that technically this is more of a 'paint log' than 'build log' as I wanted to see what I could do to this nice, but severely outdated kit, with only paint, pigment, and a little putty to fill the seams.
I had started this build a long time ago and put it on the shelf, I hadn't put much care into the initial assembly and the build wasn't that great, so I went back and stripped the original basecoat (using windex), sanded it, tried to get rid of any flash that I had ignored and then filled the seams (pretty bad in the front and back where the hull halves meet). Once that was done I started to think about what I could do with it.
I decided to make it an abandoned (allowing me a little mor artistic license and also to remove the terrible mgs provided with the kit!) east front panther with a soft edge 3 tone camo covered by a field applied whitewash.
I figured that I would be able to use snow, frozen mud and ice to help hide some of the inaccuracies of the kit, but that will come much, much later!
So for the first post I give you the basecoat and pinwash (unfortunately I did not take photos up until this stage!)

What is that I hear?
*Gasp*
No zimmerit!! Well no, I debated for a few days on whether or not to apply the zimm but in the end decded that in keeping with the oob theme I shouldn't and also that I wanted to get stuck into the painting asap as that is really what this build is about. I know it is not historically accurate, but this is really more a painting experiment for me to learn some techniques and get back on the horse.

I started by filling the seams, adding a couple of weld seams with putty (primitive, but my first time!) and priming with testors rattlecan grey primer.
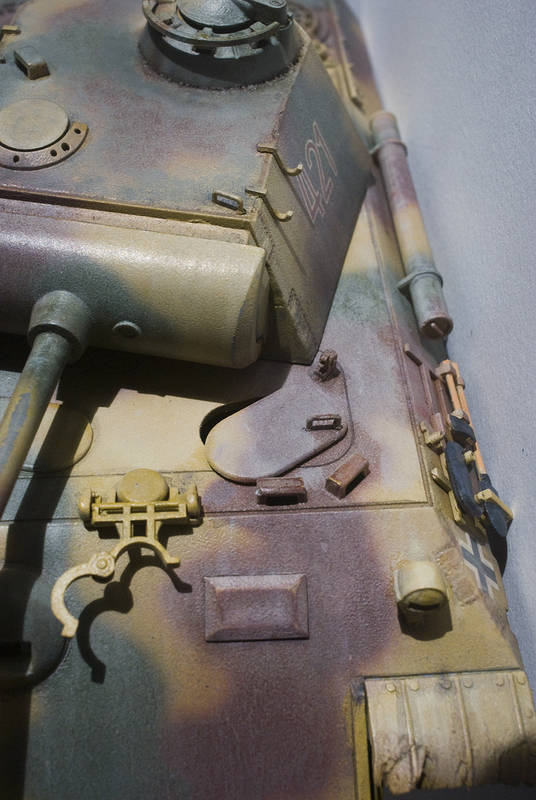
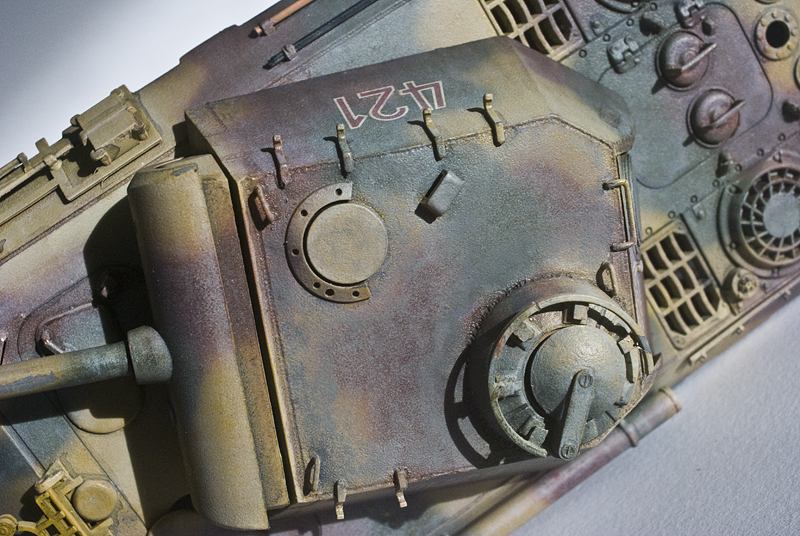
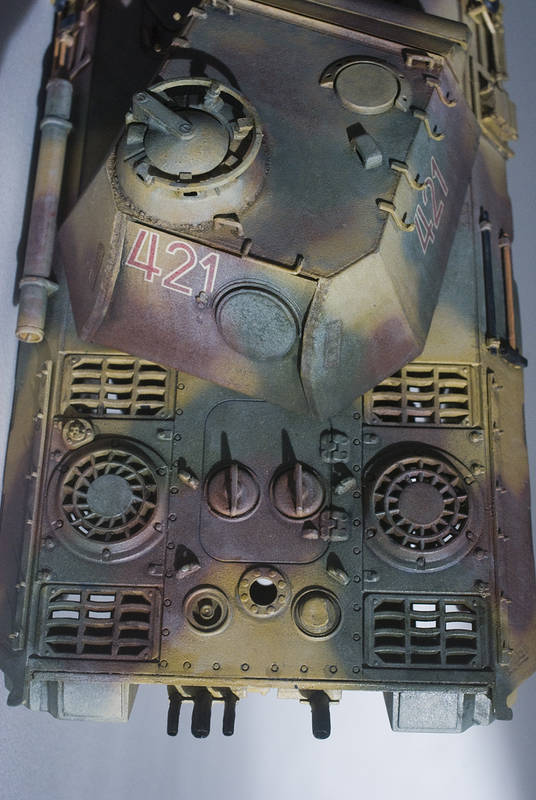
Next I applied the 3 tone camo using Golden brand fluid acrylics thinned with Isopropal Alchohol Yellow oxide, Red Oxide and Sap Green Hue with my brand new (
 ) Iwata revolution CR! My first time using an airbrush and hand applying a camo scheme (of course after practicing on scraps of card first)! I'm pretty happy with how it came out, although I did learn alot and will approach it differently next time! I then applied the decals and brushed on a few layers of liquitex matte medium, waiting a couple of minutes for it to set up and then using a fine flat brush to stipple it for texture. After this I sprayed a very thin mixture (about 15:1 thinner to paint ratio) of a light sand color holding the airbrush at a 90 degree angle to the top of the model to simulate fading and ingrained dust, just a very light coat. Unfortunately my airbrush started spitting in the middle of this process so it looks a bit heavier than I intended. But since its going to be whitewashed I decided to leave it alone. I then gave the whole model a light wet sanding with 2000 grit paper which took some areas down a bit too far, but those will be patched up later when I get into chipping.
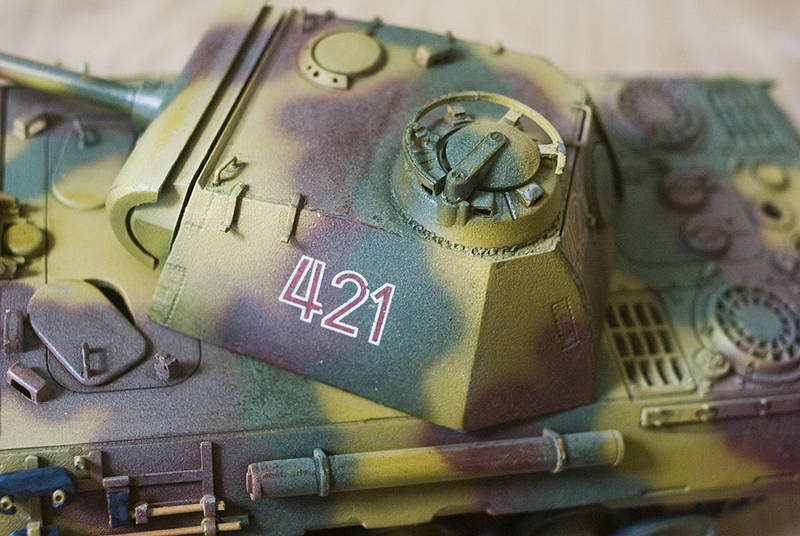
Once all this was dry I made a matte varnish by mixing liquitex brand matte varnish with matte medium and isopropal alcohol until I got a sprayable consistency that would still provide some protection, and gave it a few light coats
I then did a pin wash that I made using thinned down artists inks (black yellow and red mixed together) It came out a bit thick in areas but I think I will be able to blend it in when I do the oil dot application next.
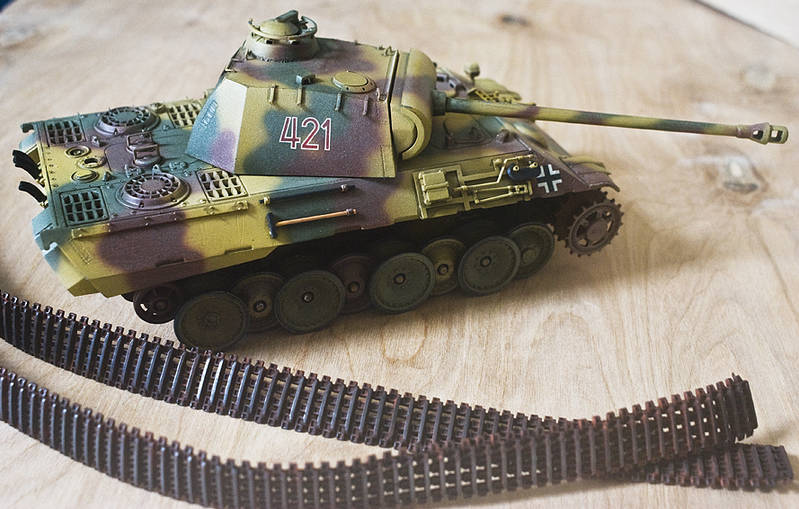
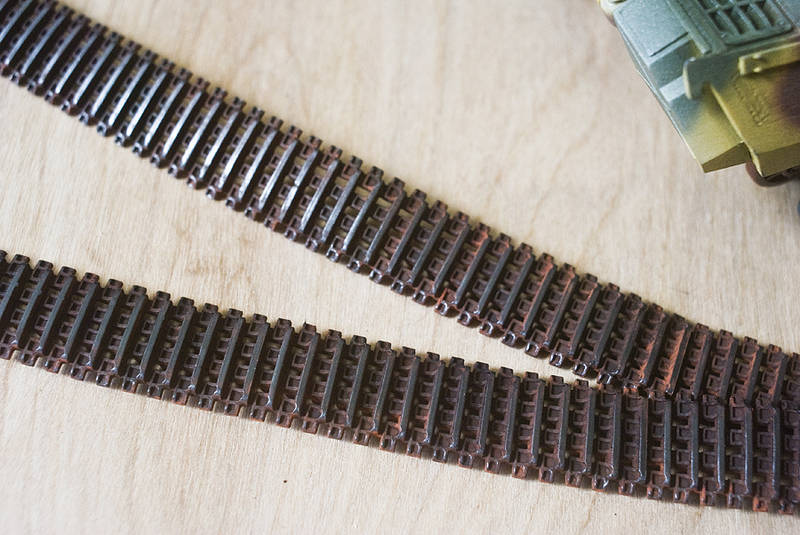
Then I put a base coat on the storage items, (basically just the tools, jack and exhausts, and the spare tracks which I have not put on yet) and then finally I painted the tracks, spraying them with Vallejo's Rust color, then applying ground up orange and burnt umber artists pastels with a brush soaked in mineral spirits. Once that was dry I put a thinned (1:1) wash of black ink over it to tone down the pigments and ran a soft graphite stick over them. Ready to be put on the vehicle at a later stage before final weathering.
OK next I will be trying out the 'oil dot' method as explained by adam wilder to tone down the brilliance of the colors and begin the weathering stage.
I forgot to mention as well that if all goes well I plan to place the panther in a small vignette with 2 of Dragon's Gen 2 Wiking Grenadiers as seen here: figure build log but those will come after the panther I think as I want to save up some $$ for some vallejos to paint them with!!
Can't wait to hear any tips, critiques or comments!!


