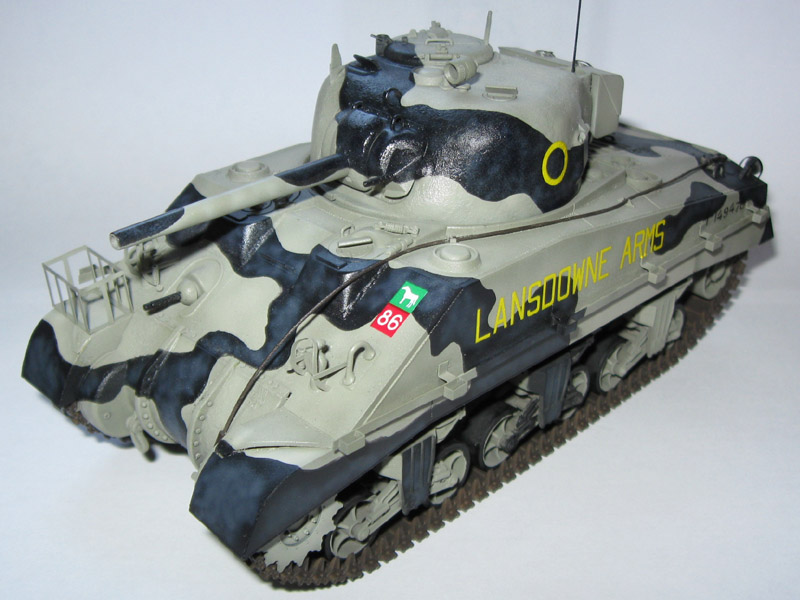
Royal Wiltshire Yeomanry Sherman III "Lansdowne Arms", Syria, 1943.
The model was built using DML 6313, Sherman III, photo etched parts from Voyager, an early style M2 machine gun from Tasca, and some of my blood.
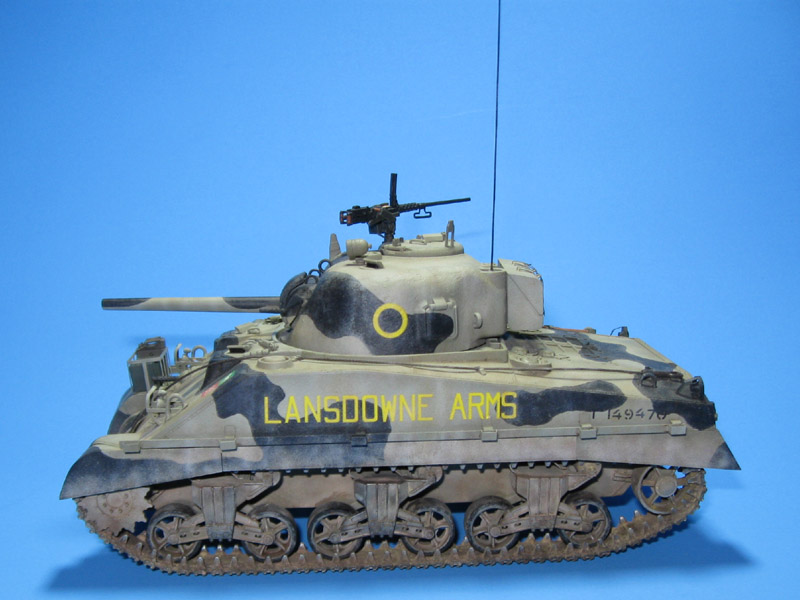
Paint colors were mixed using Humbrol enamels based on information from the MAFVA website.
http://www.mafva.net/other%20pages/Starmer%20camo.htm
I originally "finished" this model back in February but there were some problems with the left fender, periscopes, and paint. I fixed those issues around April, but the tank still lacked an M2 machine gun. I finally tracked that down at HLJ.com and was able to "finish" the model. I may still add the canvas cover for Sunshield.
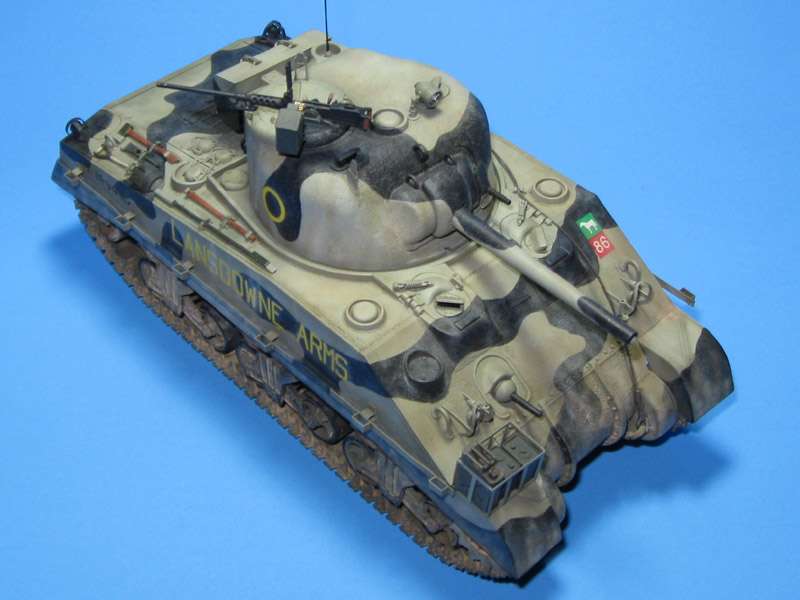
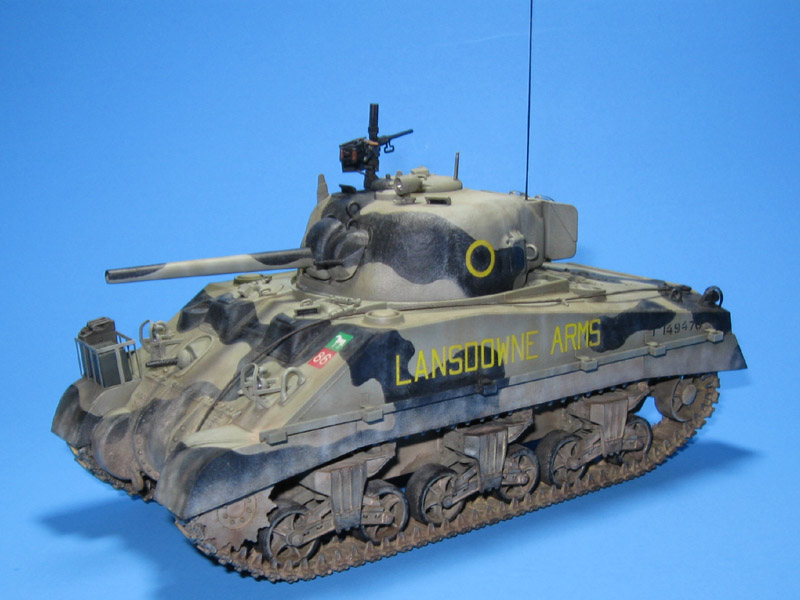
I built the model based on two photos graciously provided by Tim Neate. My first attempt at the camouflage pattern almost exactly matched the photos. Unfortunately, I had to remask the entire tank and paint the camouflage a second time, resulting in some deviation from the prototype. The serial numbers ended up running into the black areas because of this.
I assembled the engine deck before Sherman experts realized the engine access doors in this kit have the wrong number of louvers. So it goes. I stared at photos a long time before deciding to used the British arial fitting with a short rubber base. I could not see the stalk type in photos or movies, but my references were limited. I could very well be wrong.
The model shows Lansdowne Arms as she appeared for a victory parade in Syria, circa 1943, after the allies achieved victory in North Africa. I chose to model Lansdowne Arms because she had the right combination of features for the kit at my disposal, an M2 machine gun for the commander, and the longest name referenced on the Echelon decal sheet. I wanted her to really stand out! The Echelon decal sheet for these vehicles does not actually have a prepared decal for Lansdowne Arms--you have to piece together the name and serial number using letters and numbers provided for that purpose. The DML kit I used does not come with an M2 machine gun for the commander so I used the Tasca early M2 offering--an excellent little model.
I tried to make Lansdowne Arms look like a desert vehicle with mixed results. Next time I will use a different palette of colors for weathering.
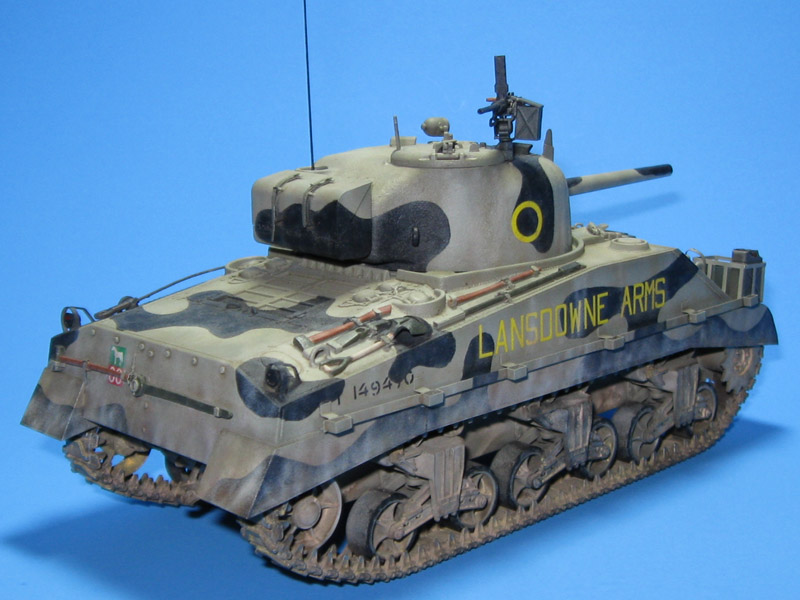
One can paint US tools in many ways. Factories used black, olive drab, or no paint at all on metal surfaces. Wood surfaces could be treated, stained, or painted olive drab. The tank would arrive in theatre wearing olive drab paint and factory tools. If the tools were removed before painting, they would retain their original colors. Based on this logic, when painting the tools I used olive drab for the metal surfaces and dark stain for the wood surfaces. This provided the maximum contrast to the camouflage colors.
I used similar logic when it came to painting the M2. The mount and ammo cans normally remain stored, and come in olive drab, so why paint them?
The Sunshield rails in the kit lack the brackets that hold them away from the hull. I scratch built some based on pictures and guesses. Later, with better pictures, I noticed that the front of the rails should line up with the tip of the main gun. Mine are a little too far back.
Anyway, there she is. All feedback welcome. I hope I put the charging handle in the right position.
-Doug