Hey, gang
This project has taken a backseat to work, having been promoted twice in the last six months. However, I've managed to resume "work" on the project and, finally, post an update.
The first two pics show the base coats painted on Bravo-6's Aussie SAS, of which I'm still trying to correct the camo. The figure on the far left will, eventually, be wearing the tiger-stripe camo. I've found that my camo-painting skills need some improvement.
After that, you'll see I've added two more figures from Bravo-6 and two from Evolution Miniatures, increasing the total to ... (taking shoes off) ...18.


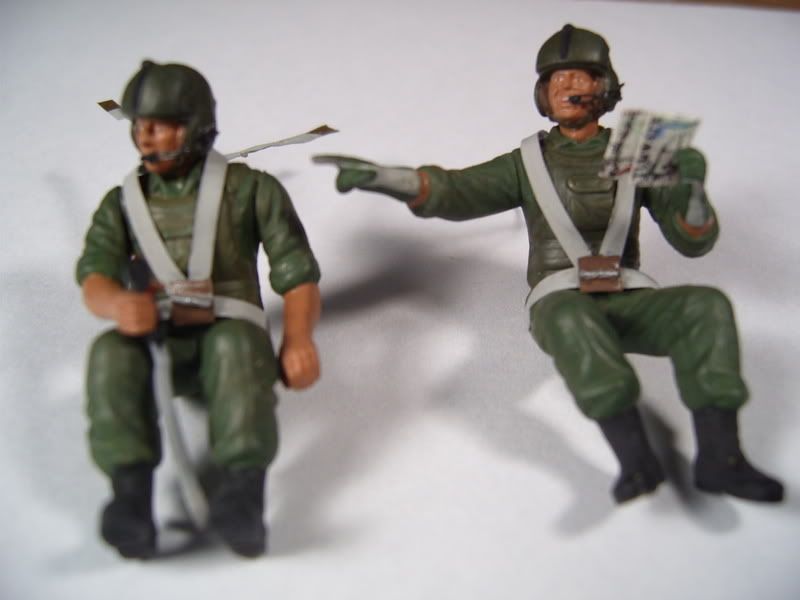
Below are the two figures from Evolution Miniatures, seated, and one from Bravo-6. As you can see, the two blend together seamlessly.


Unfortunately, the camera flash makes the paint appear glossy, when, in reality, it is flat. The figure on the left is one of the Aussie SAS, of which I'm attempting to apply a tiger stripe camo. I'm still working on getting it right.


I'm leaving the skin tones for last, having been an advocate of oils, which can easily smudge or accidentally wipe off during handling. However, after being treated to a one-on-one tutorial on using acrylics by an award-winning figure modeler, I'm going to try my hand at using Vallejo acrylics.

Well, I had to take a break from my epic battle with the figures and dive into Academy's M113A1, enhanced by Legend's M113 Accessory Set.
I started by installing the sandbagged floor, which, after trimming a little here and there, fit together fairly well.
I discovered that the sandbags are notched to fit into the bench supports, which required some test fitting. It all came together rather easily by installing one side of the crew compartment, followed by the sandbags, and then the other side of the crew compartment.
I didn't glue the bulk heads down so I can yank them out after painting to apply the numerous decals and then just drop them back in.