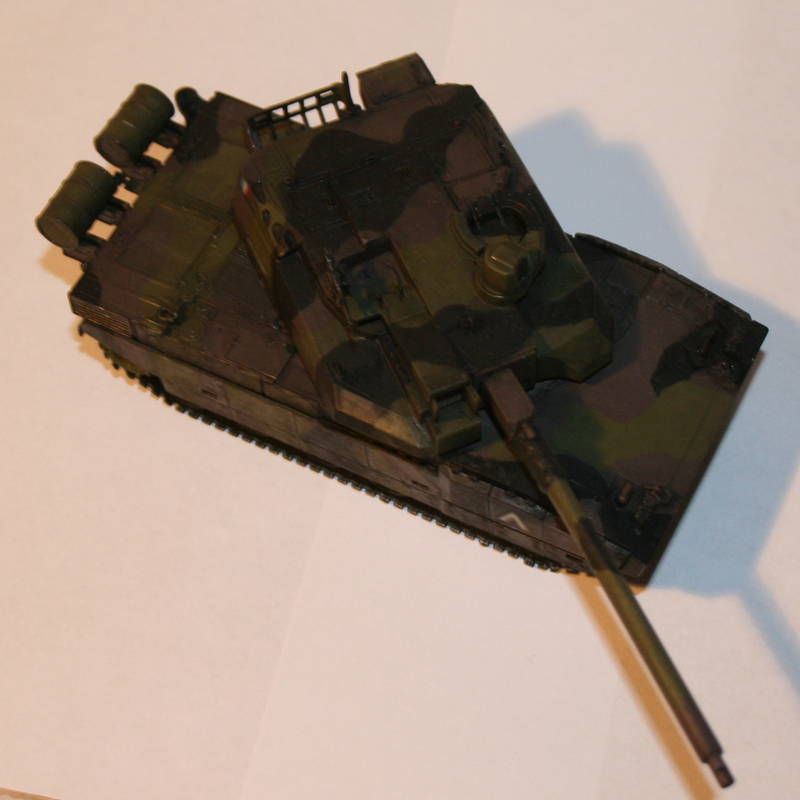
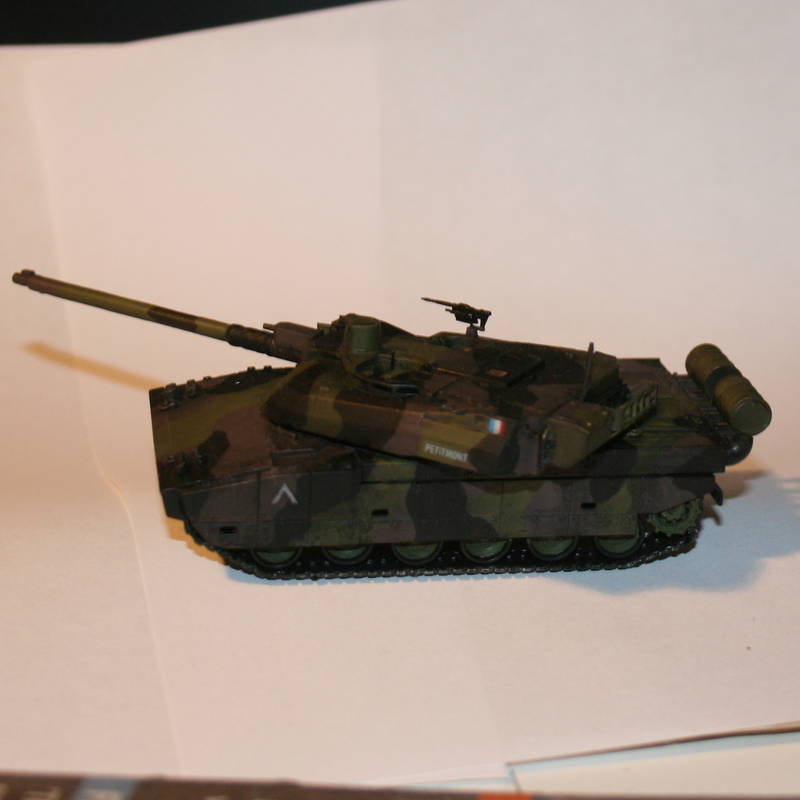
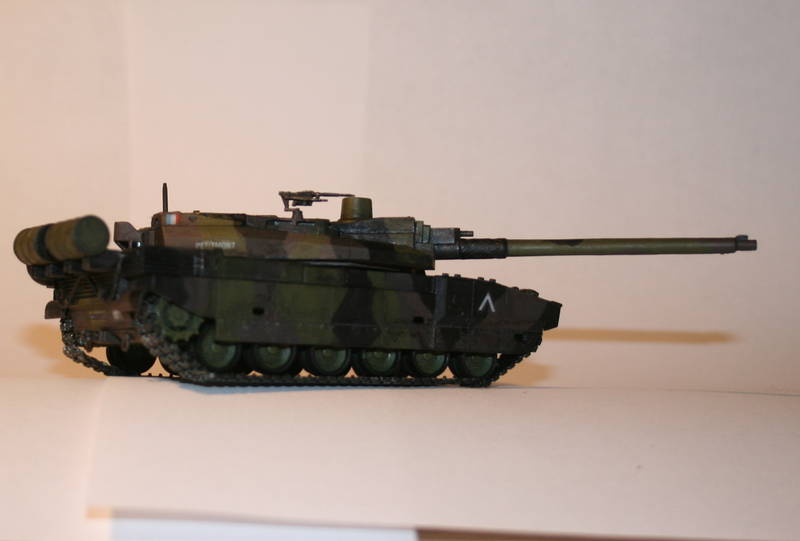
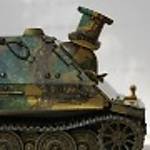
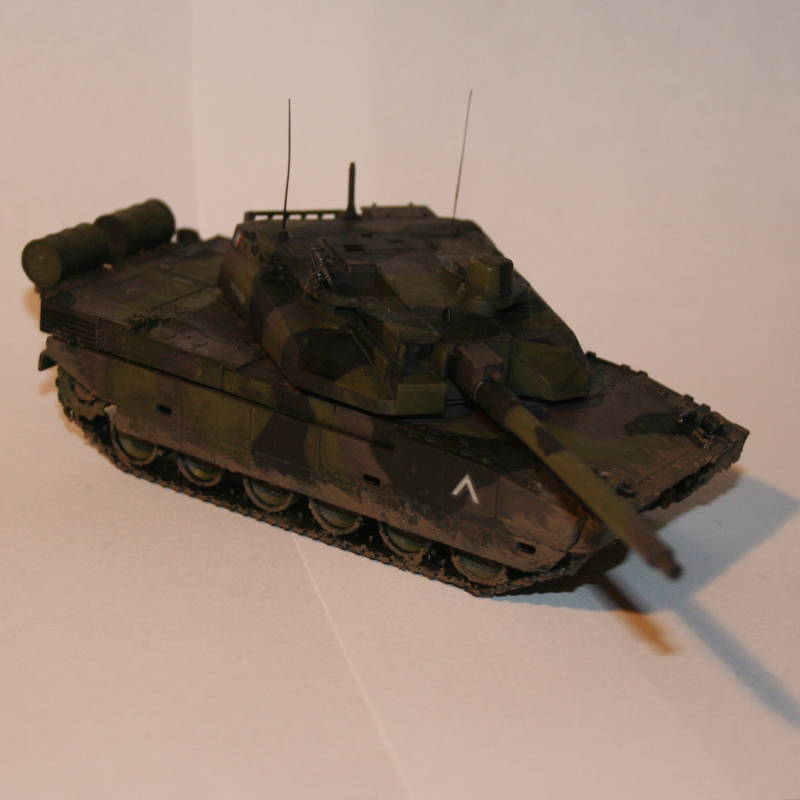
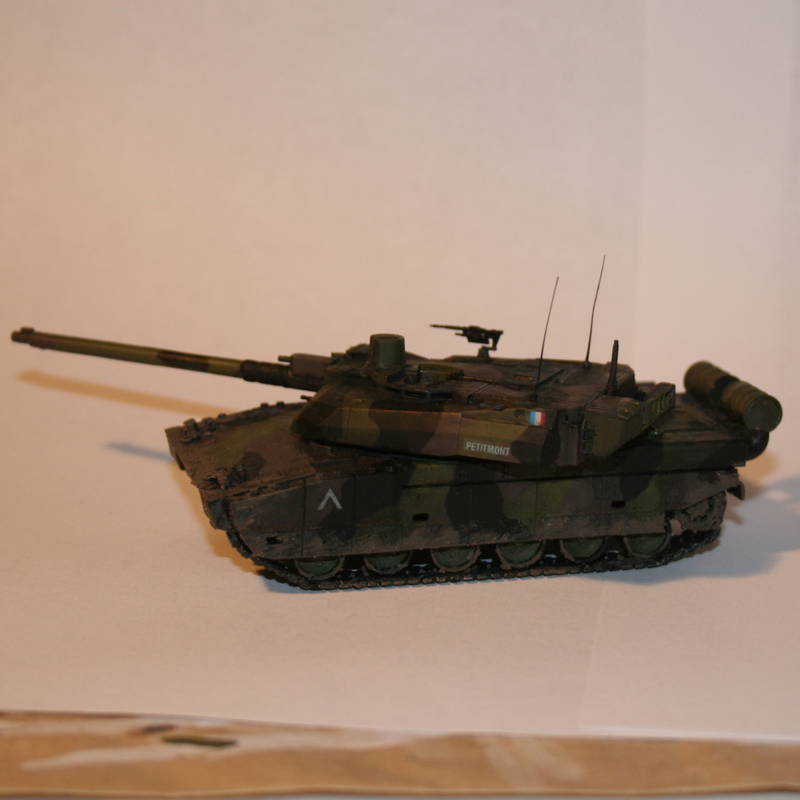
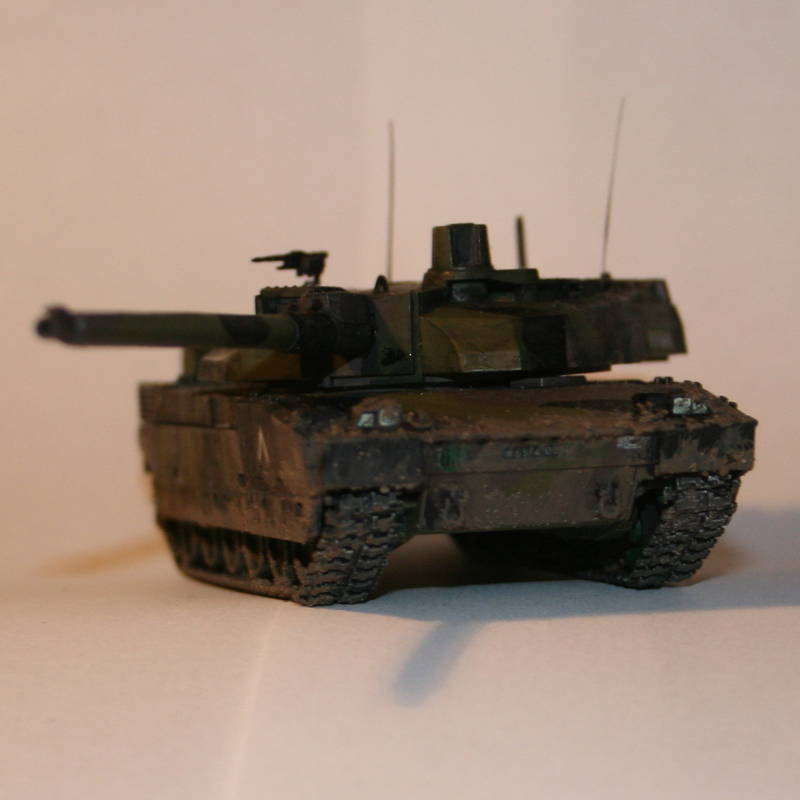
Im back! Heres the completed hull and turret along with the running gear.
The cast resin starfish wheels took me the better part of three days to clean and assemble before joining them to the hull. I wish that one of the plastic manufactures would make a correct set of these in plastic. There are a few manufactures that have produced them in plastic but the shape and detail is incorrect or the molding is crude. One could only hope . . .


I used the better-detailed vinyl track set from the Trumpeter T-34/85 Model 1944 kit. I got the tip from reading through Andrew Youngmans, aka drew_youngman, Trumpeters T34/85 as a postwar tank build post
here. I remember reading where the tracks are at least two links short per track run, and this may be correct when compared to the supplied Dragon DS tracks, and because of this Andrew encountered a fit issue where the tracks had snapped while trying to stretch them over the wheels. Later in the same posting Niel, aka Korpse, posts a fix for fitting the Trumpeter vinyl tracks over the running gear. Thanks, Niel.
The Trumpeter instructions indicate that you could fix the ends together with model cement but doesnt indicate which type of cement or brand they are referring too? I used Testors liquid cement, Tamiyas extra thin liquid cement and both ProWelds and TenaX-7Rs liquid cement and none of these worked. I then tried using Acetone, Mr.Color Thinner, Tamiyas lacquer thinner and super glue and again nothing worked. Havent tried Microscales Micro Weld yet? So I did it the old fashioned way and heated the end of a pair of flat nosed tweezers using a cigarette lighter (I dont smoke) and carefully applied the hot tweezers to fuse the ends together. After which I trimmed the high spots on the fused melted vinyl. And because the Trumpeter vinyl tracks are soft and flexible enough and I was easily able to get them onto the running gear. Tip: I fitted the tracks over all of the wheels and drive sprocket first and adjusted the tracks so that the mating ends of the tracks were on the bottom of the wheels then carefully stretched the tracks over the small idler wheel using a set of tweezers.
I still need to add a towing cable(s), log, and tarps for the hull and turret, wooden supplies box, bucket, some light foliage and crew figures. Then its off to the paint shop.
@eremzet, That has to be one of the best looking Renault R-35s that Ive seen in any scale to date. I like the gradual graduation of light dust on the turret and upper hull surfaces leading all the way to the heavy dirt and crime on the running gear. Excellent weathering! Nice touch with the small amount of metal showing through on the tracks and hefty looking towing hooks on the upper hull sides and realistic to scale rust on the exhaust pipe. Its even sporting a spare wheel! Yes, Ill have to try out a similar camouflage scheme on a Char B that I have in the stash hope mine comes out looking at least half as good as yours?
@jaypee, Great effort on your Bren/Bedford conversion, really looks the part. Its a rather unusual vehicle, one that you wont find even as a resin kit, at least not to my knowledge. Will definitely stand out in any collection. A crew manning the gun, some stowage and placed on a desert setting would be killer! I did have one question, were the two tarp frames on the truck bed made at different heights? Also nice job on the Bedford refueling truck seen the video slide show you had posted earlier Good job!
@madmax5510, Youve been busy building and having fun! Your finished builds are looking good, waiting to see more on both your Tigers. I personally like the L3000 Mercedes truck and what appears to be a Pak 40 gun in tow. The foliage combined with the painted camouflage on the vehicle is excellent and looks just like the real deal. Although I have a color drawing in a Squadron Signal book depicting an NVA T-34/85 lightly covered with foliage I wasnt going to add that to my build, but after seeing how effective and realistic yours looks Im going to have a go at it! Hoping that it turns out half as interesting as yours is and not like a plant growing out of a tank shaped pot? Or horror of horrors a tank Chia-pet!!!

Oh, please dont let this happen to my tank!
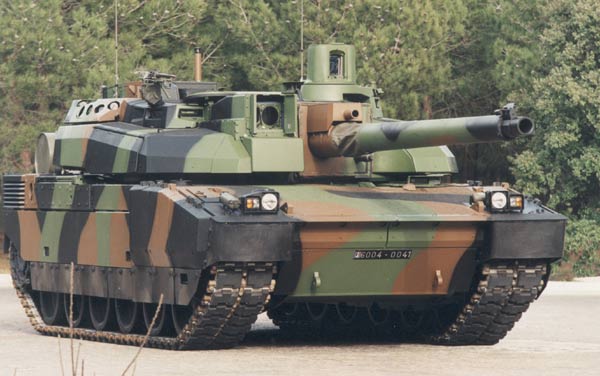
@eoinryan, Looking at your Leclerc makes me want to take mine out of the stash and build it!
@Scoutmaster, Very good job on the M48A3. I also liked your T-54. I had build a T-54 some years ago but I used the Aces kit.
@erhntly, Theres nothing to be sorry about! The Hasegawa kit is very dated against the current kits on the market but it can still be built into a nice model as you have shown us all here. I happen to have this kit in the stash and may just build it after seeing yours, thanks for the inspiration! Remember there is no such thing as the perfect kit!
@NWBrit, Well lets get started. Let me know what other issues, aside from the links being to short, you have with putting this kit together as I also have this one in the stash to build.
@tread_geek, Thanks for the extension, it is much appreciated, this may just give me enough time to finish the T-34/85 Sometimes theres just not enough time left in the day to do any modeling due to life happens things!!!
@r2d2, Its all those small added scratch built details that take up so much time and effort but worth every moment that it took to create to bring an otherwise good kit up to a much higher and more realistic standard. Not all of us are as talented, gifted or have the time so it is good to see what can be achieved with some experience, motivation, patience and dedication. Keep it coming!
Thanks for stopping by,
-Eddy


 I have put the two Tiger I's as your builds in the chart as I do not recall you posting any beginning pictures for the others.