Austin Light Utility 10hp 4 x 2
England - East Anglia, United Kingdom
Joined: August 12, 2005
KitMaker: 14,499 posts
Armorama: 11,675 posts
Posted: Saturday, October 02, 2010 - 04:46 AM UTC
'Action this Day'
Winston Spencer Churchill

#023
Zurich, Switzerland
Joined: March 13, 2009
KitMaker: 2,058 posts
Armorama: 1,656 posts
Posted: Saturday, October 02, 2010 - 08:58 AM UTC
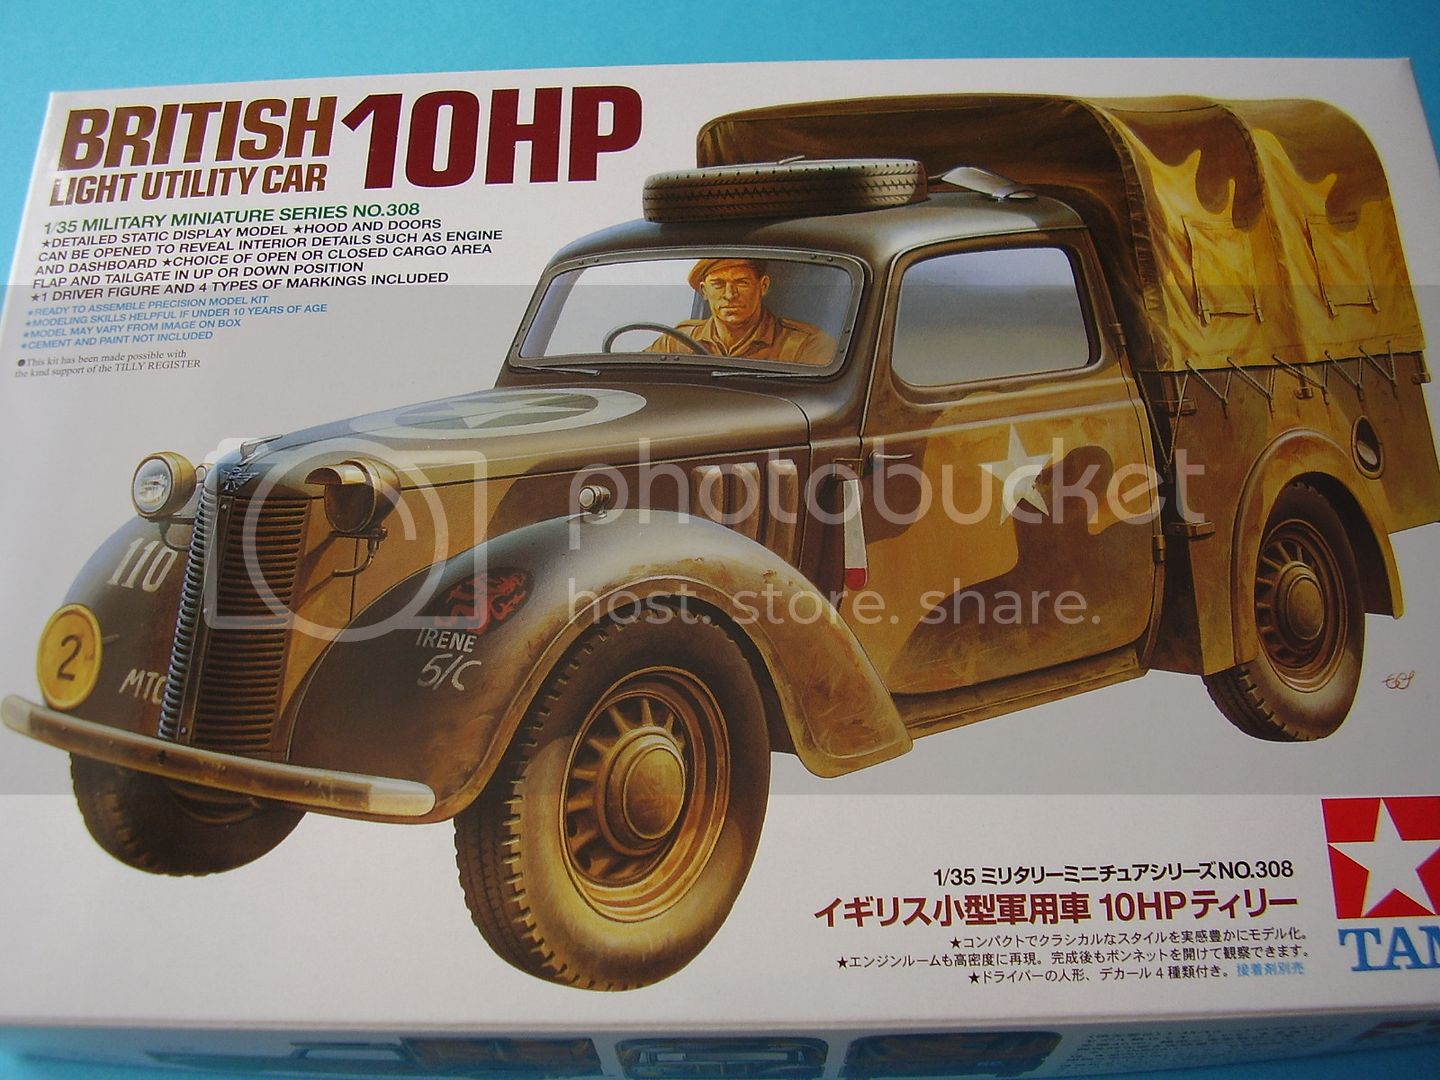
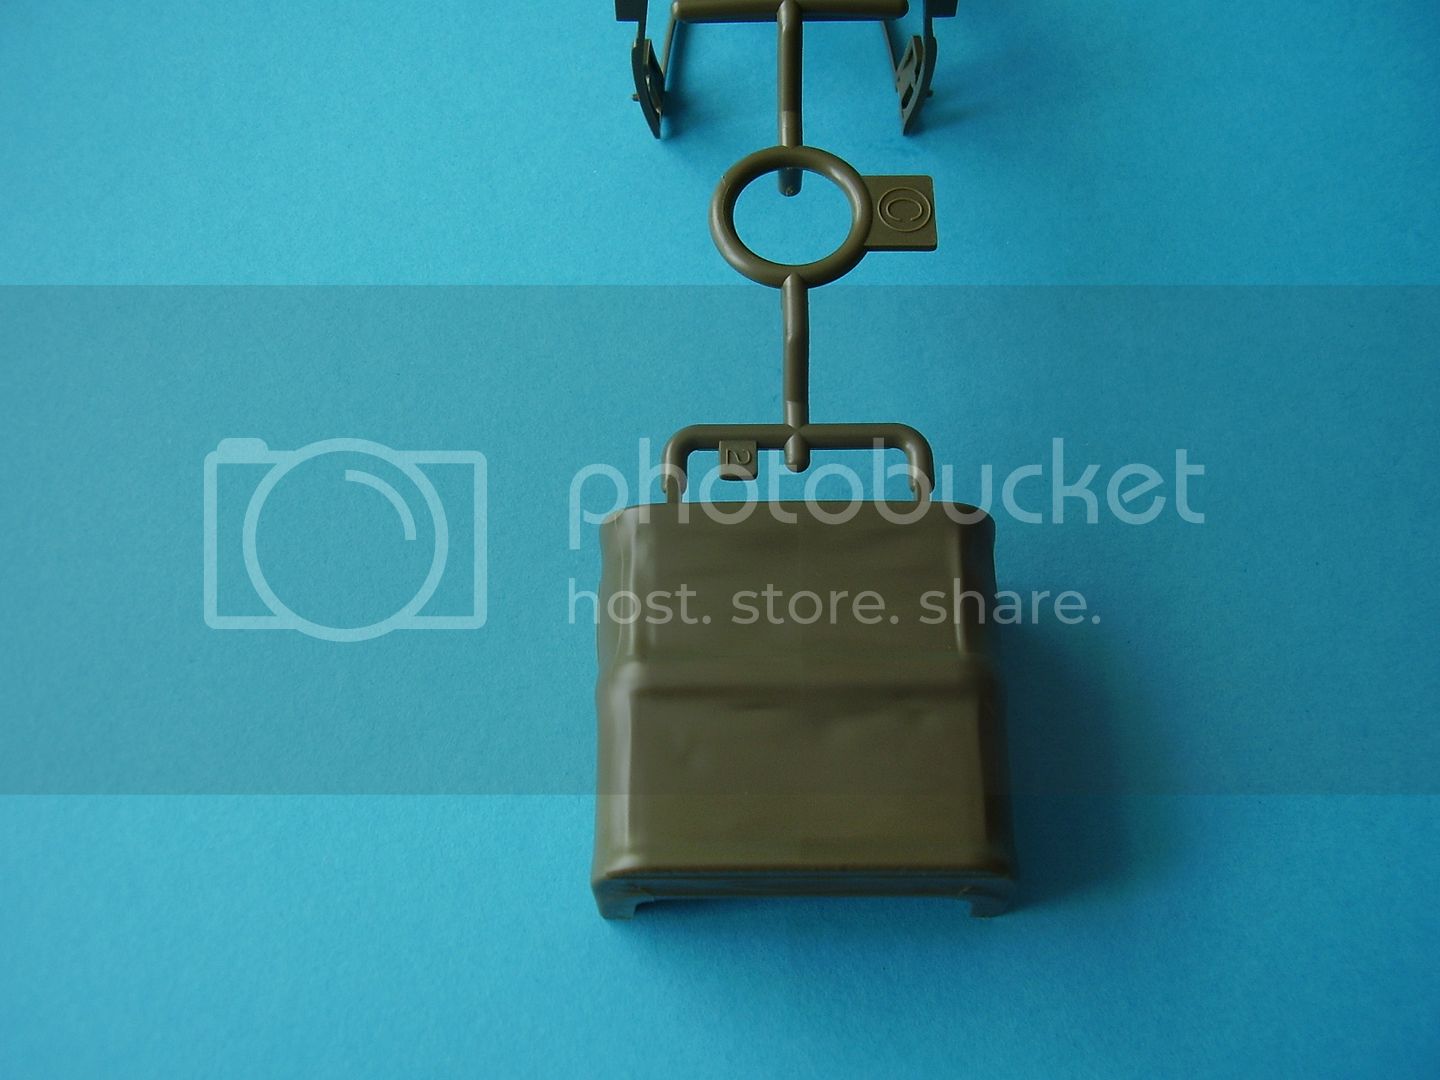
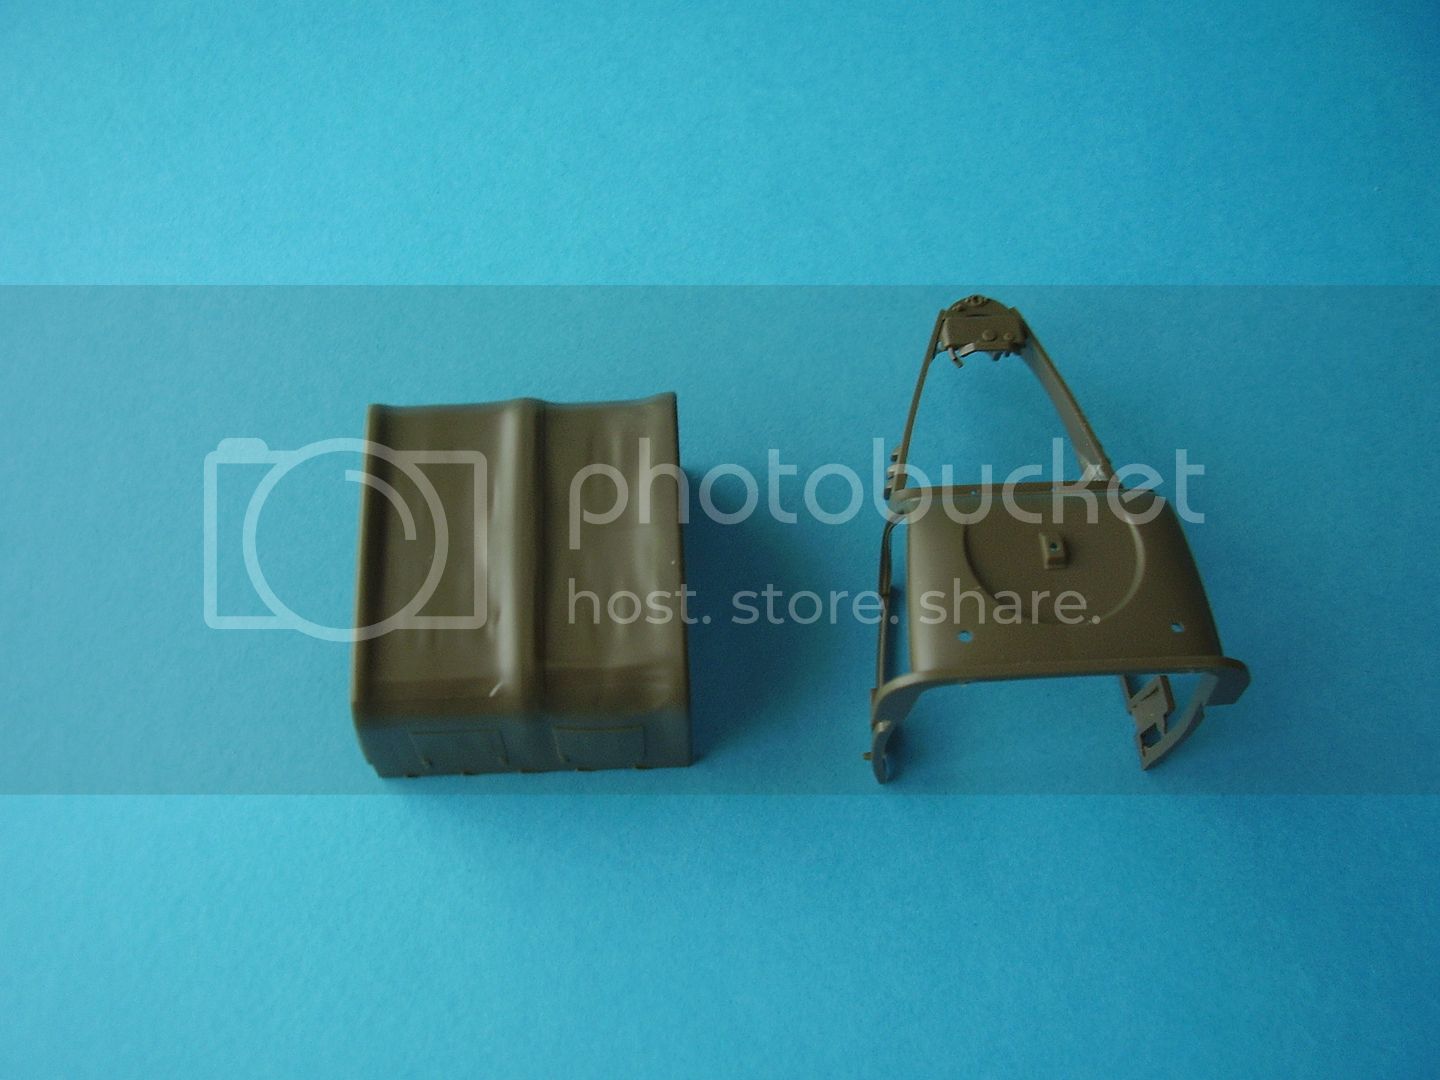
Alan, looking forward to see one of those coming together. It sure will be easier then the Accurate Armor kit... the tarp looks a bit featureless though, will you replace it?
Cheers!
Stefan
Too many models - too little time...
Alberta, Canada
Joined: July 23, 2010
KitMaker: 786 posts
Armorama: 753 posts
Posted: Saturday, October 02, 2010 - 09:23 AM UTC
fun fact: it appears Tamiya has saved on licensing fees by omitting the word "Tilly" on this kit even though it is a Tilly and reviews refer to it as a Tilly. I understand Tamiya's Opel Truck in 1/48 also drops the word "Opel" on the kit to avoid royalties to Opel.
the opposite of courage in our society is not cowardice, it is conformity.
England - East Anglia, United Kingdom
Joined: August 12, 2005
KitMaker: 14,499 posts
Armorama: 11,675 posts
Posted: Saturday, October 02, 2010 - 09:38 AM UTC
Hi Stefan,
Not sure ye, might just rough it up with some glue. I build the AA version, I though it was a great little kit. It was my first all resin build and went together really well. I still have the trap form that one, but I thought it was too thick looking, although the texture was good.
I've been looking forward to this one, agreed it should be much easier to build.
Hi Bruce,
Sensible move I'd say.
Al
'Action this Day'
Winston Spencer Churchill
England - North, United Kingdom
Joined: January 11, 2010
KitMaker: 73 posts
Armorama: 71 posts
Posted: Saturday, October 02, 2010 - 01:36 PM UTC
Hi Alan
They're doing a Tilly competition over on Tracklink why don't you post this there too. Runs 1st October to 31st Jan
Its being judged by those nice chaps from the Tilly Register.
Martyn
England - East Anglia, United Kingdom
Joined: August 12, 2005
KitMaker: 14,499 posts
Armorama: 11,675 posts
Posted: Sunday, October 03, 2010 - 12:00 AM UTC
Hi Martin,
Thanks for the info, I'm not really a competition person, it would take the enjoyment away for me, add more pressure


I think I entered DOM twice here , didn't enjoy the experience and didn't gain anything from it.
Al
'Action this Day'
Winston Spencer Churchill
Dublin, Ireland
Joined: November 27, 2004
KitMaker: 6,048 posts
Armorama: 4,619 posts
Posted: Sunday, October 03, 2010 - 09:09 AM UTC
Watching with interest Al. Will you go for the colour scheme recommended in the instructions or something different?
Pat
work to become not to acquire
England - East Anglia, United Kingdom
Joined: August 12, 2005
KitMaker: 14,499 posts
Armorama: 11,675 posts
Posted: Monday, October 04, 2010 - 03:52 AM UTC
Hi Pat,
I haven't got to the instructions yet lol, lol, but I will probably go for a brown base with a suitable disruptor similar in colour to my Valentine.
Al
'Action this Day'
Winston Spencer Churchill
England - East Anglia, United Kingdom
Joined: August 12, 2005
KitMaker: 14,499 posts
Armorama: 11,675 posts
Posted: Wednesday, October 27, 2010 - 05:23 AM UTC
Hi folks,
Well having gotten side tracked by walkabouts, reviews, the excitement of the Italeri Vosper MTB announcment, work, LRDG figs and a slight dirve in to the deep blue sea with this;
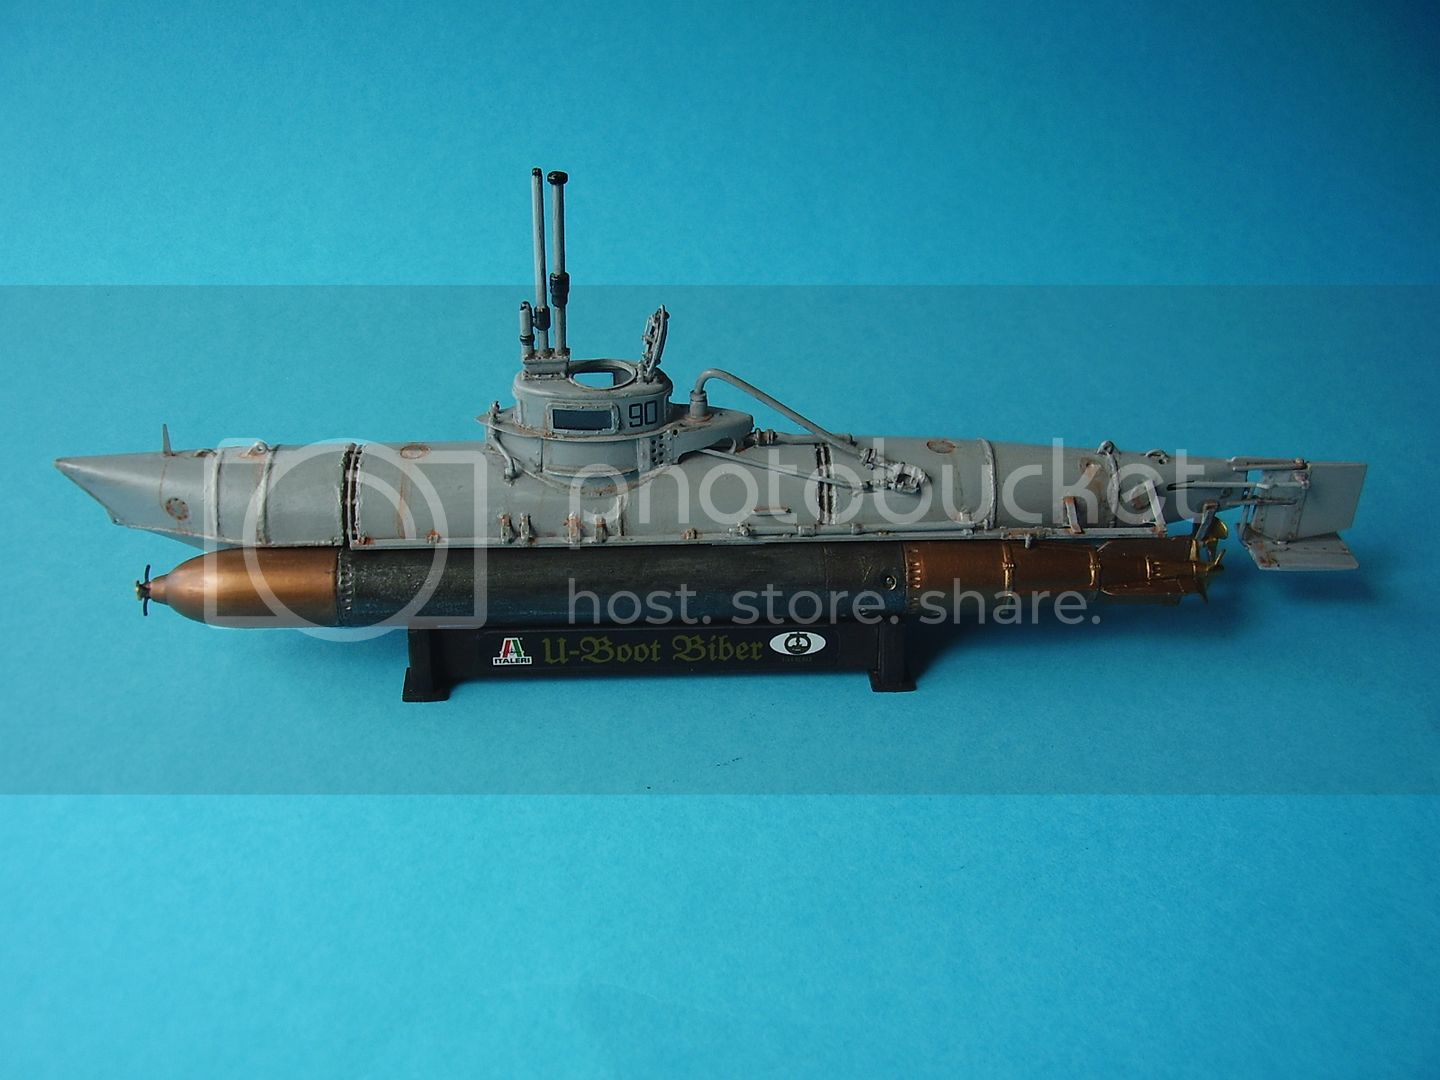
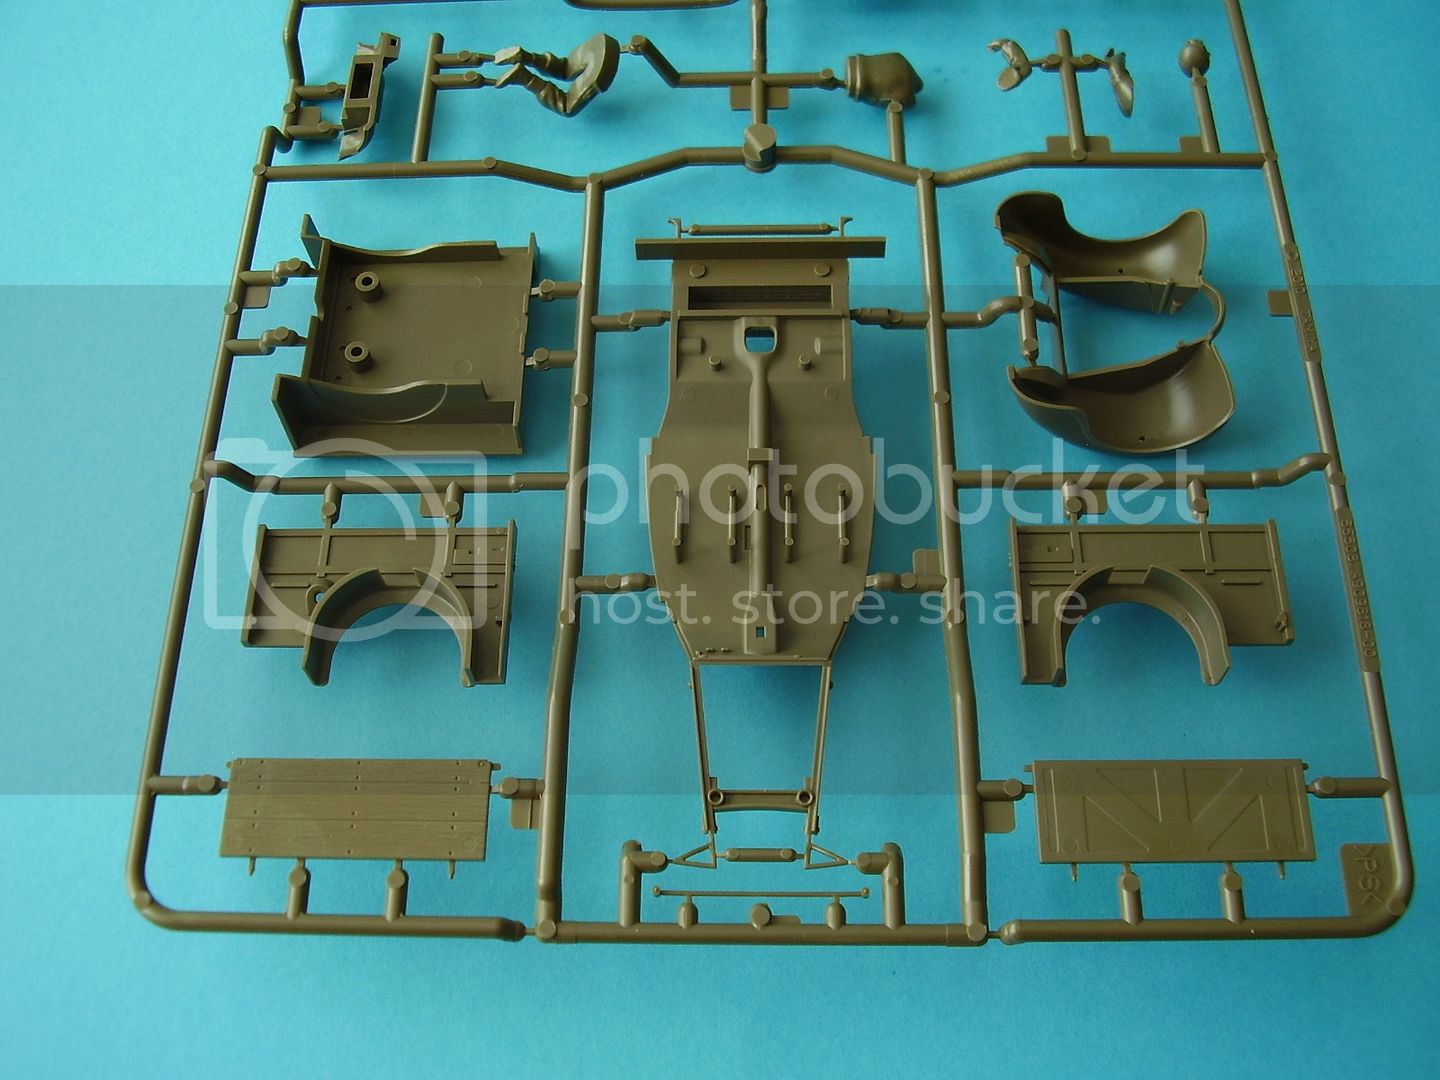
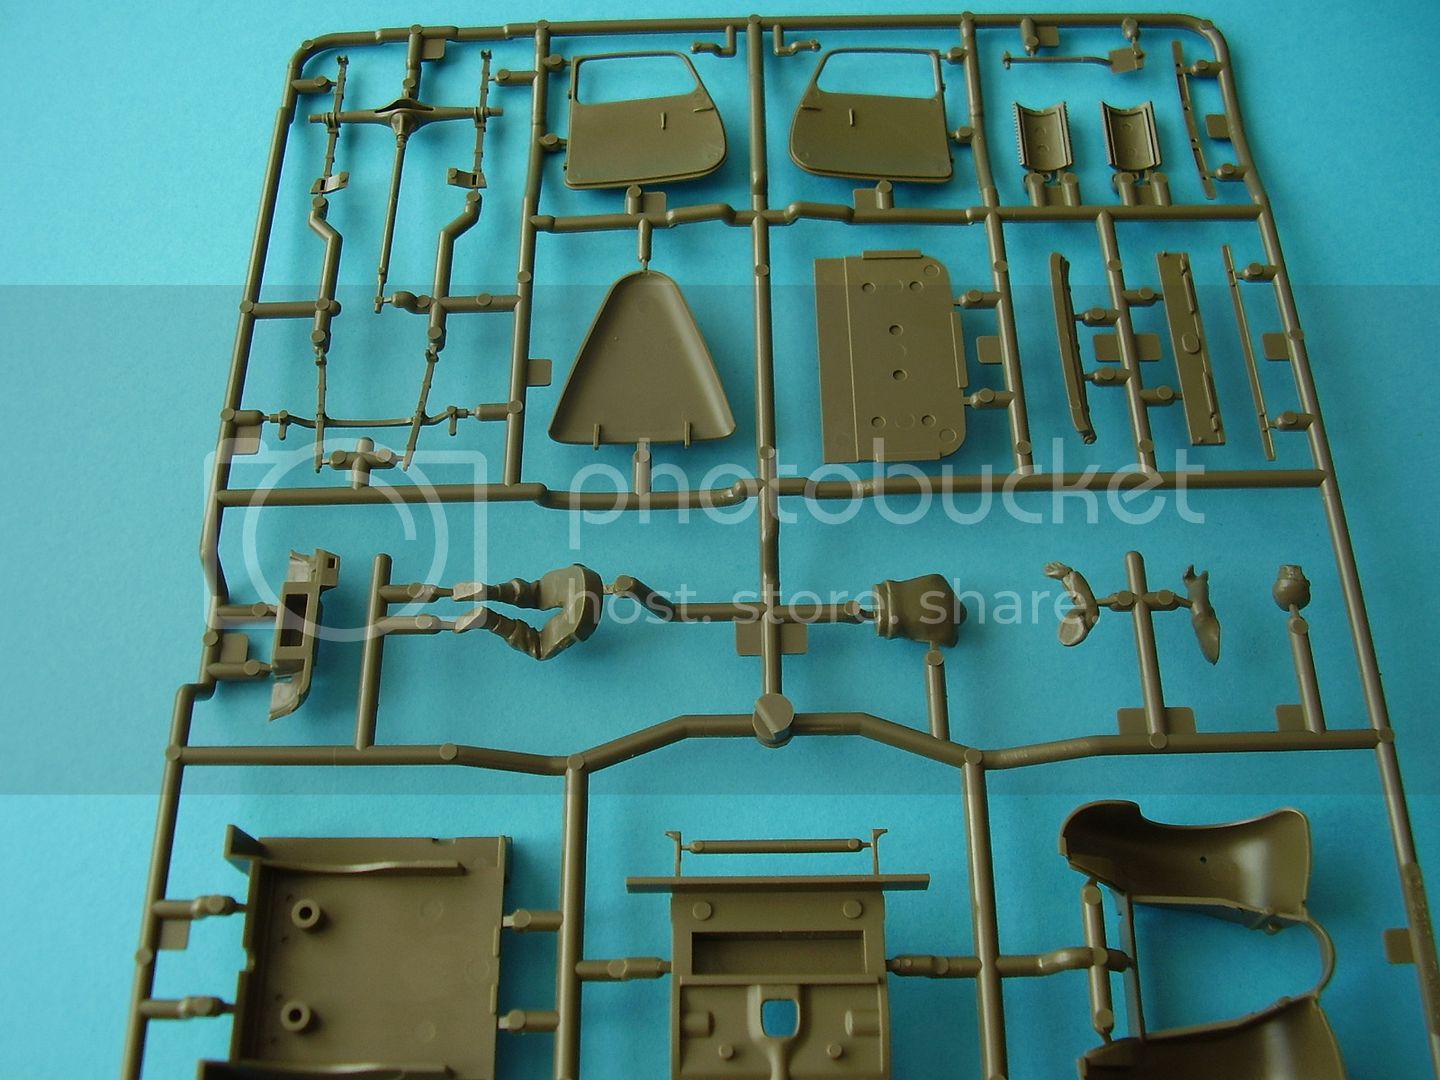
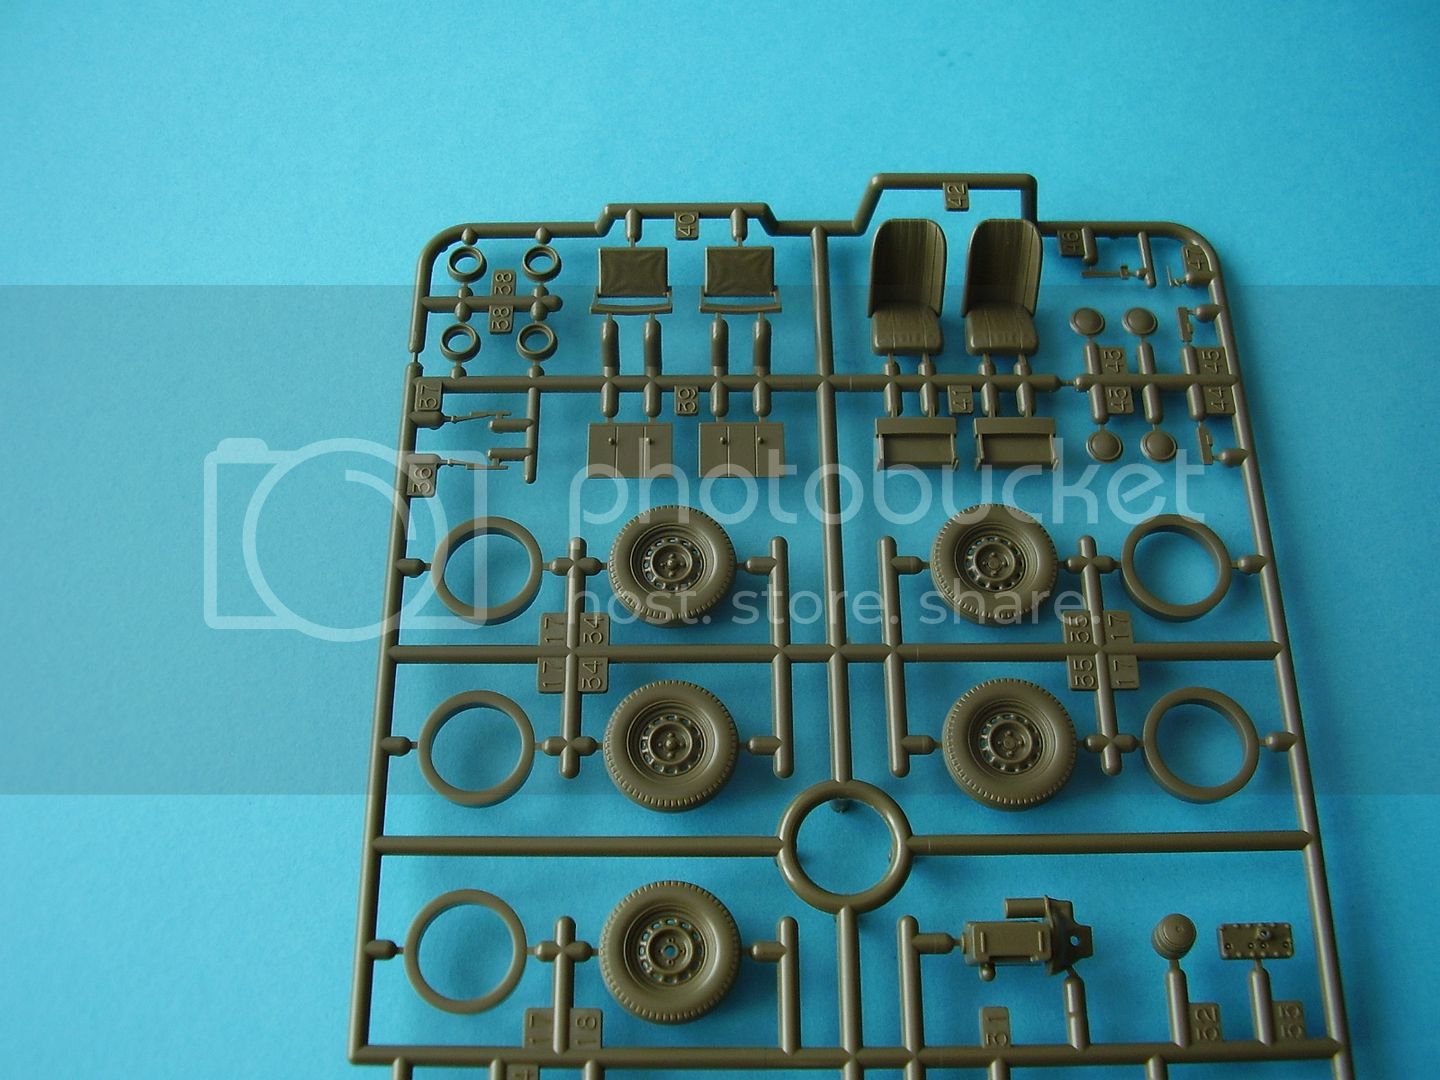
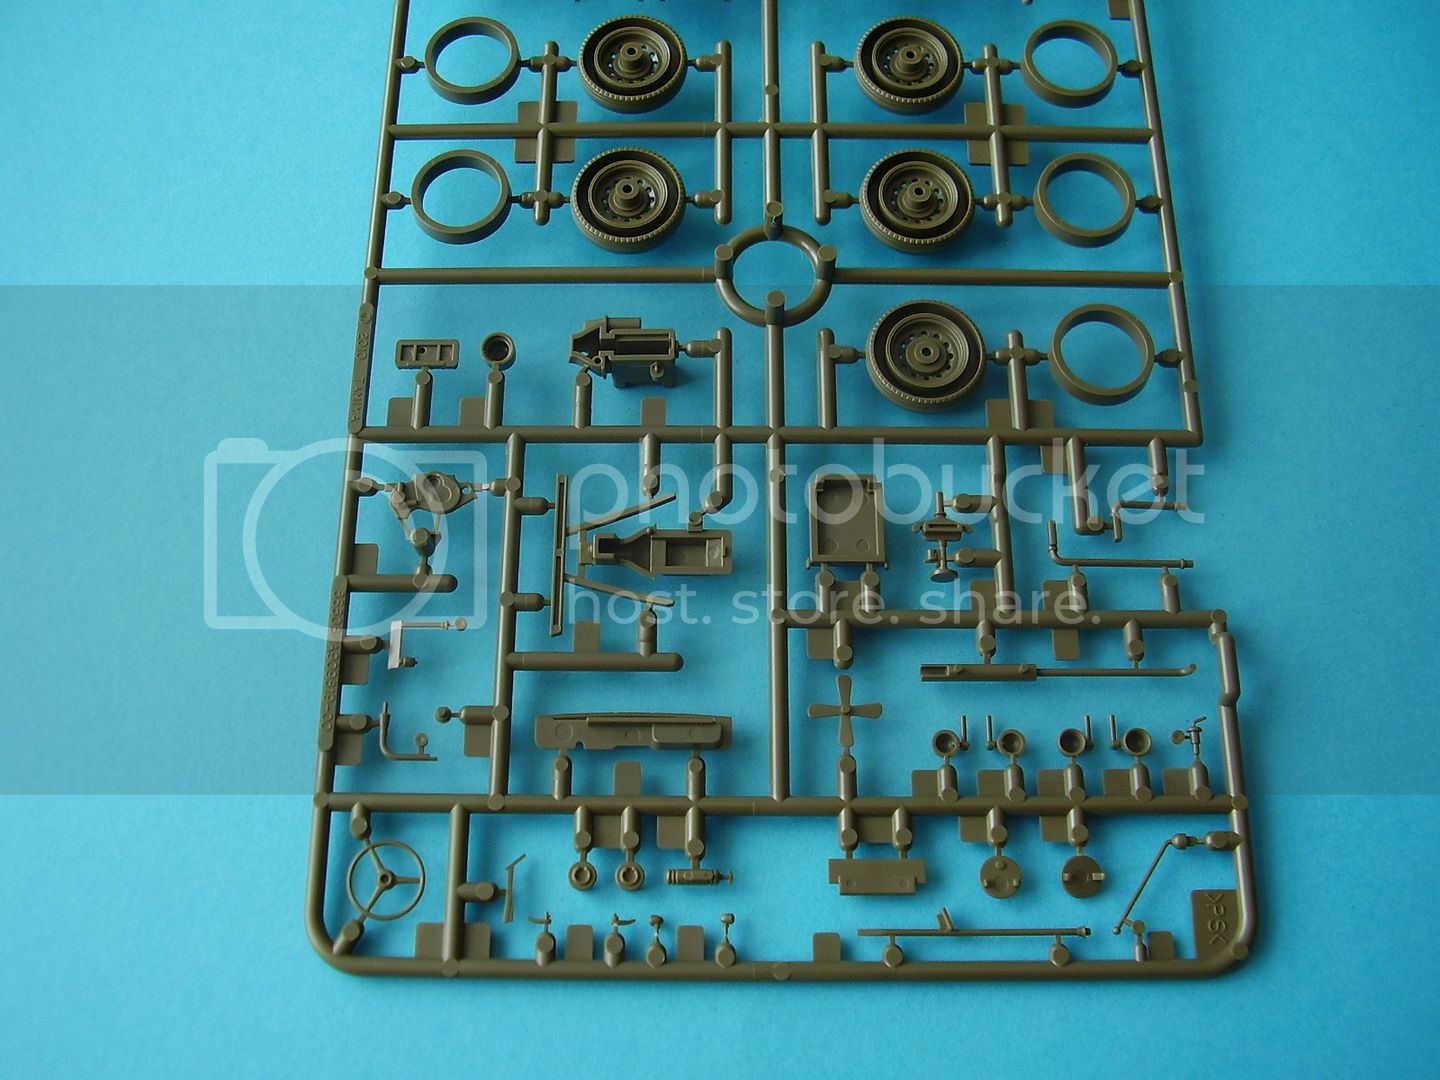
I'm finally getting back to the Tilly. I confess to buying several of these little vehicles as there is a lot of choice in finish but the first one will be pretty much OOB.
Here's a picture of another Tilly I snapped when down at Duxford:
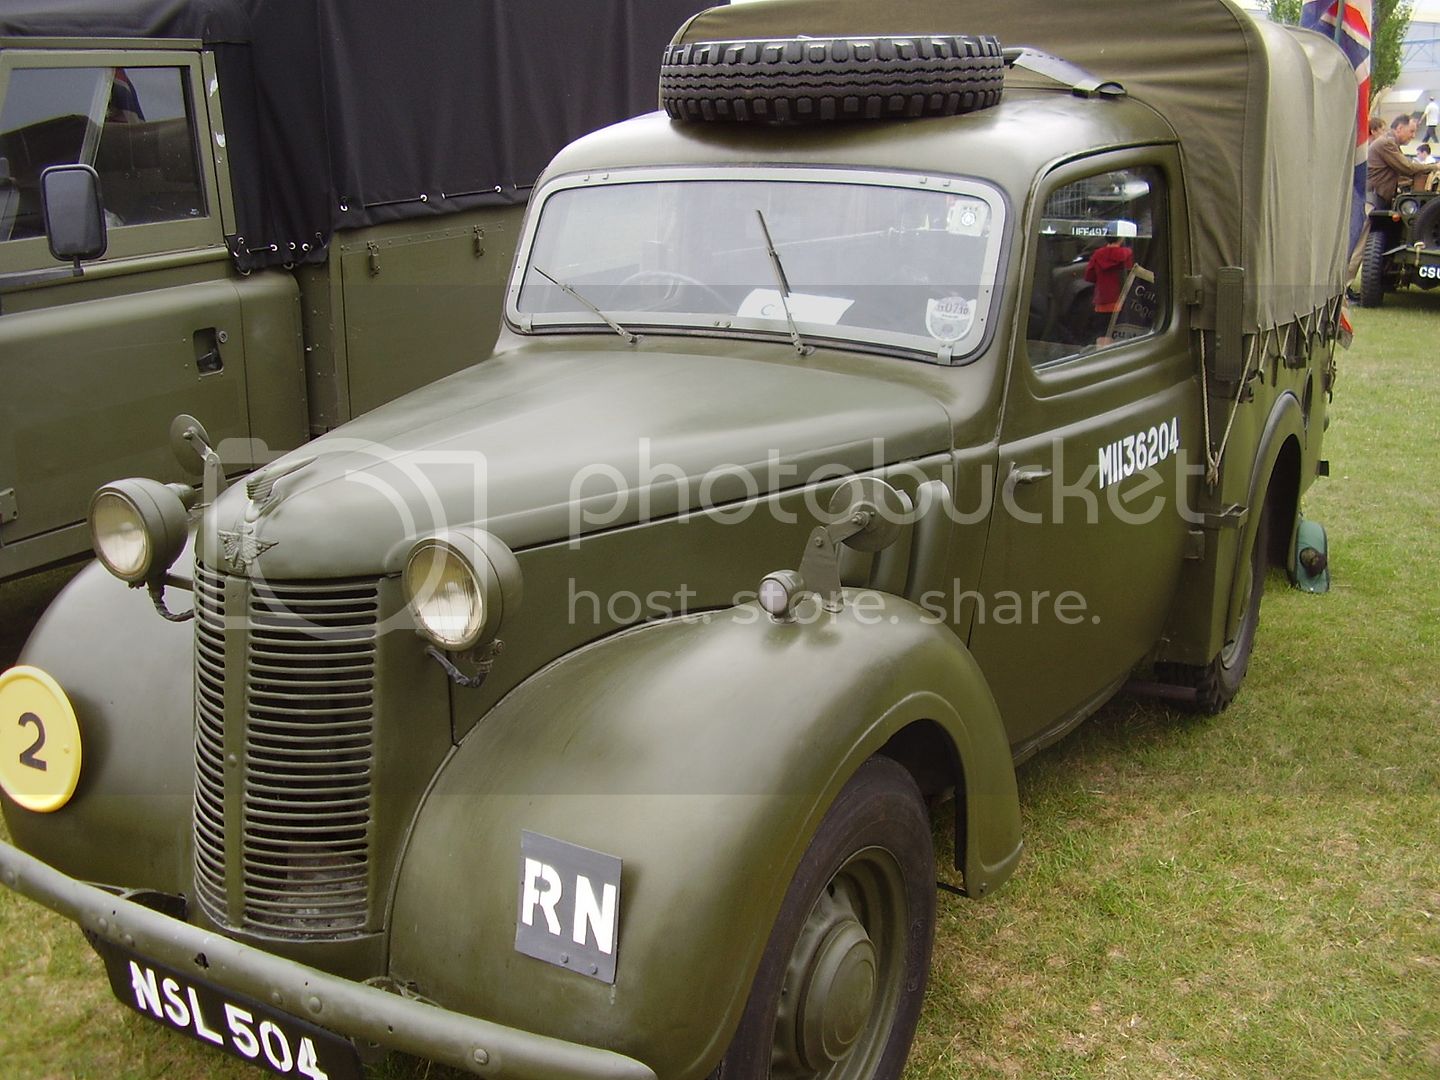
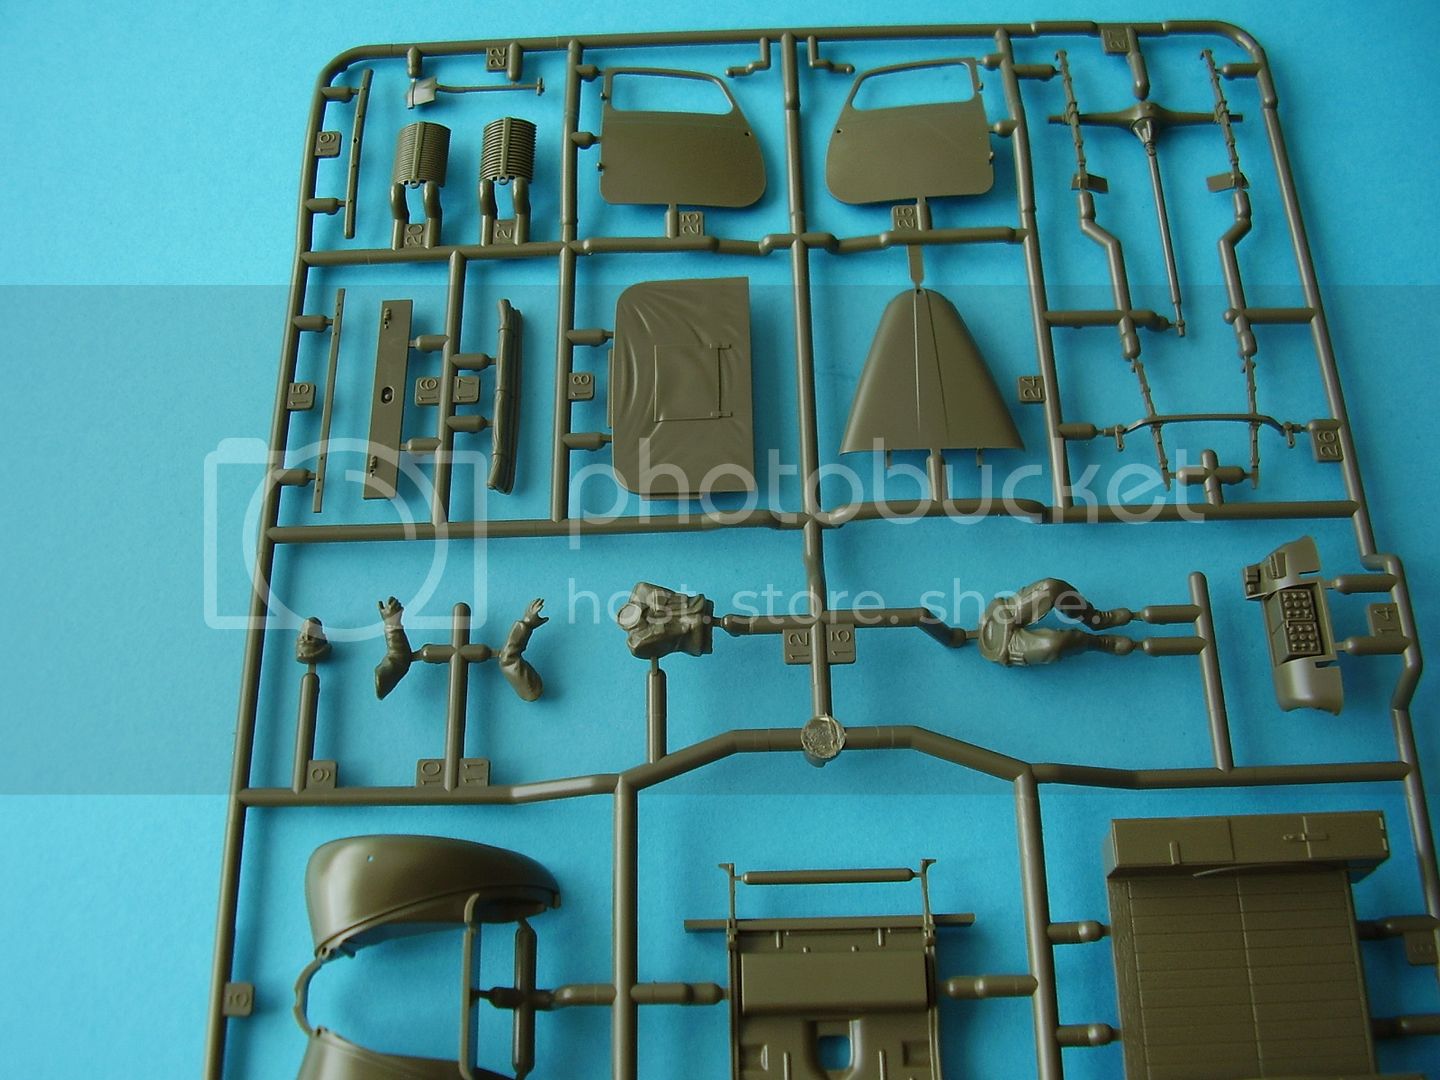
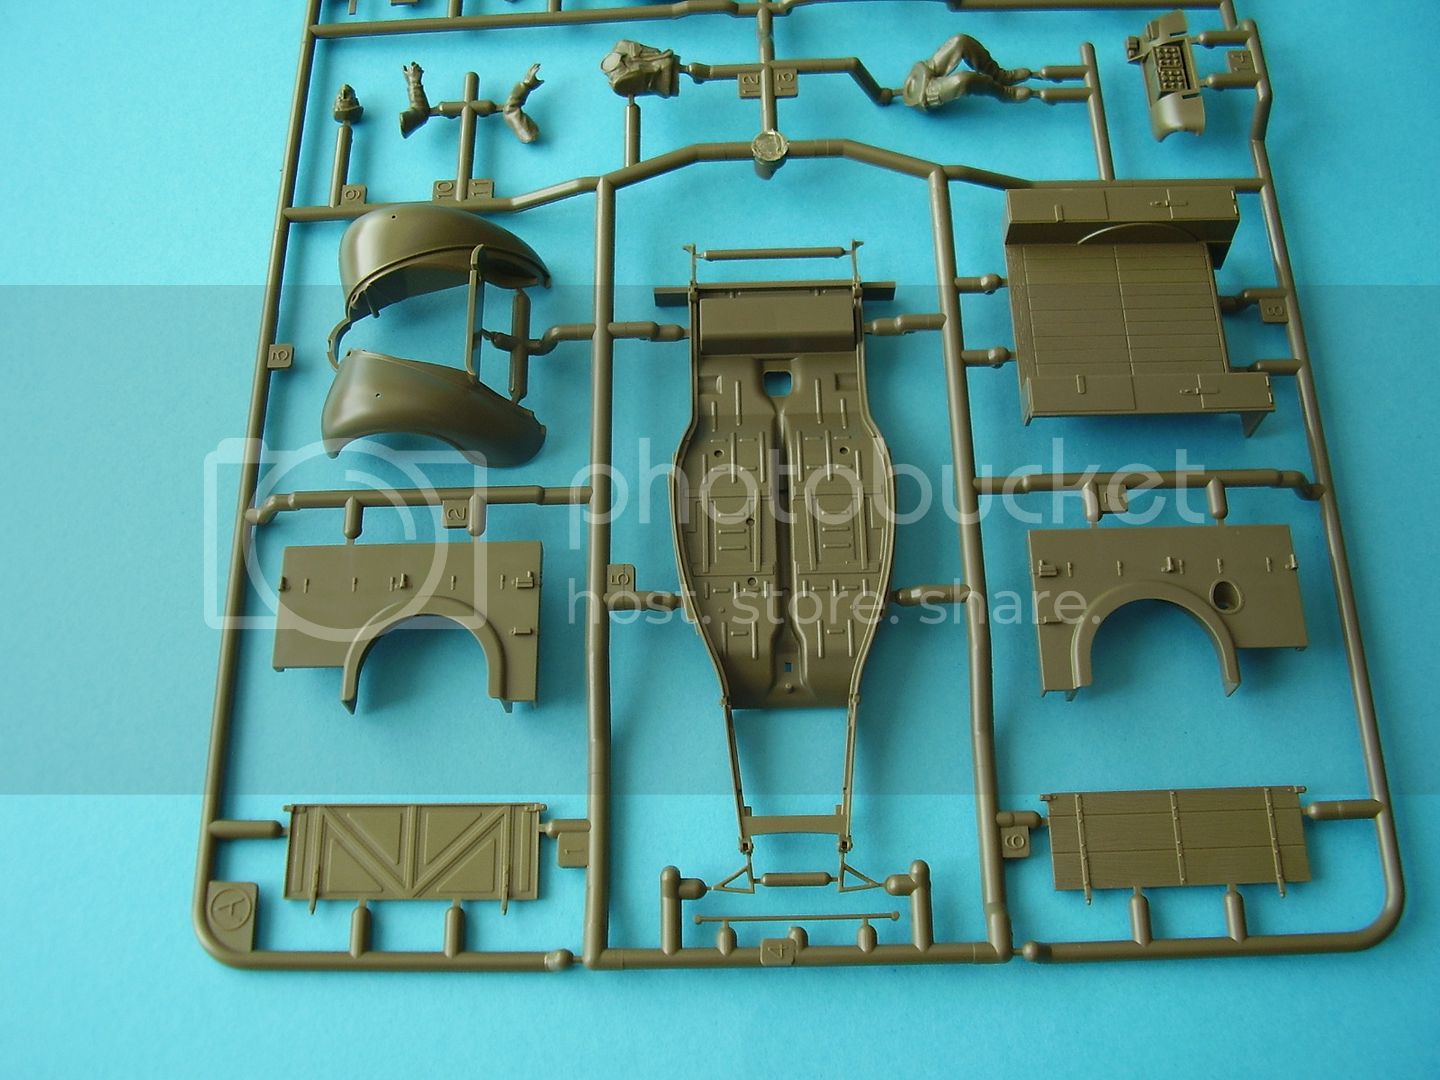
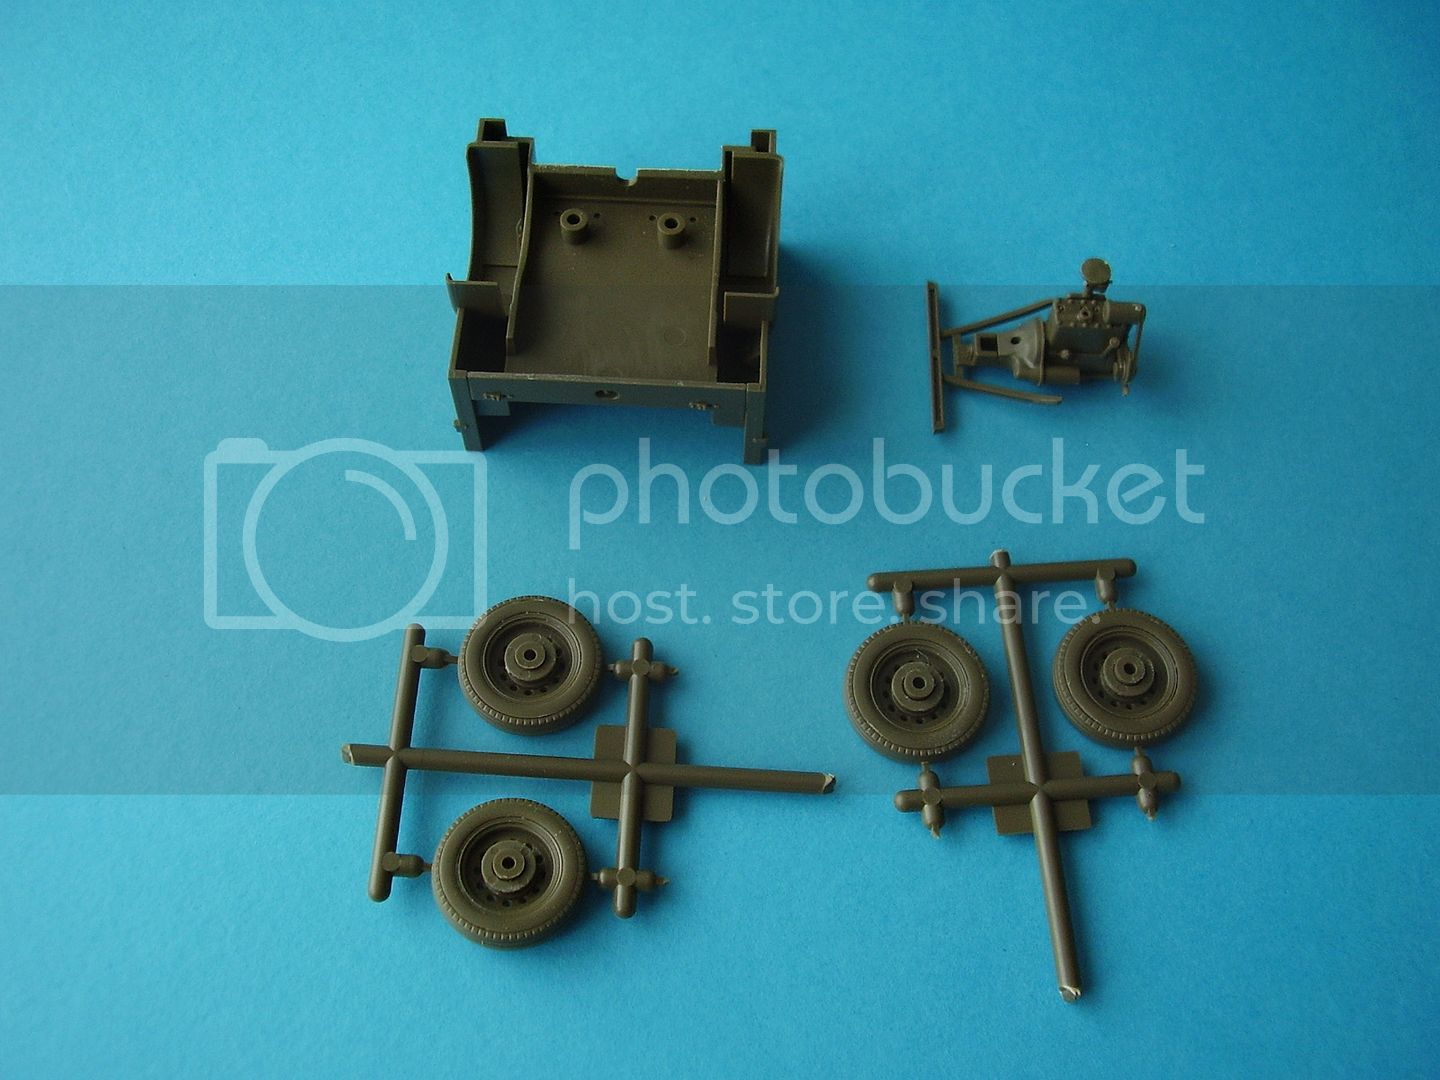
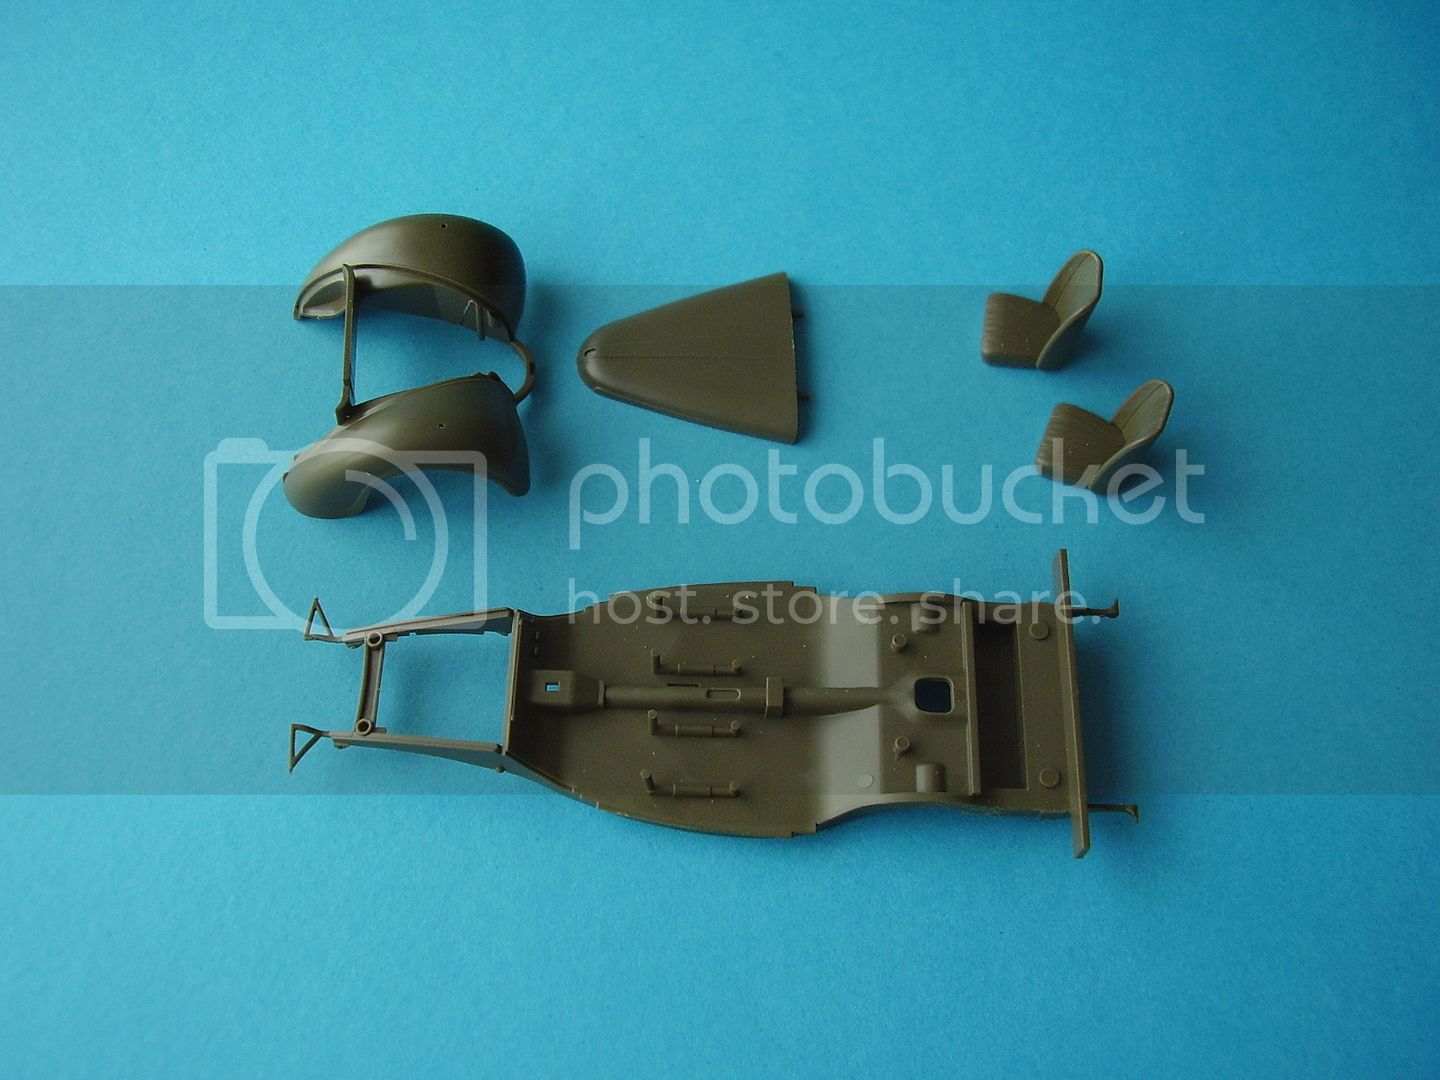
Anyway the parts are washed and I'm about readyy to get started this evening.
Al
'Action this Day'
Winston Spencer Churchill
United States
Joined: July 04, 2009
KitMaker: 241 posts
Armorama: 199 posts
Posted: Wednesday, October 27, 2010 - 05:49 AM UTC
Hi Alan, Good to see you did not drown

Nice looking sub! Looking foward to your build.
Randy
England - East Anglia, United Kingdom
Joined: August 12, 2005
KitMaker: 14,499 posts
Armorama: 11,675 posts
Posted: Wednesday, October 27, 2010 - 06:07 AM UTC
Hi Randy,
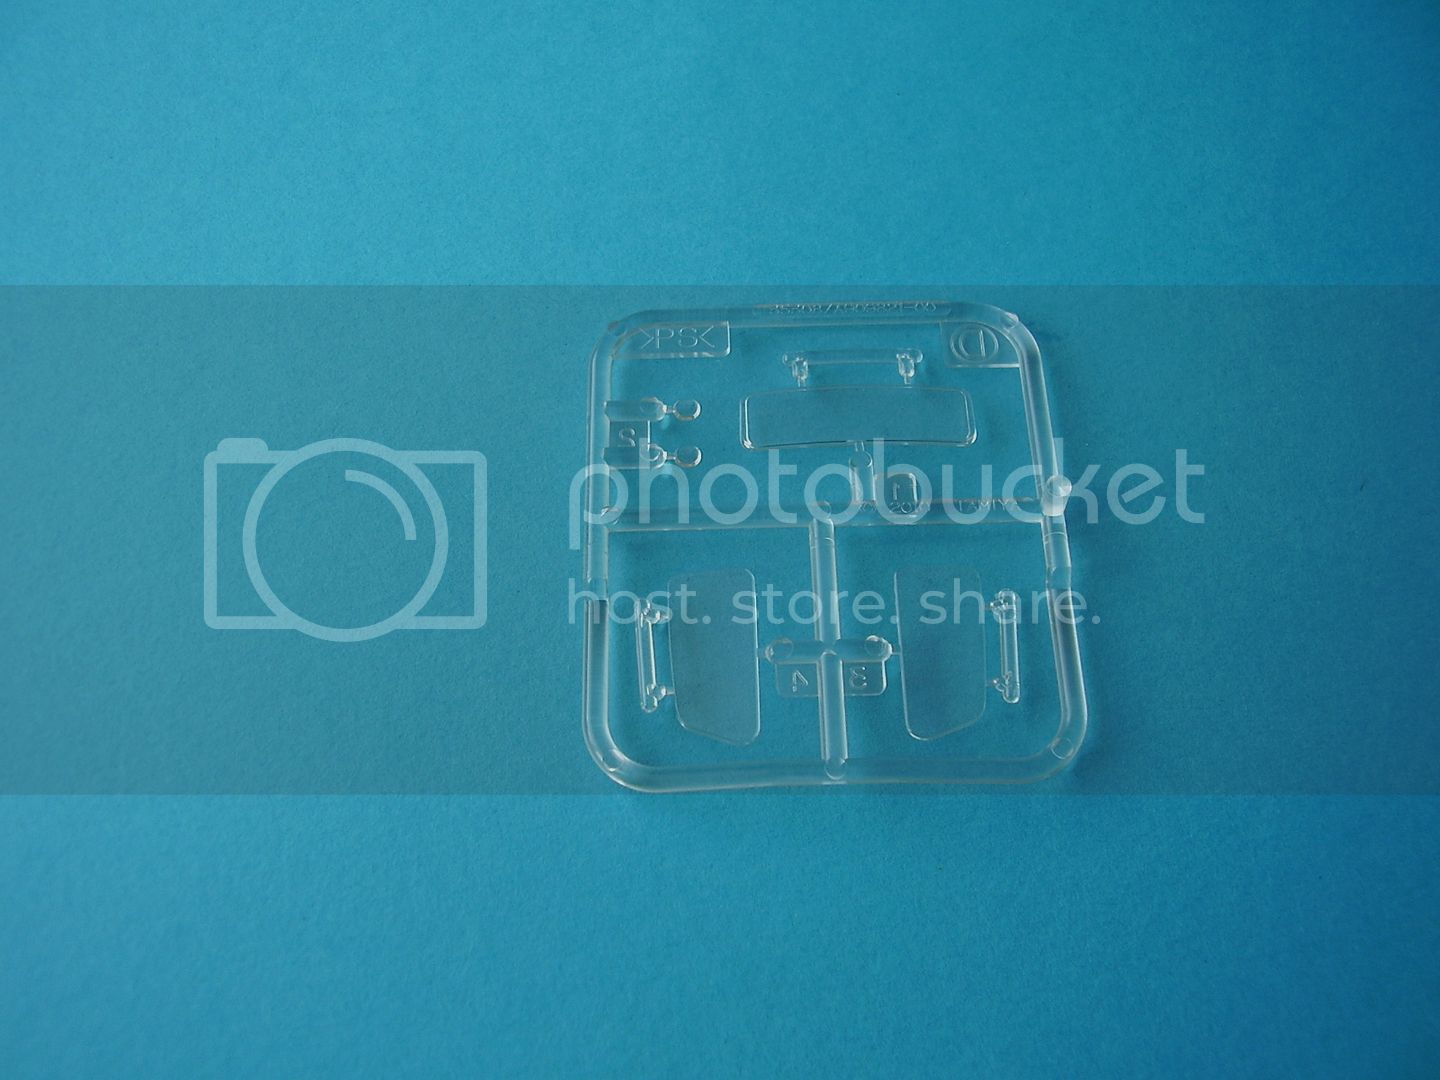
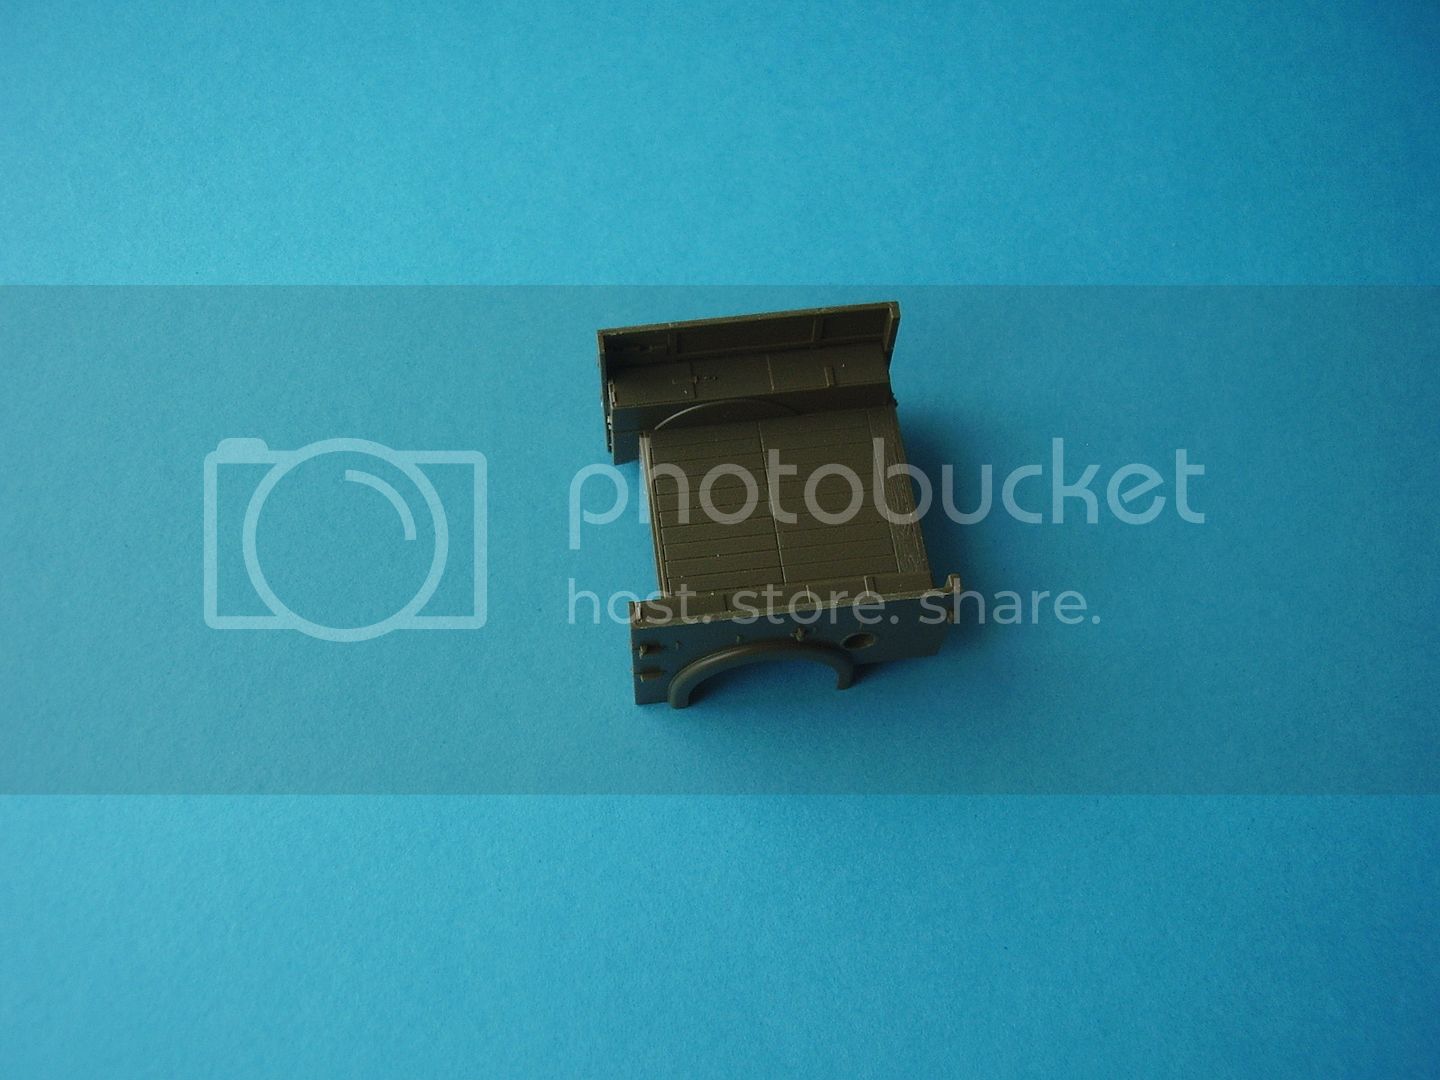
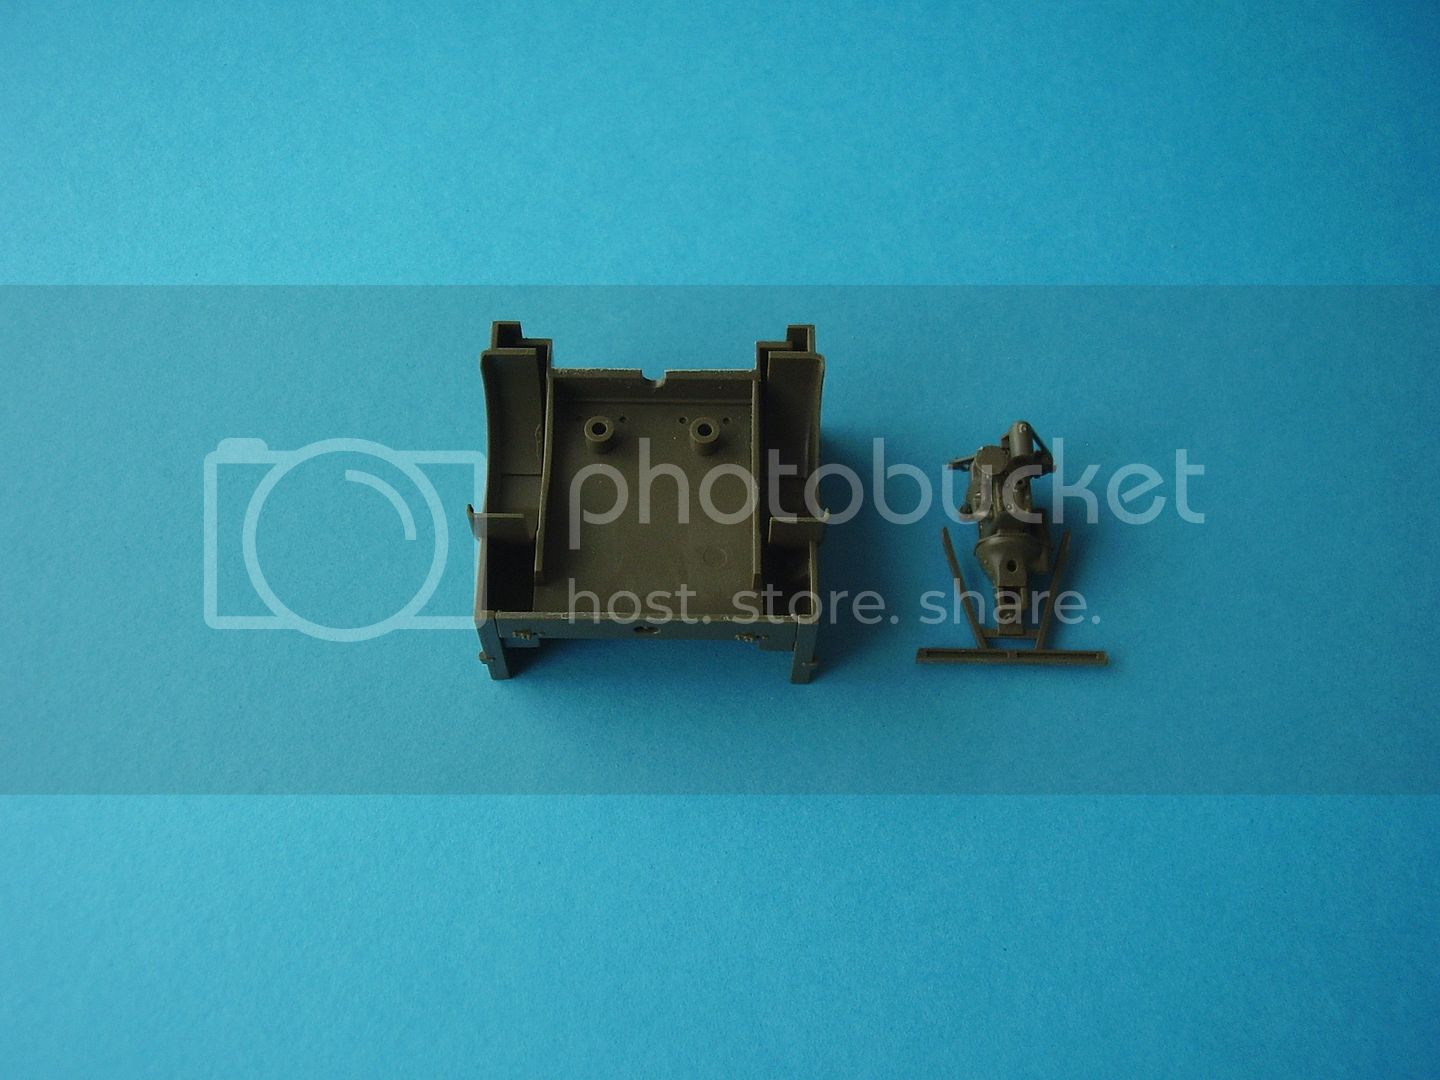
This is a really neat little kit, just fitted the cargo bed and cleaning up the parts. I think this is going to be a real joy to build. The parts just slip into place. A bit like the Universal Carrier I doubt one will be enough as there are so many finish options.
Just drying off at the moment


Al
'Action this Day'
Winston Spencer Churchill
England - East Anglia, United Kingdom
Joined: August 12, 2005
KitMaker: 14,499 posts
Armorama: 11,675 posts
Posted: Thursday, October 28, 2010 - 04:34 AM UTC
'Action this Day'
Winston Spencer Churchill
CMOT
 Editor-in-Chief
England - South West, United Kingdom
Joined: May 14, 2006
KitMaker: 10,954 posts
Armorama: 8,571 posts
Posted: Thursday, October 28, 2010 - 04:51 AM UTC
You cannot take it away fron Tamiya they do sell for the most part the best fitting and most easily assembled kits on the market. Nice work so far Alan.
England - East Anglia, United Kingdom
Joined: August 12, 2005
KitMaker: 14,499 posts
Armorama: 11,675 posts
Posted: Friday, October 29, 2010 - 01:59 AM UTC
Quoted Text
You cannot take it away fron Tamiya they do sell for the most part the best fitting and most easily assembled kits on the market. Nice work so far Alan.
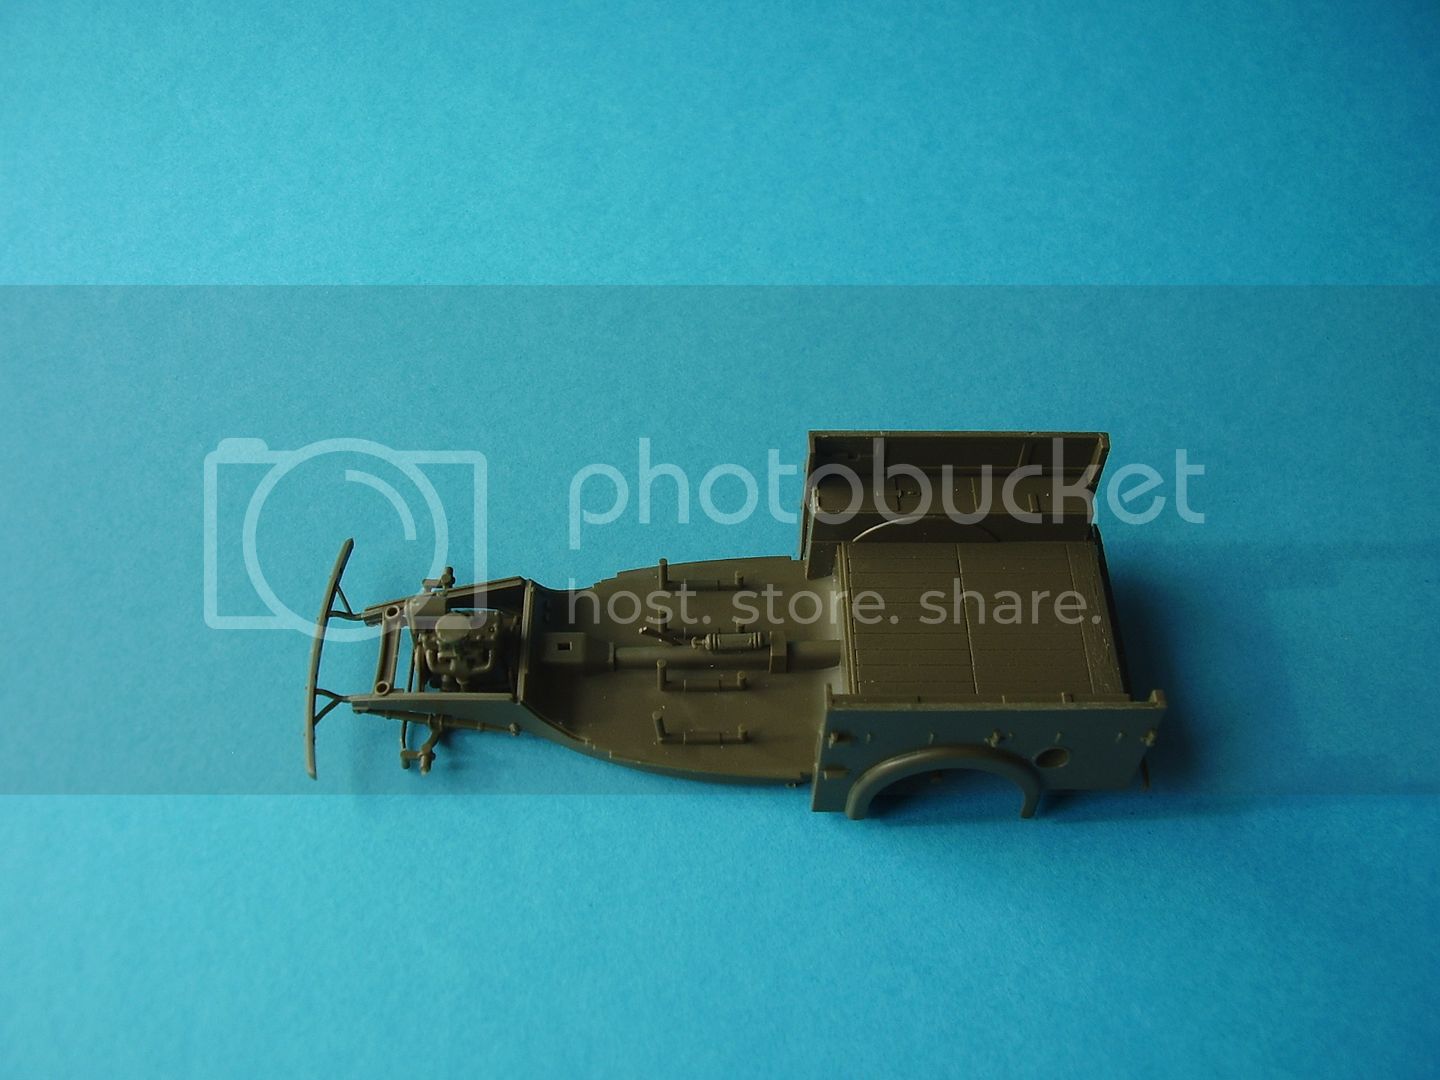
Hi Darren, very true. The parts are beautifully done. Some updates from last night. You need to be careful removing and handling the small parts, I snapped the rear bumper just by catching my thumb nail on it, but a fix is in place.
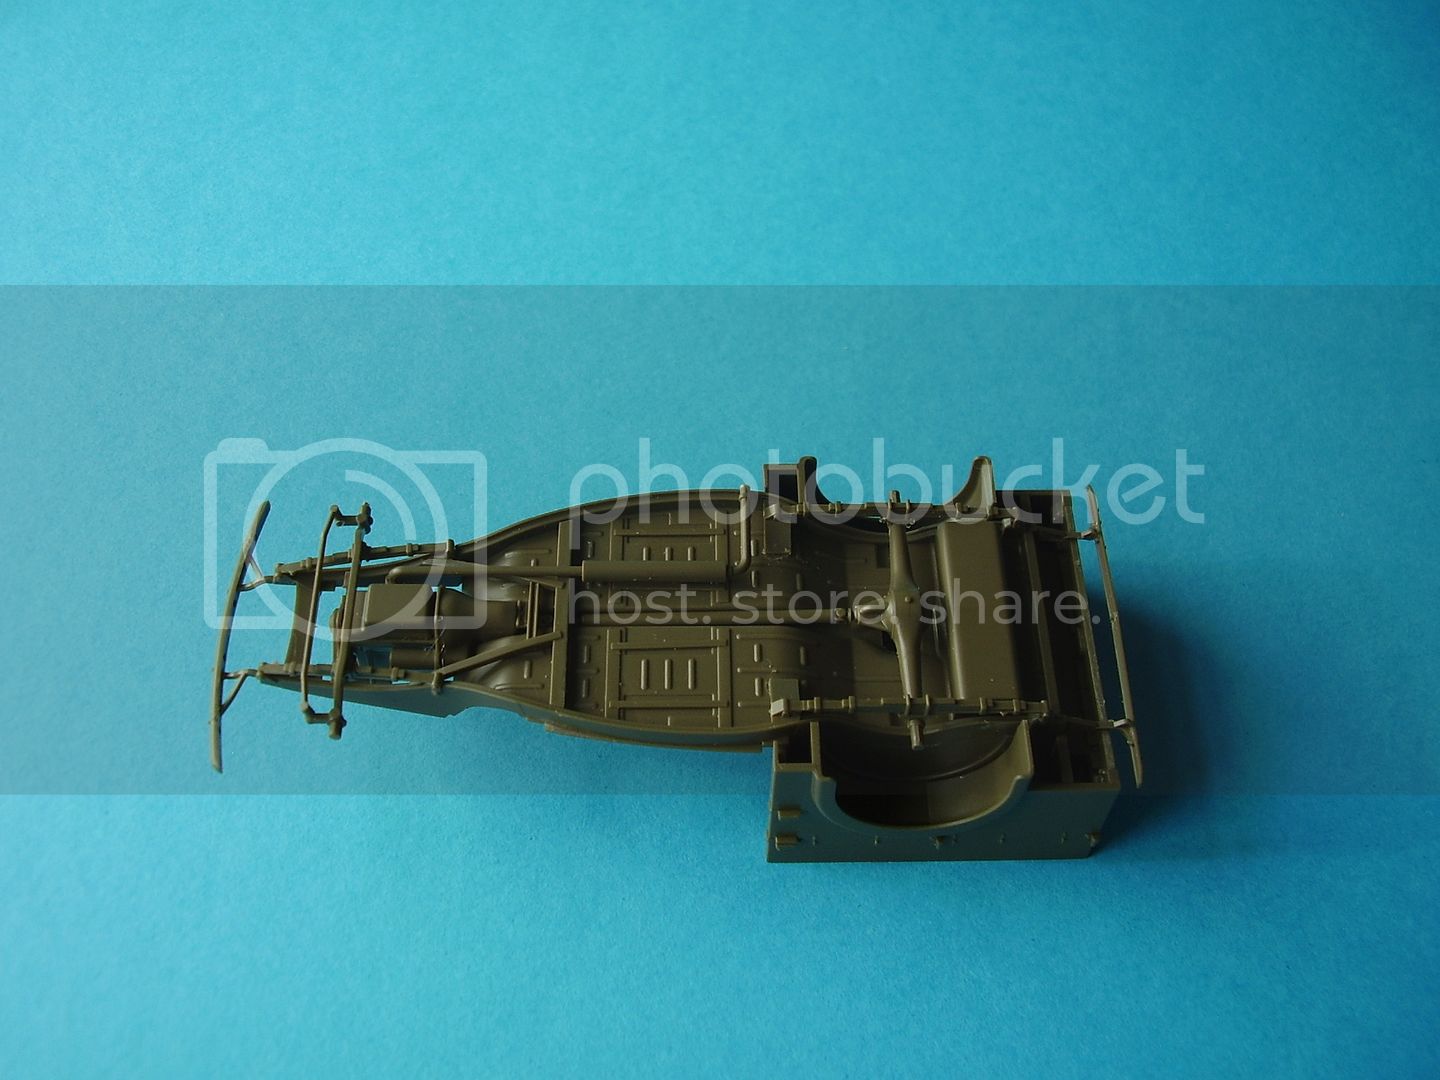
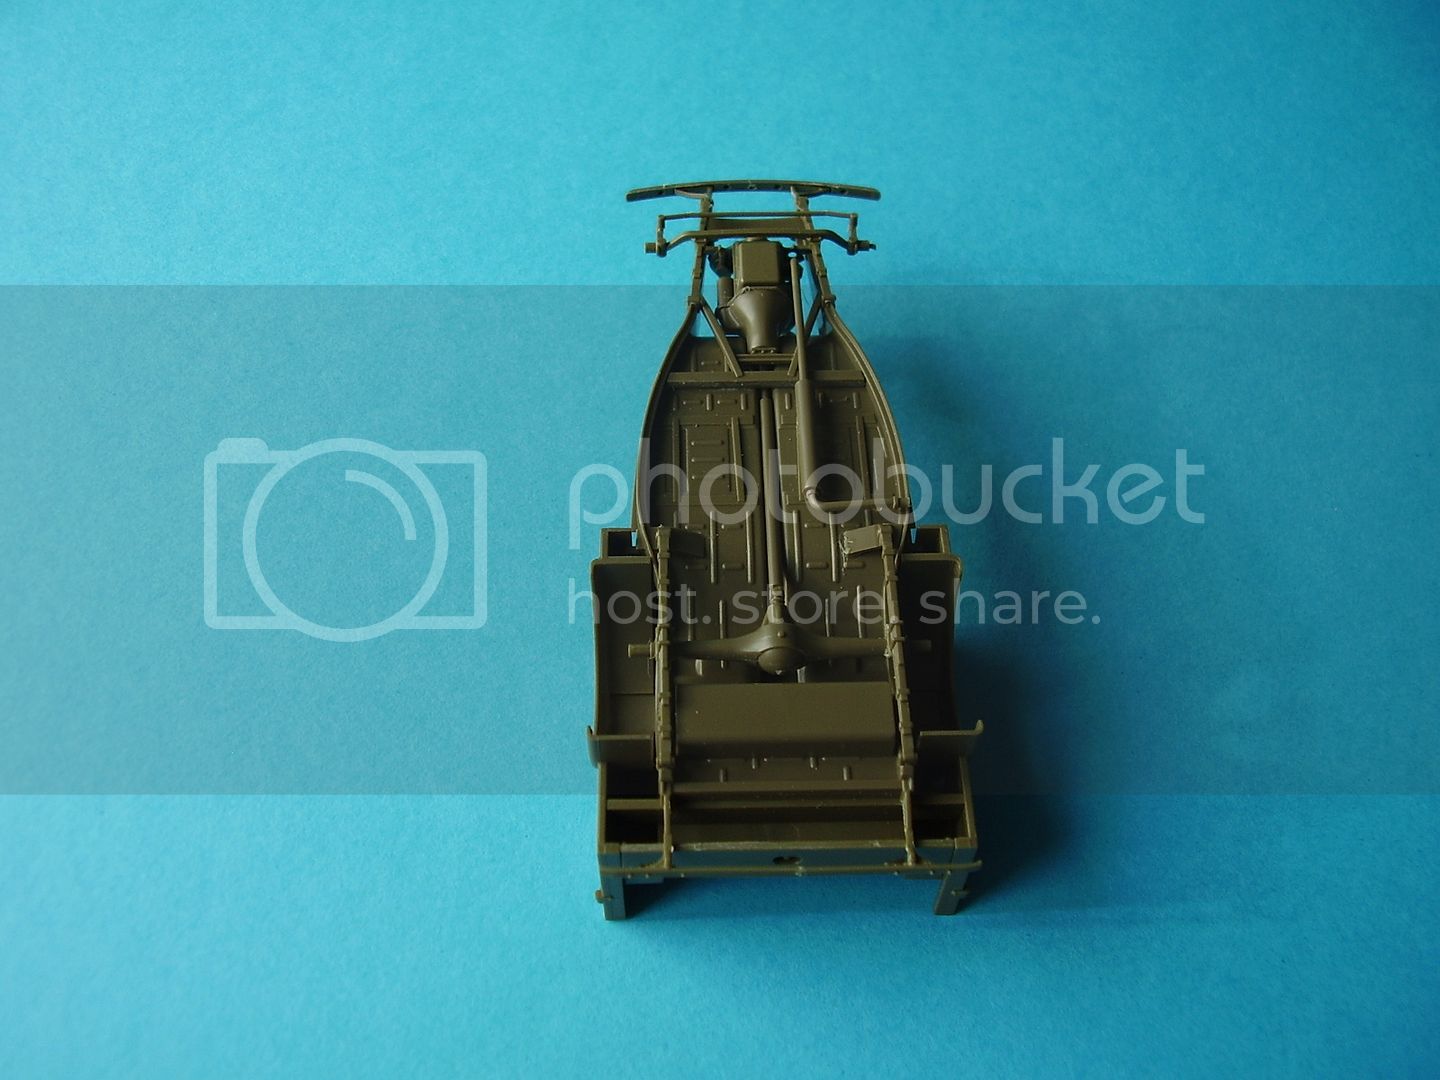
Al
'Action this Day'
Winston Spencer Churchill
England - East Anglia, United Kingdom
Joined: August 12, 2005
KitMaker: 14,499 posts
Armorama: 11,675 posts
Posted: Friday, October 29, 2010 - 09:39 PM UTC
Greetings folks,
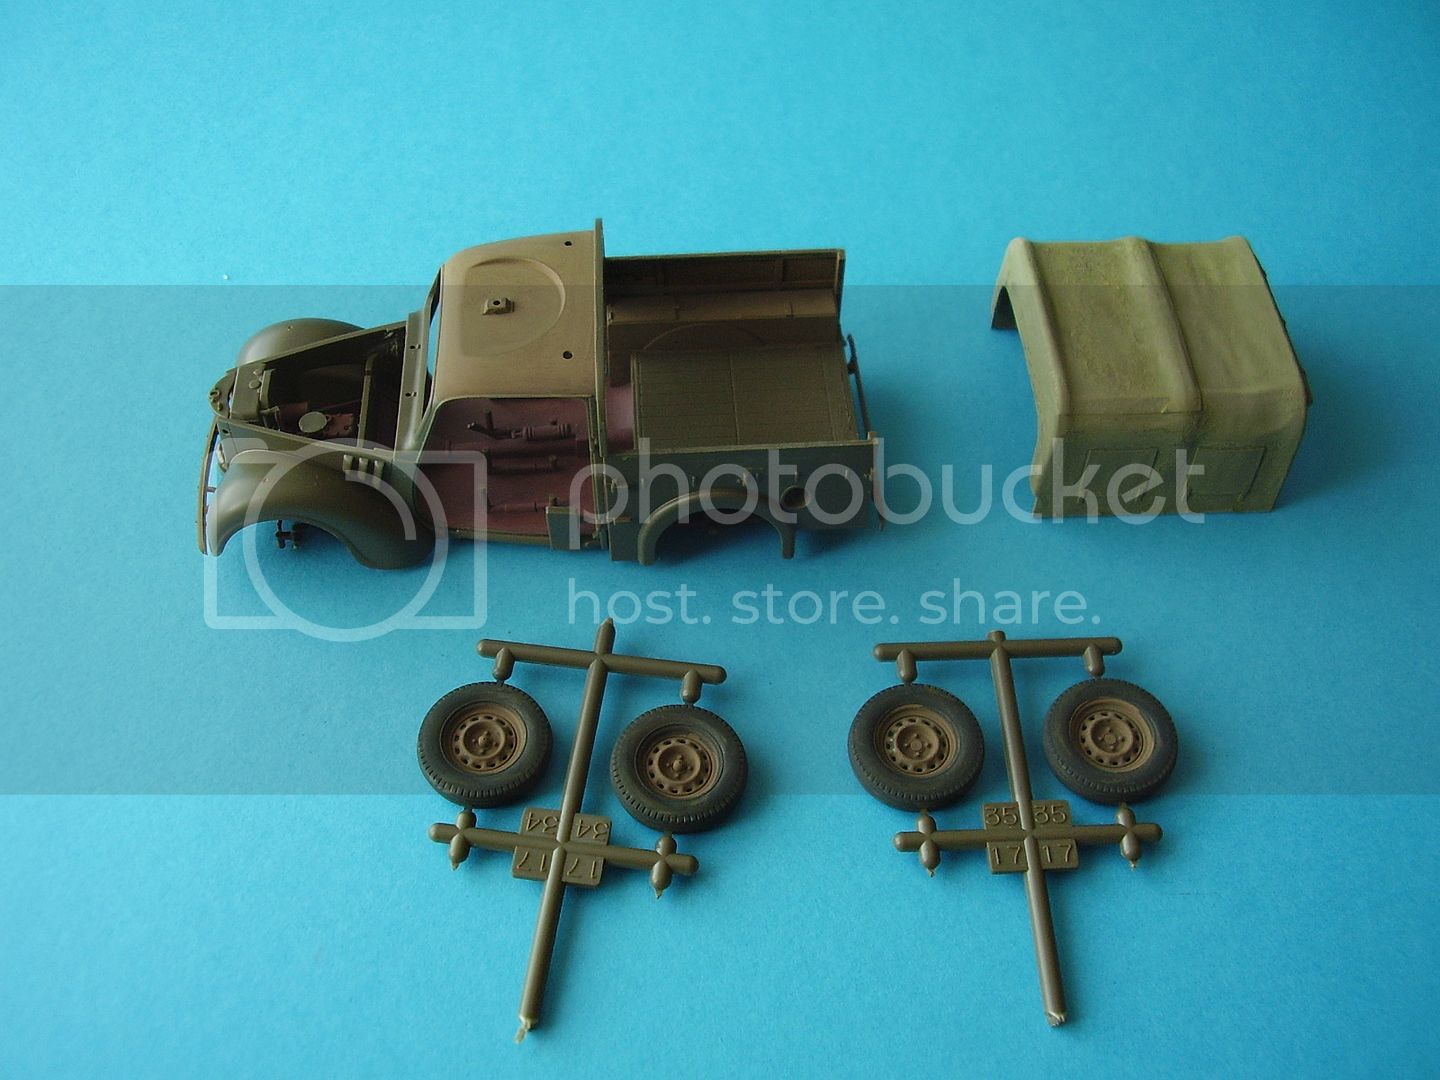
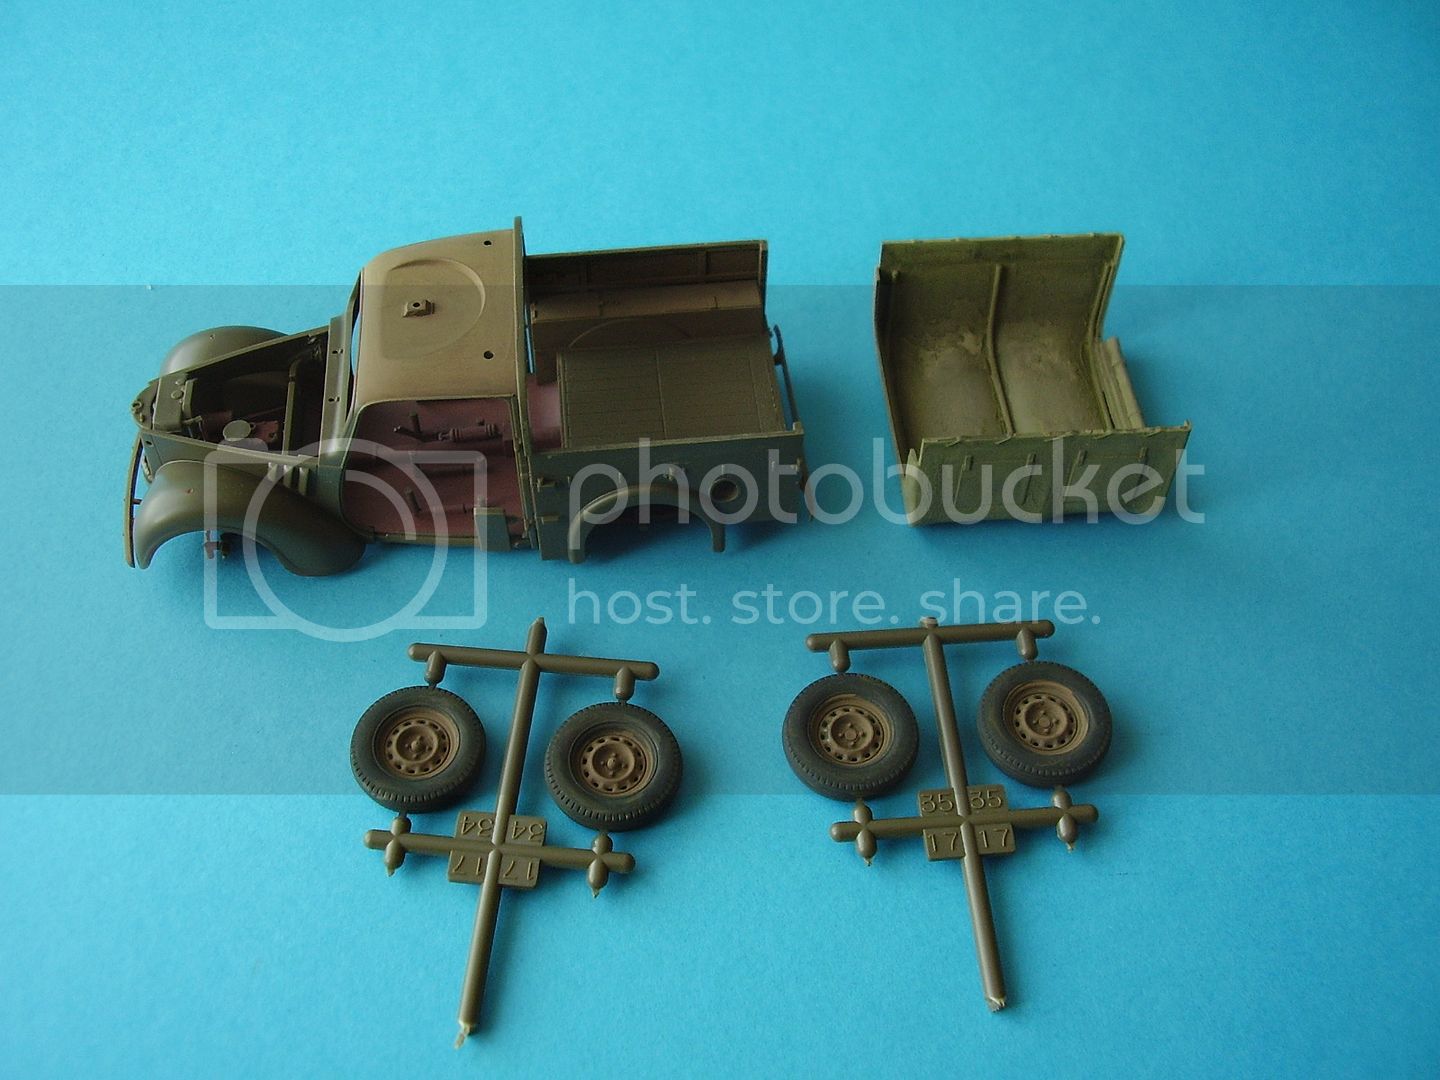
Slight correction, or builders error if you prefer. The short exhaust that exits on the left is the later style. That's what happens when your tired lol, lol.
So I'll use the metal tailgate rather than the wooden one.
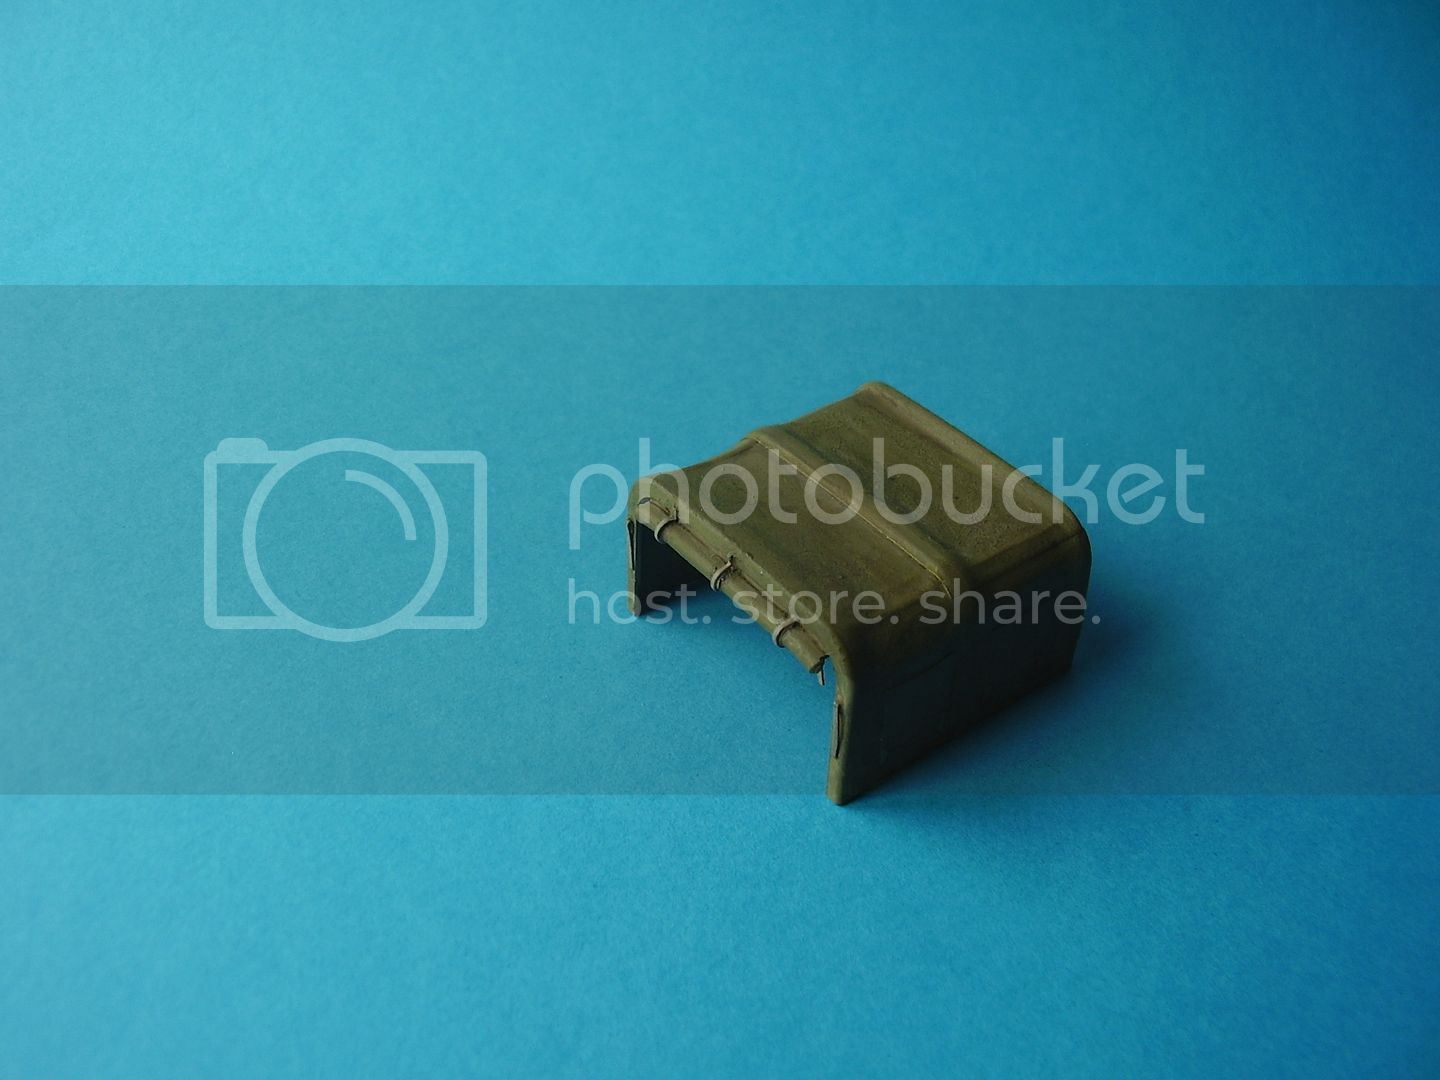
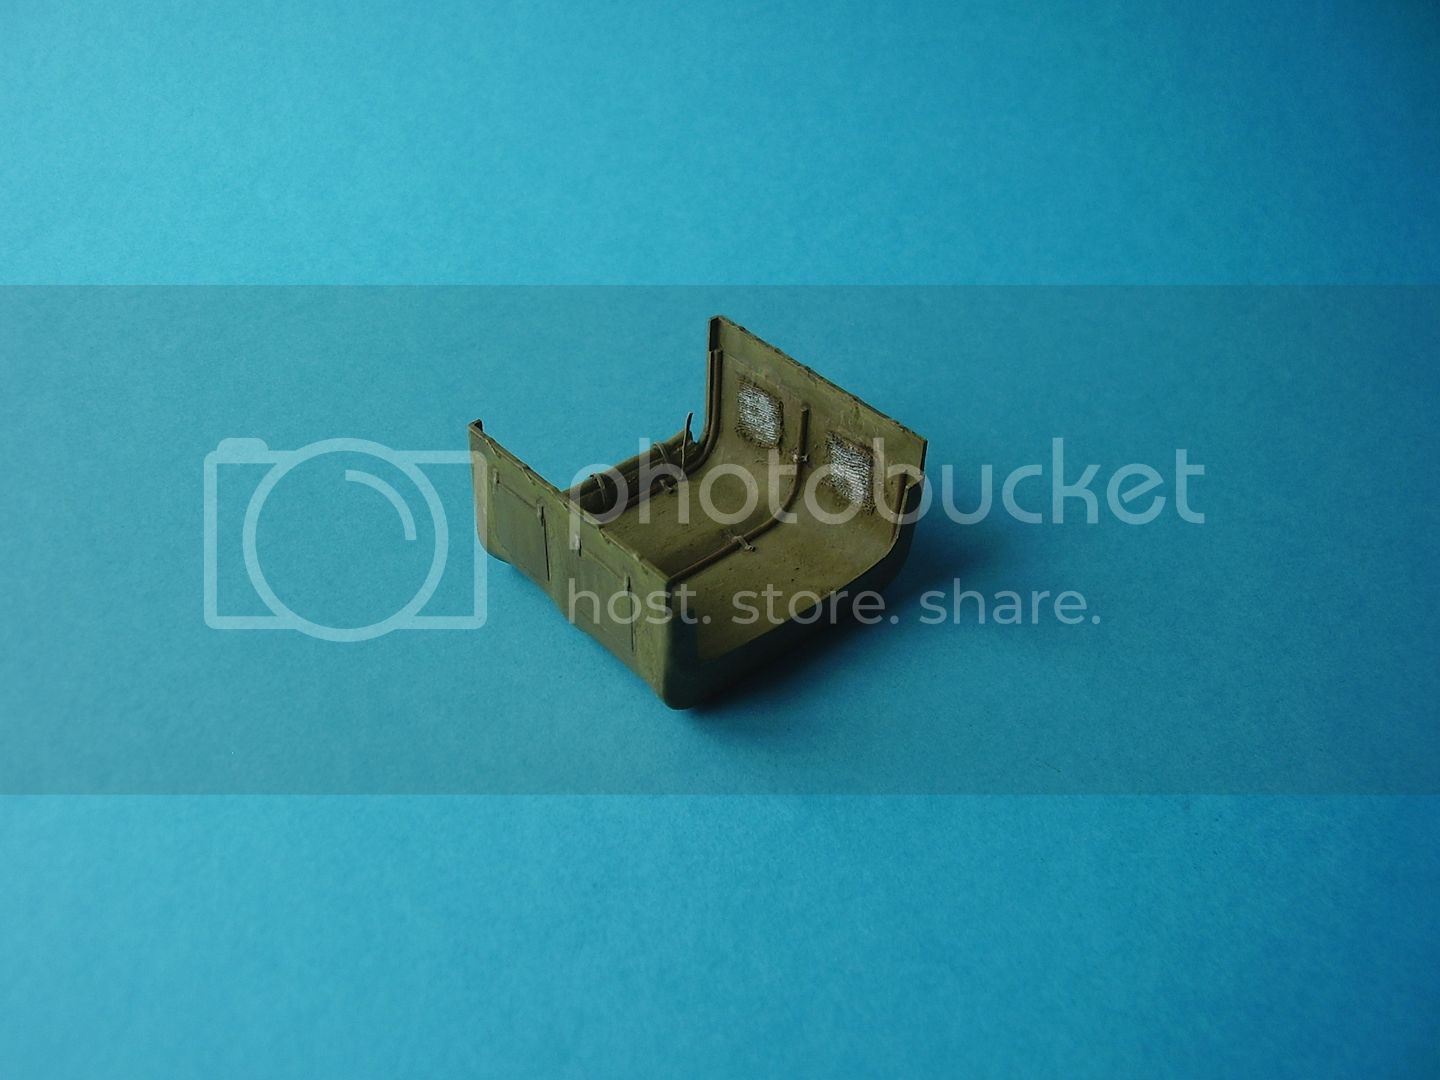
A question if anyone can help. I'm showing the tarp open at the back anyone any thoughts on what or how I might represent the 'windows' on the inside of the tarp? I've added some struts that need strapped in and started undercoating some parts.
Al
'Action this Day'
Winston Spencer Churchill
Dublin, Ireland
Joined: November 27, 2004
KitMaker: 6,048 posts
Armorama: 4,619 posts
Posted: Saturday, October 30, 2010 - 12:39 AM UTC
Quoted Text
A question if anyone can help. I'm showing the tarp open at the back anyone any thoughts on what or how I might represent the 'windows' on the inside of the tarp? I've added some struts that need strapped in and started undercoating some parts.
Hmm interesting problem. You could try some sort of trompe d'oeil effect using paint only. Or you could glue thin strips of plastic in a square to represent the window inside. If you wanted to be really brave you could cut the flaps out and redo them using putty

Pat
work to become not to acquire
England - East Anglia, United Kingdom
Joined: August 12, 2005
KitMaker: 14,499 posts
Armorama: 11,675 posts
Posted: Saturday, October 30, 2010 - 12:56 AM UTC
'Action this Day'
Winston Spencer Churchill
CMOT
 Editor-in-Chief
England - South West, United Kingdom
Joined: May 14, 2006
KitMaker: 10,954 posts
Armorama: 8,571 posts
Posted: Saturday, October 30, 2010 - 04:46 AM UTC
A question if anyone can help. I'm showing the tarp open at the back anyone any thoughts on what or how I might represent the 'windows' on the inside of the tarp? I've added some struts that need strapped in and started undercoating some parts.
Acetate sheet may be an option.
England - East Anglia, United Kingdom
Joined: August 12, 2005
KitMaker: 14,499 posts
Armorama: 11,675 posts
Posted: Saturday, October 30, 2010 - 08:54 PM UTC
'Action this Day'
Winston Spencer Churchill
England - East Anglia, United Kingdom
Joined: August 12, 2005
KitMaker: 14,499 posts
Armorama: 11,675 posts
Posted: Sunday, October 31, 2010 - 02:34 AM UTC
Hi folks,
A bit more progress.
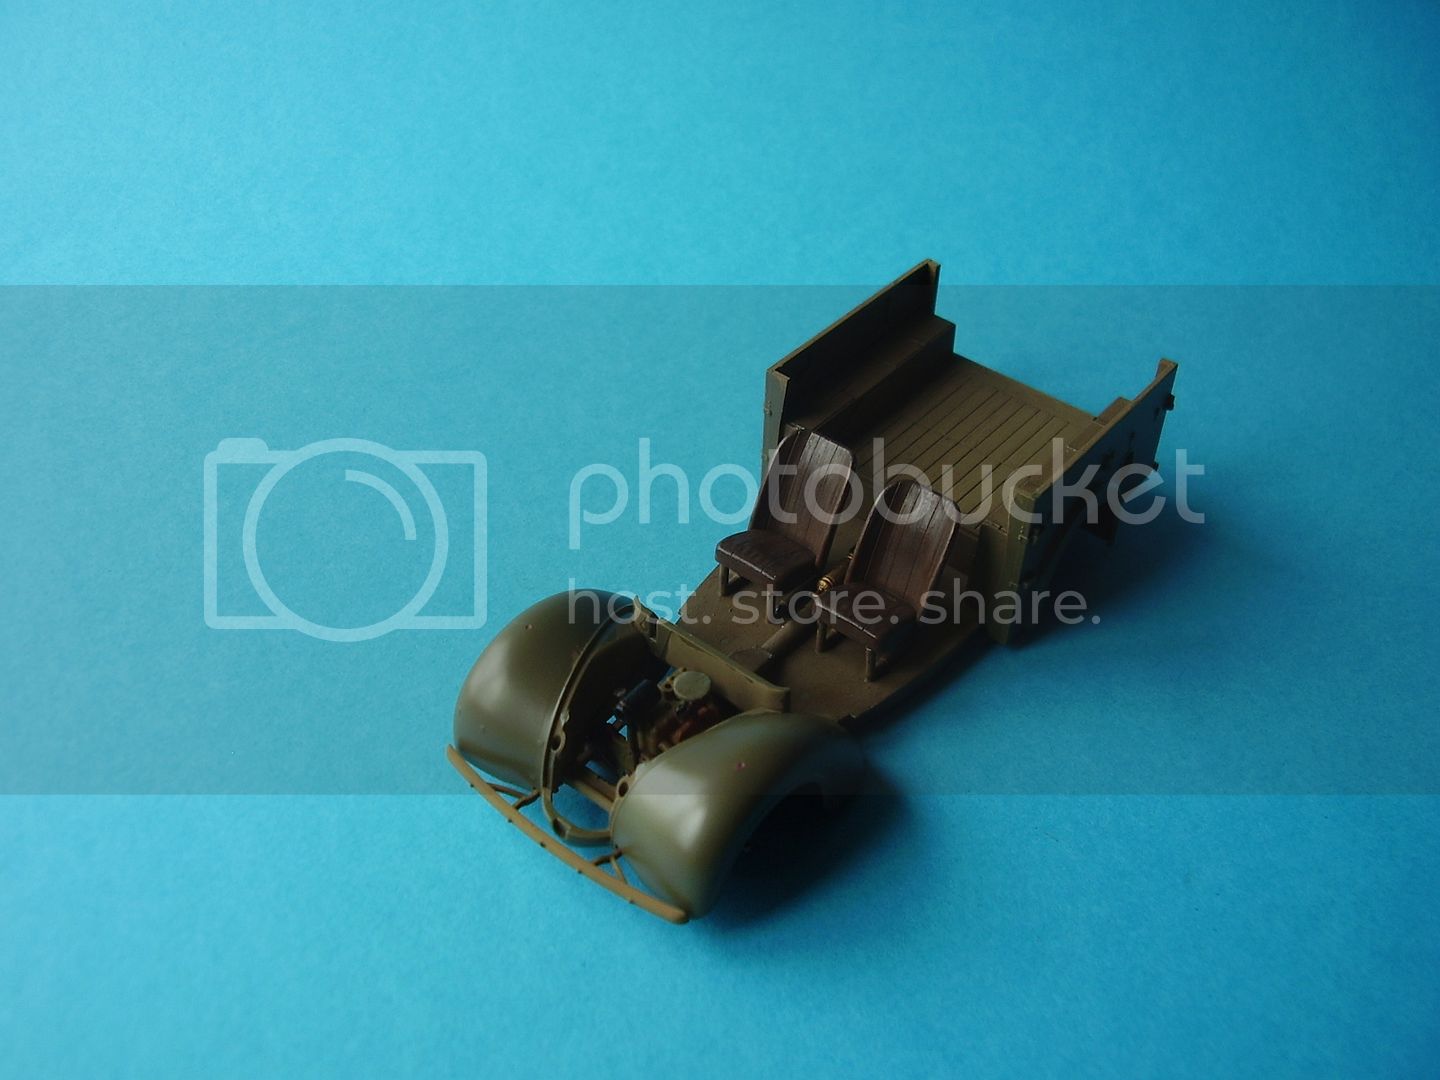
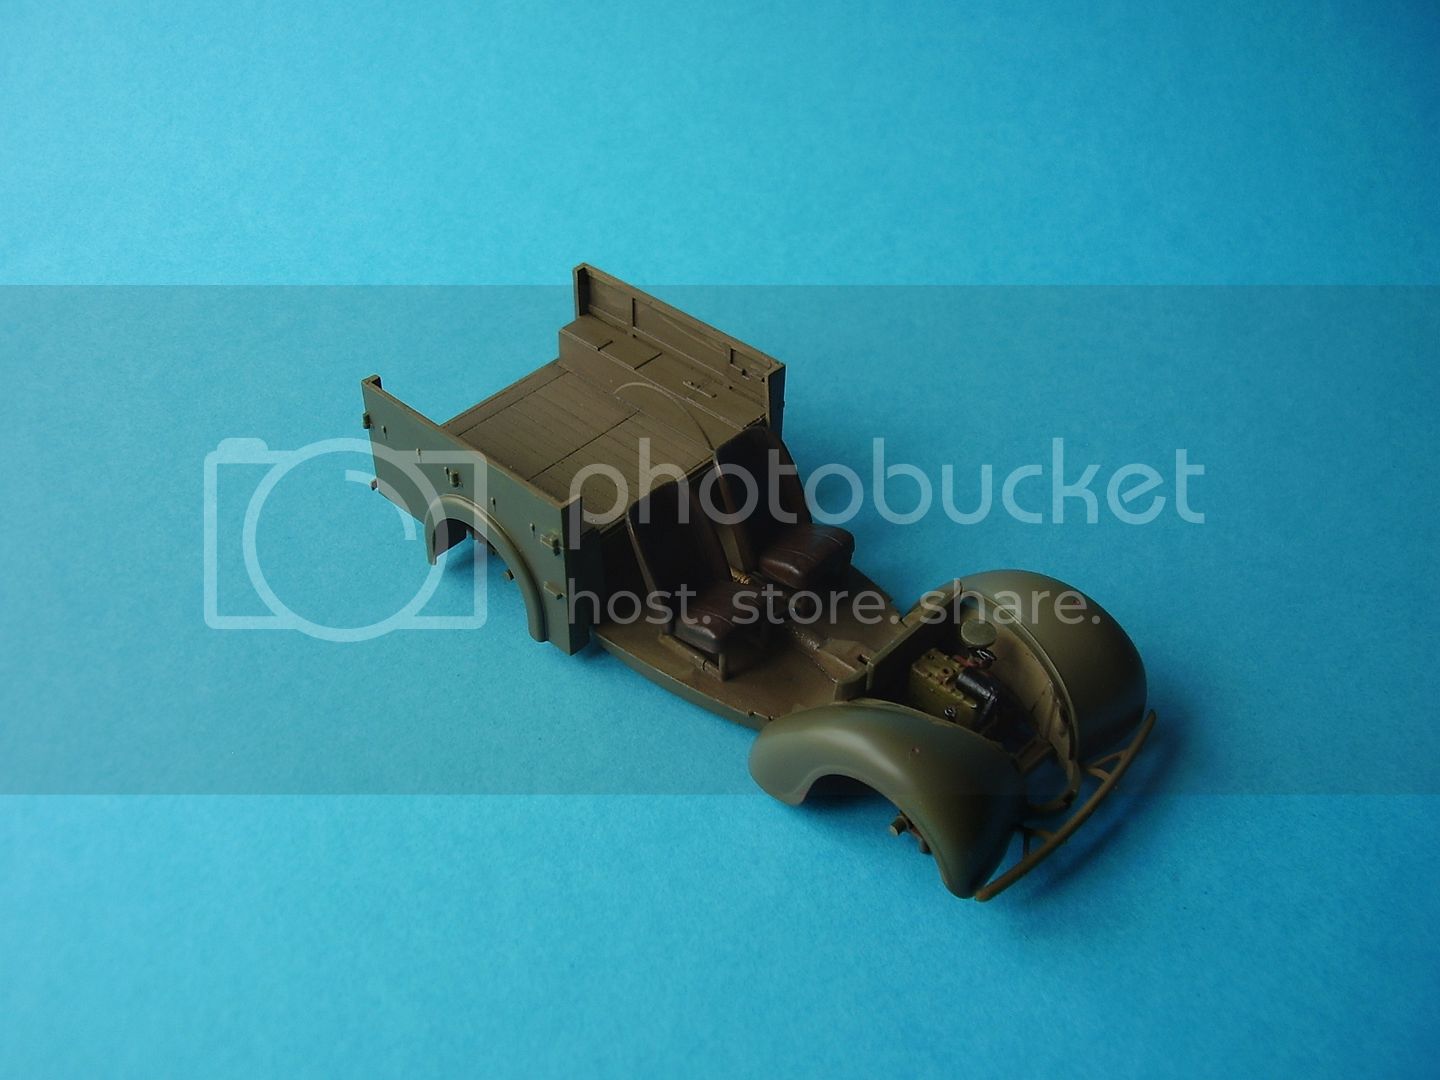
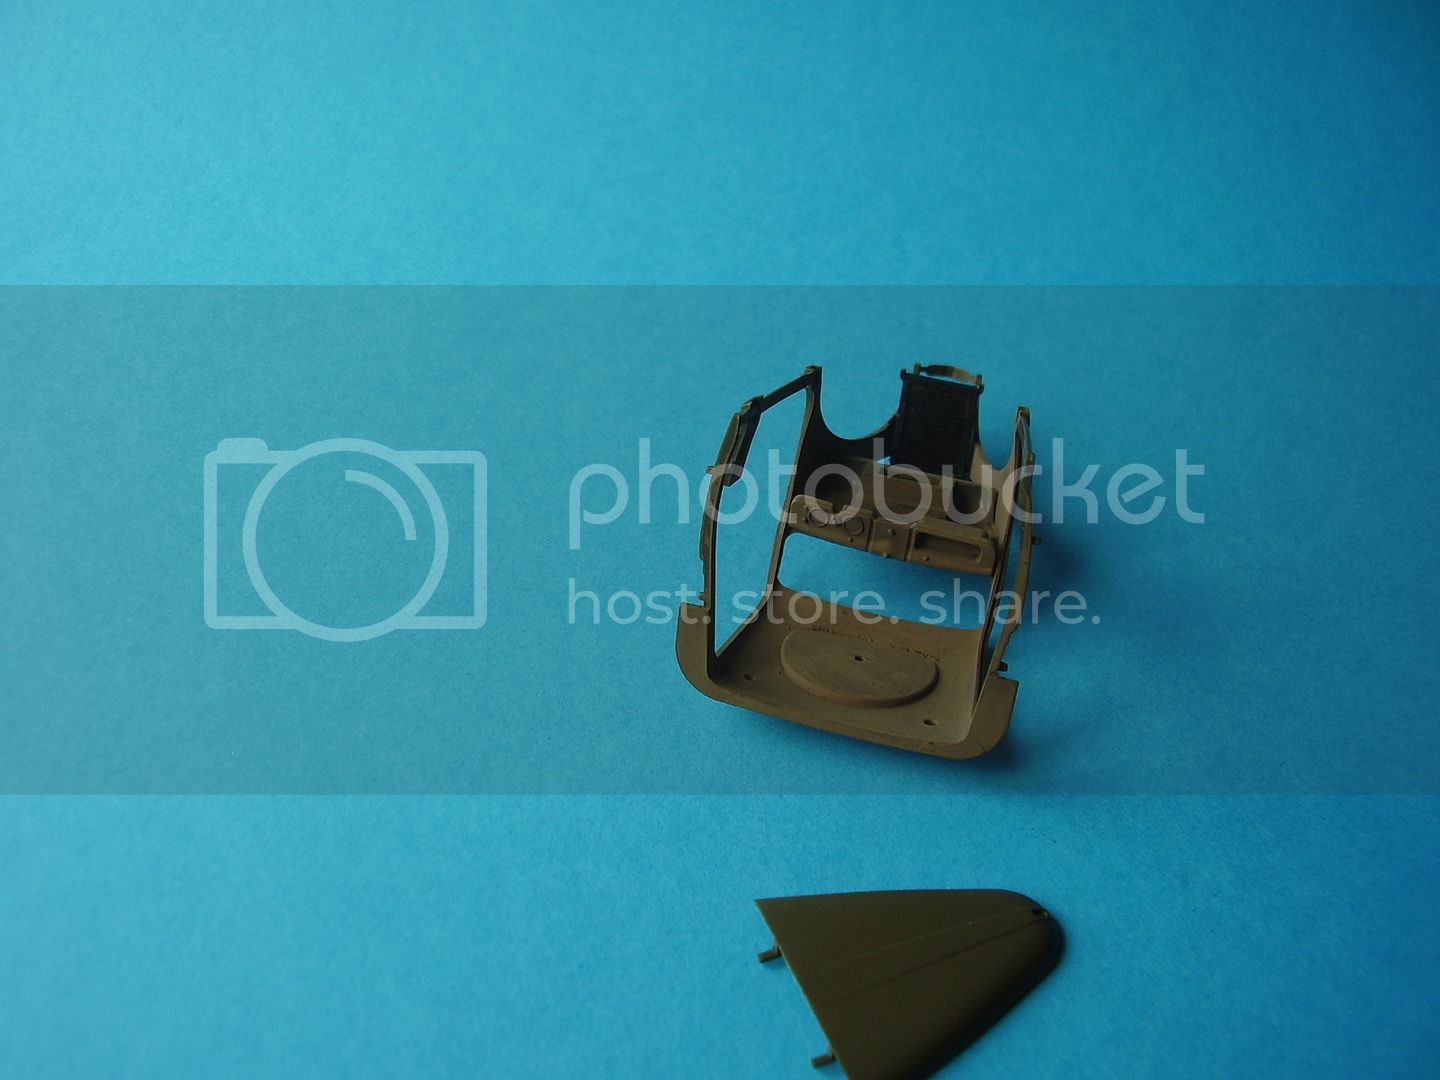
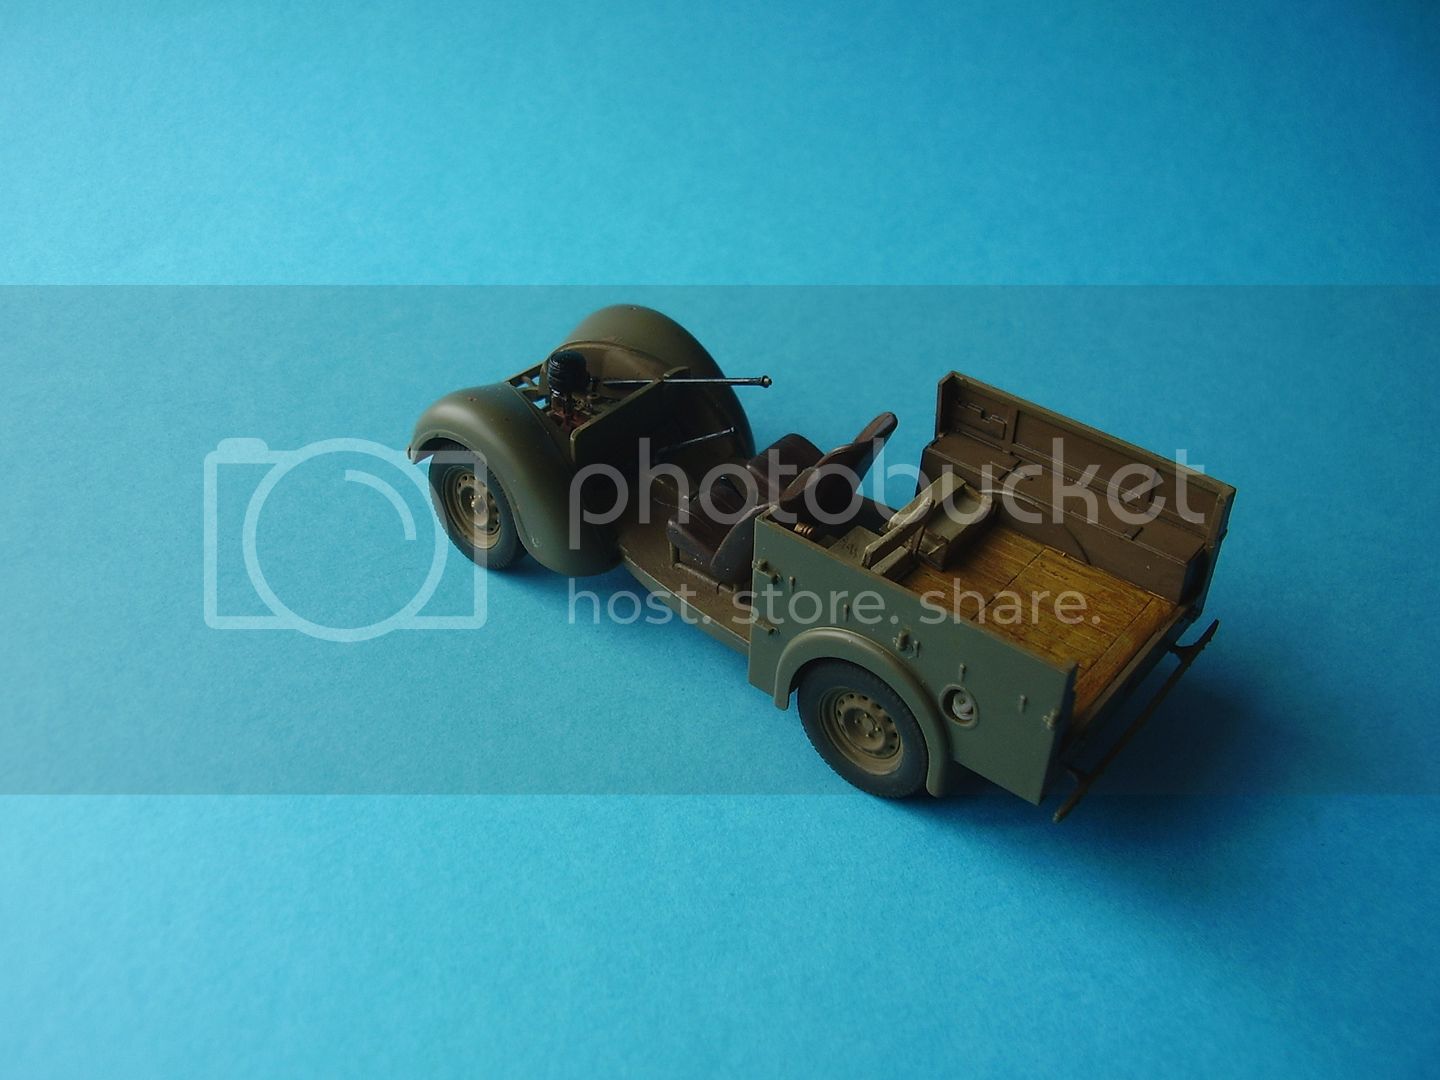
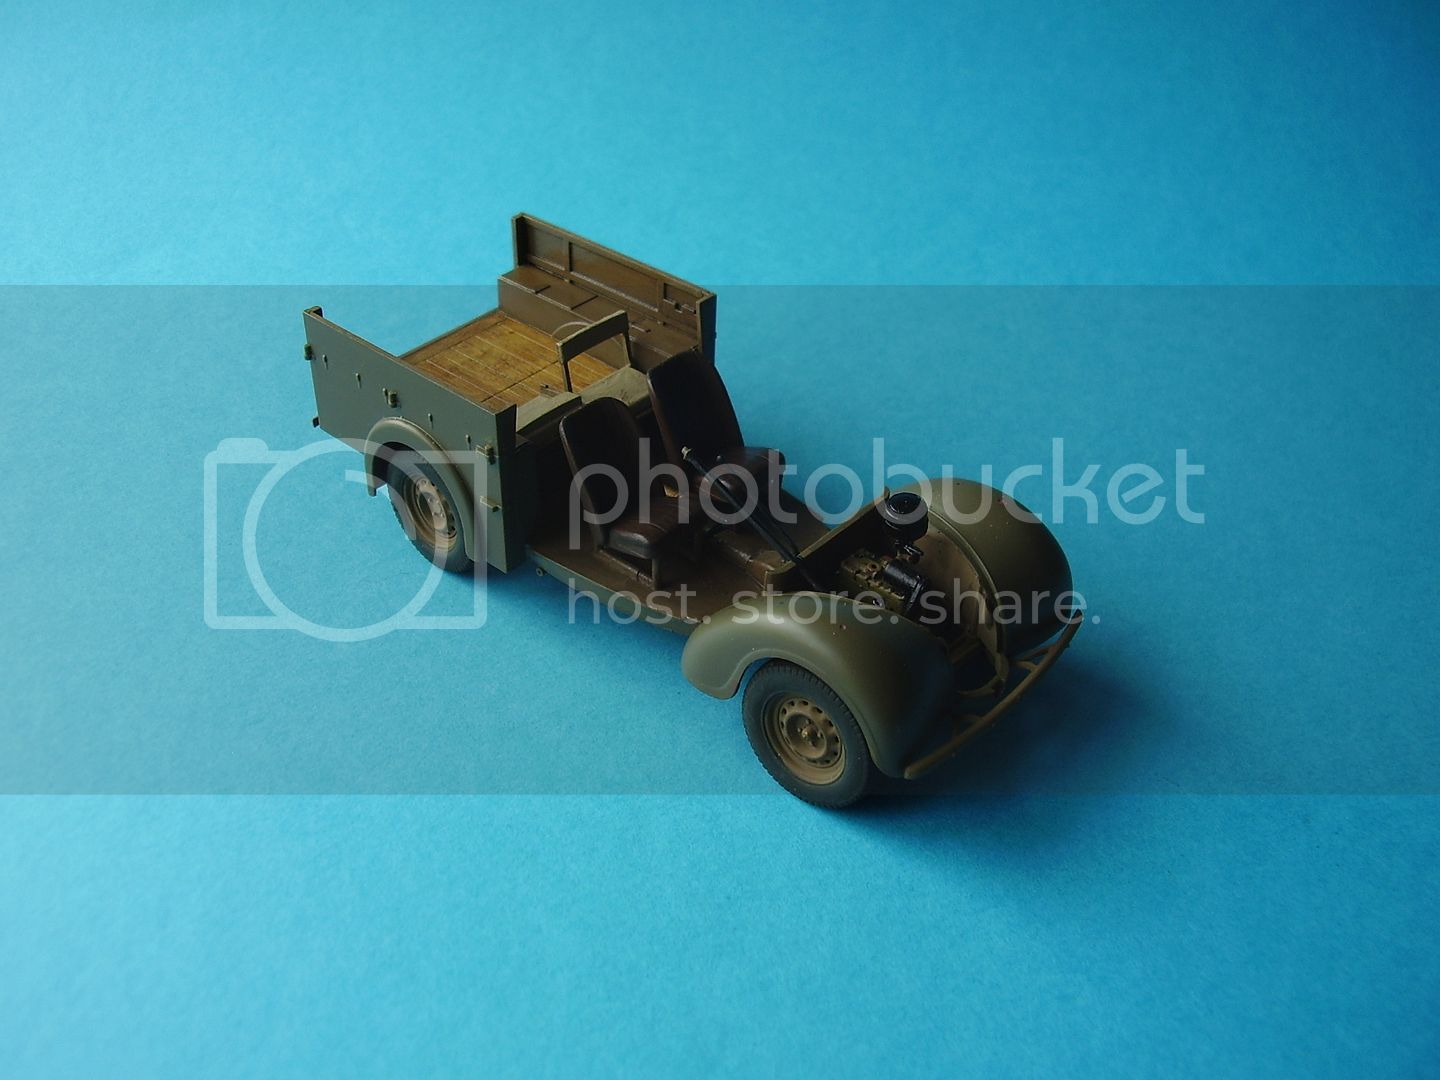
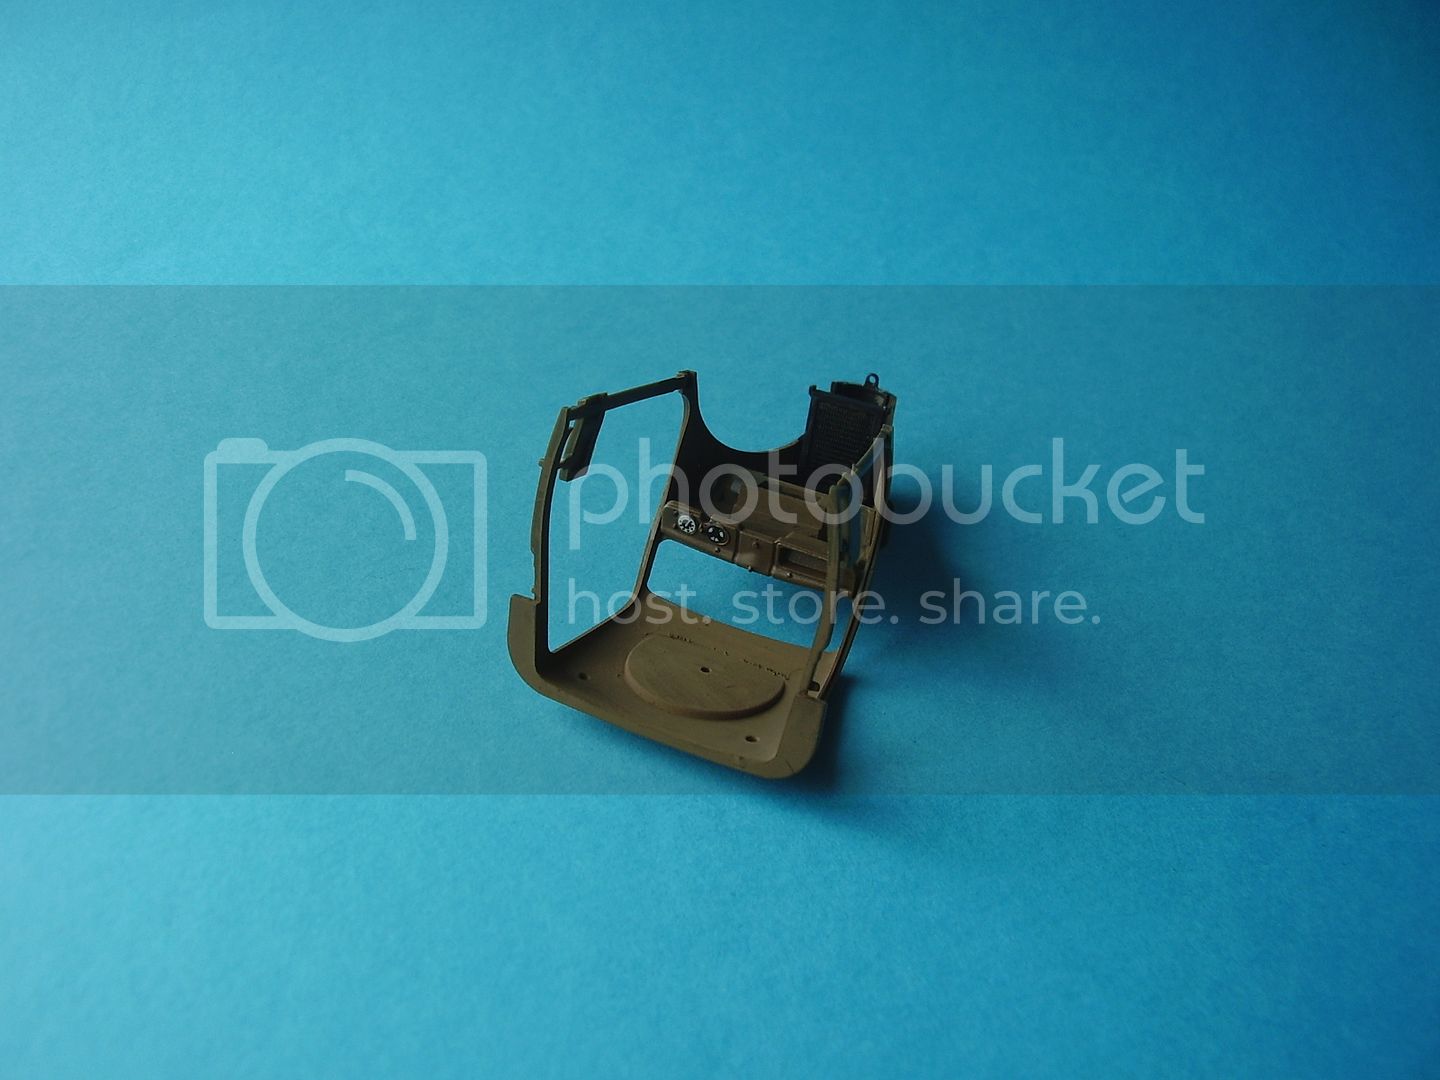
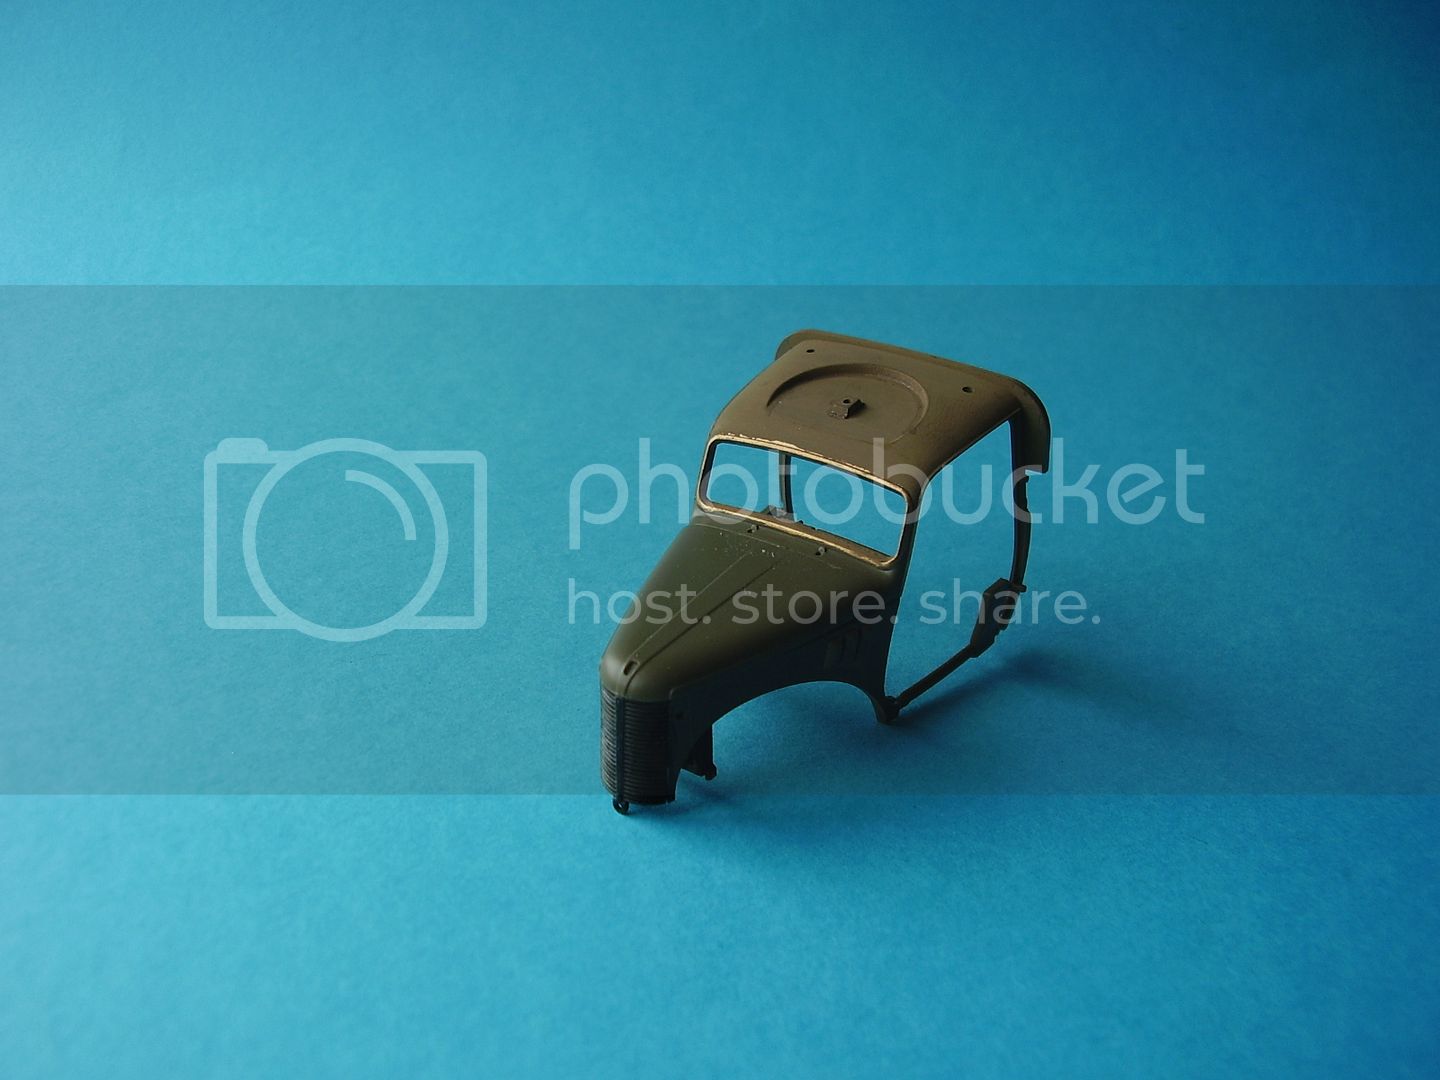
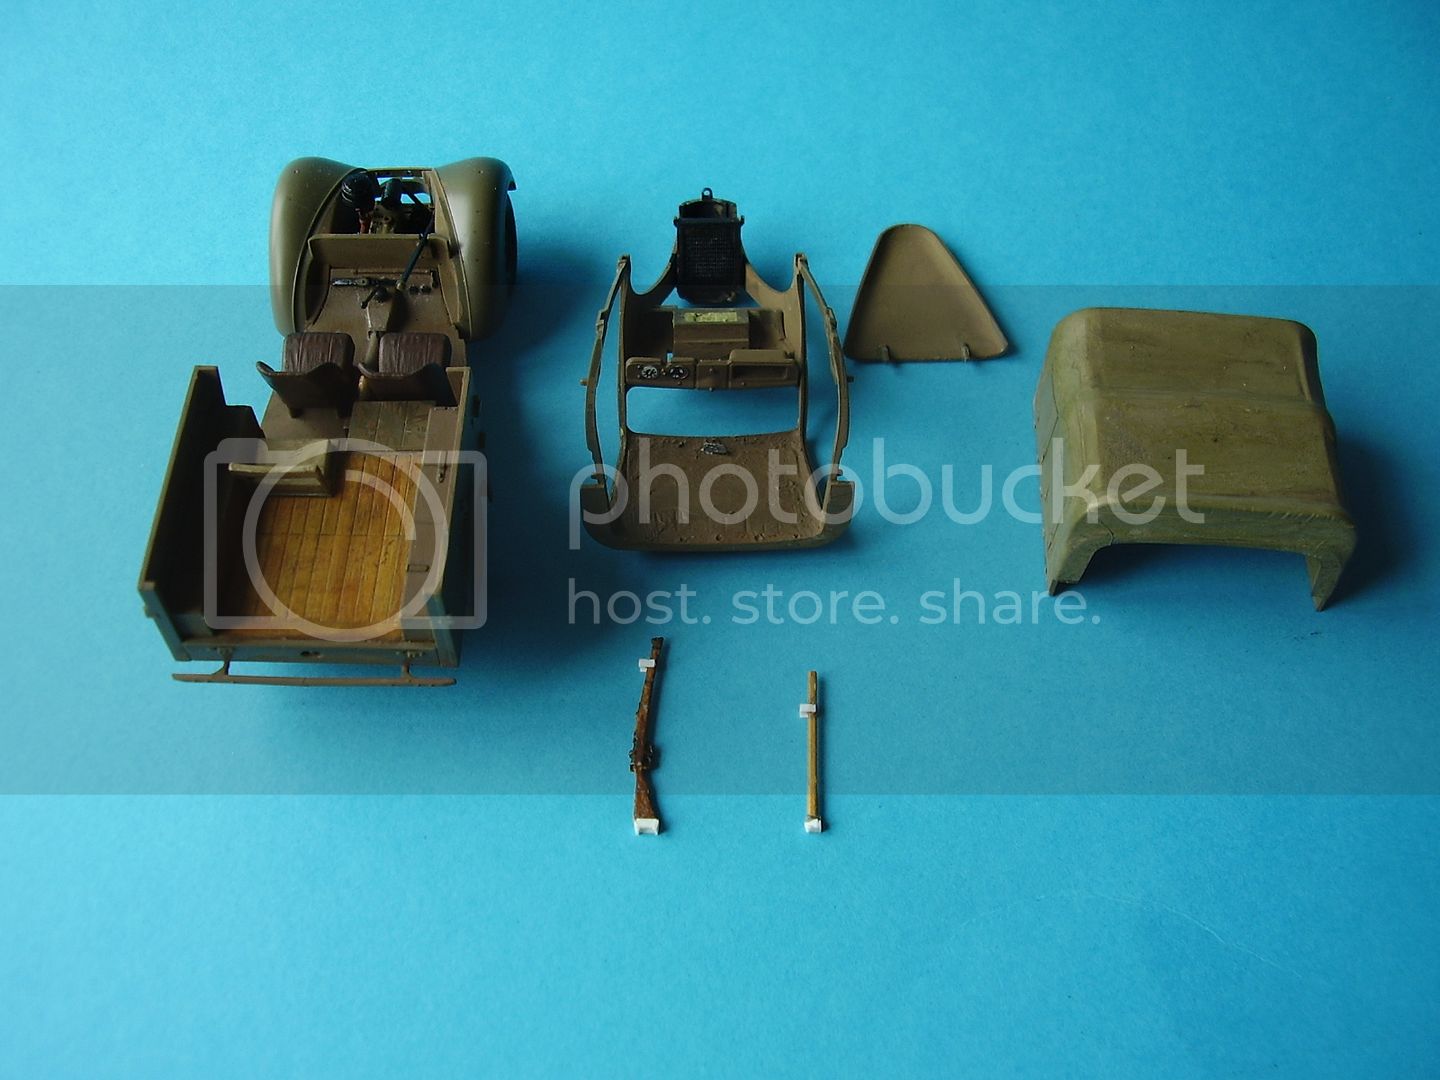
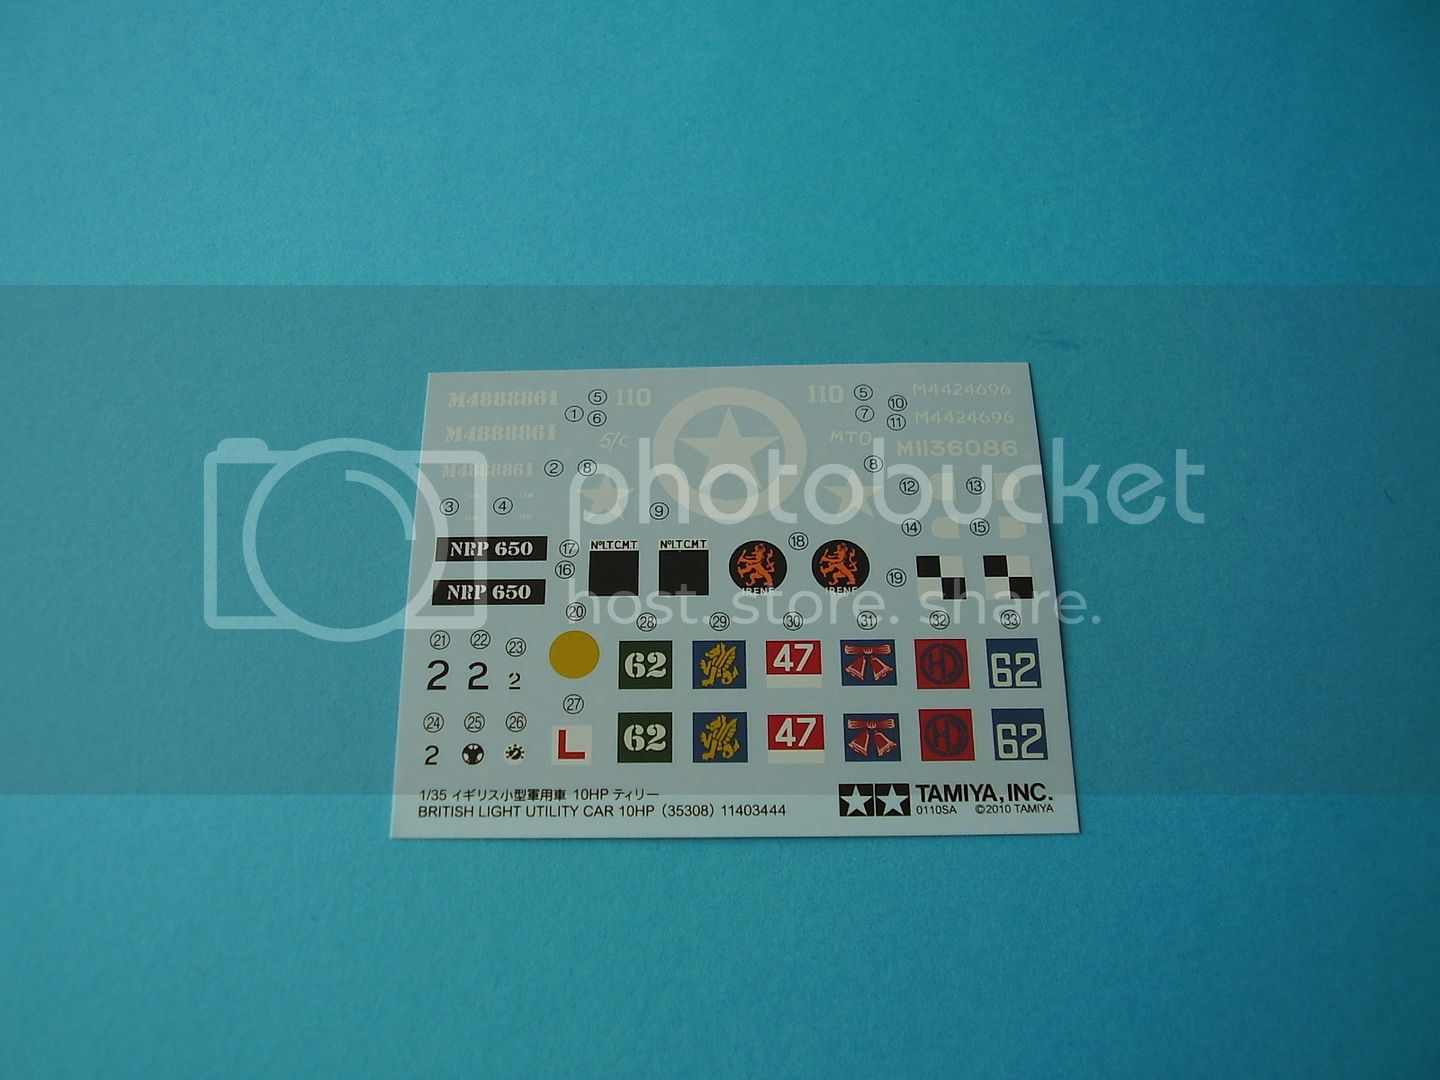
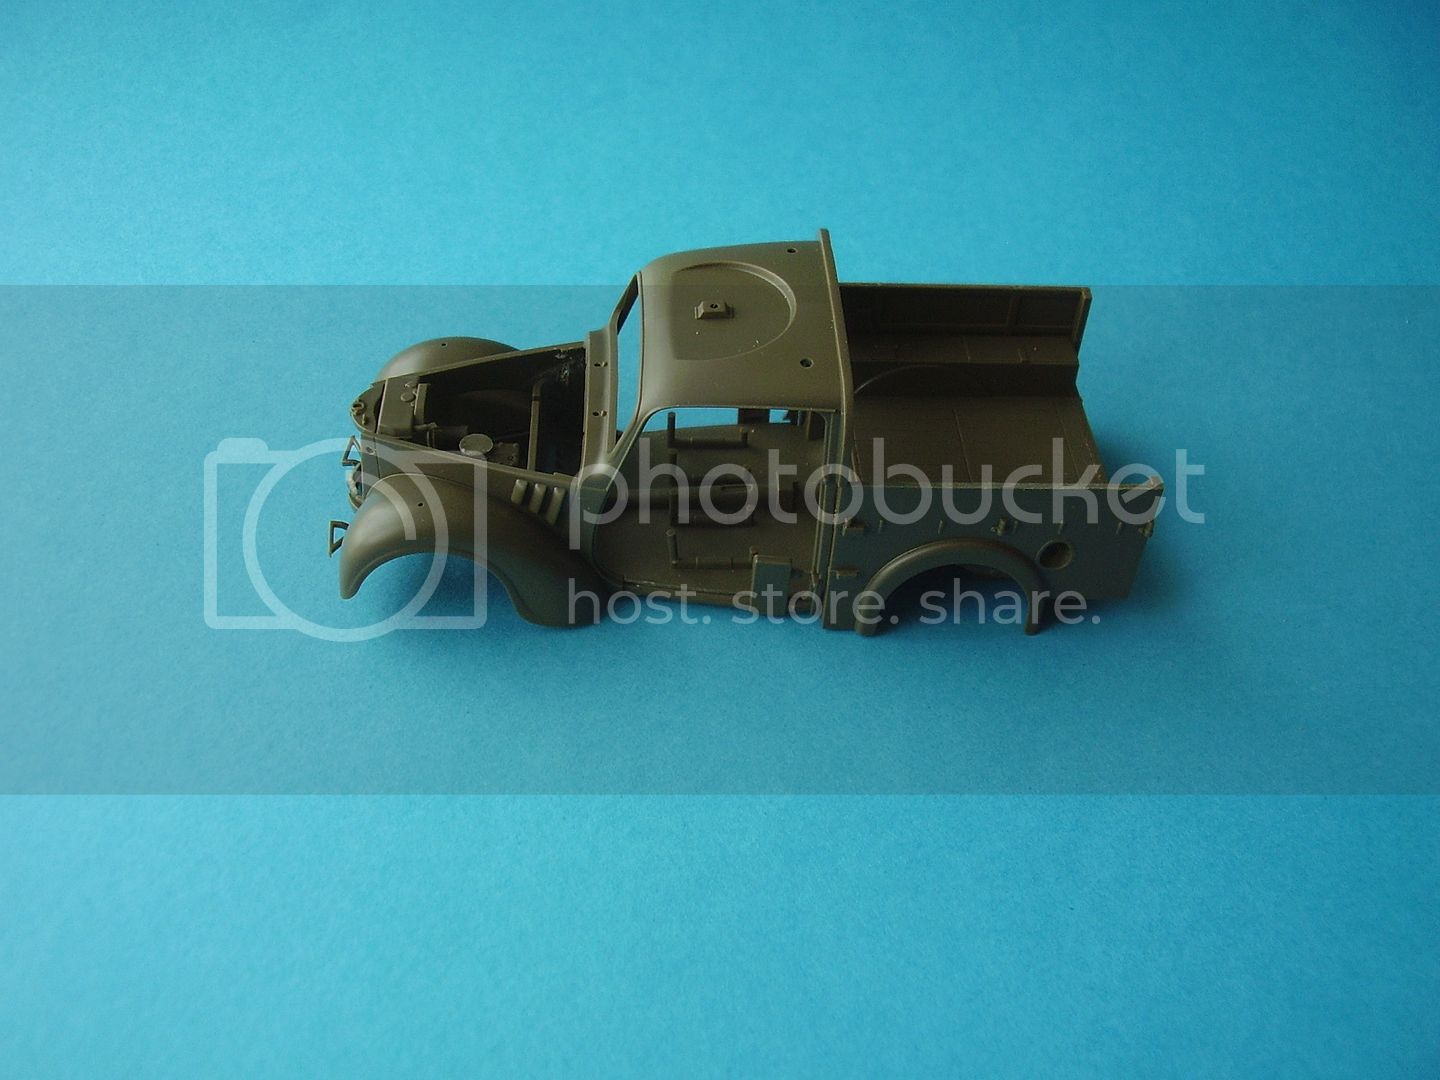
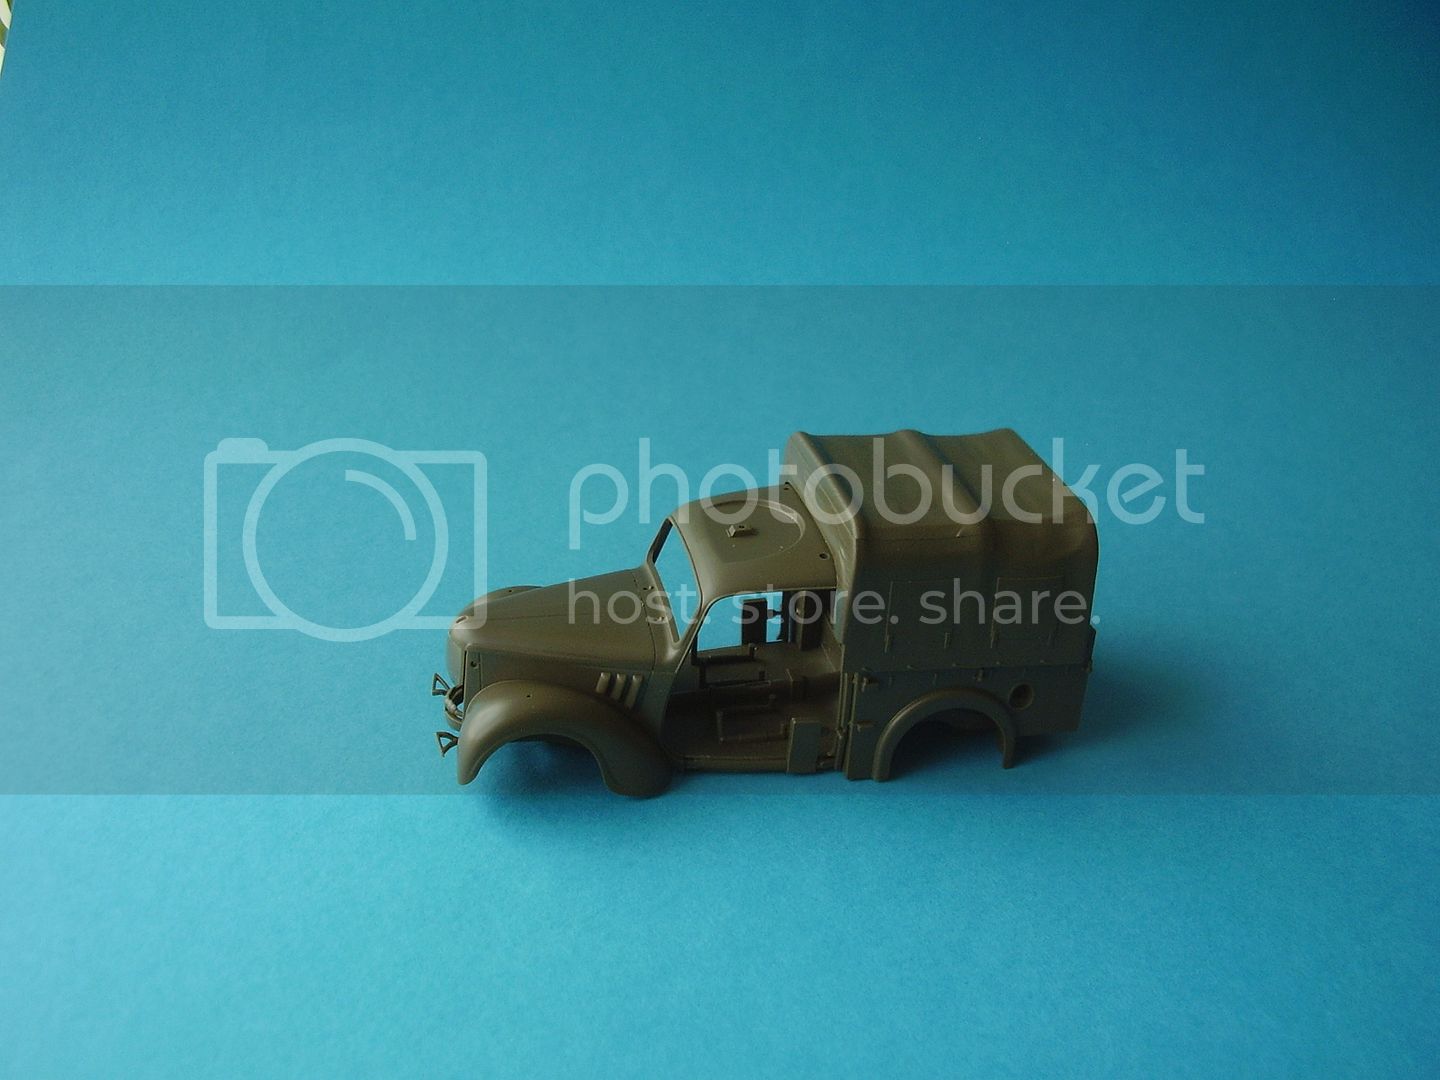
Some bits don't come with the kit, a rifle that sat behind the driver, a pick shaft that occupied the opposide side to the rifle and the khead that lived on the front LHS/C floor, I've switced the exhaust so I can stick to my original plan for an early vehicle, added a bit more engine detail and the decals for the instrument panel.
I've been thinking about finish and a RASC vehicle might be the way to go as they are under-represented in the overall scheme of things.
The rear seats could be up or folded, and I might do one of each. I should really have repalced the floor pedals but I was lazy there!! Still time yet
though

I've also been thinking of leaving the floor wood. but that might bring out the Tilly Police

Al
'Action this Day'
Winston Spencer Churchill
Dublin, Ireland
Joined: November 27, 2004
KitMaker: 6,048 posts
Armorama: 4,619 posts
Posted: Sunday, October 31, 2010 - 09:41 AM UTC
Good progress Al. I think the panels in the tilt look good.
Pat
work to become not to acquire
England - East Anglia, United Kingdom
Joined: August 12, 2005
KitMaker: 14,499 posts
Armorama: 11,675 posts
Posted: Sunday, October 31, 2010 - 09:58 AM UTC
Hi Pat,
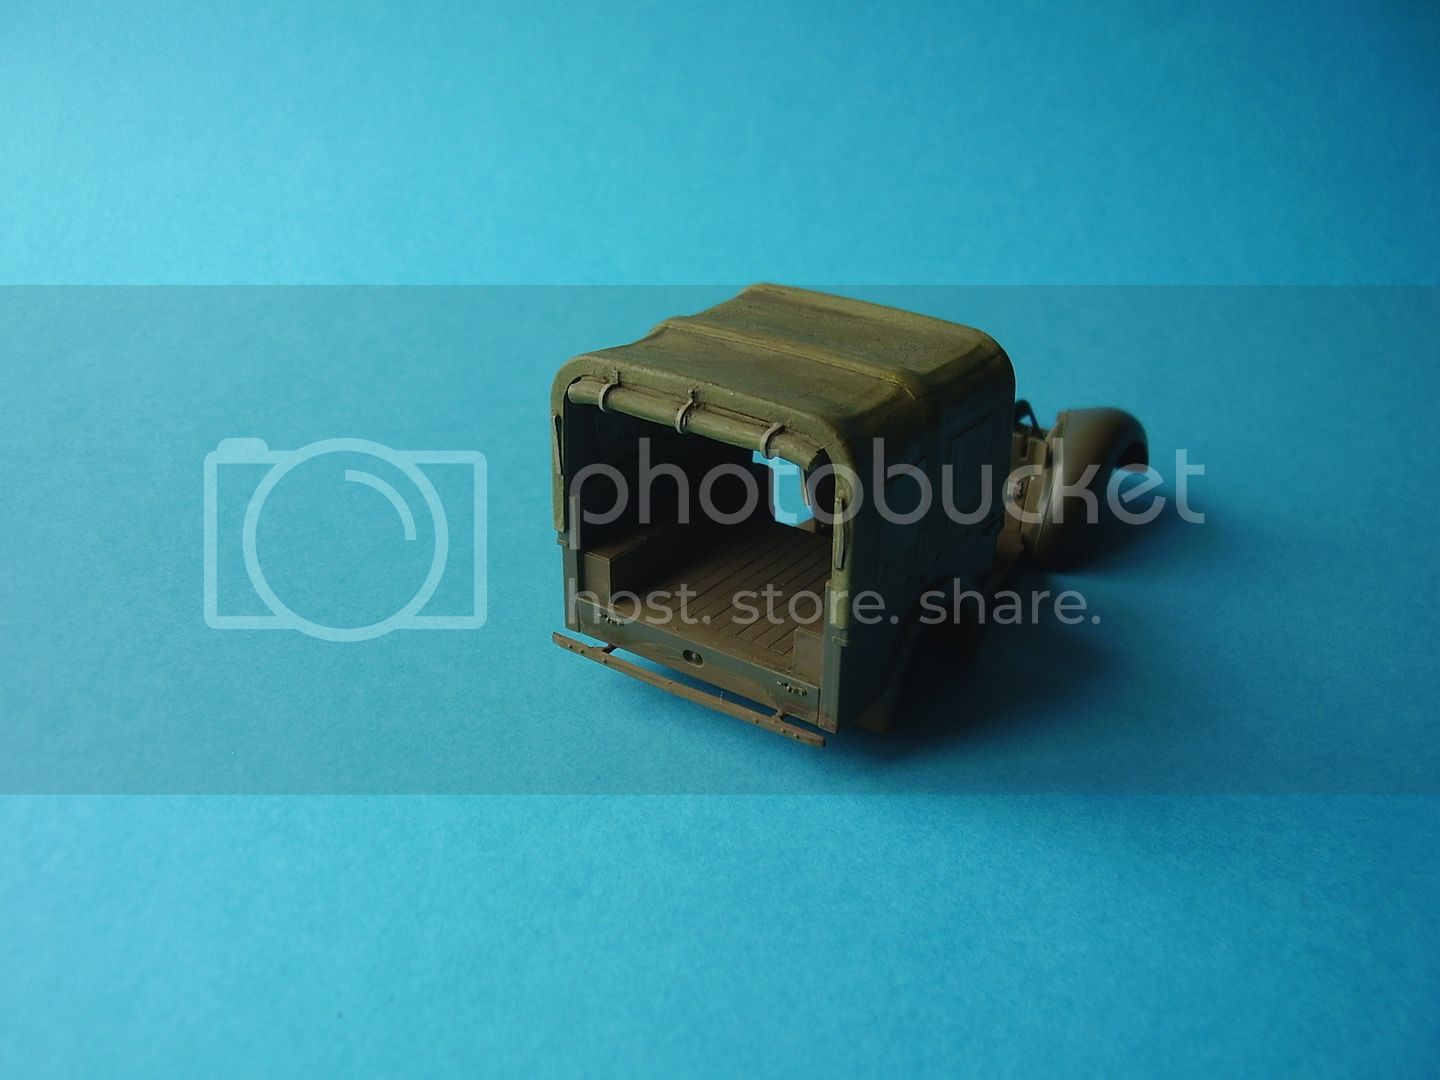
Thanks. They are a bit rough and ready but do the job when the tilts on and you look in the back.
Cheers
Al
'Action this Day'
Winston Spencer Churchill

#023
Zurich, Switzerland
Joined: March 13, 2009
KitMaker: 2,058 posts
Armorama: 1,656 posts
Posted: Sunday, October 31, 2010 - 07:29 PM UTC
Alan, looks like another one of those typical Tamiya kits that practically fall together. Great work so far. I second Pat's comments about the panels.
Cheers!
Stefan
Too many models - too little time...
England - East Anglia, United Kingdom
Joined: August 12, 2005
KitMaker: 14,499 posts
Armorama: 11,675 posts
Posted: Monday, November 01, 2010 - 06:14 AM UTC
Thanks Stefan,
No updates this evening, need to sort out the pick shaft and SMLE.
Al
'Action this Day'
Winston Spencer Churchill
England - East Anglia, United Kingdom
Joined: August 12, 2005
KitMaker: 14,499 posts
Armorama: 11,675 posts
Posted: Saturday, November 06, 2010 - 10:00 PM UTC
Hi Guys,
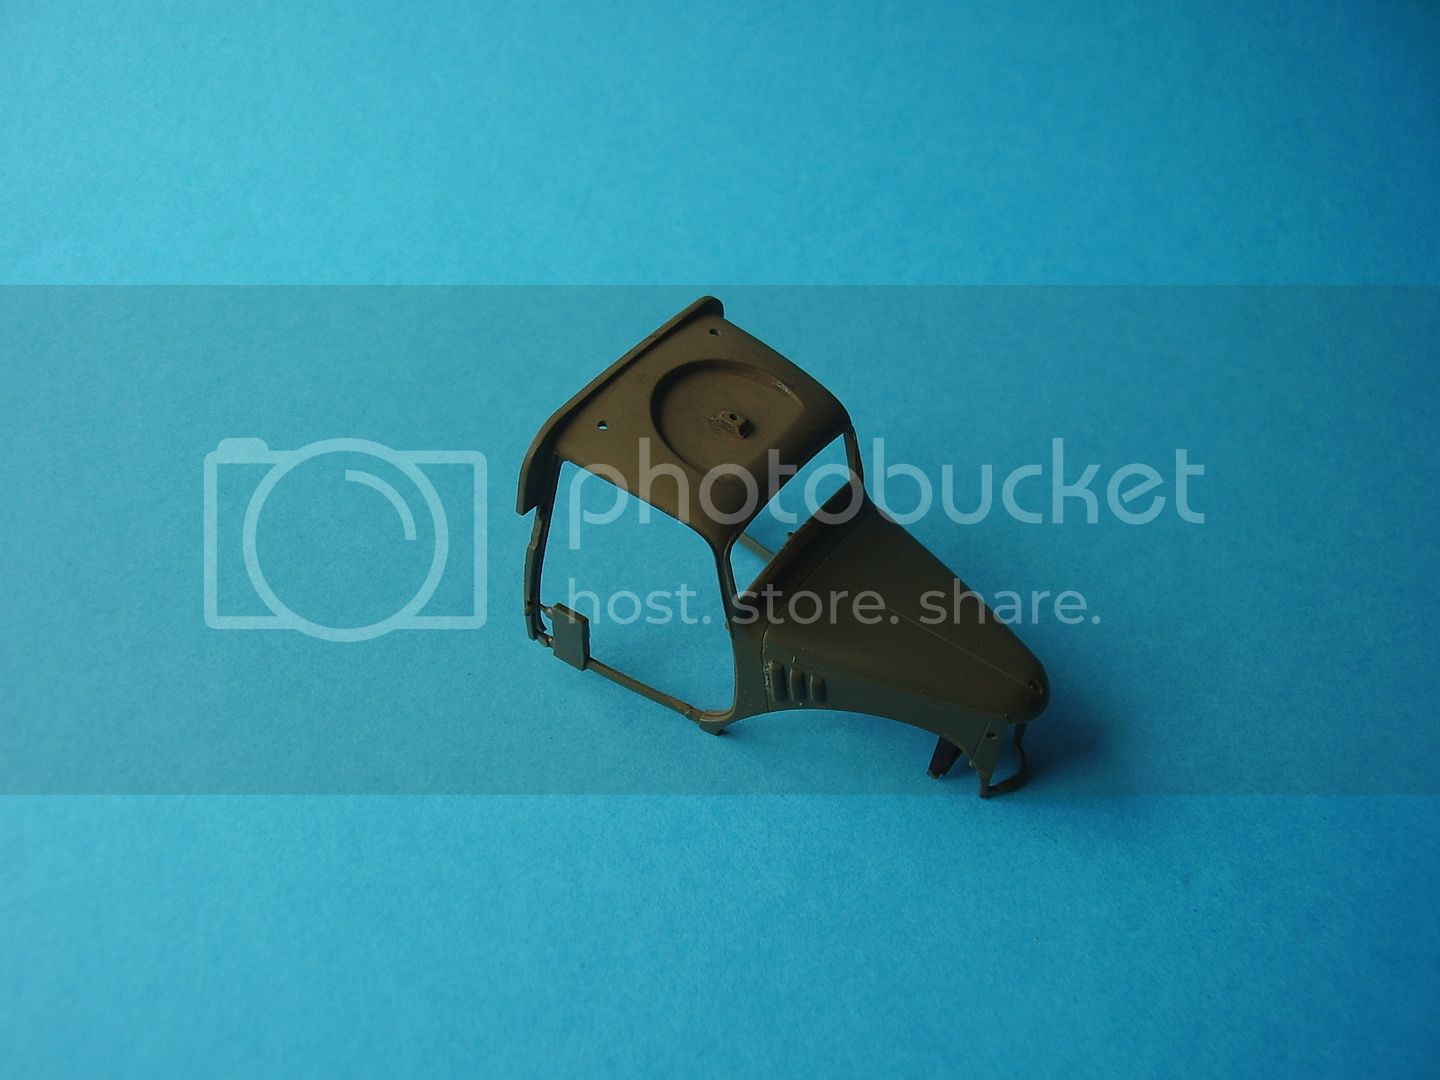
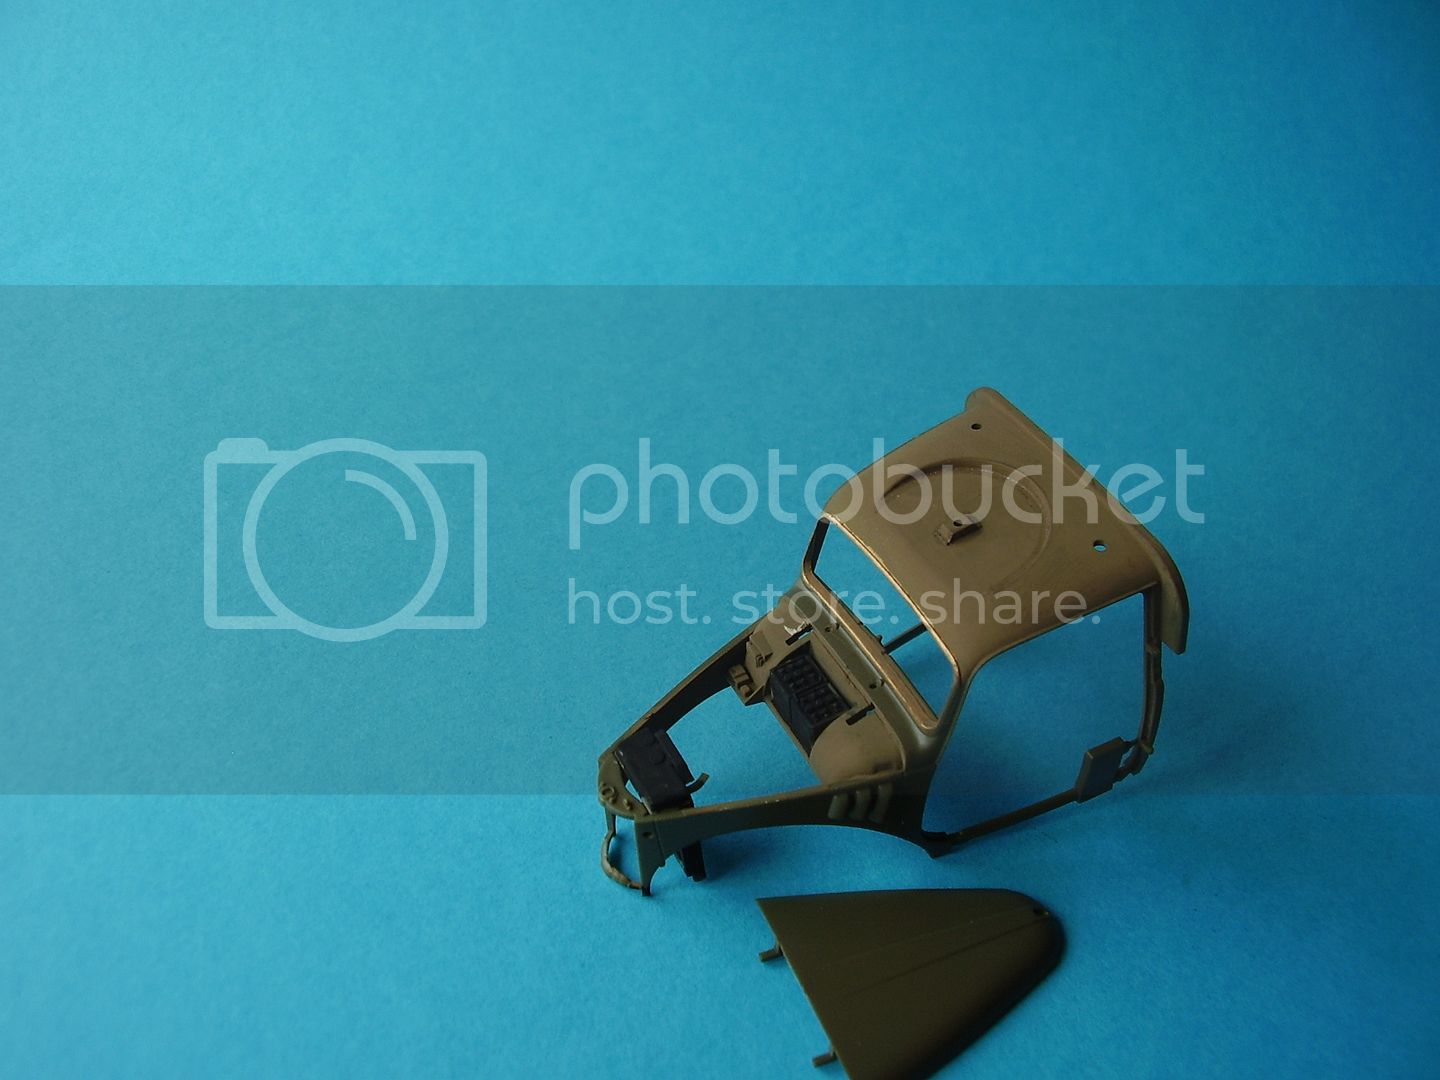
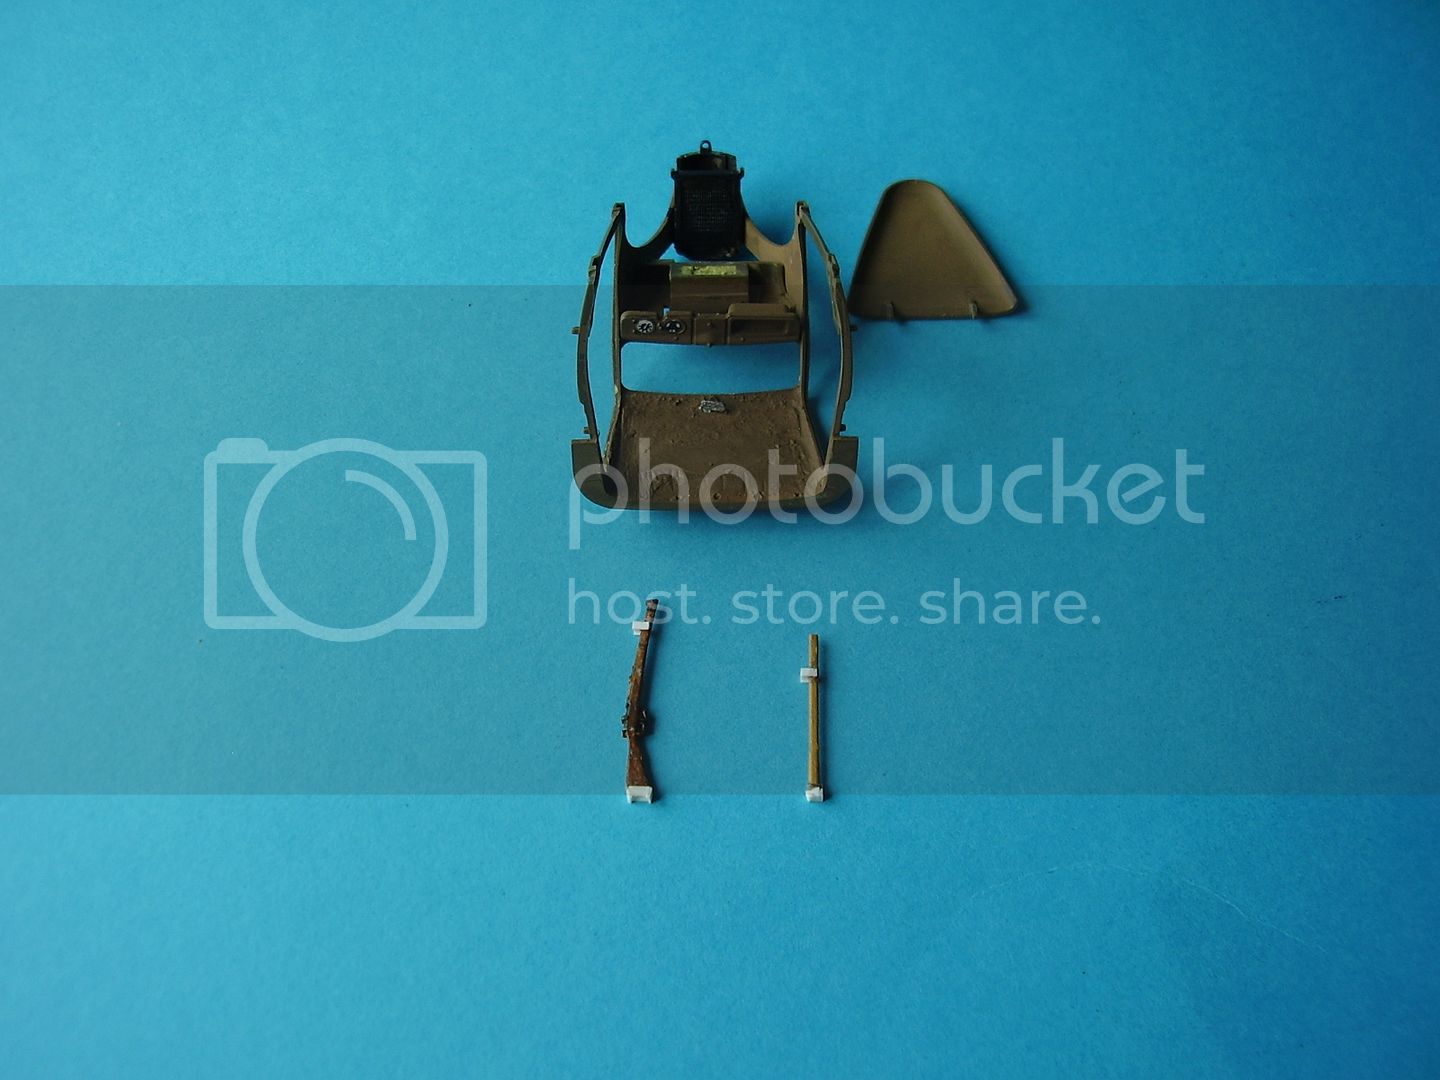
Slow week this week, but did a little work on the interior roof, and made some fixings for the pick shaft and SMLE that lived inside the cab. Added a drivers mirror and need to add some sun visors.
BTW does anyone have a pic of the sun visors, was there one or two? I forgot to look up when I photographed the inside of the cab.
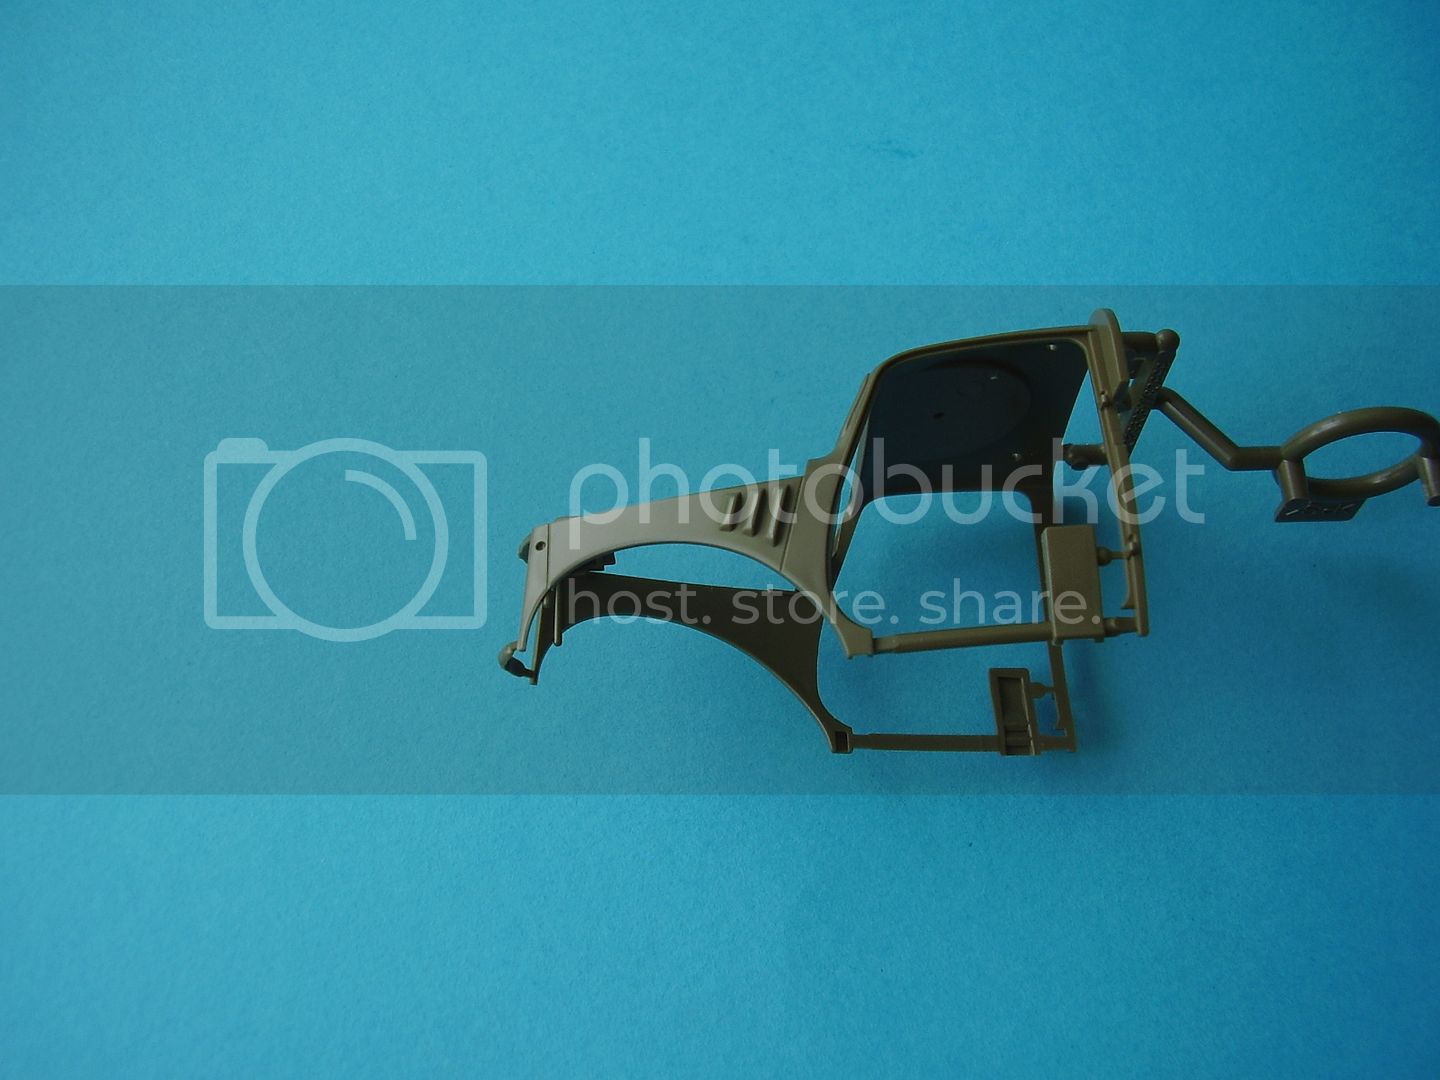
Also filed off some ejection marks on the inside of the bonnet.

Al
'Action this Day'
Winston Spencer Churchill


 Nice looking sub! Looking foward to your build.




 The wife will gat a surprise when she finds the toe missing form them


 .
.